


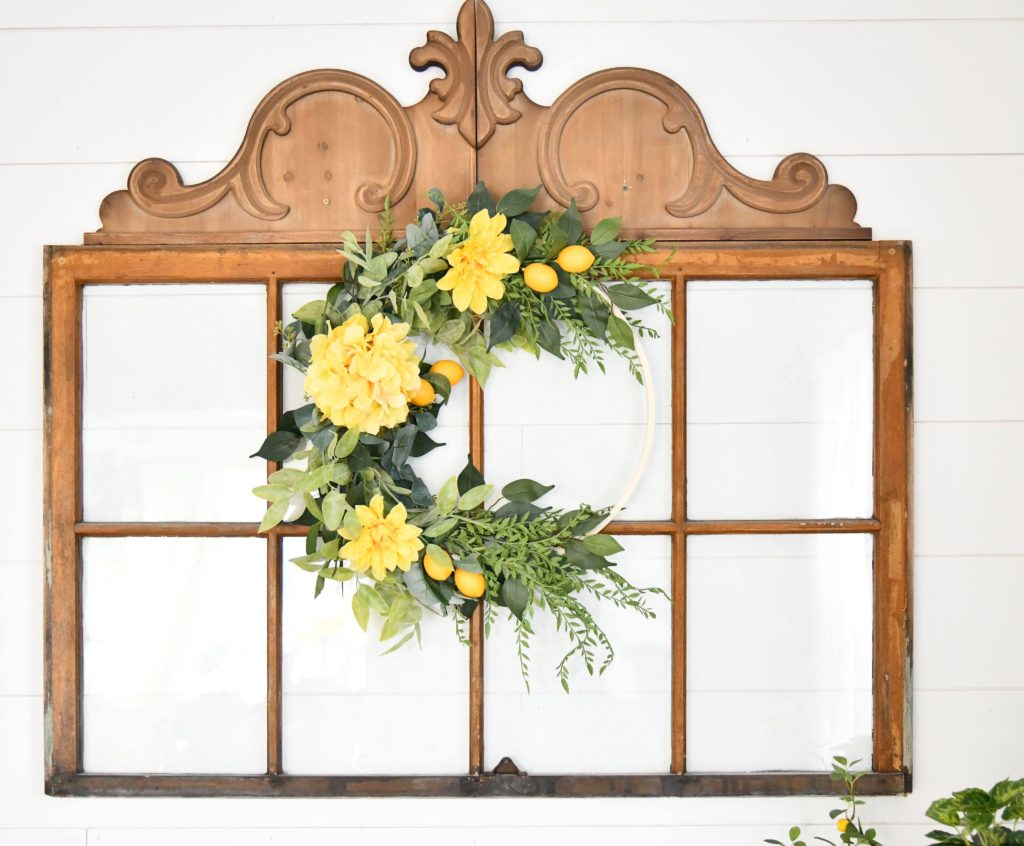
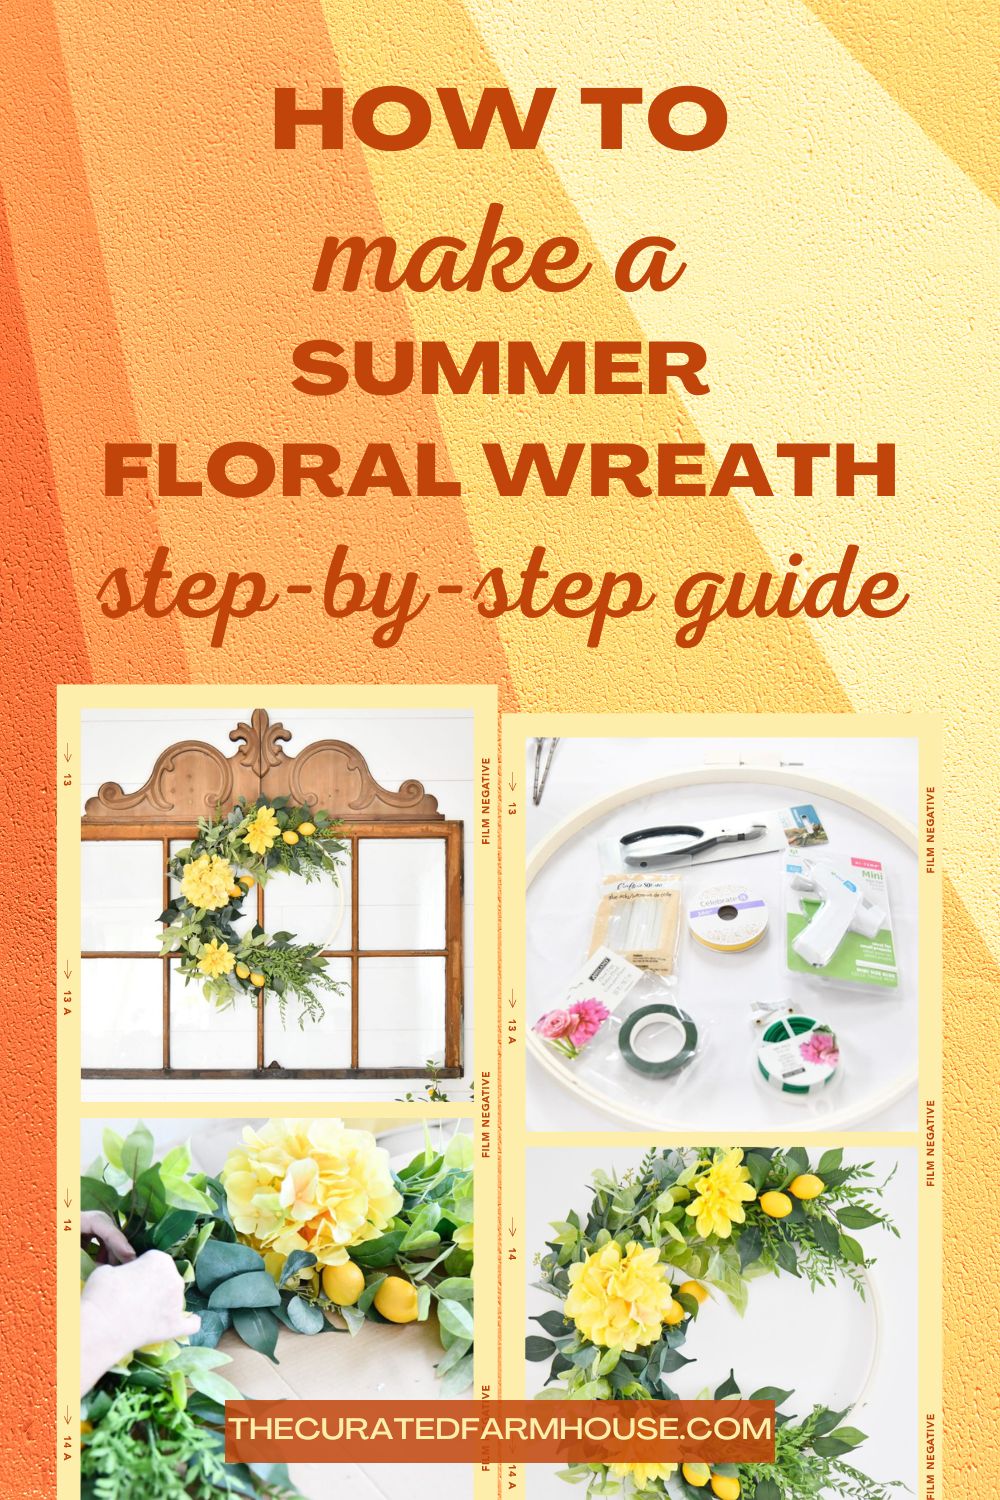
How to Make a Summer Floral Wreath (Step-by-Step Guide)
Summer is in full swing, and what better way to celebrate than with learning how to make a summer floral wreath (step-by-step guide)? This project is perfect for beginners, and it can be customized to fit your own style.
A summer floral embroidery wreath is a beautiful and easy way to add a touch of spring to your home.
Keep in mind, I am not a wreath designer, definitely not a floral expert by any means. But I do like to save money and try and DIY decor when I feel inspired.
The hardest part of this DIY was not buying all the things, to make ten more of these beauties.
Let’s get started, I am excited to show you how easy it was to make this hoop wreath.
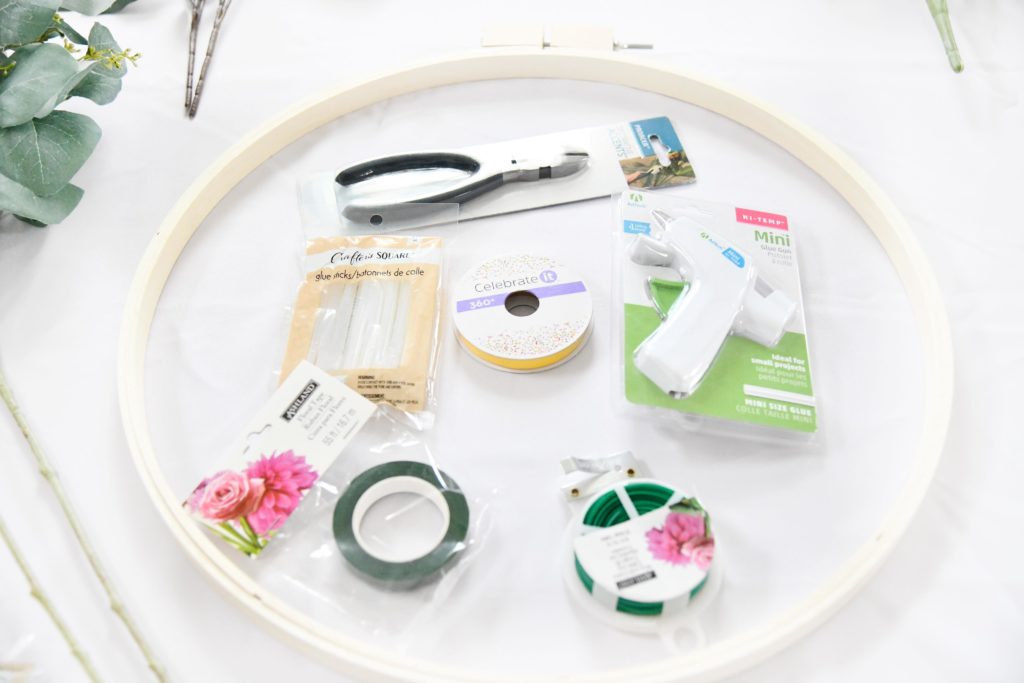
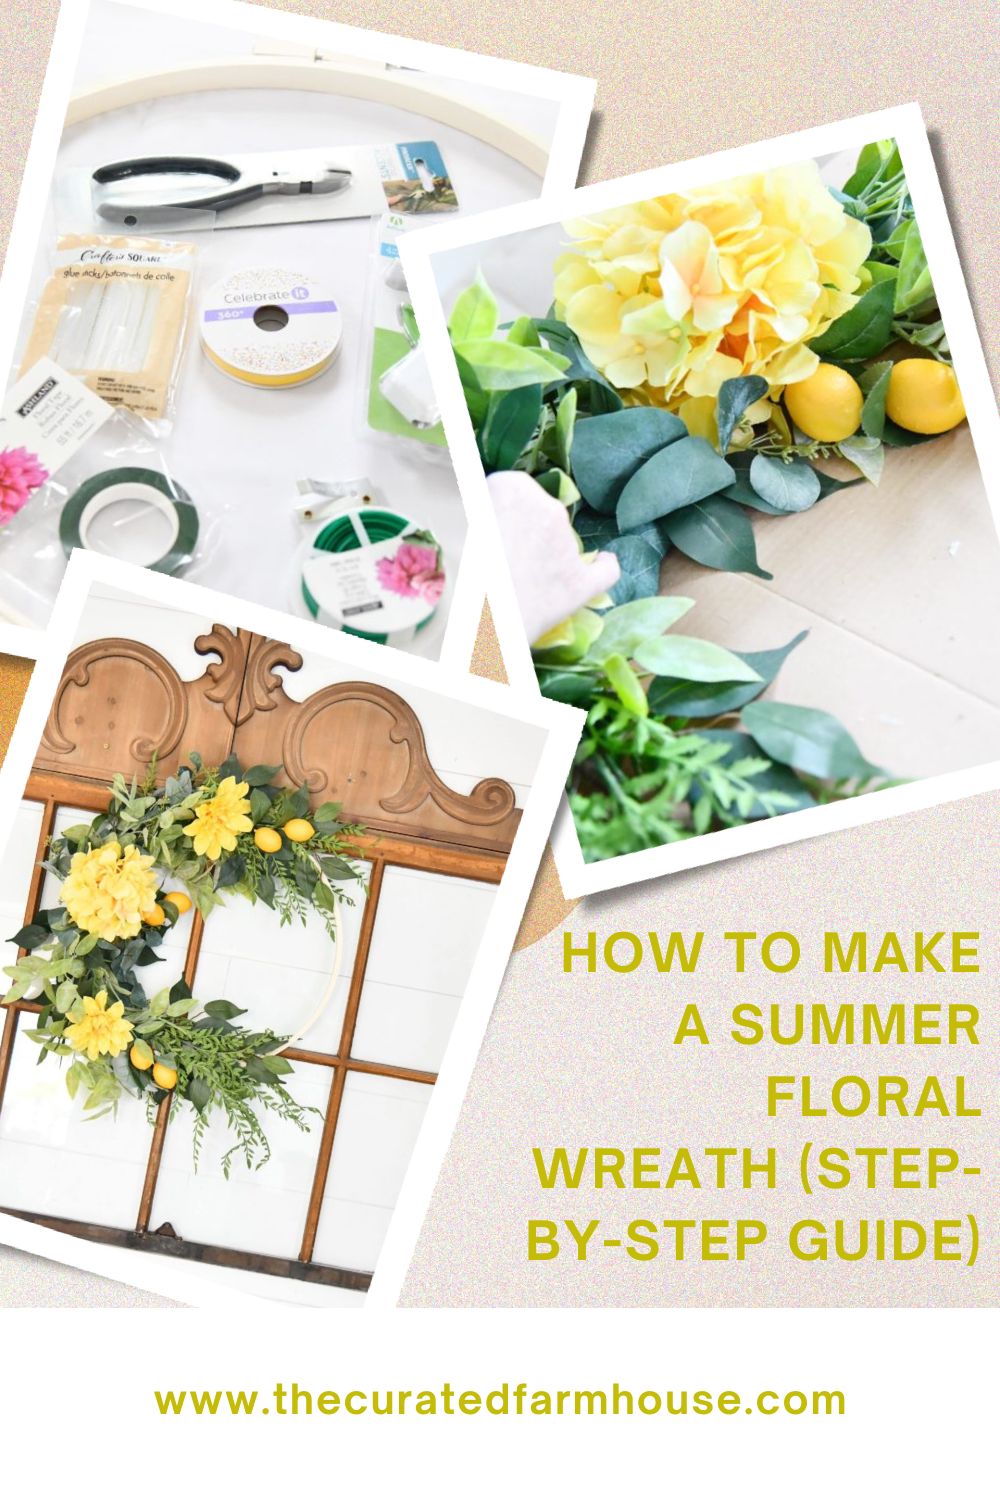
Materials
You can substitute any materials to match your style of decor! These are just similar items that I used to create this look!
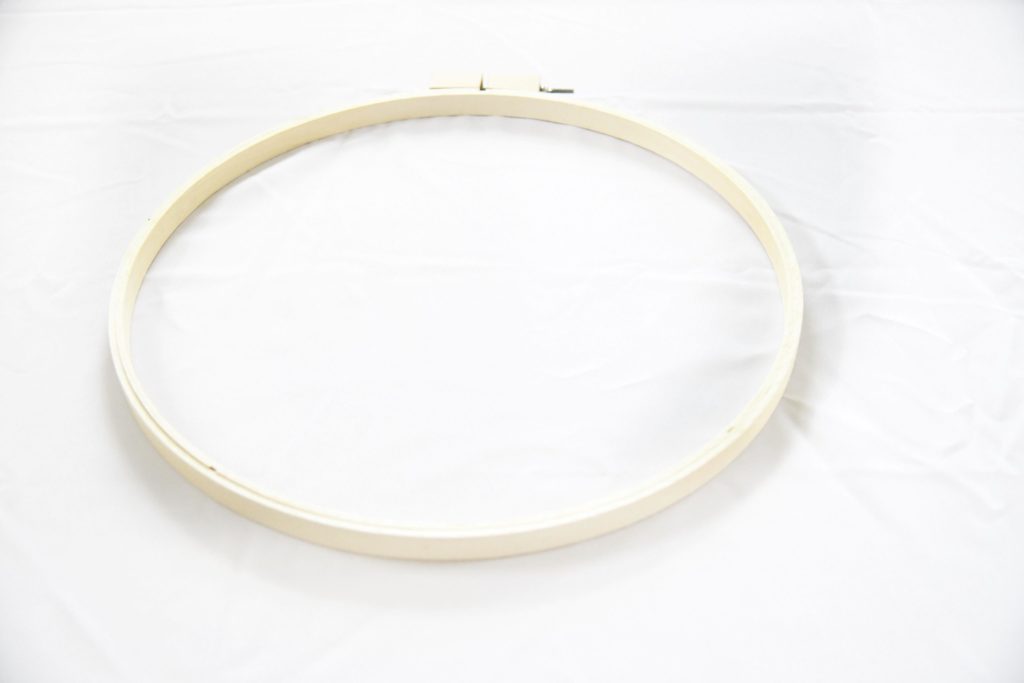
- Embroidery Hoop
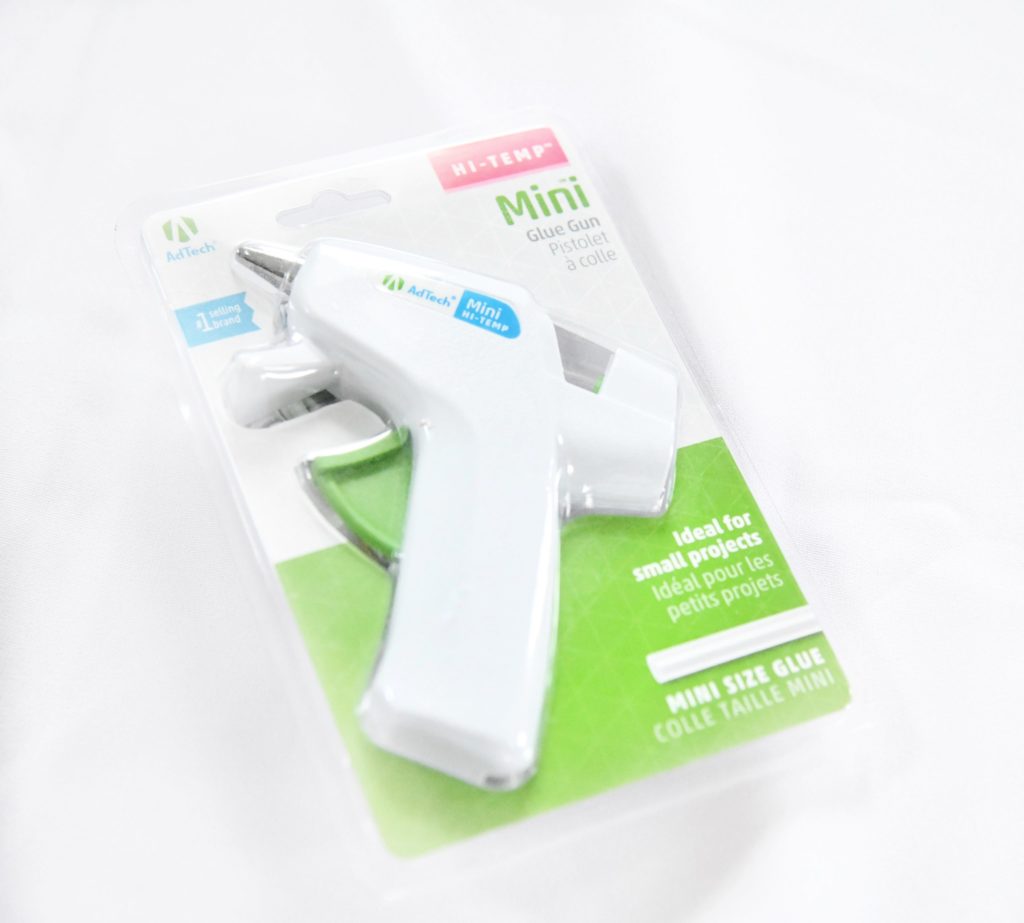
- Hot Glue Gun
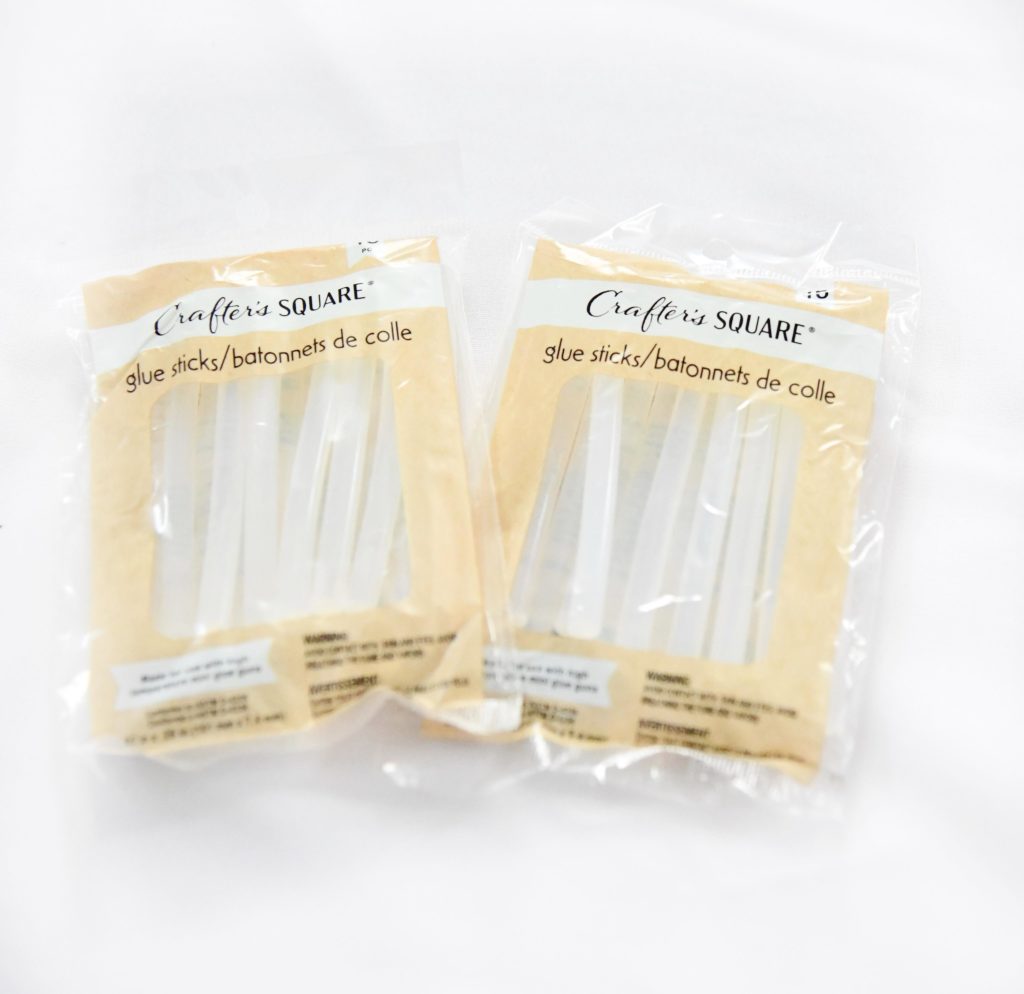
- Glue Sticks
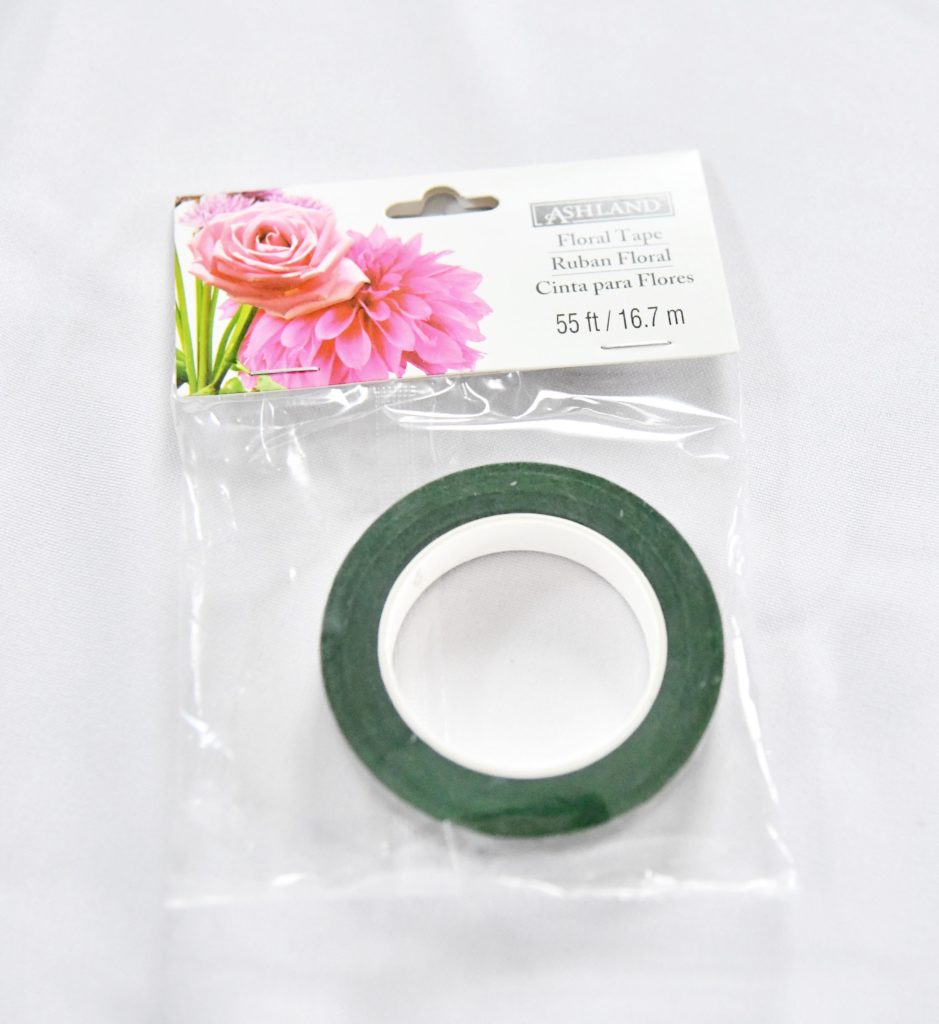
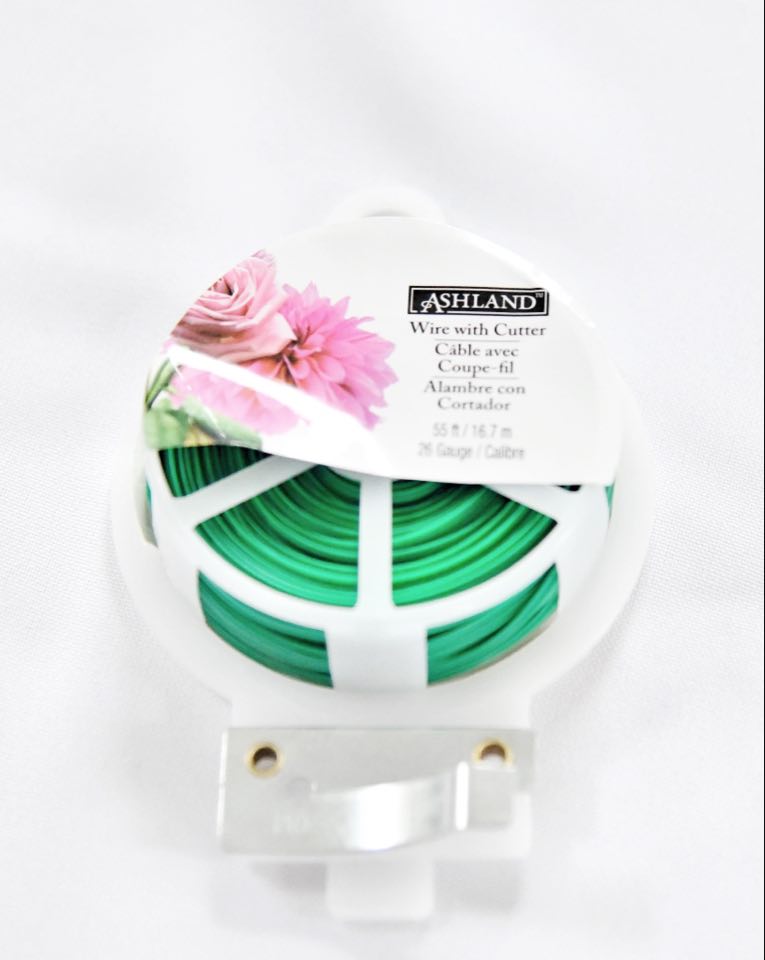
- Tape or Wire
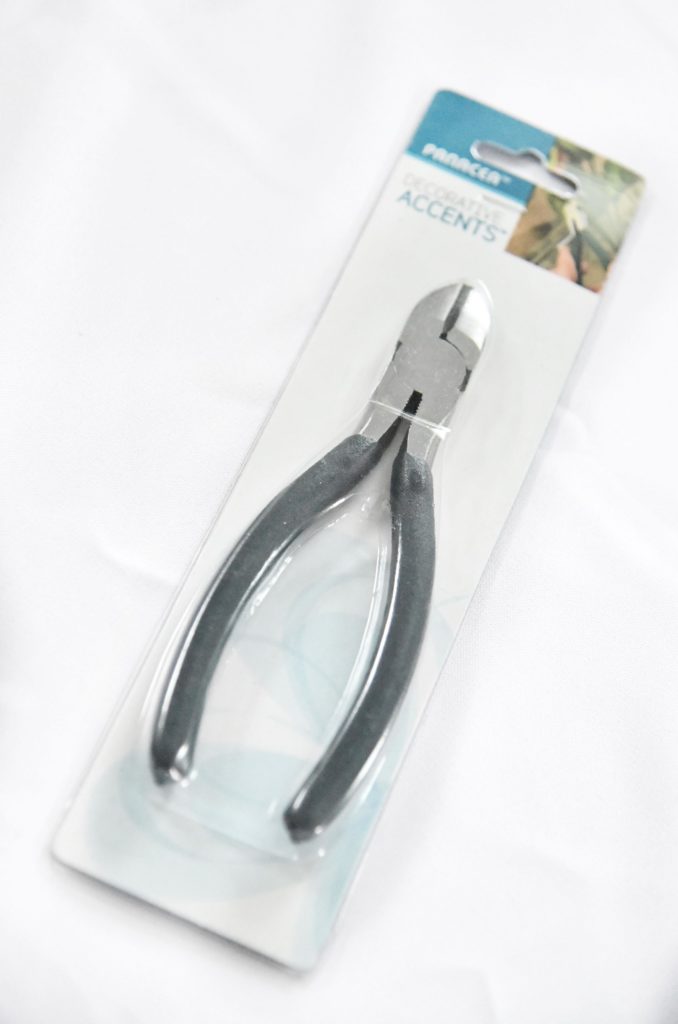
- Wire Cutter
- Ribbon
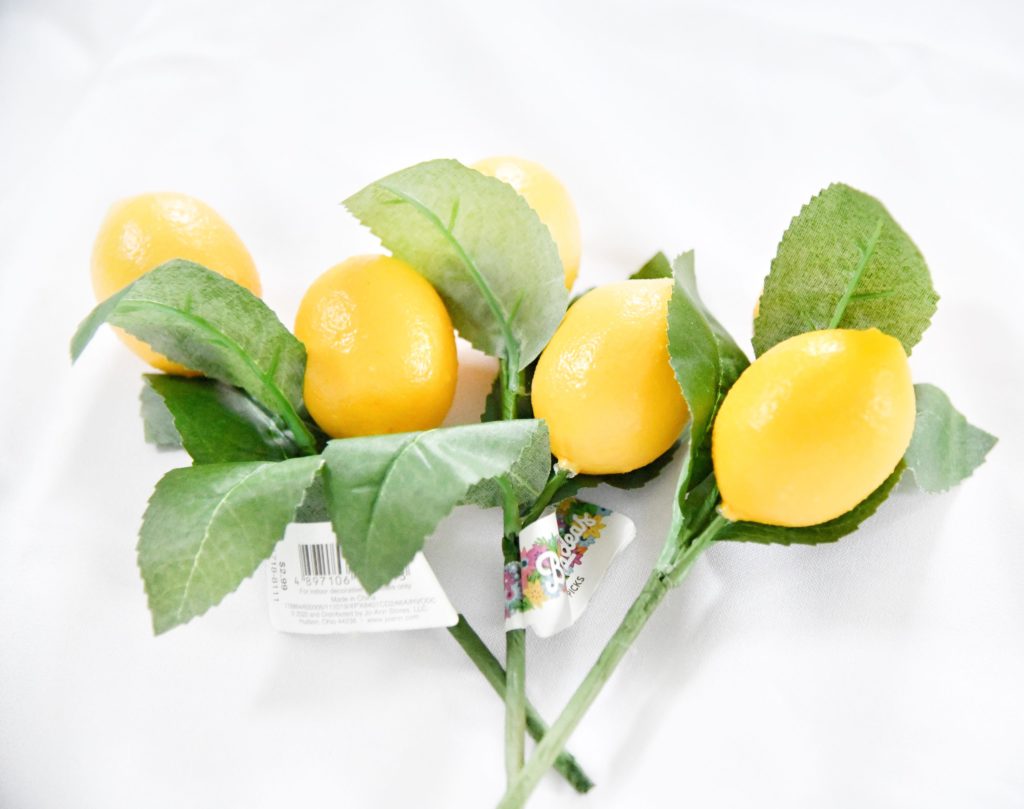
- Lemon Picks
- Dahlia Bush
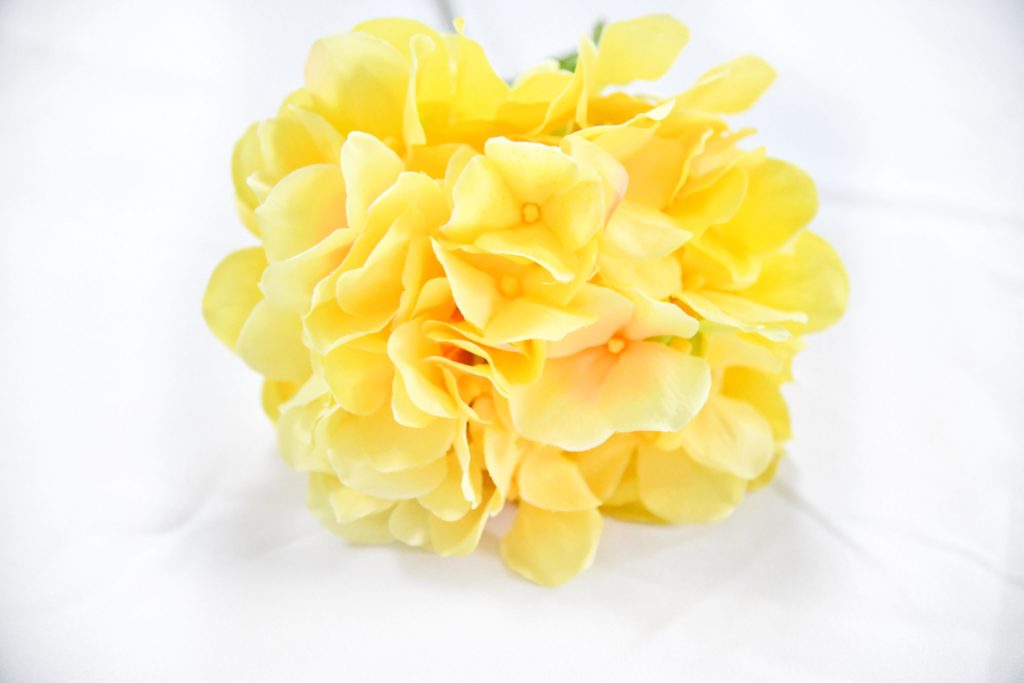
- Yellow Hydrangea Stem
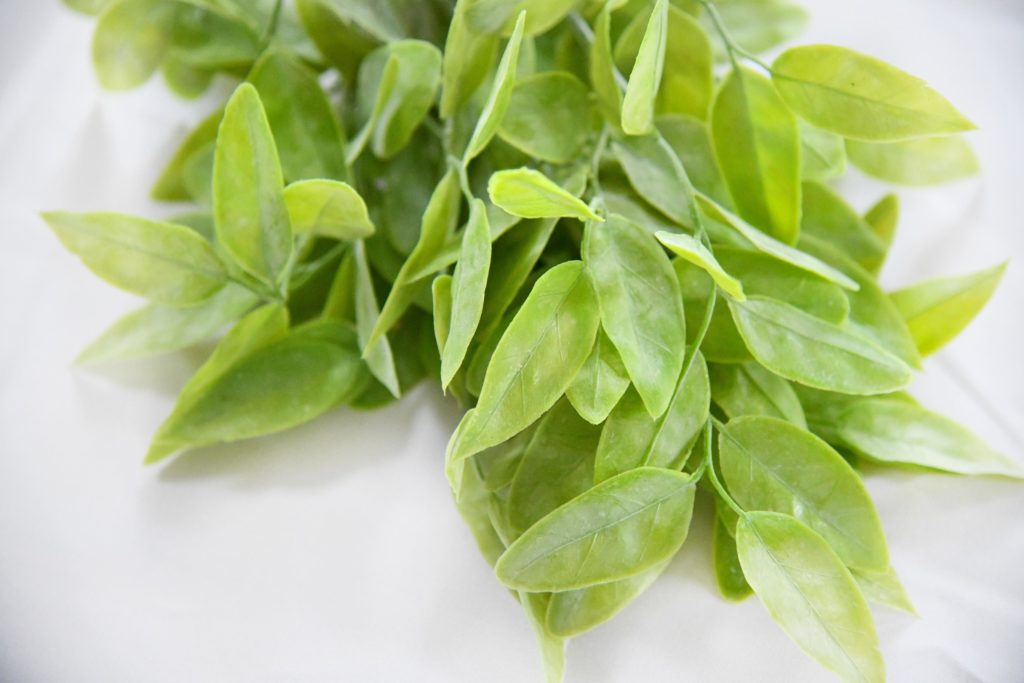
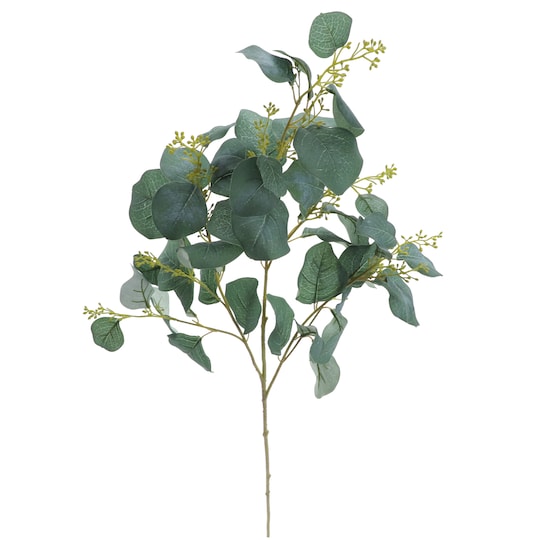
- Green Eucalyptus Bush
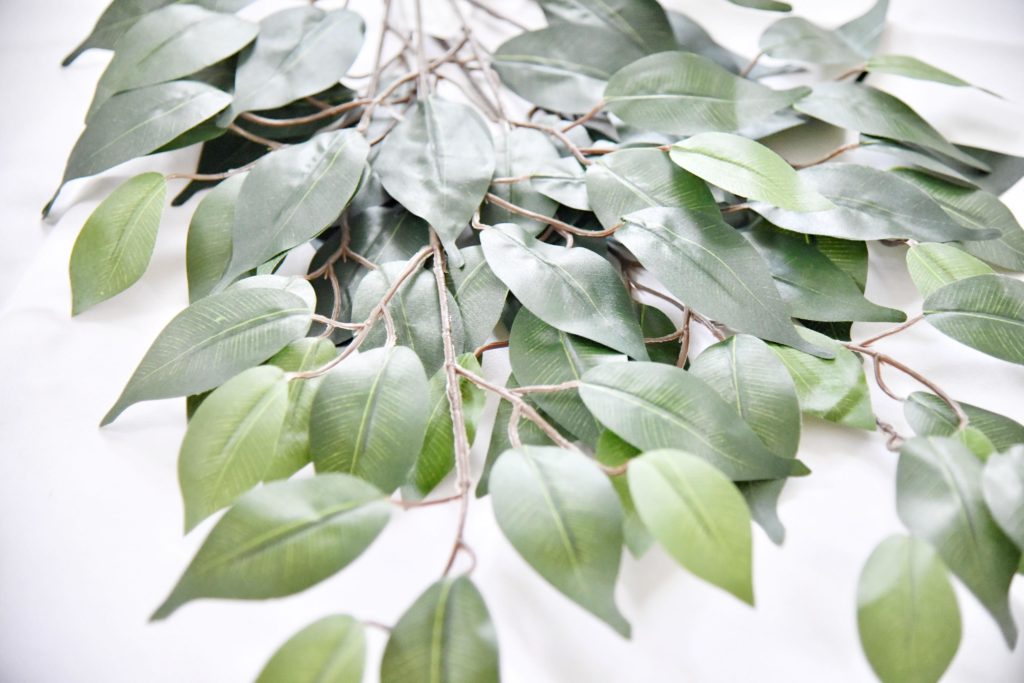
- Ficus Spray
- Eucalyptus Leaf Stem
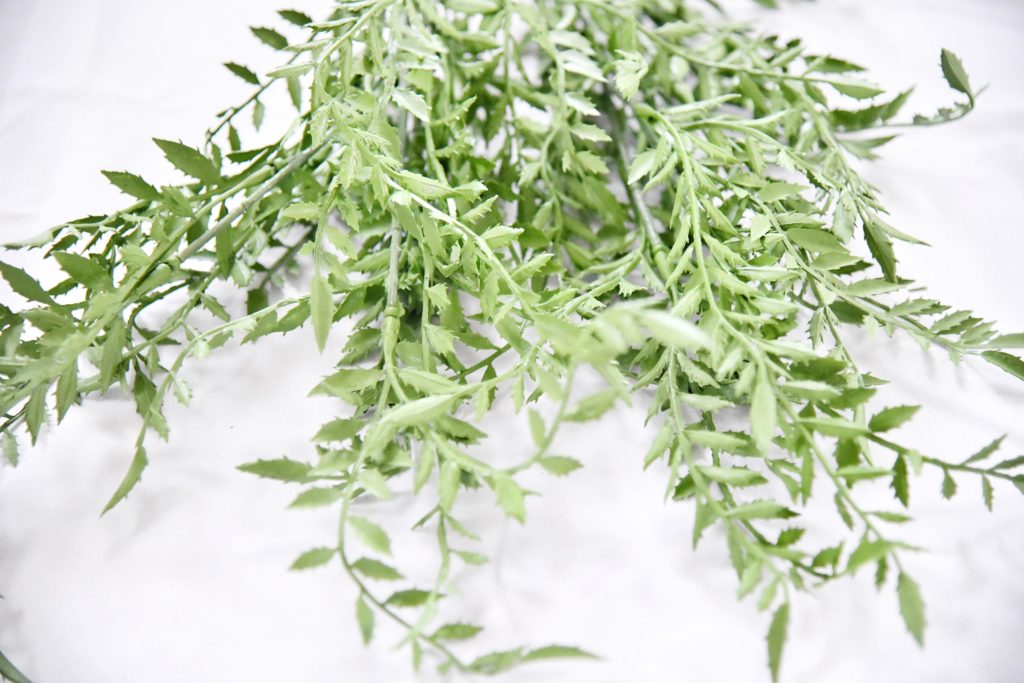
- Green Boston Fern
Gather Your Materials
Once you have gathered your materials, you can begin assembling your wreath.


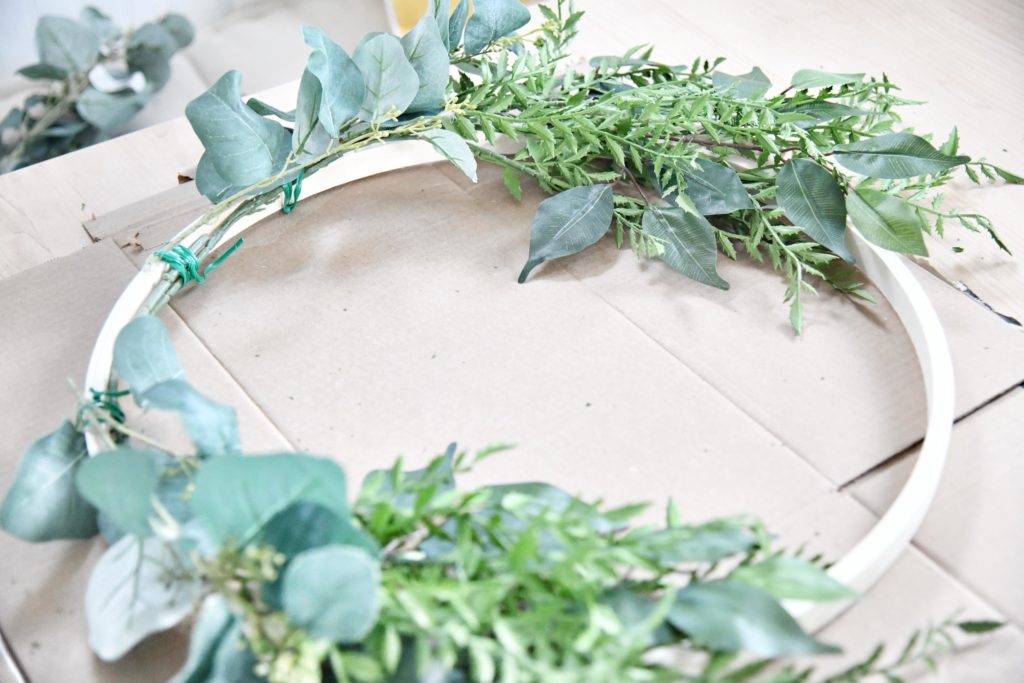
Step 1: Cut and Attach Your Greenery
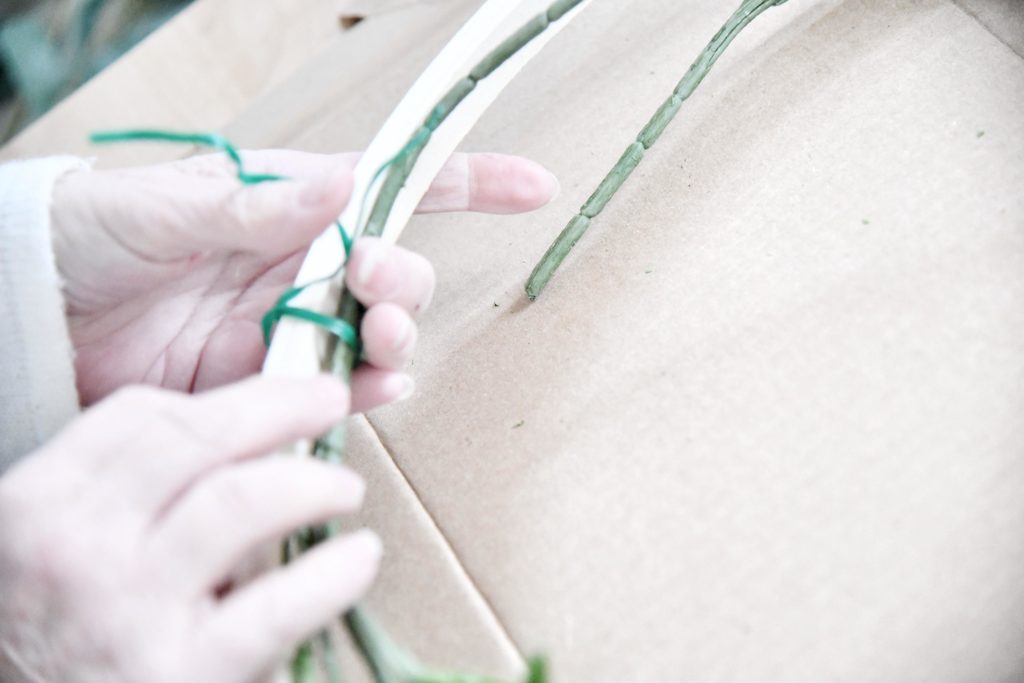
The first thing I did was cut down all the florals and greens using the wire cutters. Leaving the stems a little longer on the base layer, since they were the main piece of greenery.
I wanted those to wrap around the inner ring of the wreath. As far as the flowers I snipped those off pretty much at the head of the flowers, only leaving about an inch or two on the stem.
This makes it much easier to attach to the wreath. You can use floral tape, wire, zip ties, or even twine to attach them to the wreath form.

I found four different pieces of greenery that I wanted to use for this wreath. Our goal was to have a full and plump wreath.
I laid the first piece of greenery on each side. Once you have the greenery where you want it, you can use the floral wire to secure it.
Step 2: Layer and Glue Your Greenery
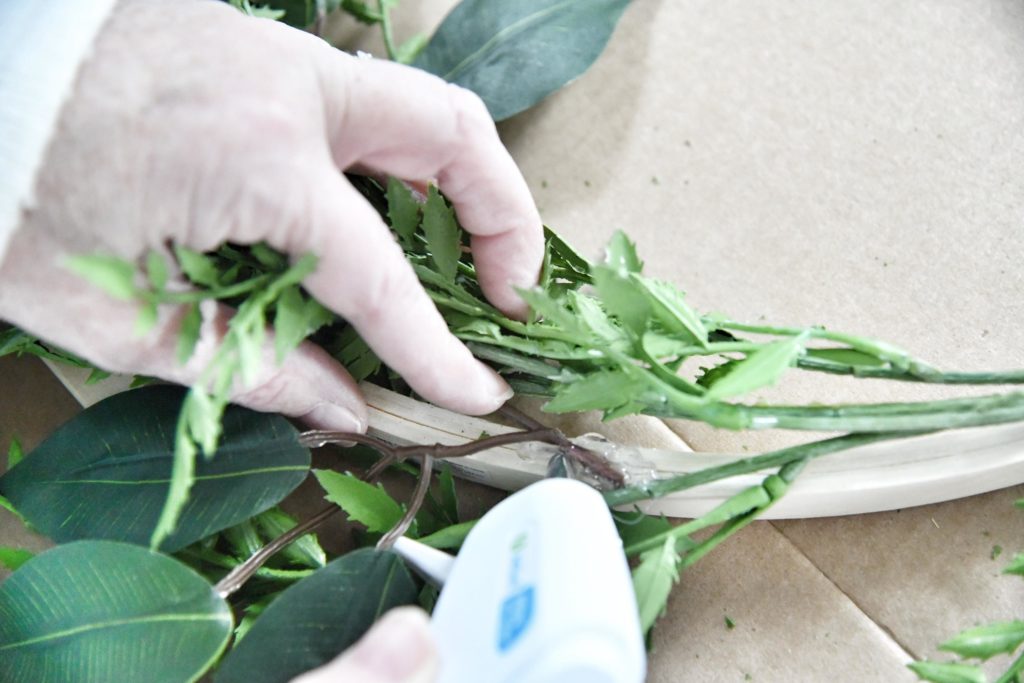
After the greenery has been attached with the wire you want to add some hot glue just to add that extra security that it will stay in place.
Step #3: Lay Out Your Florals
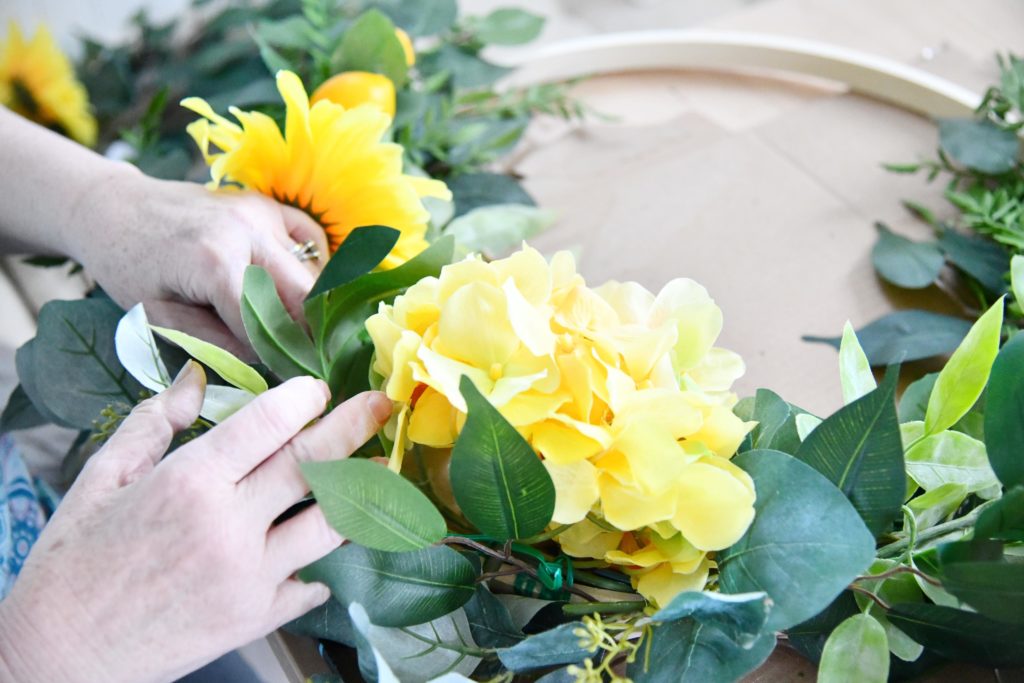
This is my favorite part! You can now add in your florals.
It’s always a good idea to have a focal point, like one large statement flower, I chose the Yellow Hydrangea Stem.
To balance the wreath, we added a smaller bush on both sides on the wreath. Isn’t the yellow Dahlia Bush gorgeous?
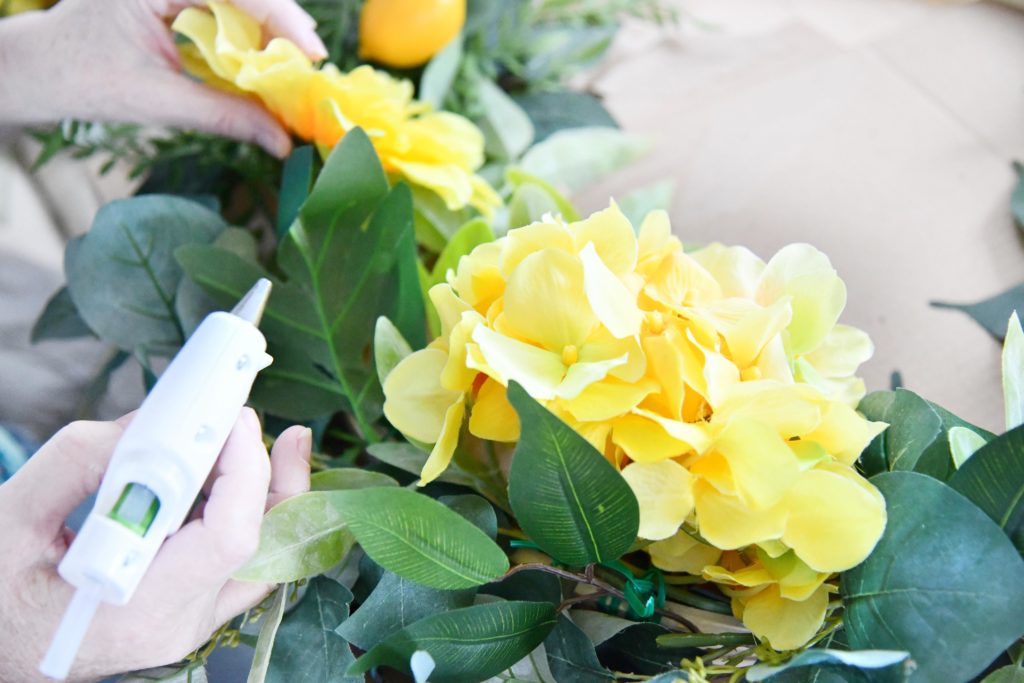
Step 4: Glue Your Florals
Step 5: Fill In Your Wreath
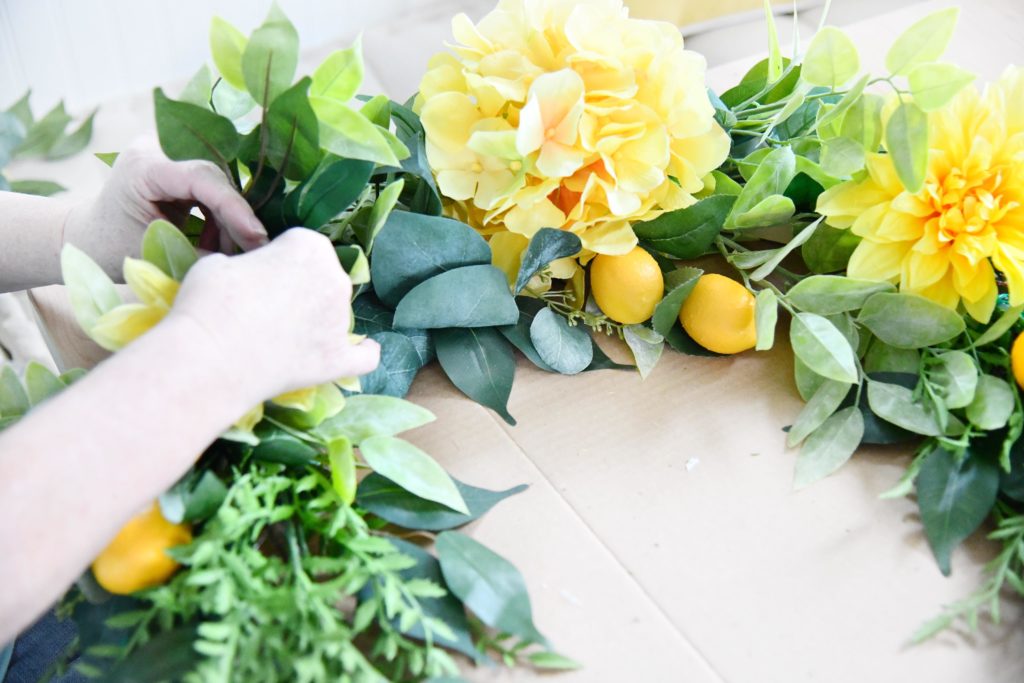
This is what I call this the “fluff” stage of the project. You can use left over pieces of greenery, florals, or fun decor.
We are doing a lemon theme this year so I added in a few lemon picks to level out the wreath. You just want the wreath to look full, and you want to make sure you hide all the floral wire.
Step #6: Hang Your Wreath
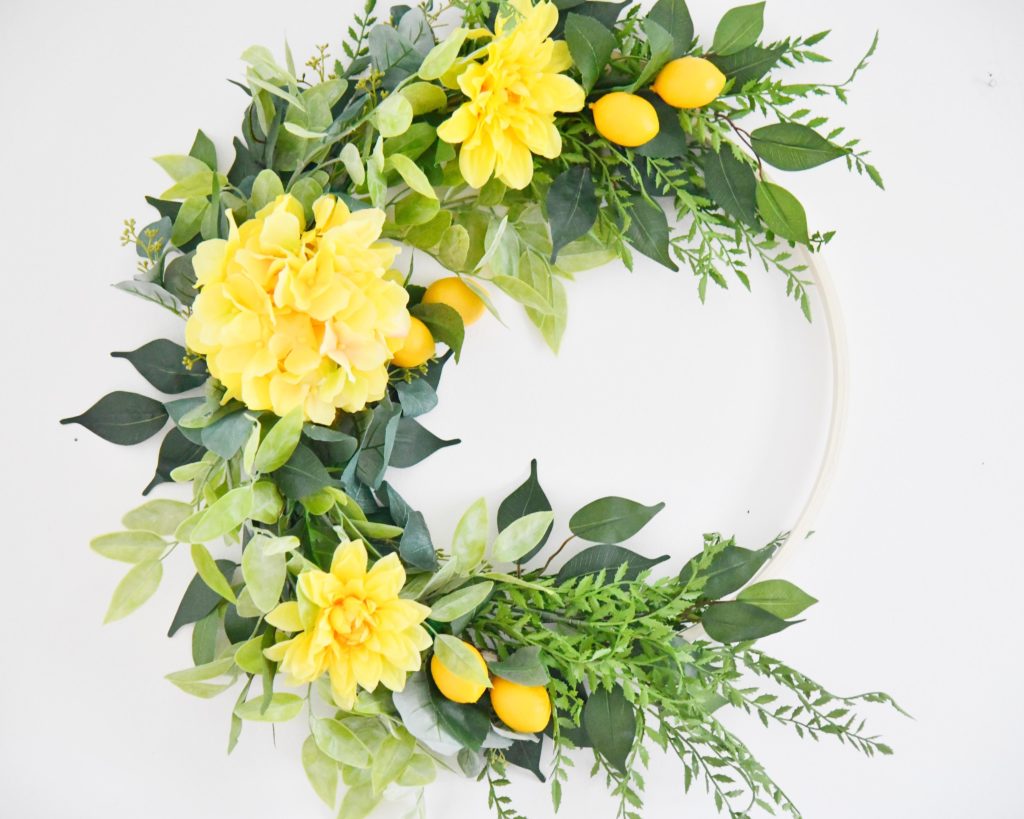

This wreath was so simple to make, and such a pretty addition to my home. The best part is you make them all year round!
I hope you enjoyed how to make a summer floral wreath step by step guide!
Check out how to create a summer tablescape that wows!
I would love for you to follow us on Instagram, Pinterest, TikTok, and Facebook! You can also join our email list so you don’t miss any fun blog posts or designing spaces.


So pretty. Thank you for doing this tutorial. ?
Thank you Katrina!
This is gorgeous, Wendy! I may take some of your tips & make a similar wreath of my own. Thanks so much for sharing. It turned out BEAUTIFUL. You’re so so talented. I love following along with you!! -Chelsea
Thank you so much! Can’t wait to see it!