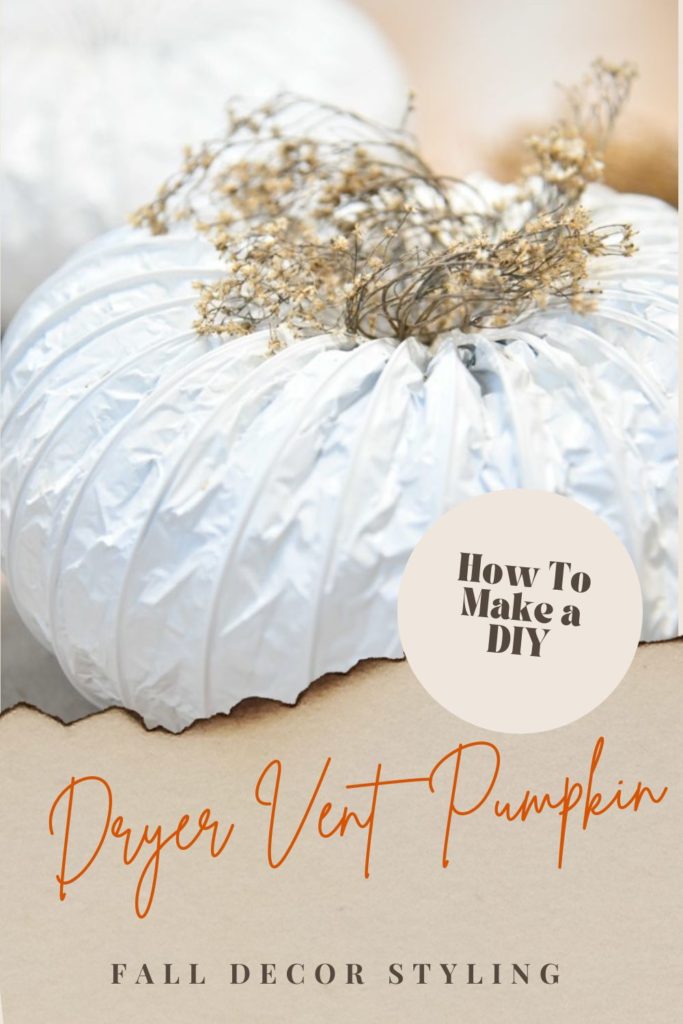
How to Make a DIY Dryer Vent Pumpkin
If you’re looking for a fun and creative way to add some fall charm to your home decor, learning how to make a DIY dryer vent pumpkin is the perfect project.
This unique craft is not only budget-friendly, but it also allows you to recycle common household items in a clever way. With just a few supplies and a little bit of time, you can create a charming pumpkin that’s sure to impress your guests and add a cozy touch to any room.
We are so lucky and blessed to have this DIY featured in Country Sampler Farmhouse Style Fall 2024 edition.
Some of our posts contain affiliate links. If you click on an affiliate link and make a purchase, we receive a small commission. Clicking on an affiliate link does not result in an additional charge for you, or cost you anything extra. Money earned via affiliate links helps pay to keep my site up and running. Thank you so much for shopping through our links to show your support, through the brands and products that we love.
Materials
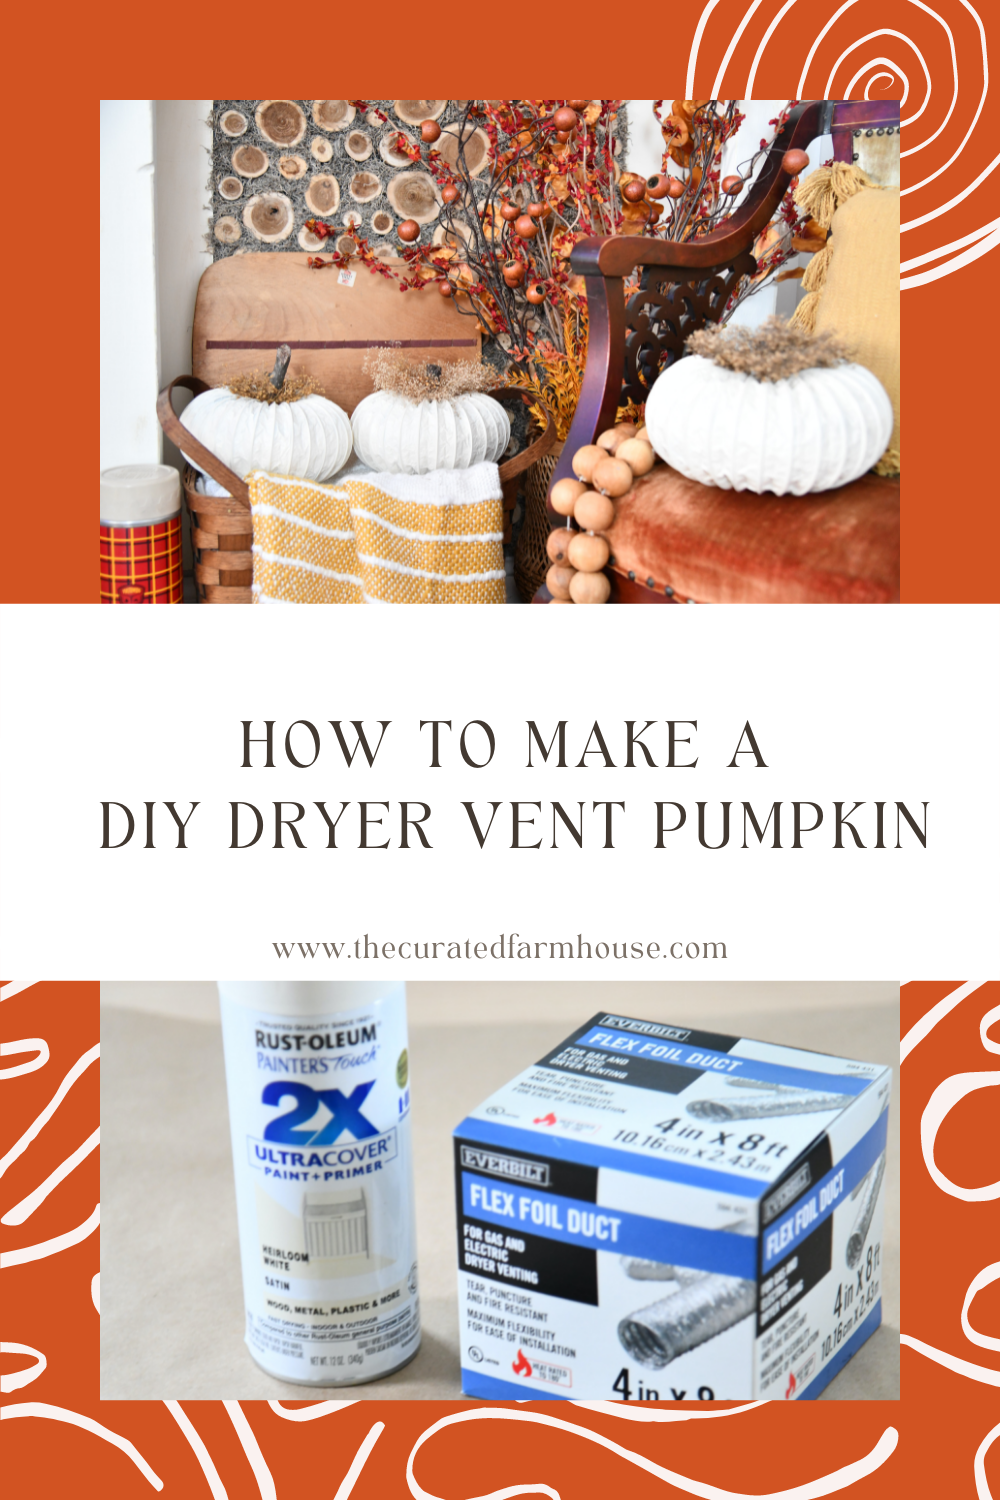
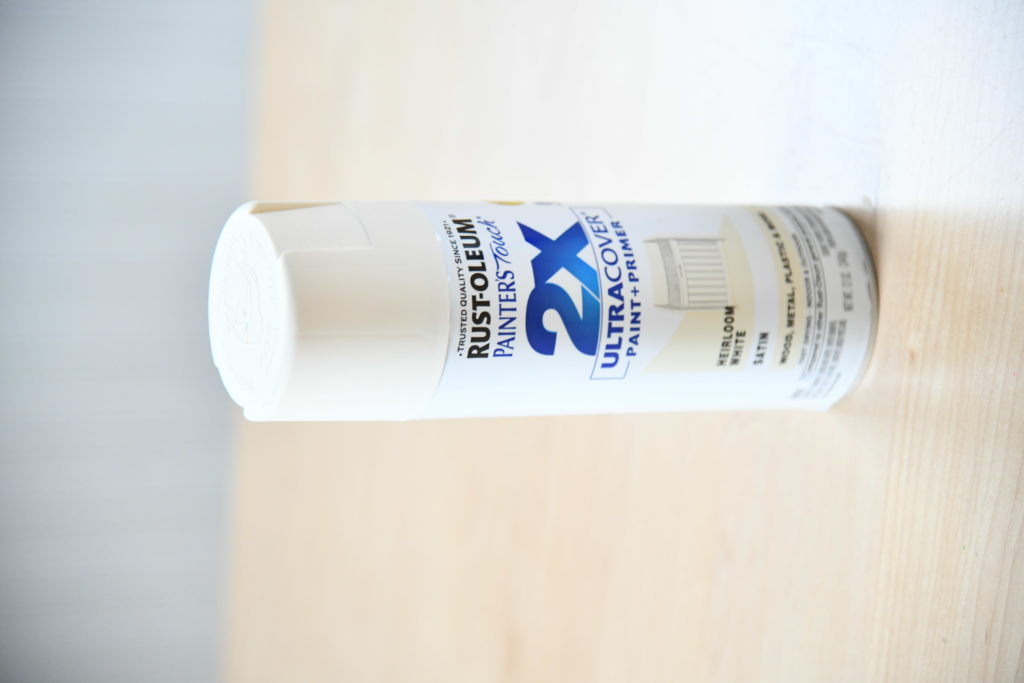
- Rust-oleum spray Paint– Any Color You Choose, (I used Heirloom White)
- 4 in. x 8 ft. Flexible Dryer Duct made 3 pumpkins
- Hot Glue Gun
- Hot Glue Sticks
- Wire Cutters
- Scissors
- Moss/Dried Florals
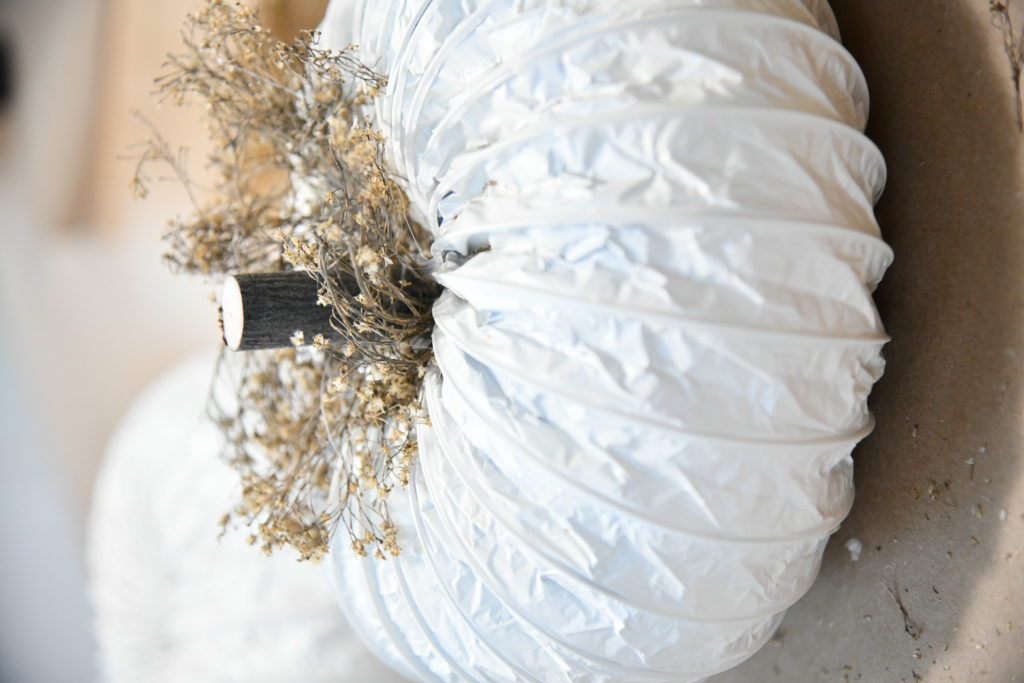
- Stump for Pumpkin Stem
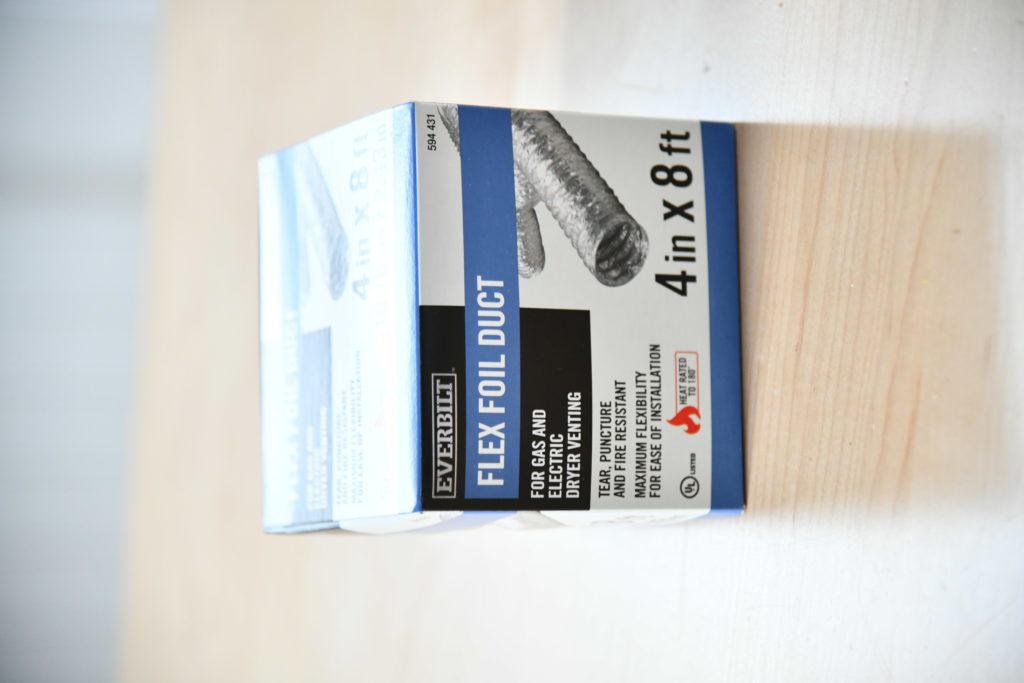
These ducts come in multiple sizes, so you can vary your size of pumpkins.
Let’s Get Crafting
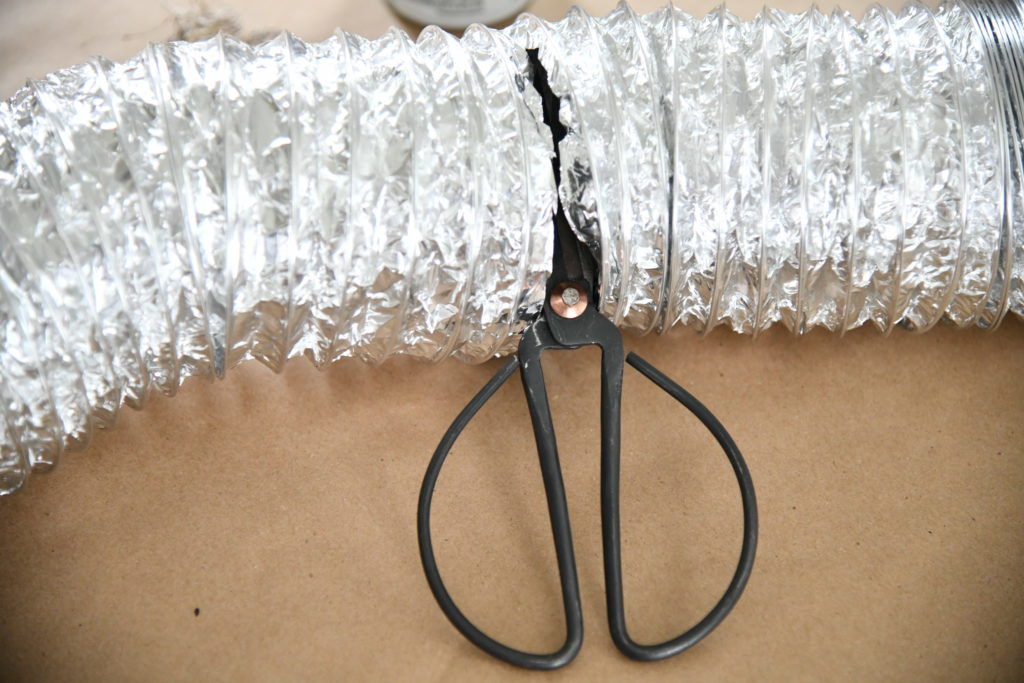
The first thing you want to do is remove the dryer duct from box, and cut it down to size for each pumpkin.
I recommend 24-25″ this will give you enough length to create a pumpkin.
You can use regular scissors and you will need wire cutters to get through the metal wire.
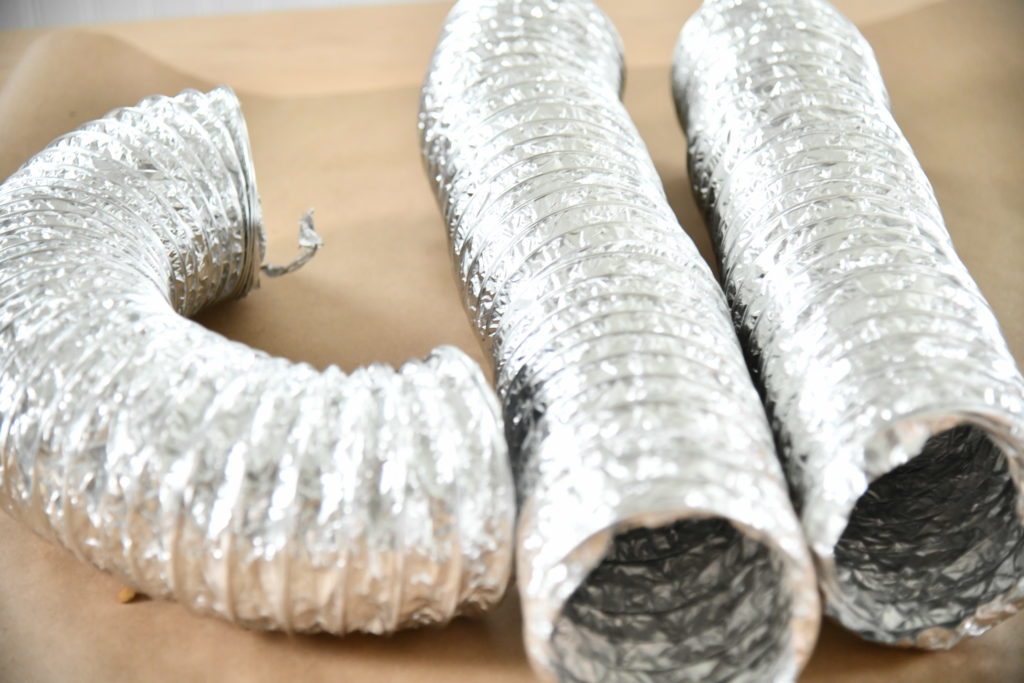
I was able to get 3 pumpkins out of the 8 ft. duct.
Glue the Seams

Now it is time to hot glue the ends. Make sure you put a good amount of glue on each end of the duct.
Be careful not to burn yourself, I learned the hard way.
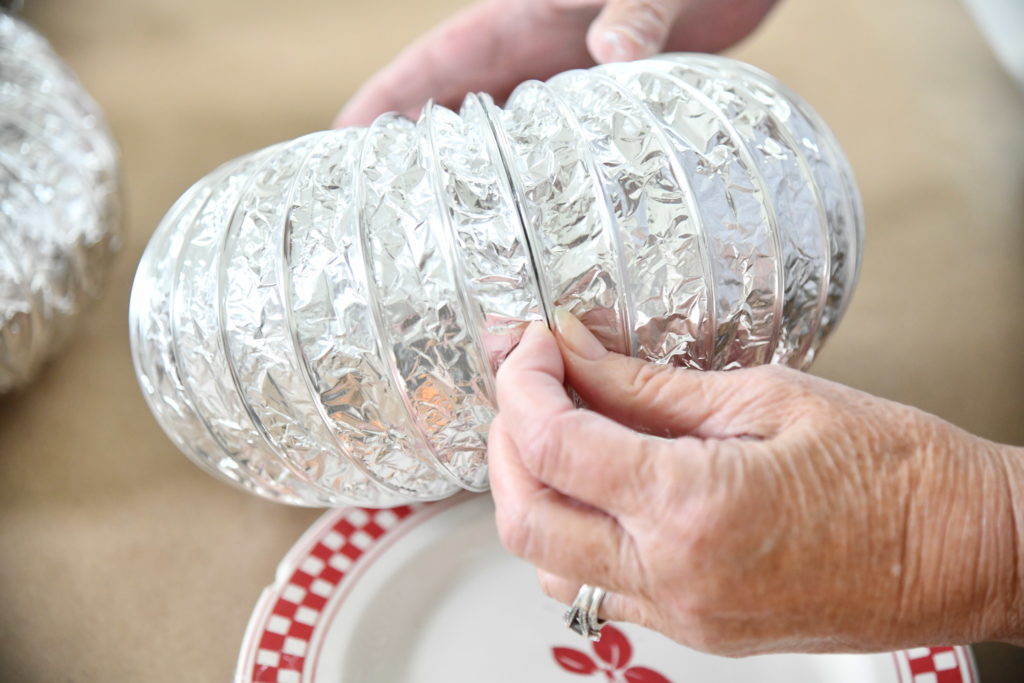
Hold the ends together, and go back and add glue to seams where needed.
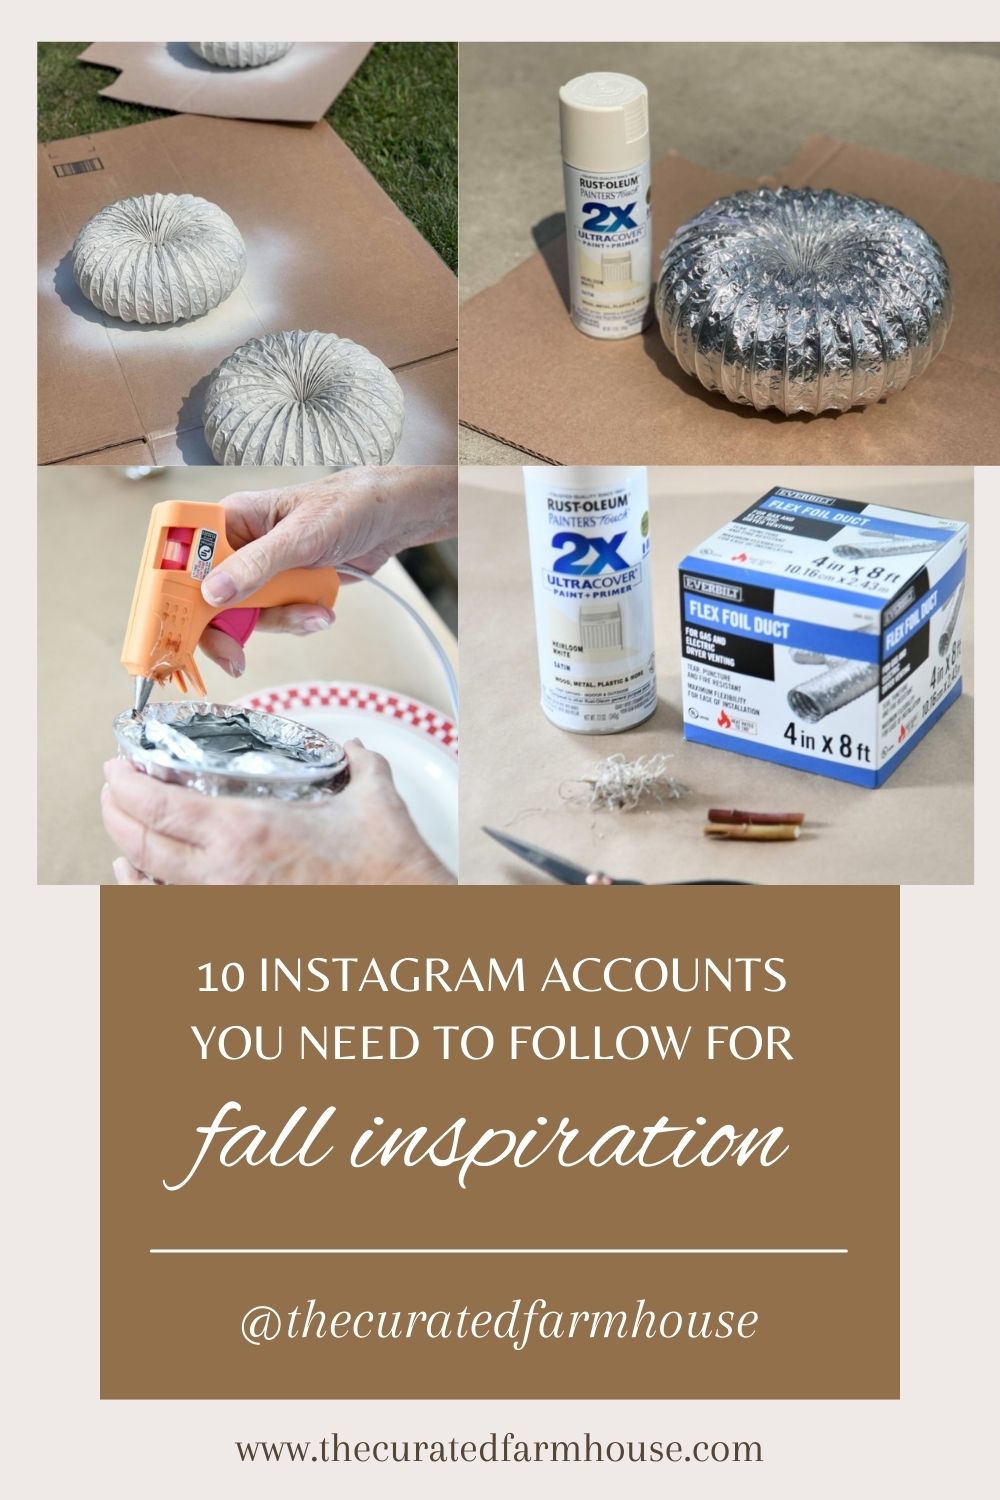
Time to Spray Paint
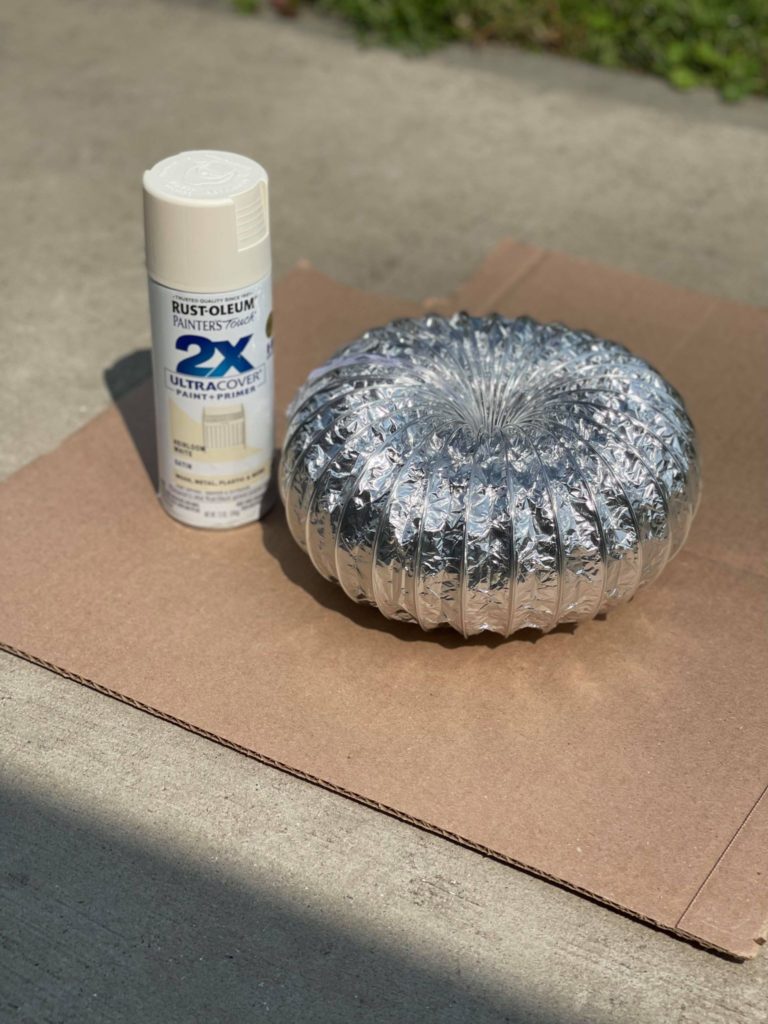
Be sure to go to a well ventilated space before spraying your pumpkin.
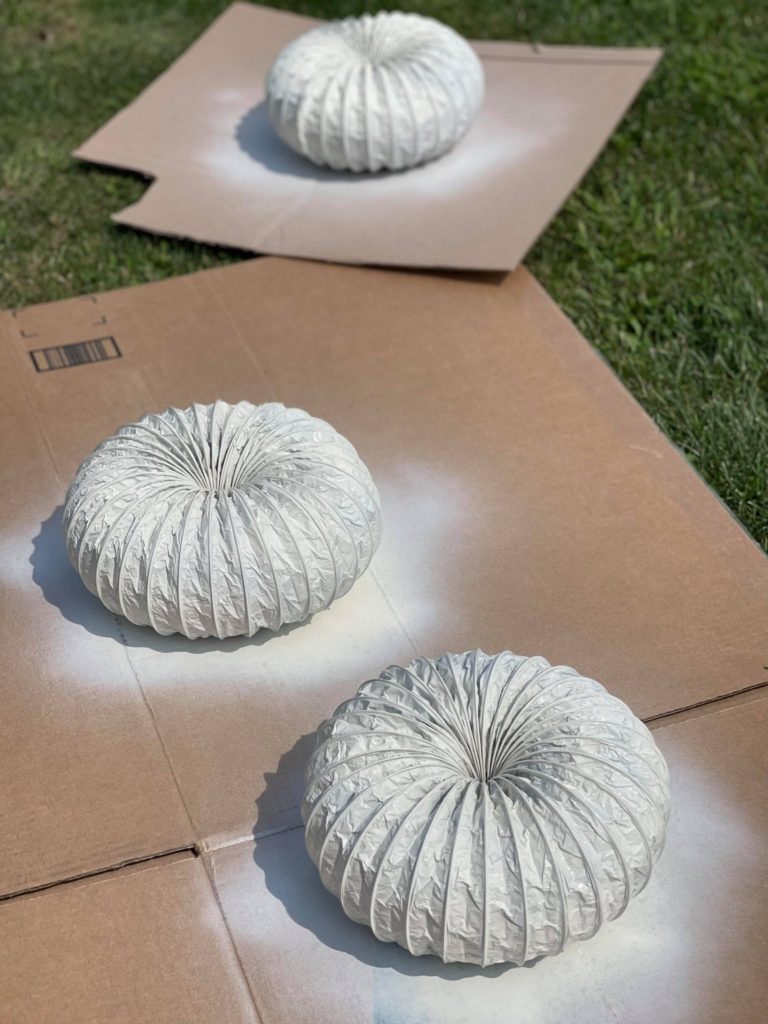
I sprayed two coats on the top of the pumpkin, one on the bottom.
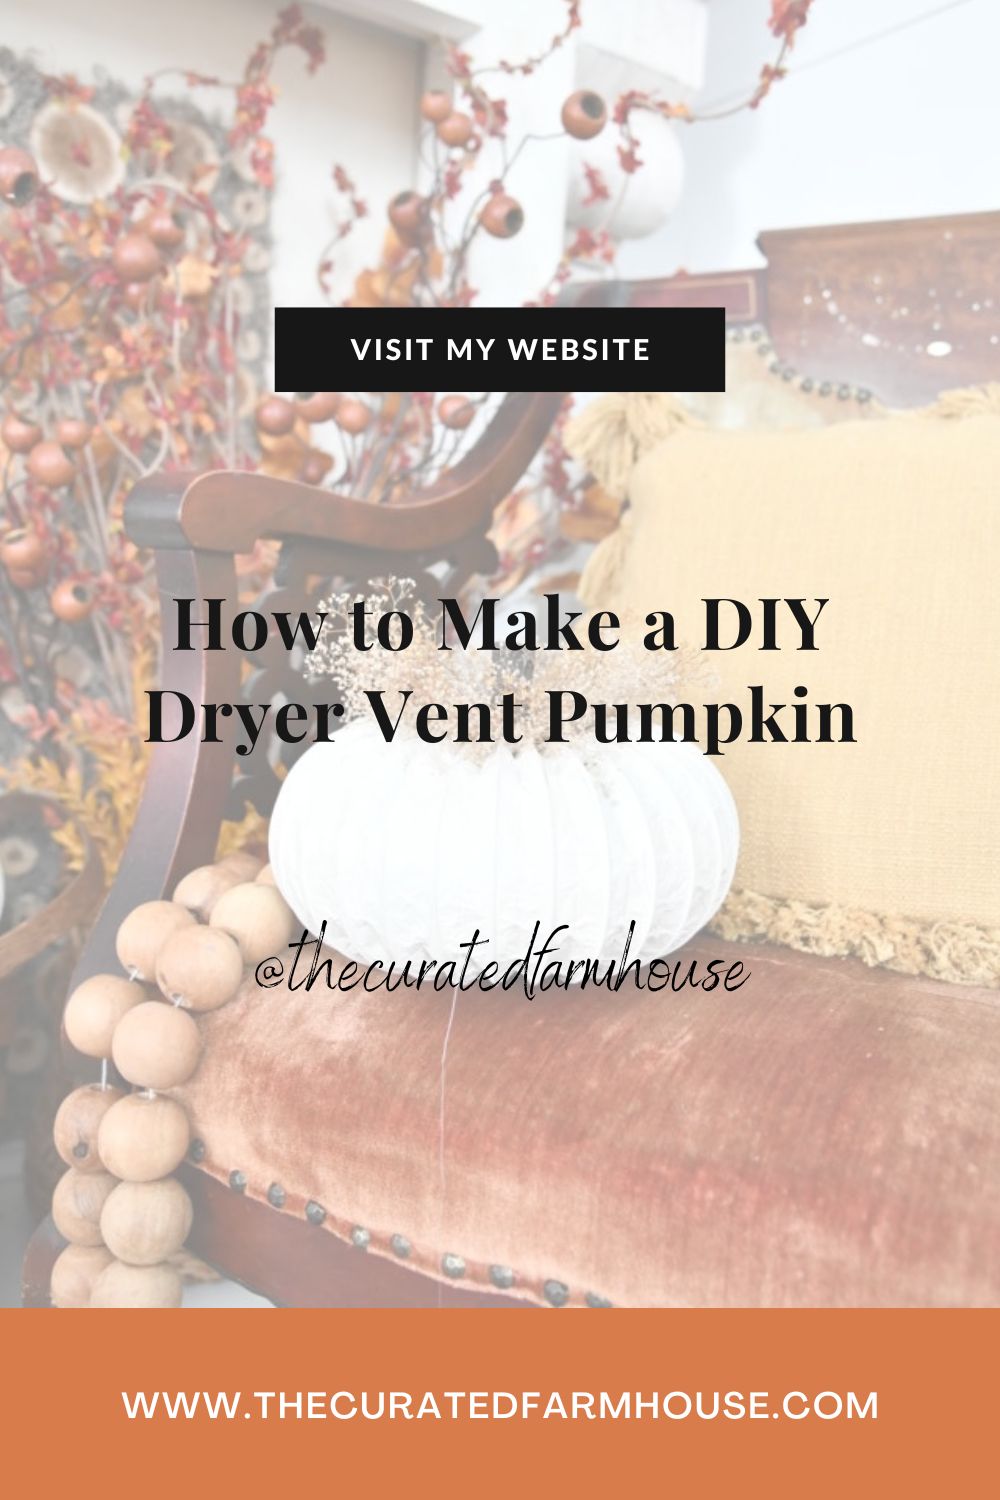
Decorating the Pumpkins
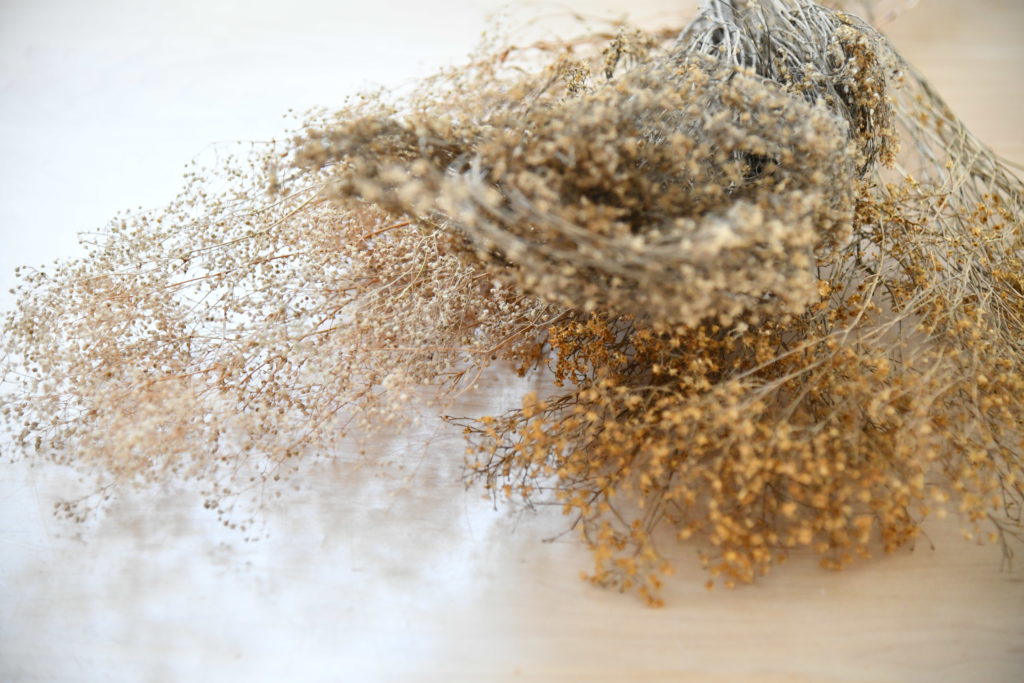
You can use moss or dried flowers for this part of the DIY.
I decided to go with the florals because I just wanted a little more texture.
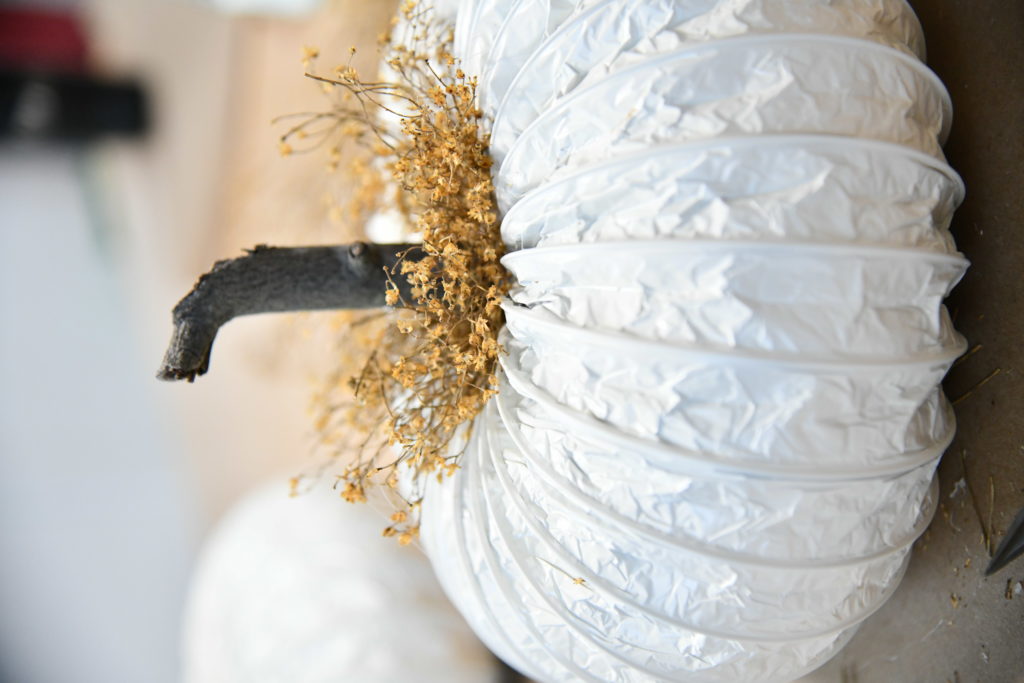
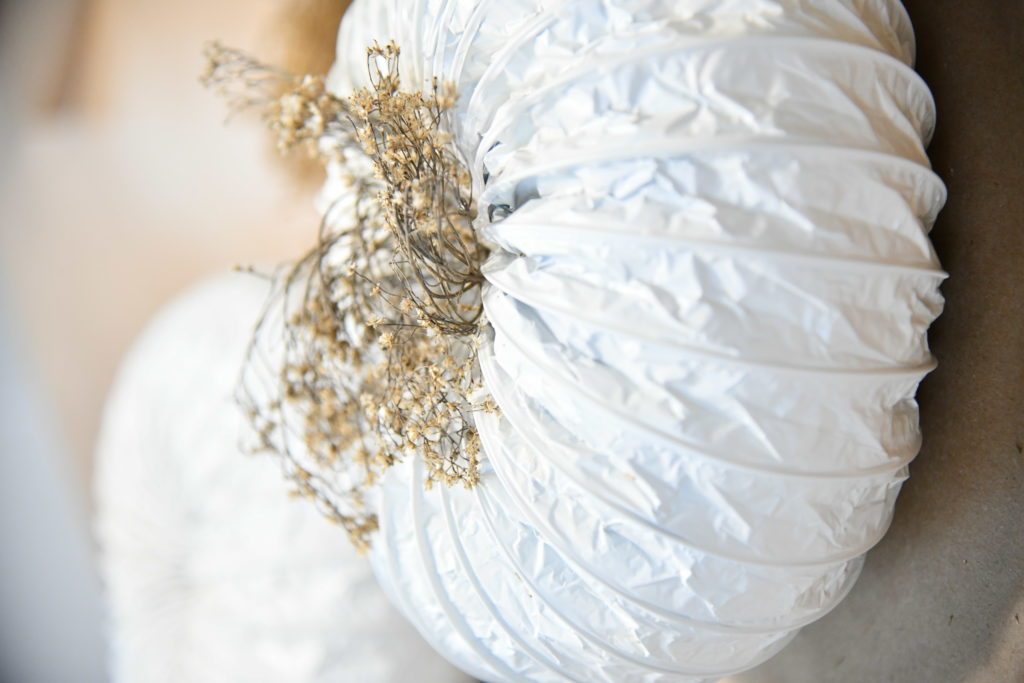
We happen to have three different kinds of florals on hand for another upcoming DIY, so I just used one for each pumpkin.
You can place the stem first then build the florals around it, or vice-versa.
Just use hot glue to secure stem, then glue as needed to the florals or moss.

Final Thoughts
Making a DIY dryer vent pumpkin is a simple yet satisfying project that brings a touch of autumn warmth into your home. It’s a great way to get into the fall spirit while repurposing materials you might already have on hand.
Whether you’re a seasoned crafter or just starting out, this project offers a fun opportunity to unleash your creativity. So grab your supplies, follow the steps, and enjoy the festive atmosphere your new pumpkin will bring to your space.
I would love for you to follow us on Instagram, Pinterest, TikTok, and Facebook! You can also join our email list so you don’t miss any fun blog posts or designing spaces.
If you loved this tutorial on how to make a DIY dryer vent pumpkin, be sure to check out our tutorial on how to make a vintage tiered basket centerpiece.