


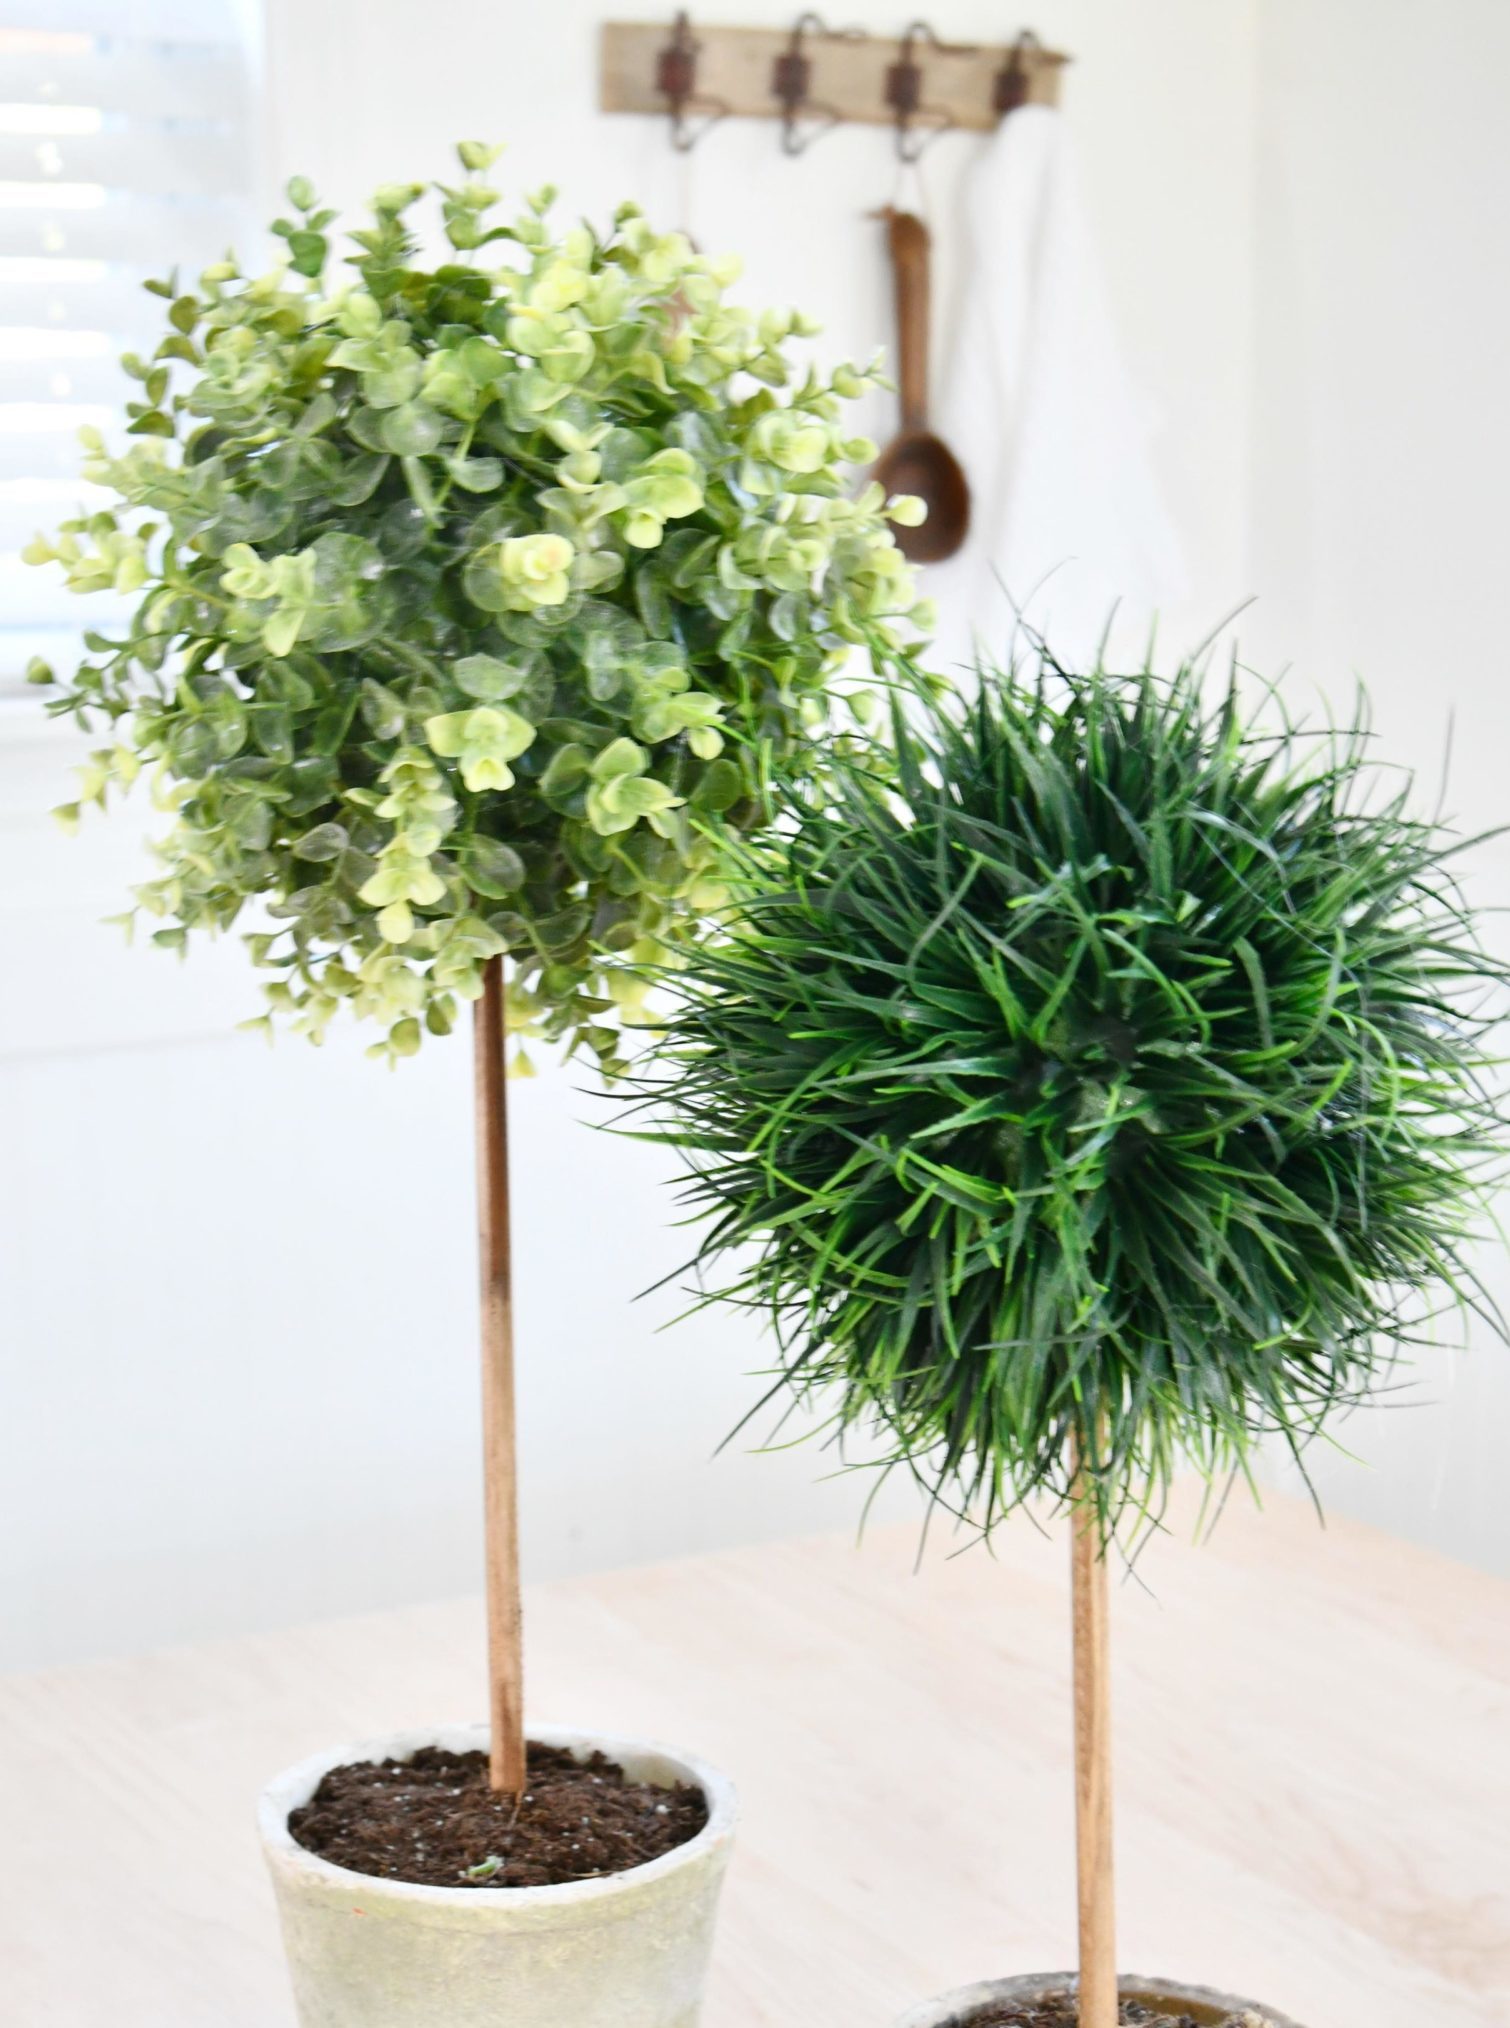
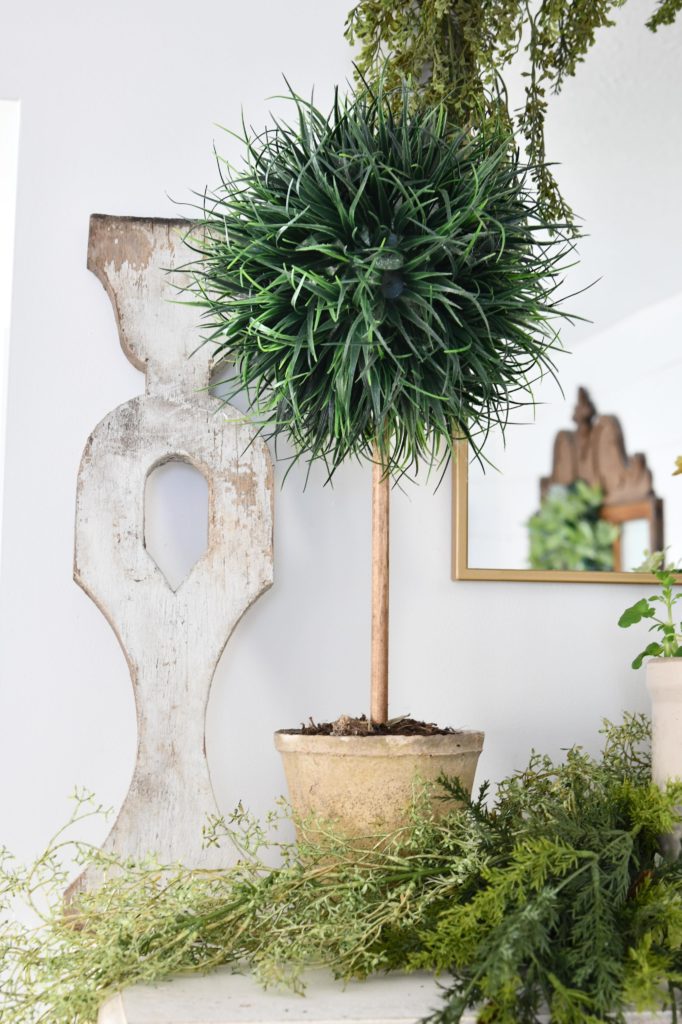
How to Make a DIY Topiary Tree
Here is an easy way on how to make a DIY topiary tree. A fun and quick spring or summer DIY project for you to do.
If your anything like me you love the look of topiary trees, but not the high price tag they come with.
DIY topiaries are the perfect home decor accent for any room in your home. Once you have mastered this DIY, you will want to make more of these beauties for your home.
Materials

5″
6″
Blocks
6″
5″
4″

Step #1: Choosing Your Materials
Now that you have all of your supplies, let’s get this DIY Started. You can make these topiaries any size, depending on where you want to put them.
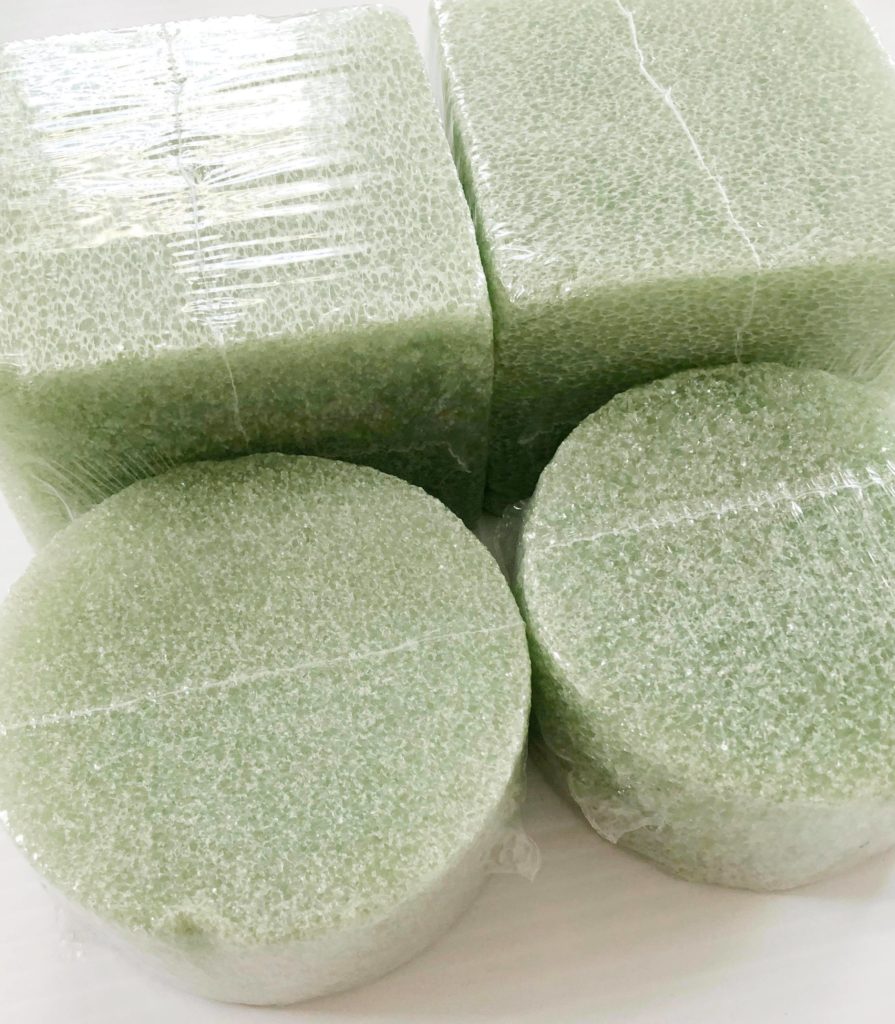
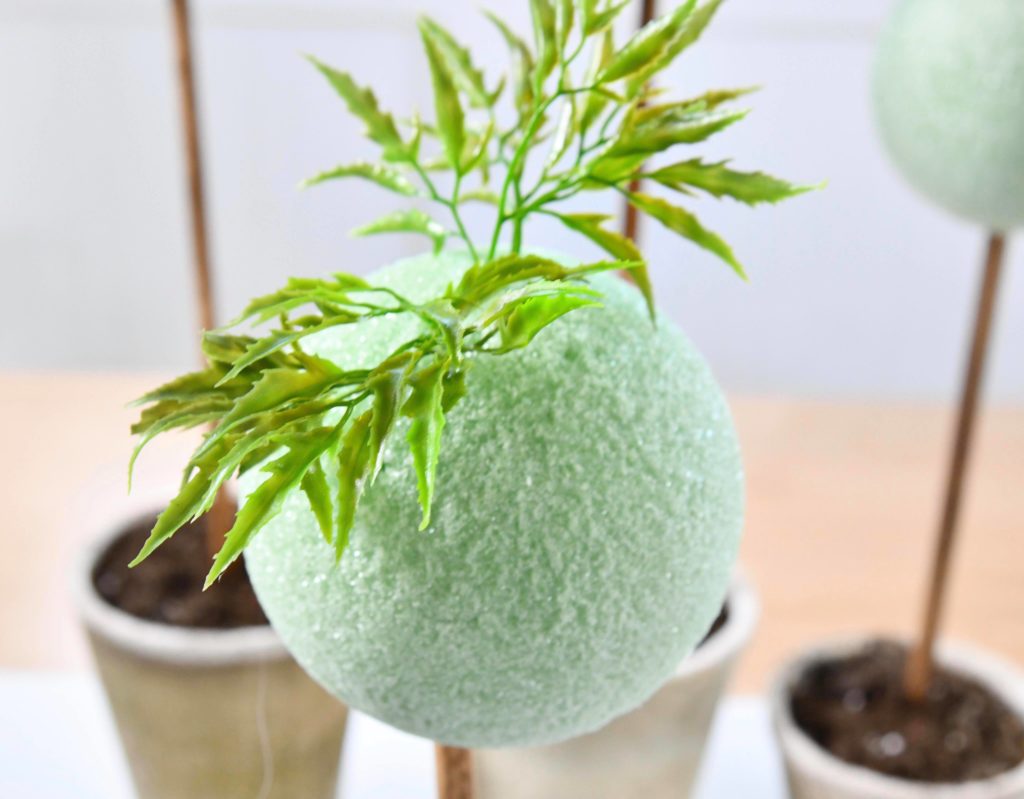
These foam balls come in white and green, I chose green because I didn’t want the foam to show through the greenery. If you only have access to whit you could always hand paint or spray paint it a darker green.
Also when it comes to stems, I recommend using ones that can easily be glued or poked into the foam ball. I learned this the hard way on this step. You have to cover the entire ball so keep that in mind before starting the project. You want to choose very thick greens or ones with a good base to glue to cover the ball. I chose a smaller green and trying to stick every stem into the foam took me forever.
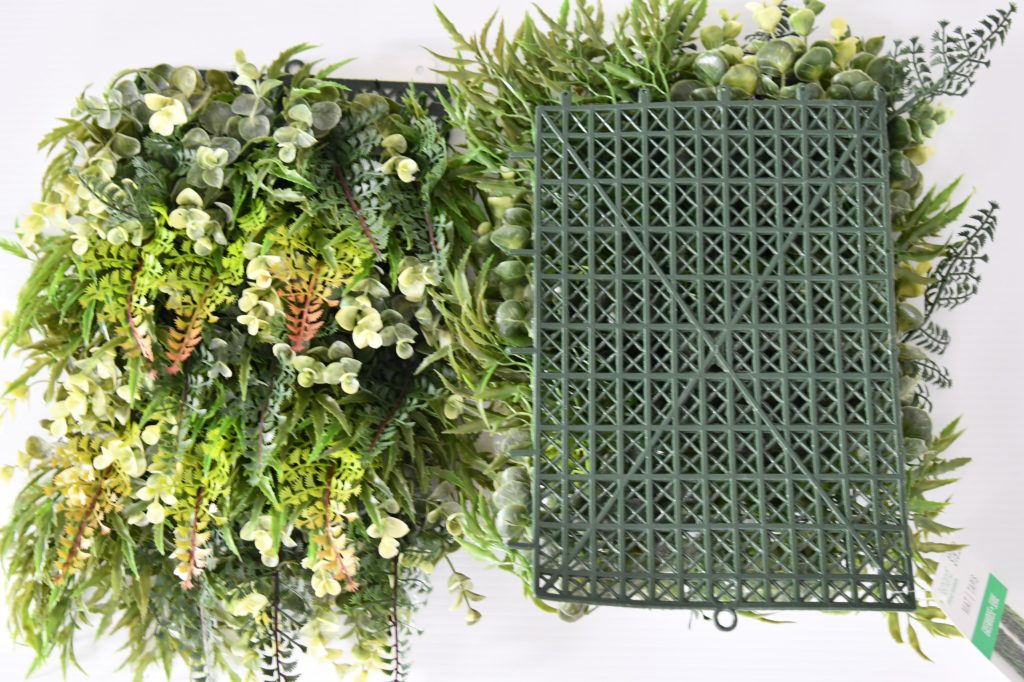
Step #2: Pull off Your Greens
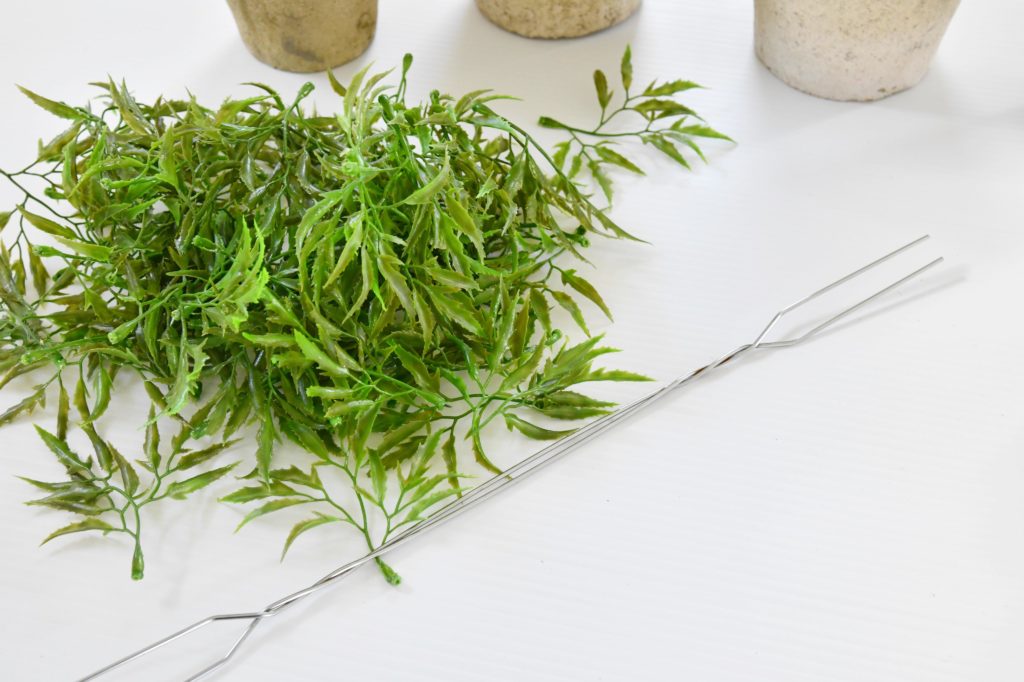
At this point you want to remove all your stems from your branch. This will prepare you when you get to step !!!!!!! Depending on the type of greenery stems you choose, you can create a variety of different topiaries.
I did this the night before the project, so that was helpful when it came to time management.
Cut Dowel Rod
If your dowel rod is longer you may need to cut it down. Here is a video showing the process.
Step #3: Stain Dowel Rods
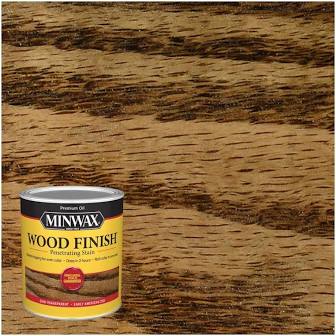
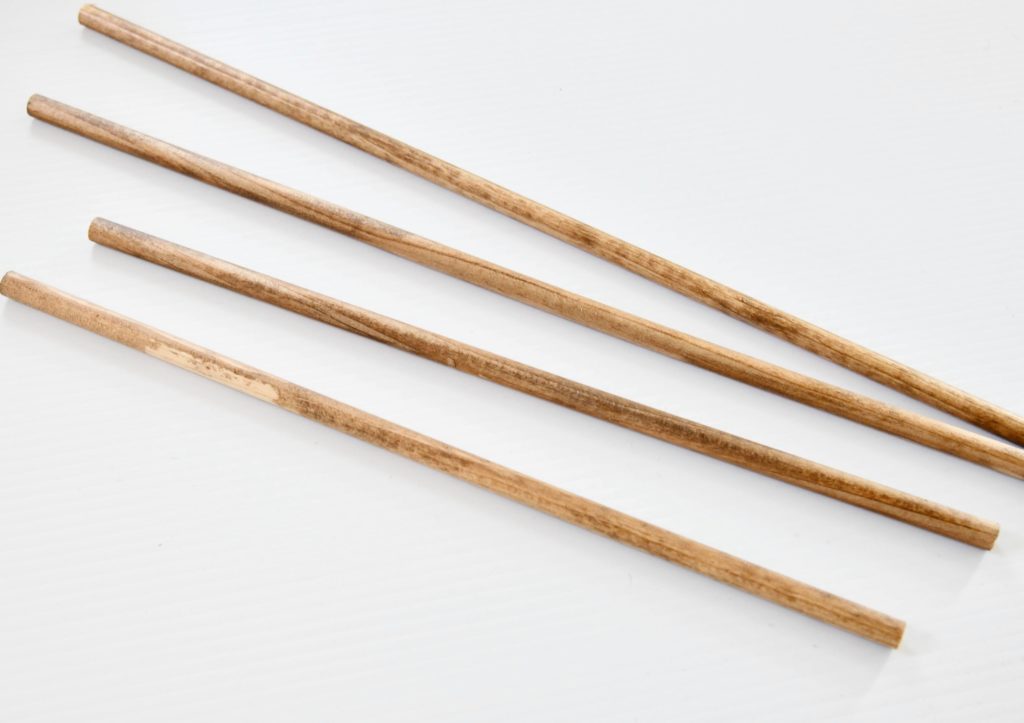
Keep in mind you can always use actual branches if you don’t want to use a dowel rod. I chose to use these dowel rods from Michaels. I just stained them to make them a little darker with Early American stain. Let them dry for about an hour then they are ready to use.
Step #4: Add Foam Rounds
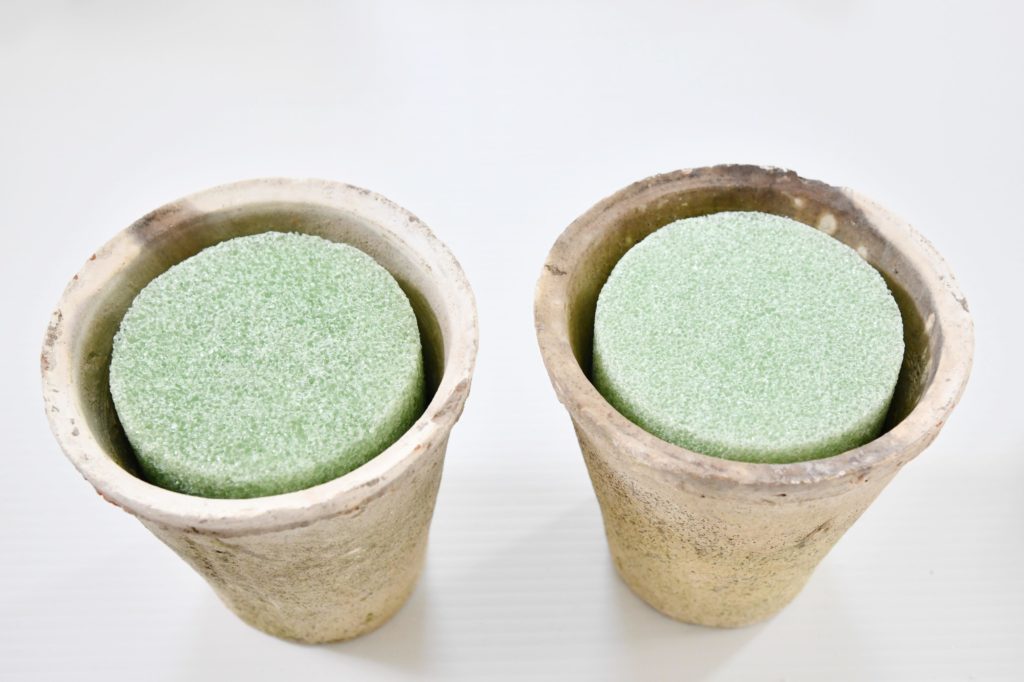
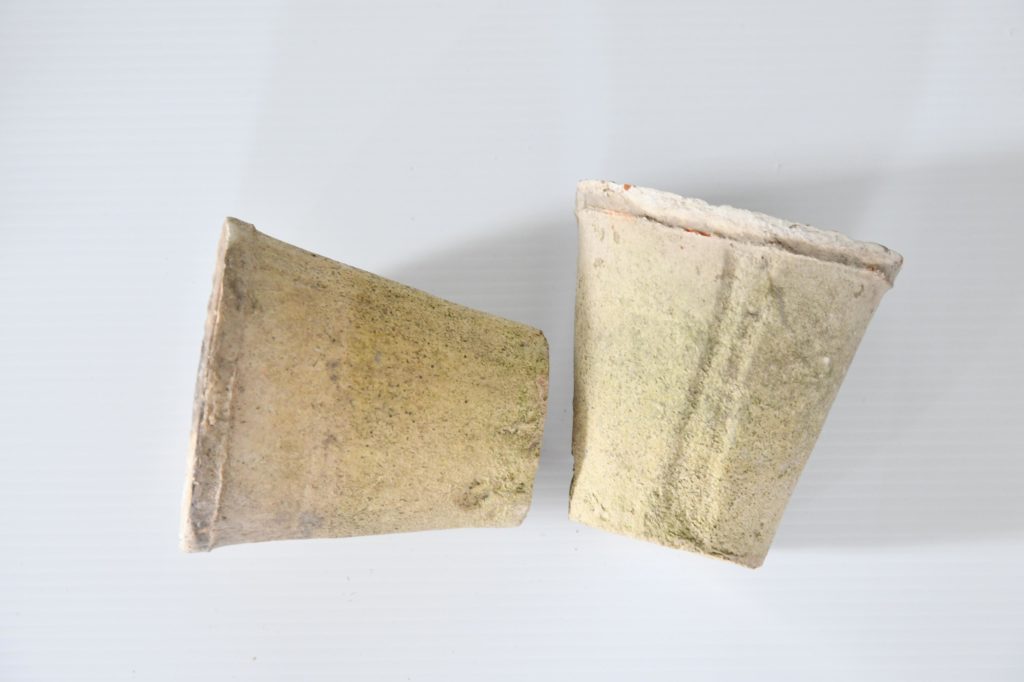
These pots were purchased at Michael’s. I love how they have a vintage grungy look to them. I found these smaller foam rounds and they worked perfectly with these pots. You can always cut down the bottom to make them fit if you need to.
Step #5: Place Dowel Rods
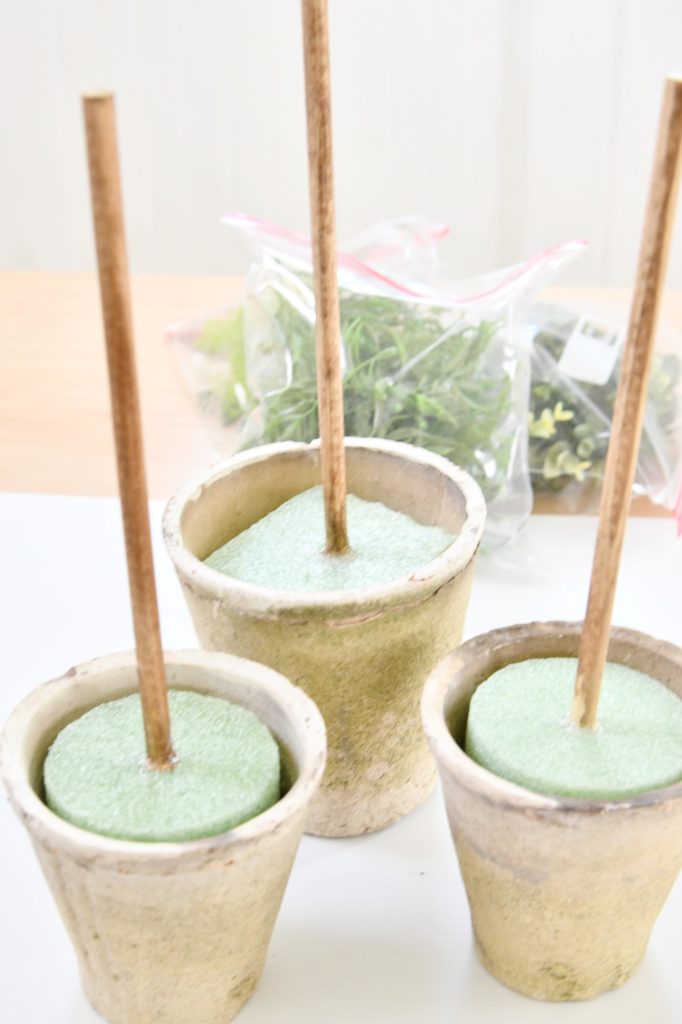
I pushed the base of the dowel rod into foam bricks. I put them about 3/4 of the way down. You just want to make sure they are firmly in place.
Step #6: Glue Dowel Rods Down

I used a glue gun and added a touch of hot glue around the dowel just to keep it extra sturdy. You don’t have to do this, I just figured over time they may shift so just want to add in something to ensure they were secured.
Step #7: Add in Dirt or Moss
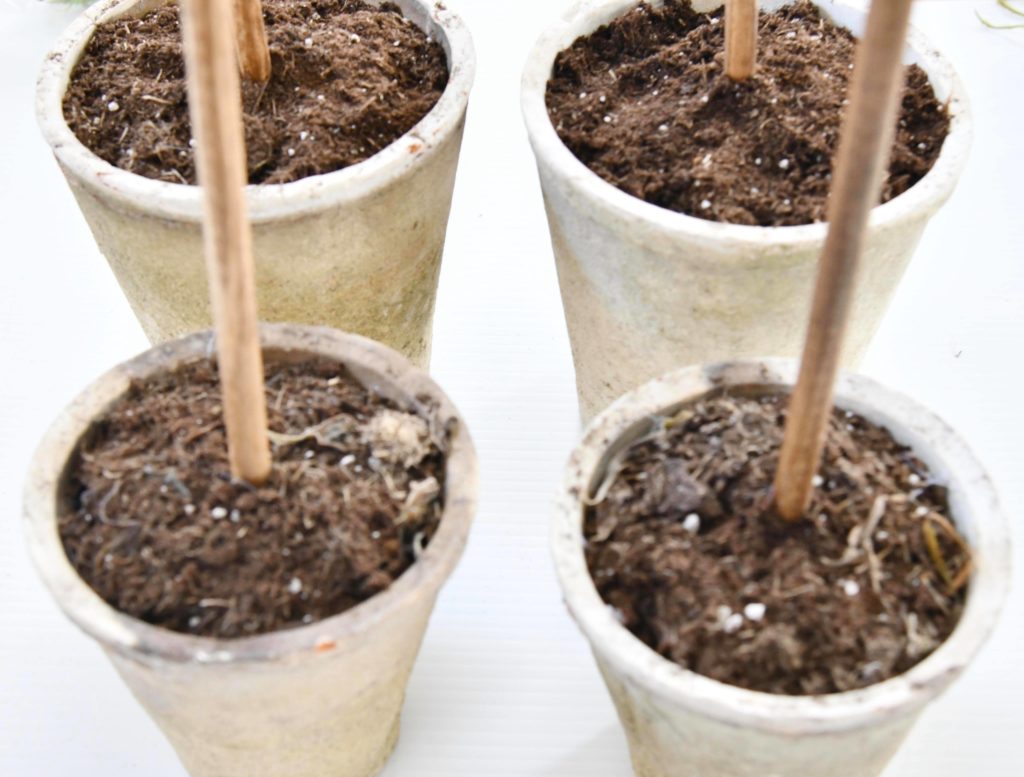
My first thought was to use moss to cover the foam rounds, but my store didn’t have them in stock. So I went natural and grabbed some soil from the garden. This decision actually worked out great because it gives them a “real plant” look. You can always use GreenSpanish moss or Natural Spanish moss.
Step #8: Poke Holes
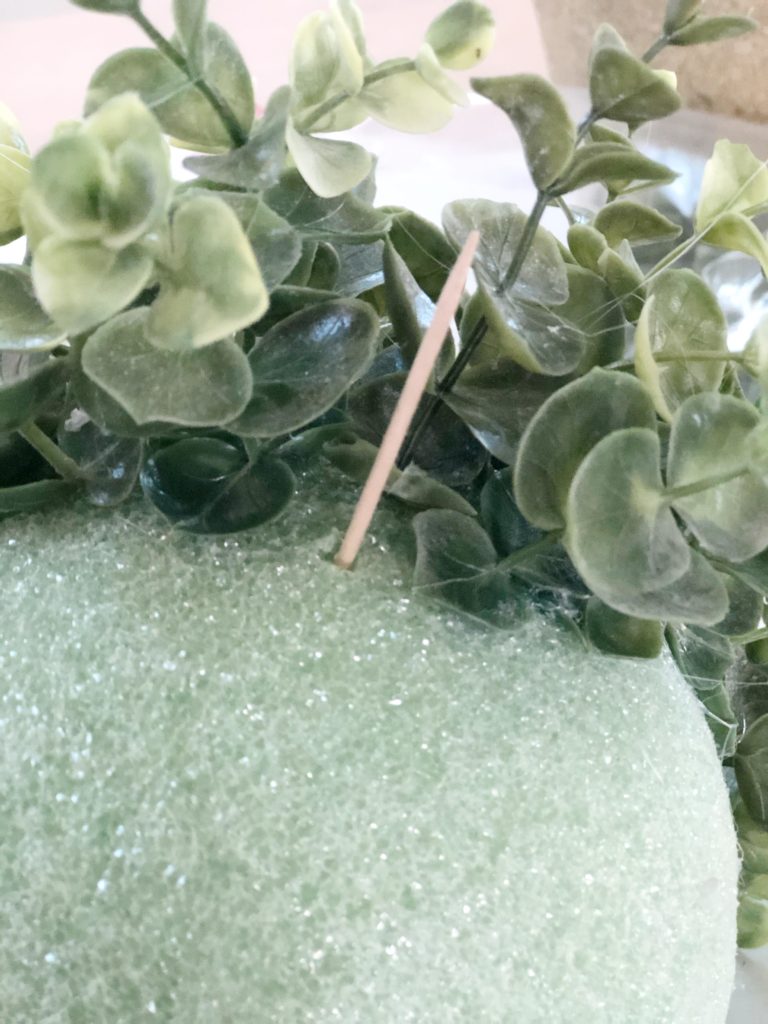
I used a toothpick to make holes in the foam ball. You want to pus the stems into the foam ball, filling all the spaces in with your greens. Start filling the Styrofoam ball with your stems. No glue is necessary, but you can always use if you prefer.
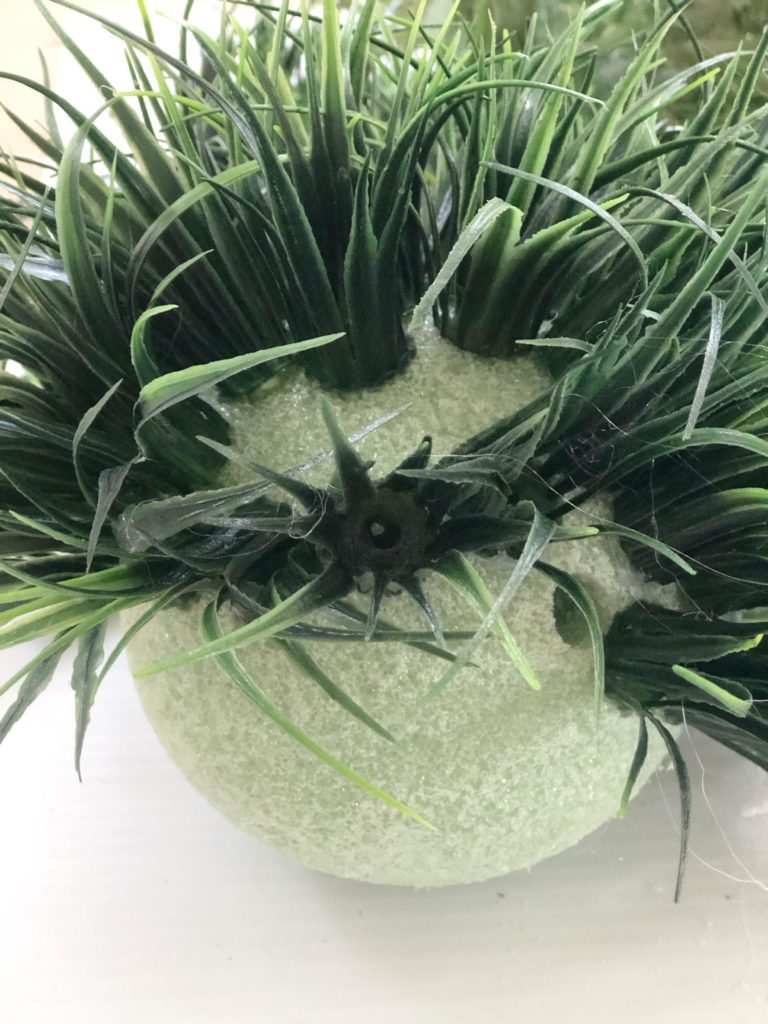
Keep adding stems until the ball is completely covered.
Step #9: Glue Down Greenery
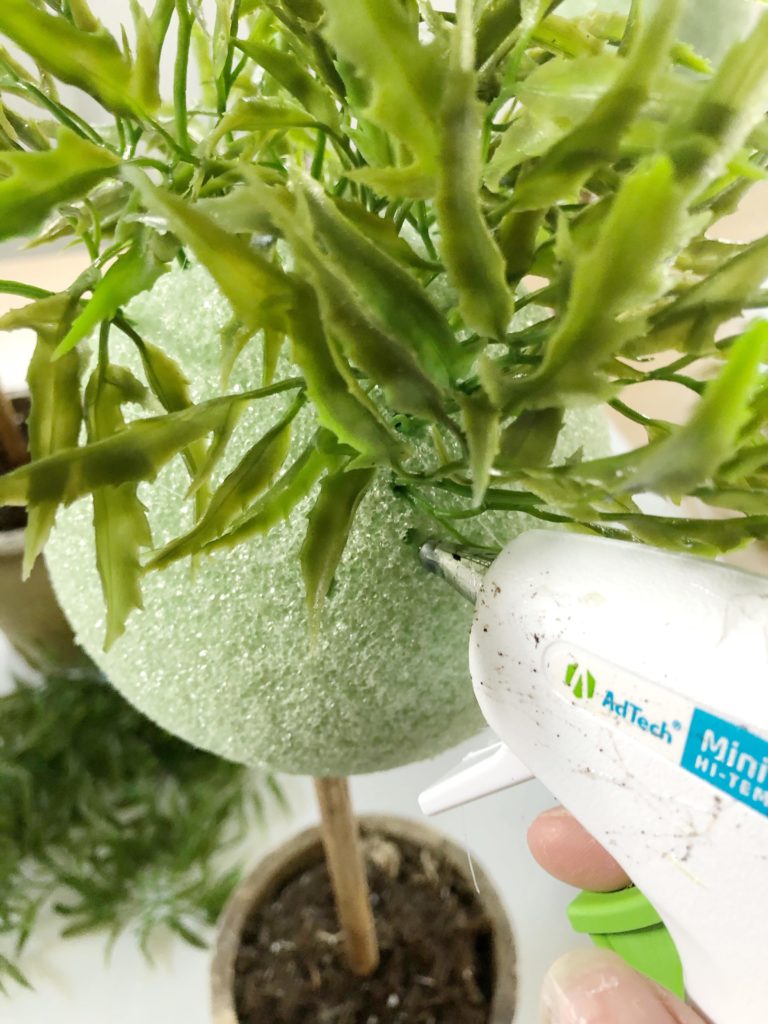
I chose to add a touch of hot glue in each hole before I added the stems in. Again this is not required and you can skip this step if you wish.
We hoped you enjoyed this DIY topiary tree tutorial. Please comment below and let us know if you try this or enjoyed this DIY. Be sure to also check out our DIY floral embroidery hoop wreath!


Love this , thanks for sharing the steps! I am going to try this soon!
Your so welcome. Thank you for reading.
Beautiful
Great Directions , Thanks