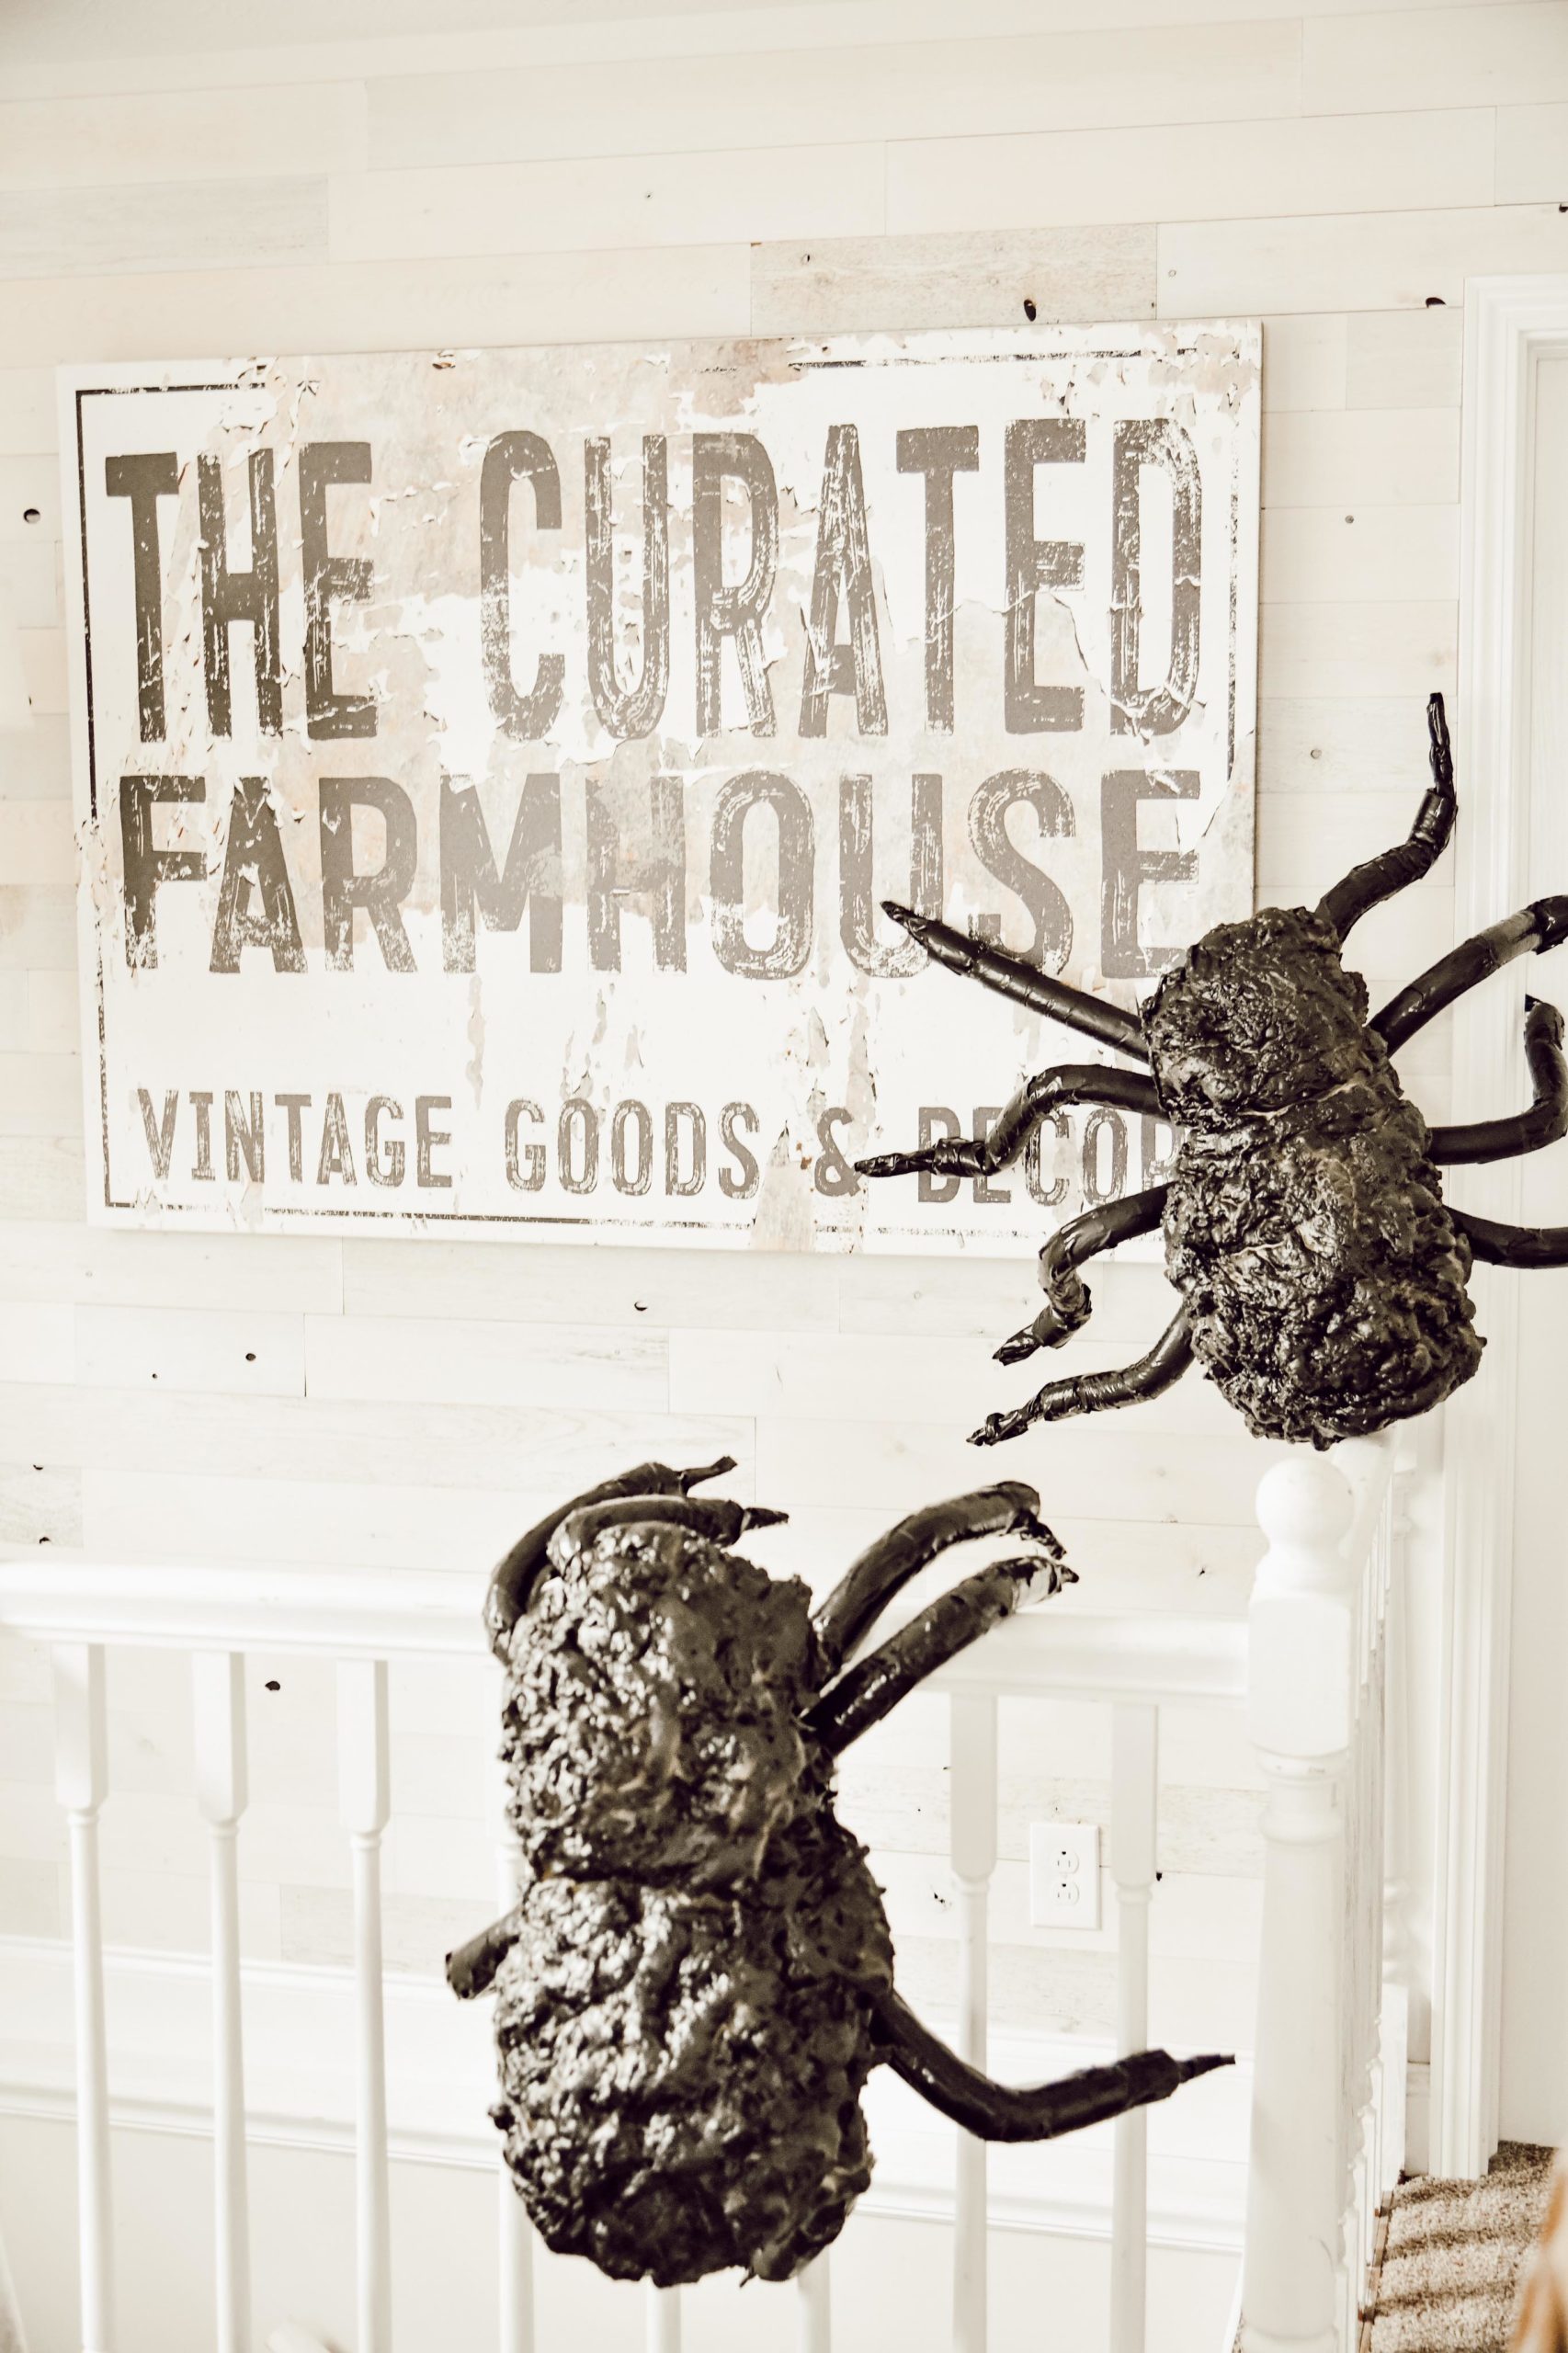
How To Make DIY Giant Halloween Spiders
Who is ready to learn how to make DIY giant Halloween spiders?
These creepy enormous spiders are sure to make you the talk of your neighborhood.
They are super easy and affordable to make and the kids will love them.
I have to thank Hannah from @welivedhappilyeverafter for this DIY Inspiration.
You is a genius and this was to good of a DIY not to try it.
Be sure to check out her blog for the original idea for this project.
She was so gracious to allow me to try it and share it with my readers.
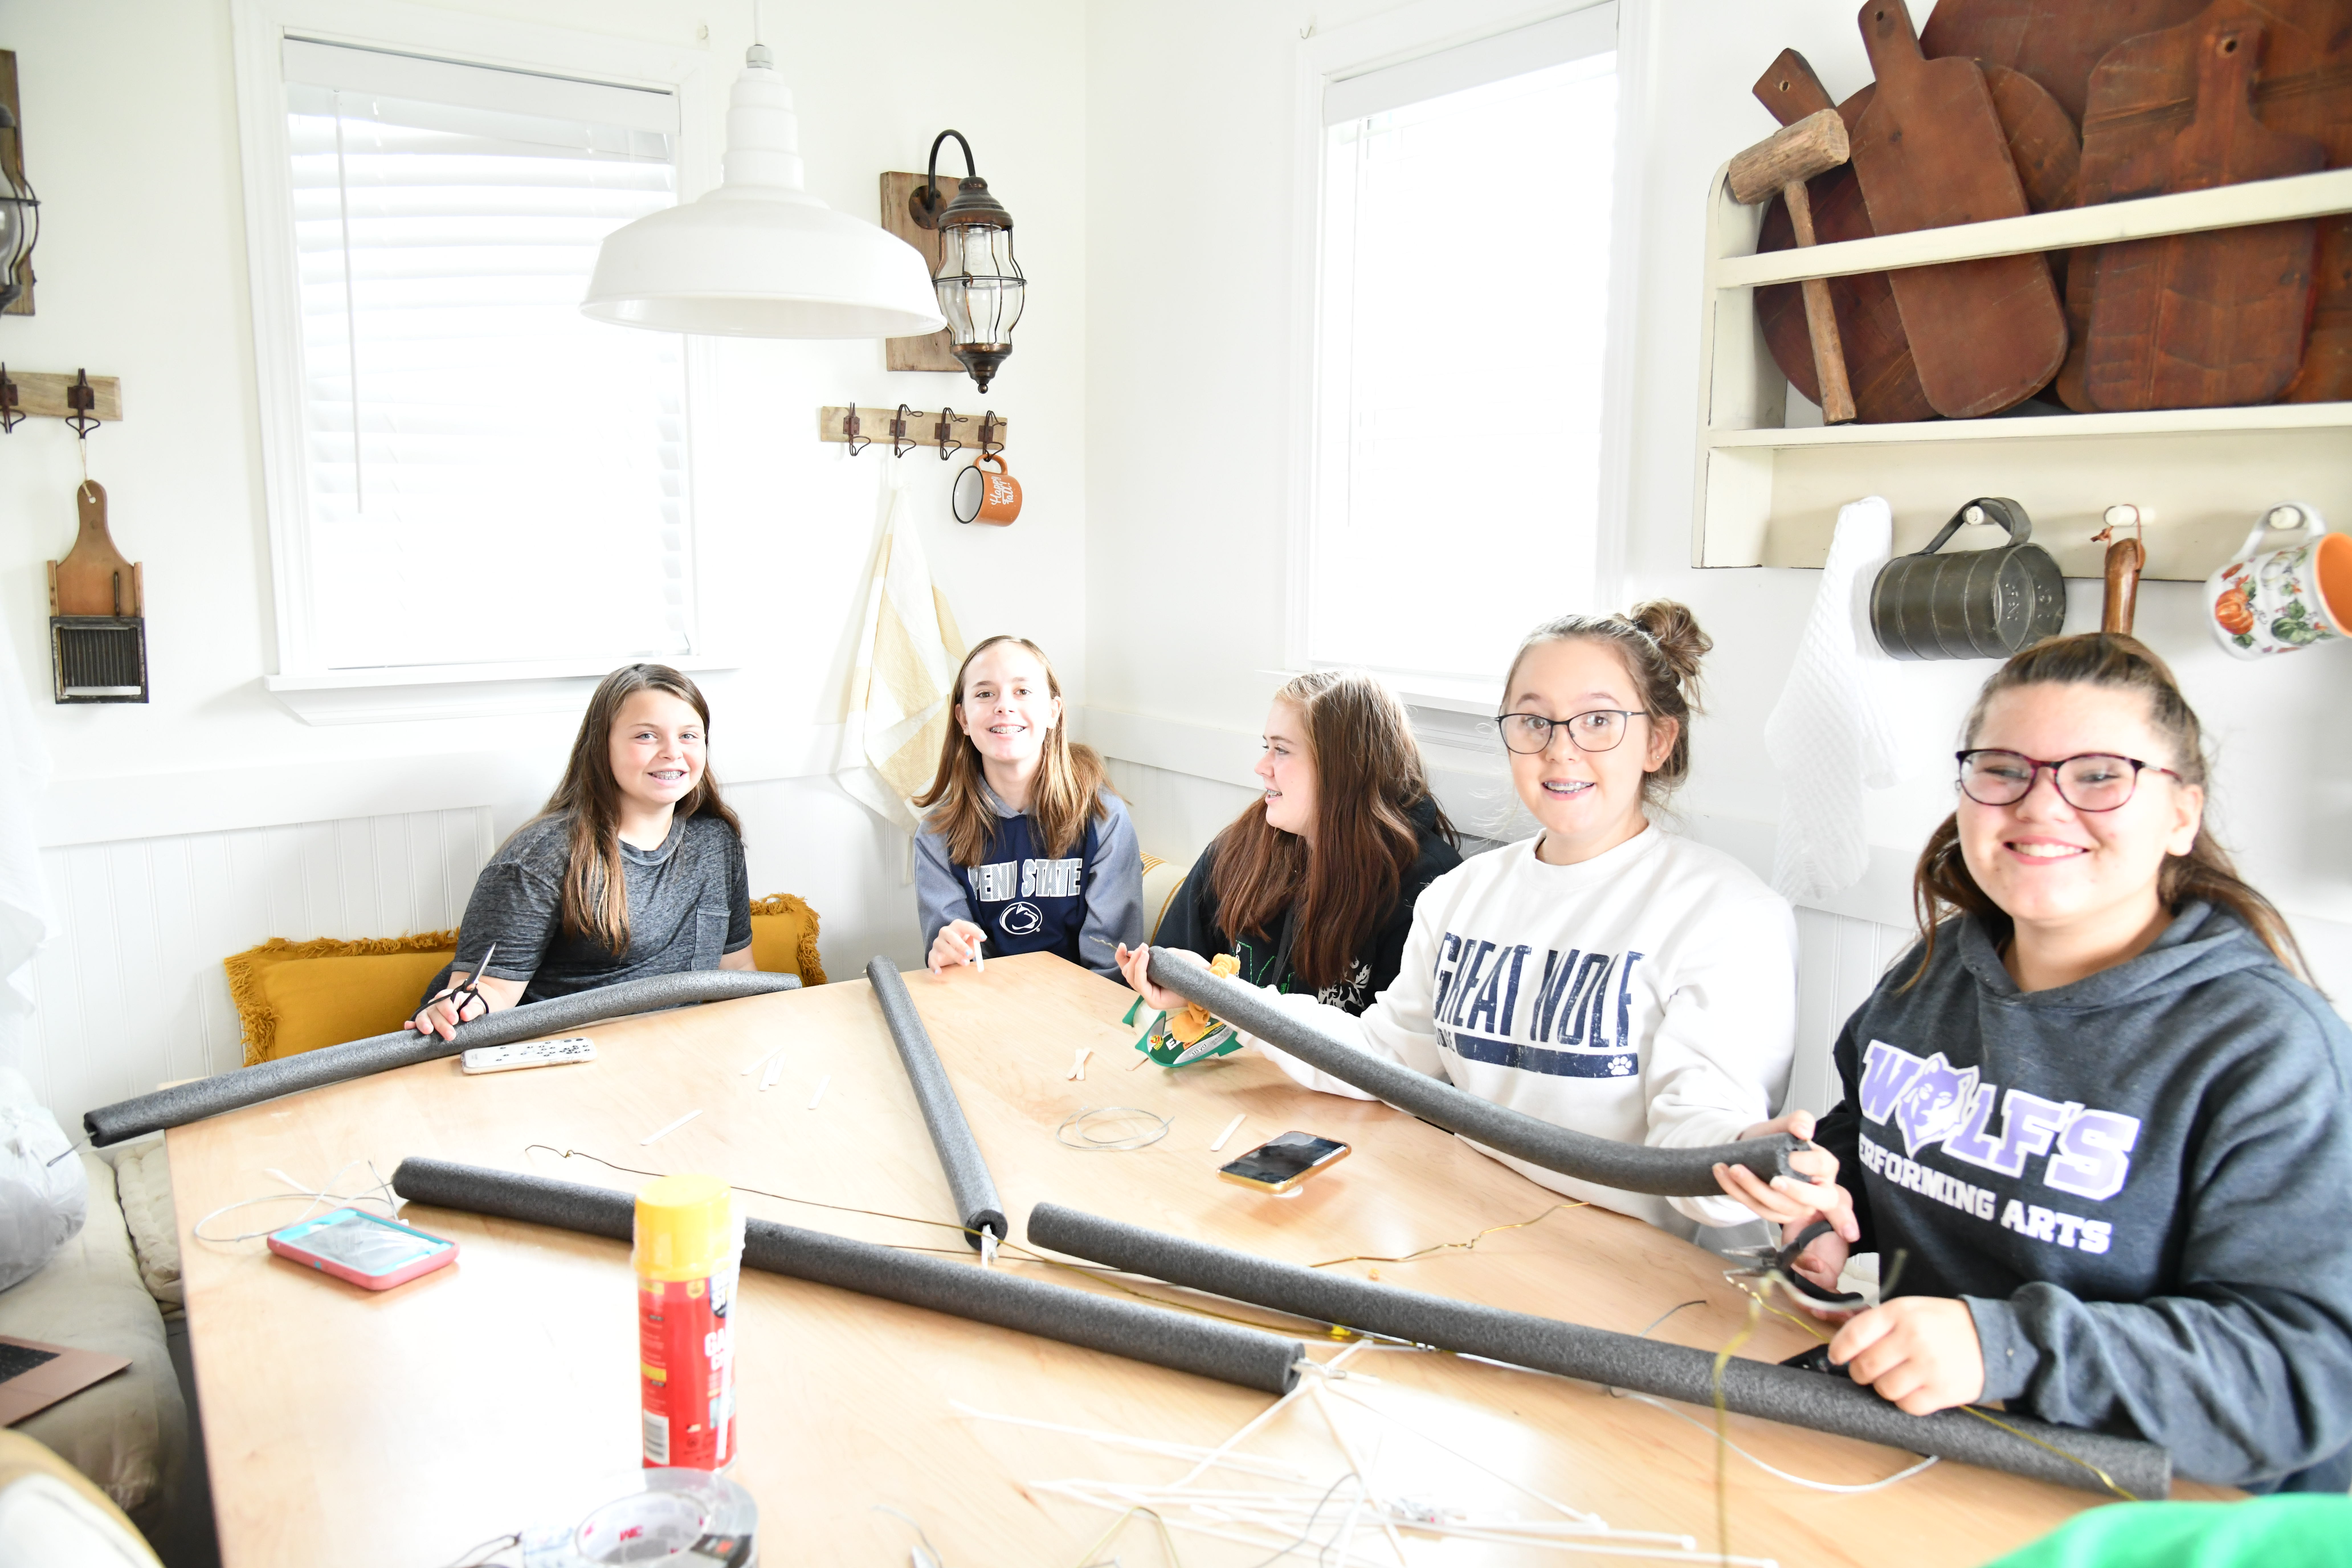
We invited the squad over and the kids loving playing a part in making these DIY Giant Halloween Spiders.
Supplies
- Grocery Bags
- Black Tape
- Spray Paint (We chose Matte Black)
- Heavy Duty Wire
- Large and Small Zip Ties
- Pipe Cleaners
- Skewers or Popsicle Sticks
- Scissors
- Plumbers Insulating Pipe
- Spray Foam
Steps
You know how much we love a good DIY and this one looked to fun to pass up.
We love to decorate our lawn for Halloween, secretly we want to be the funnest house on the block.
Large Halloween decor can get pretty pricey, so this is an affordable option and pretty cool one too!
Just follow these simple steps and you will have a fun creepy piece of Halloween decor to use inside our outside of your home this year.
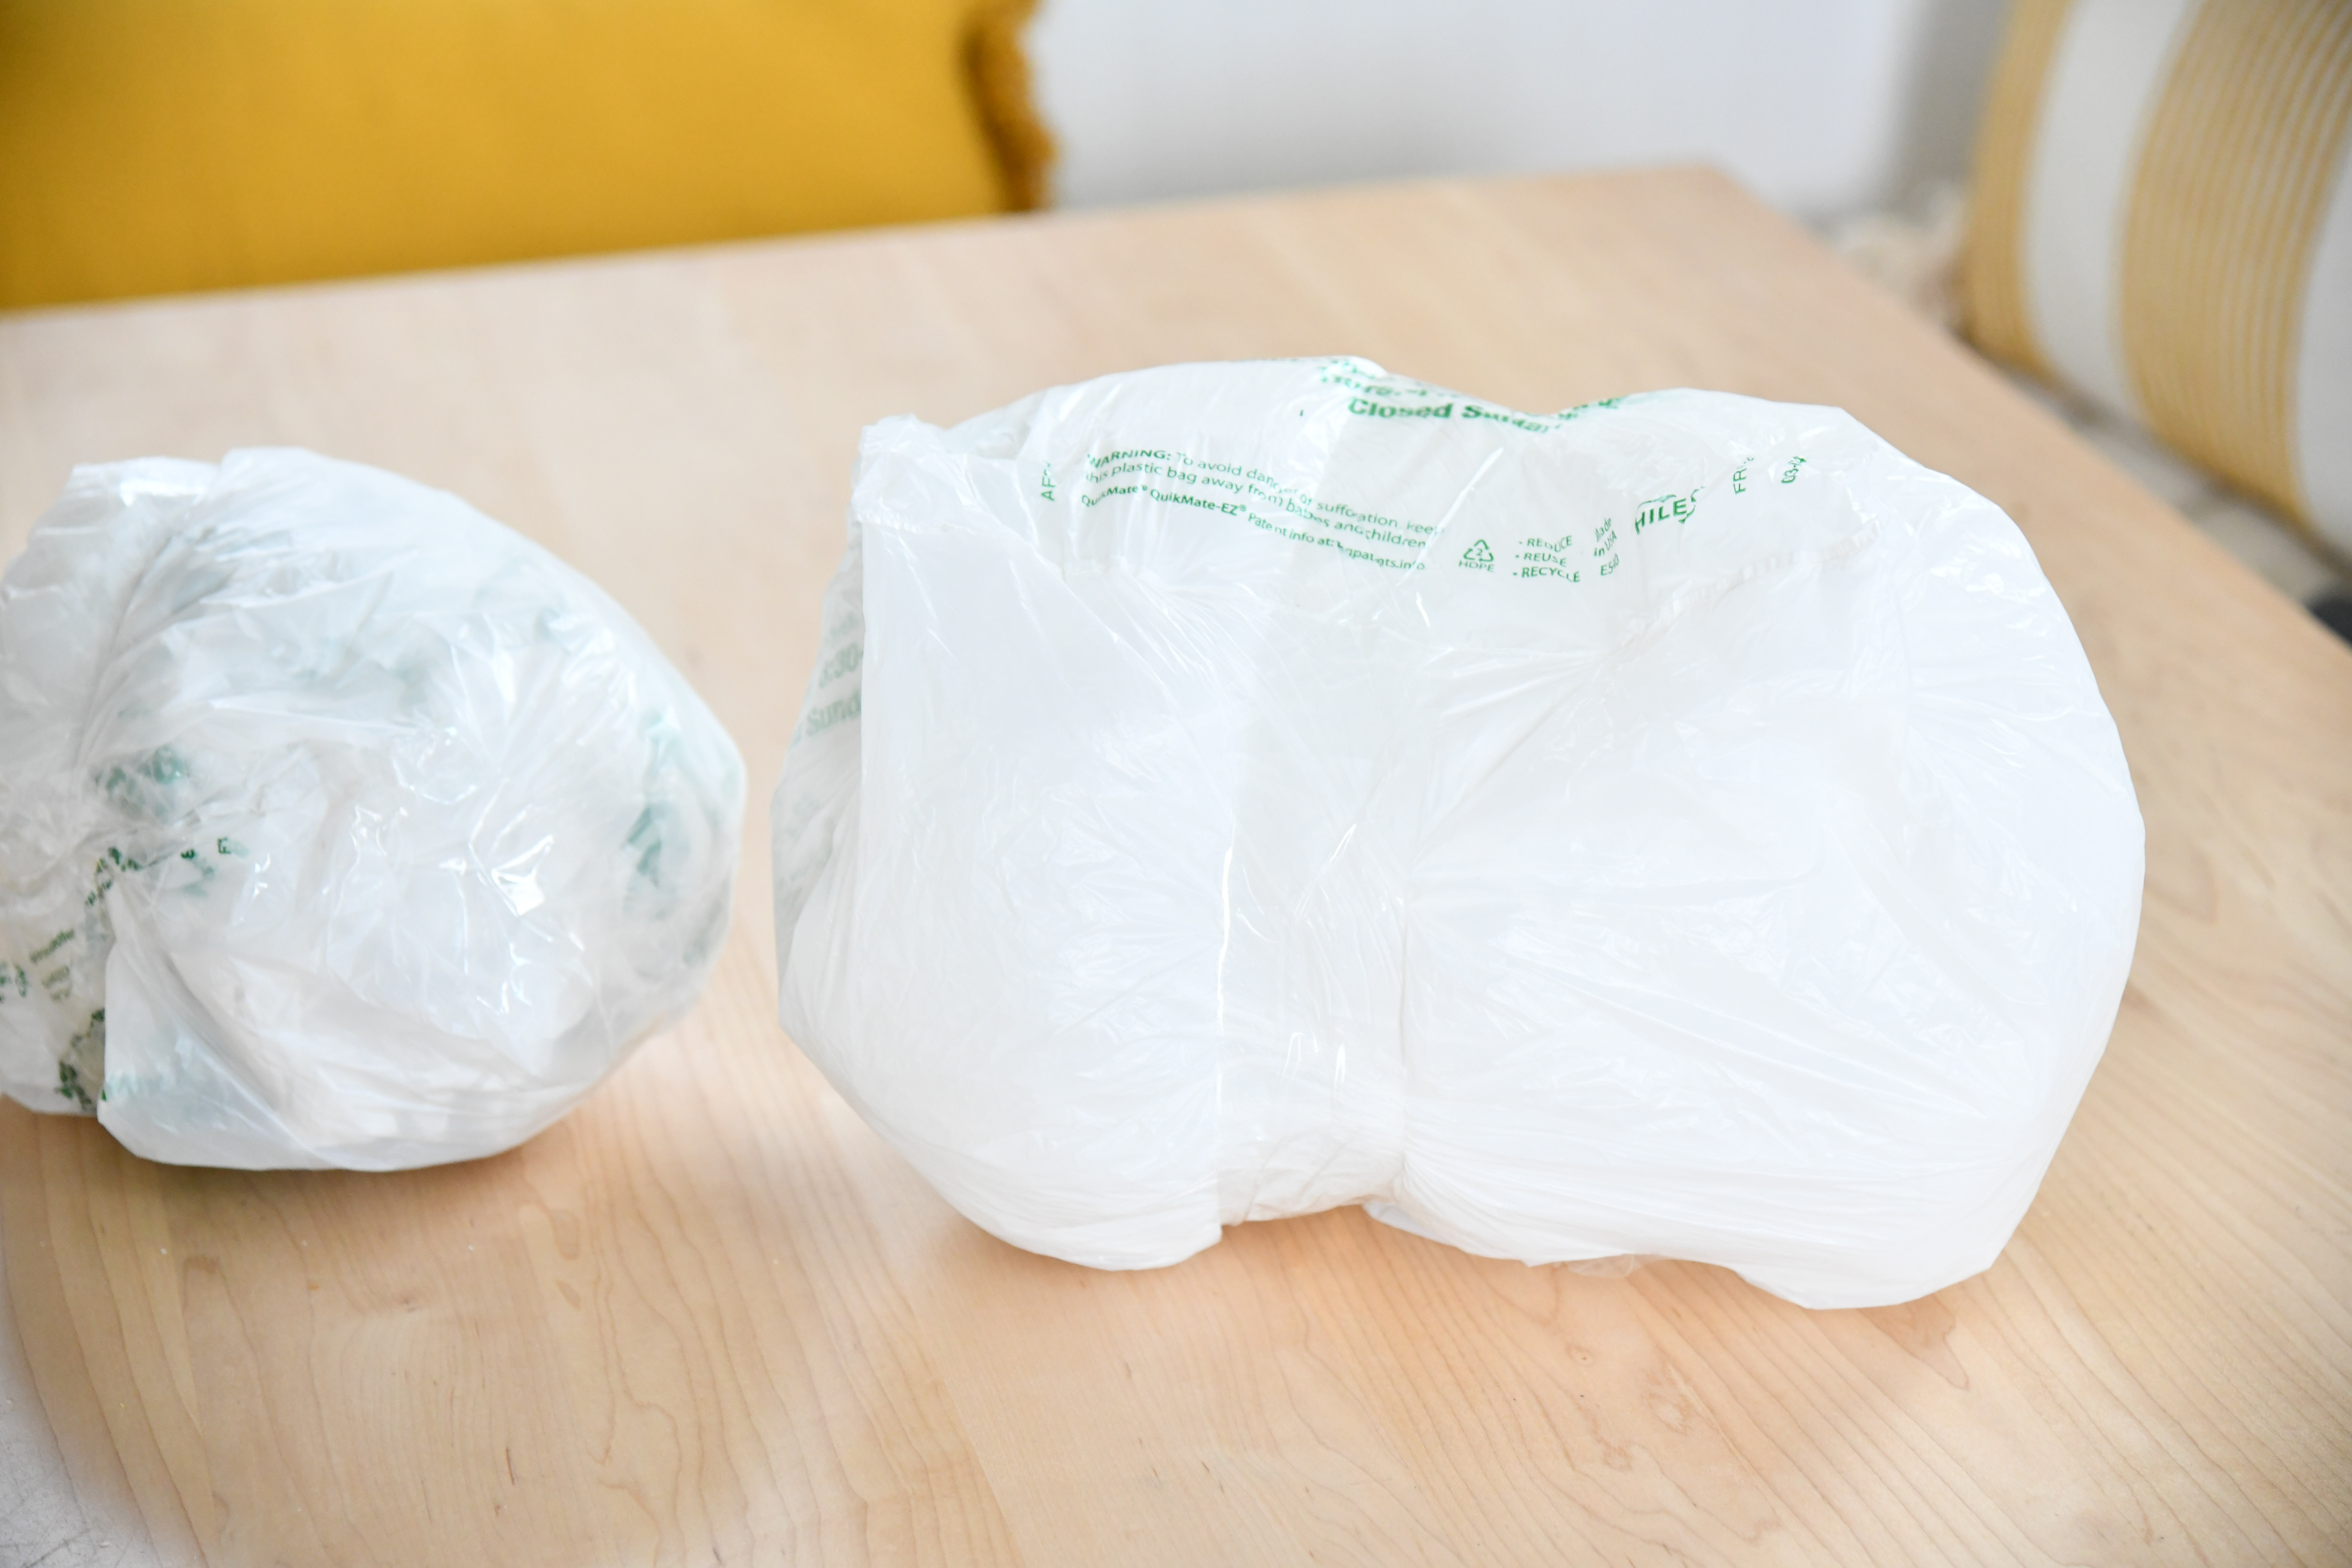
The first thing you want to do is fill grocery bags with either packing peanuts, polyfiber, or something to give the spider body a good shape.
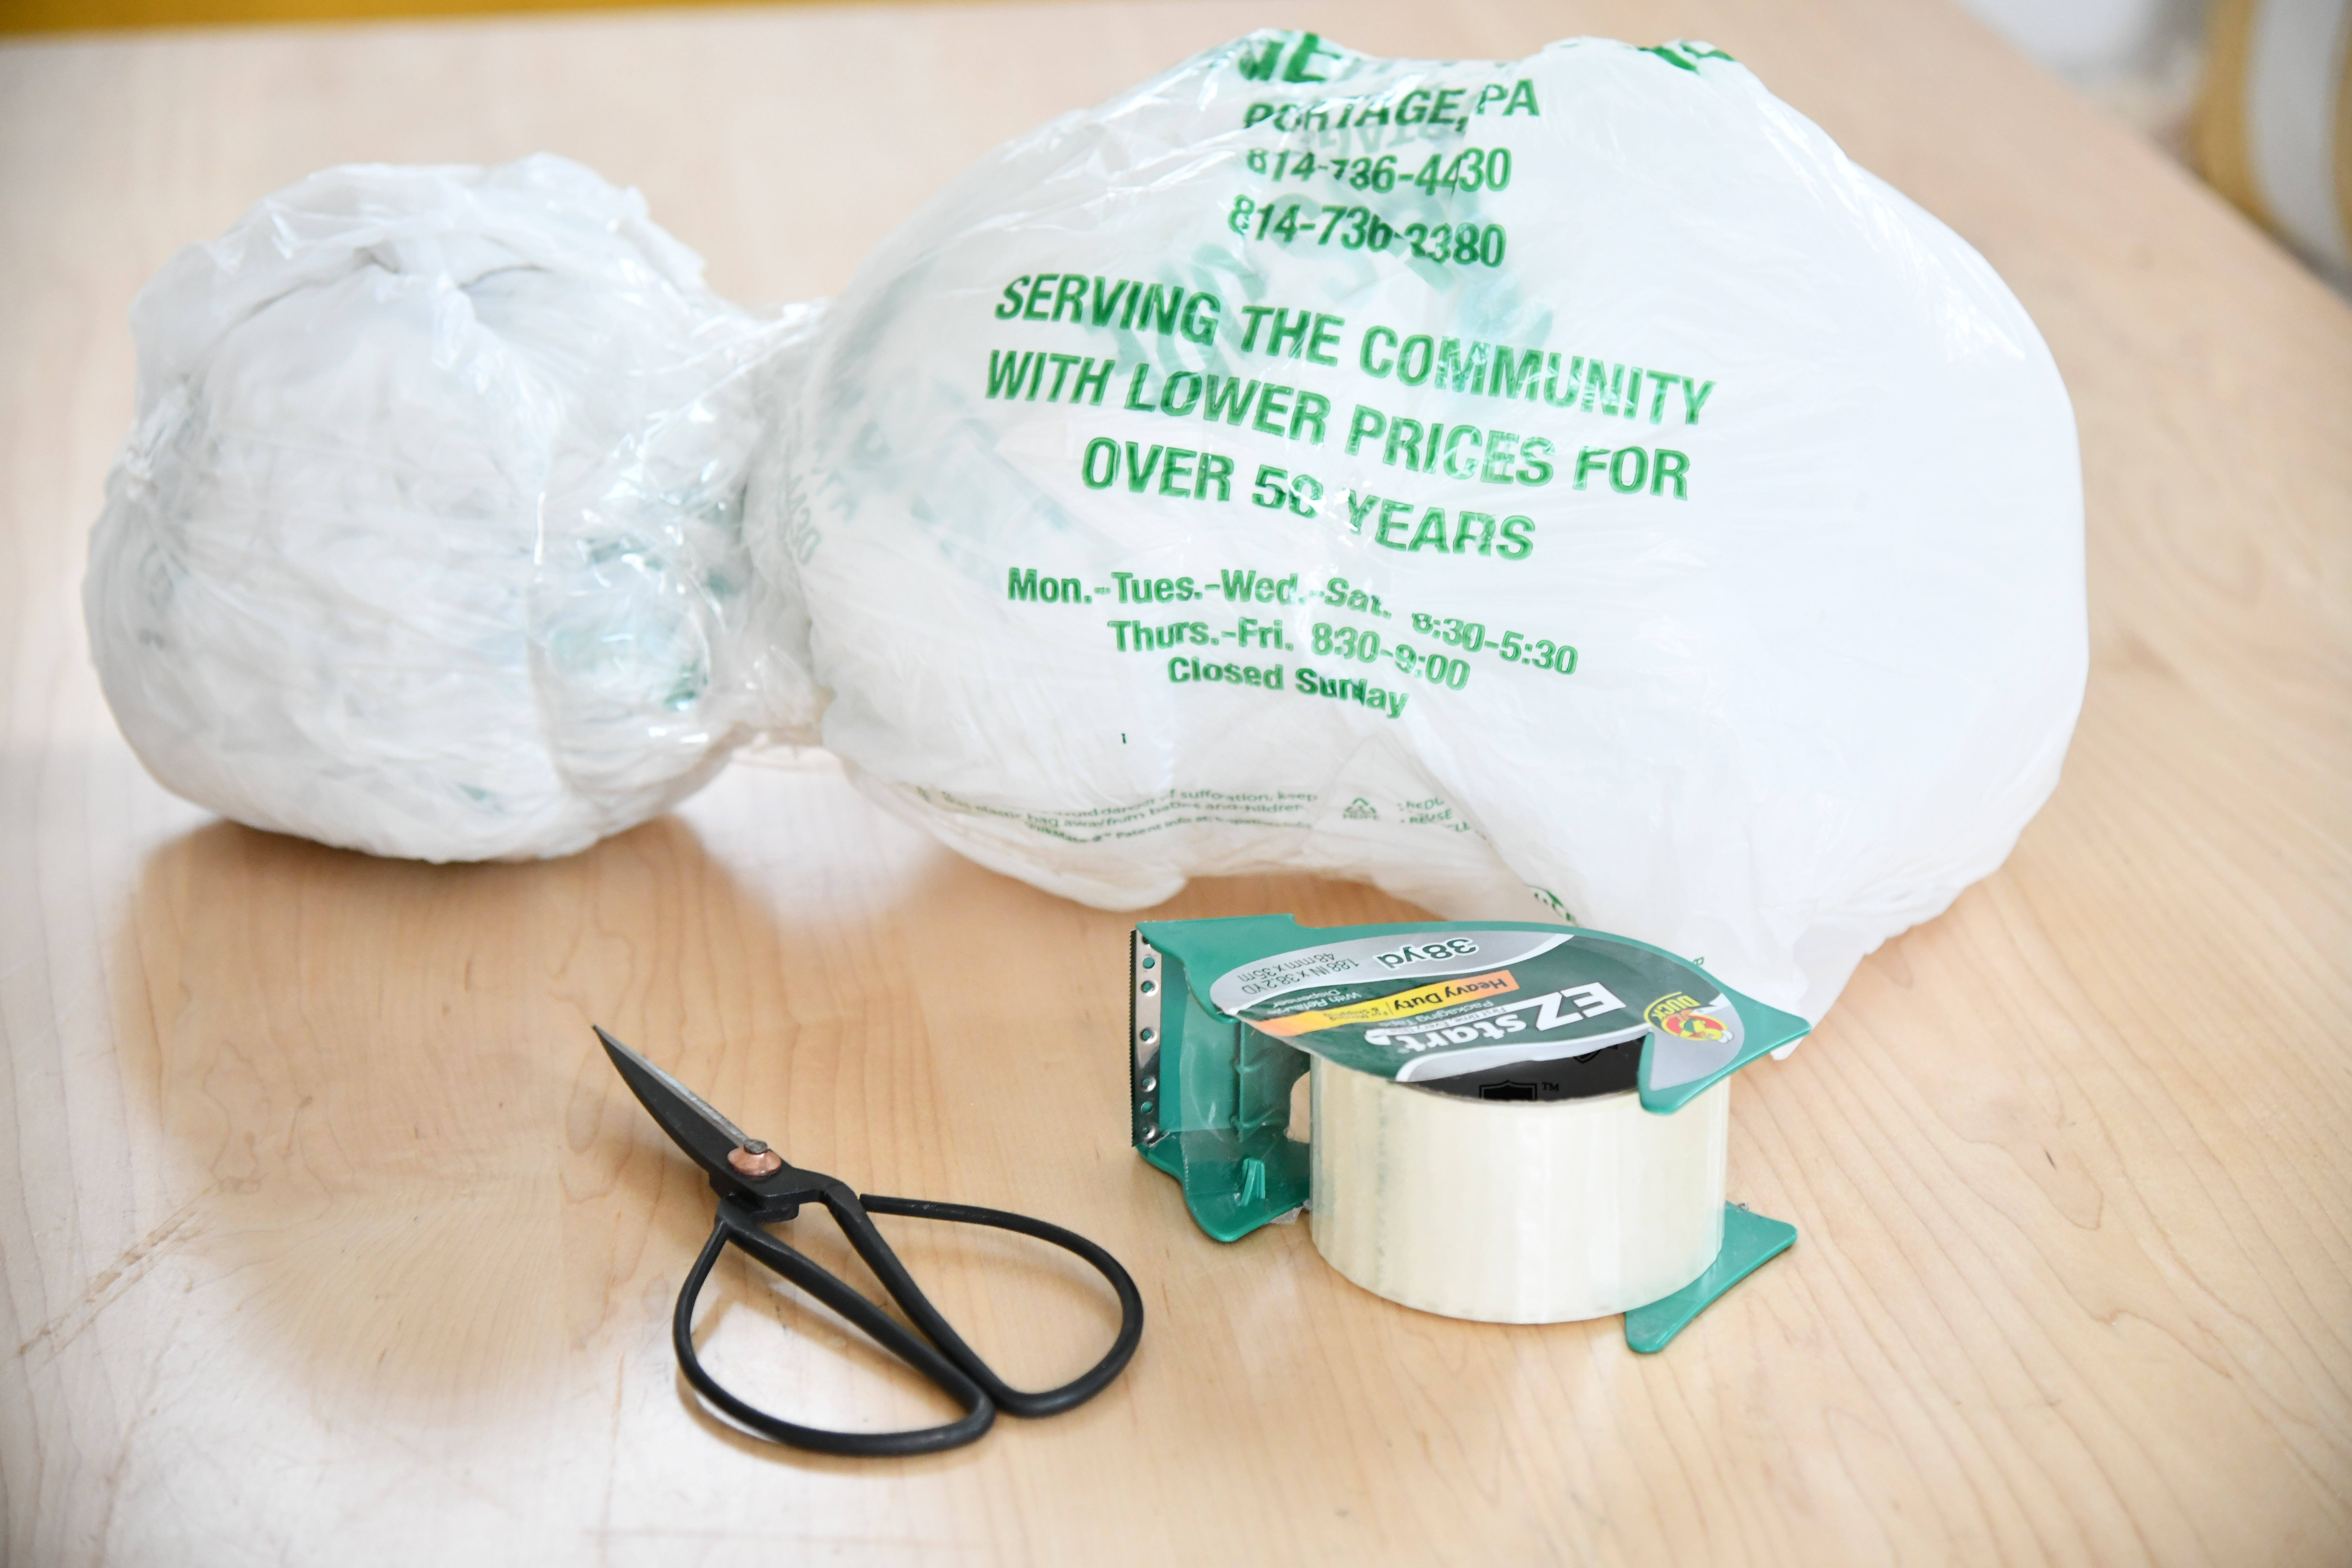
We used clear mailing tape to wrap around the middle of two filled bags, to create a spider body.
We headed to home depot and Hannah mentioned using 6 of the size foot plumbers pipe insulation.
There were quite a few kinds so we just opted for the cheapest one.
They were about $1.73 each so not a bad price at all.
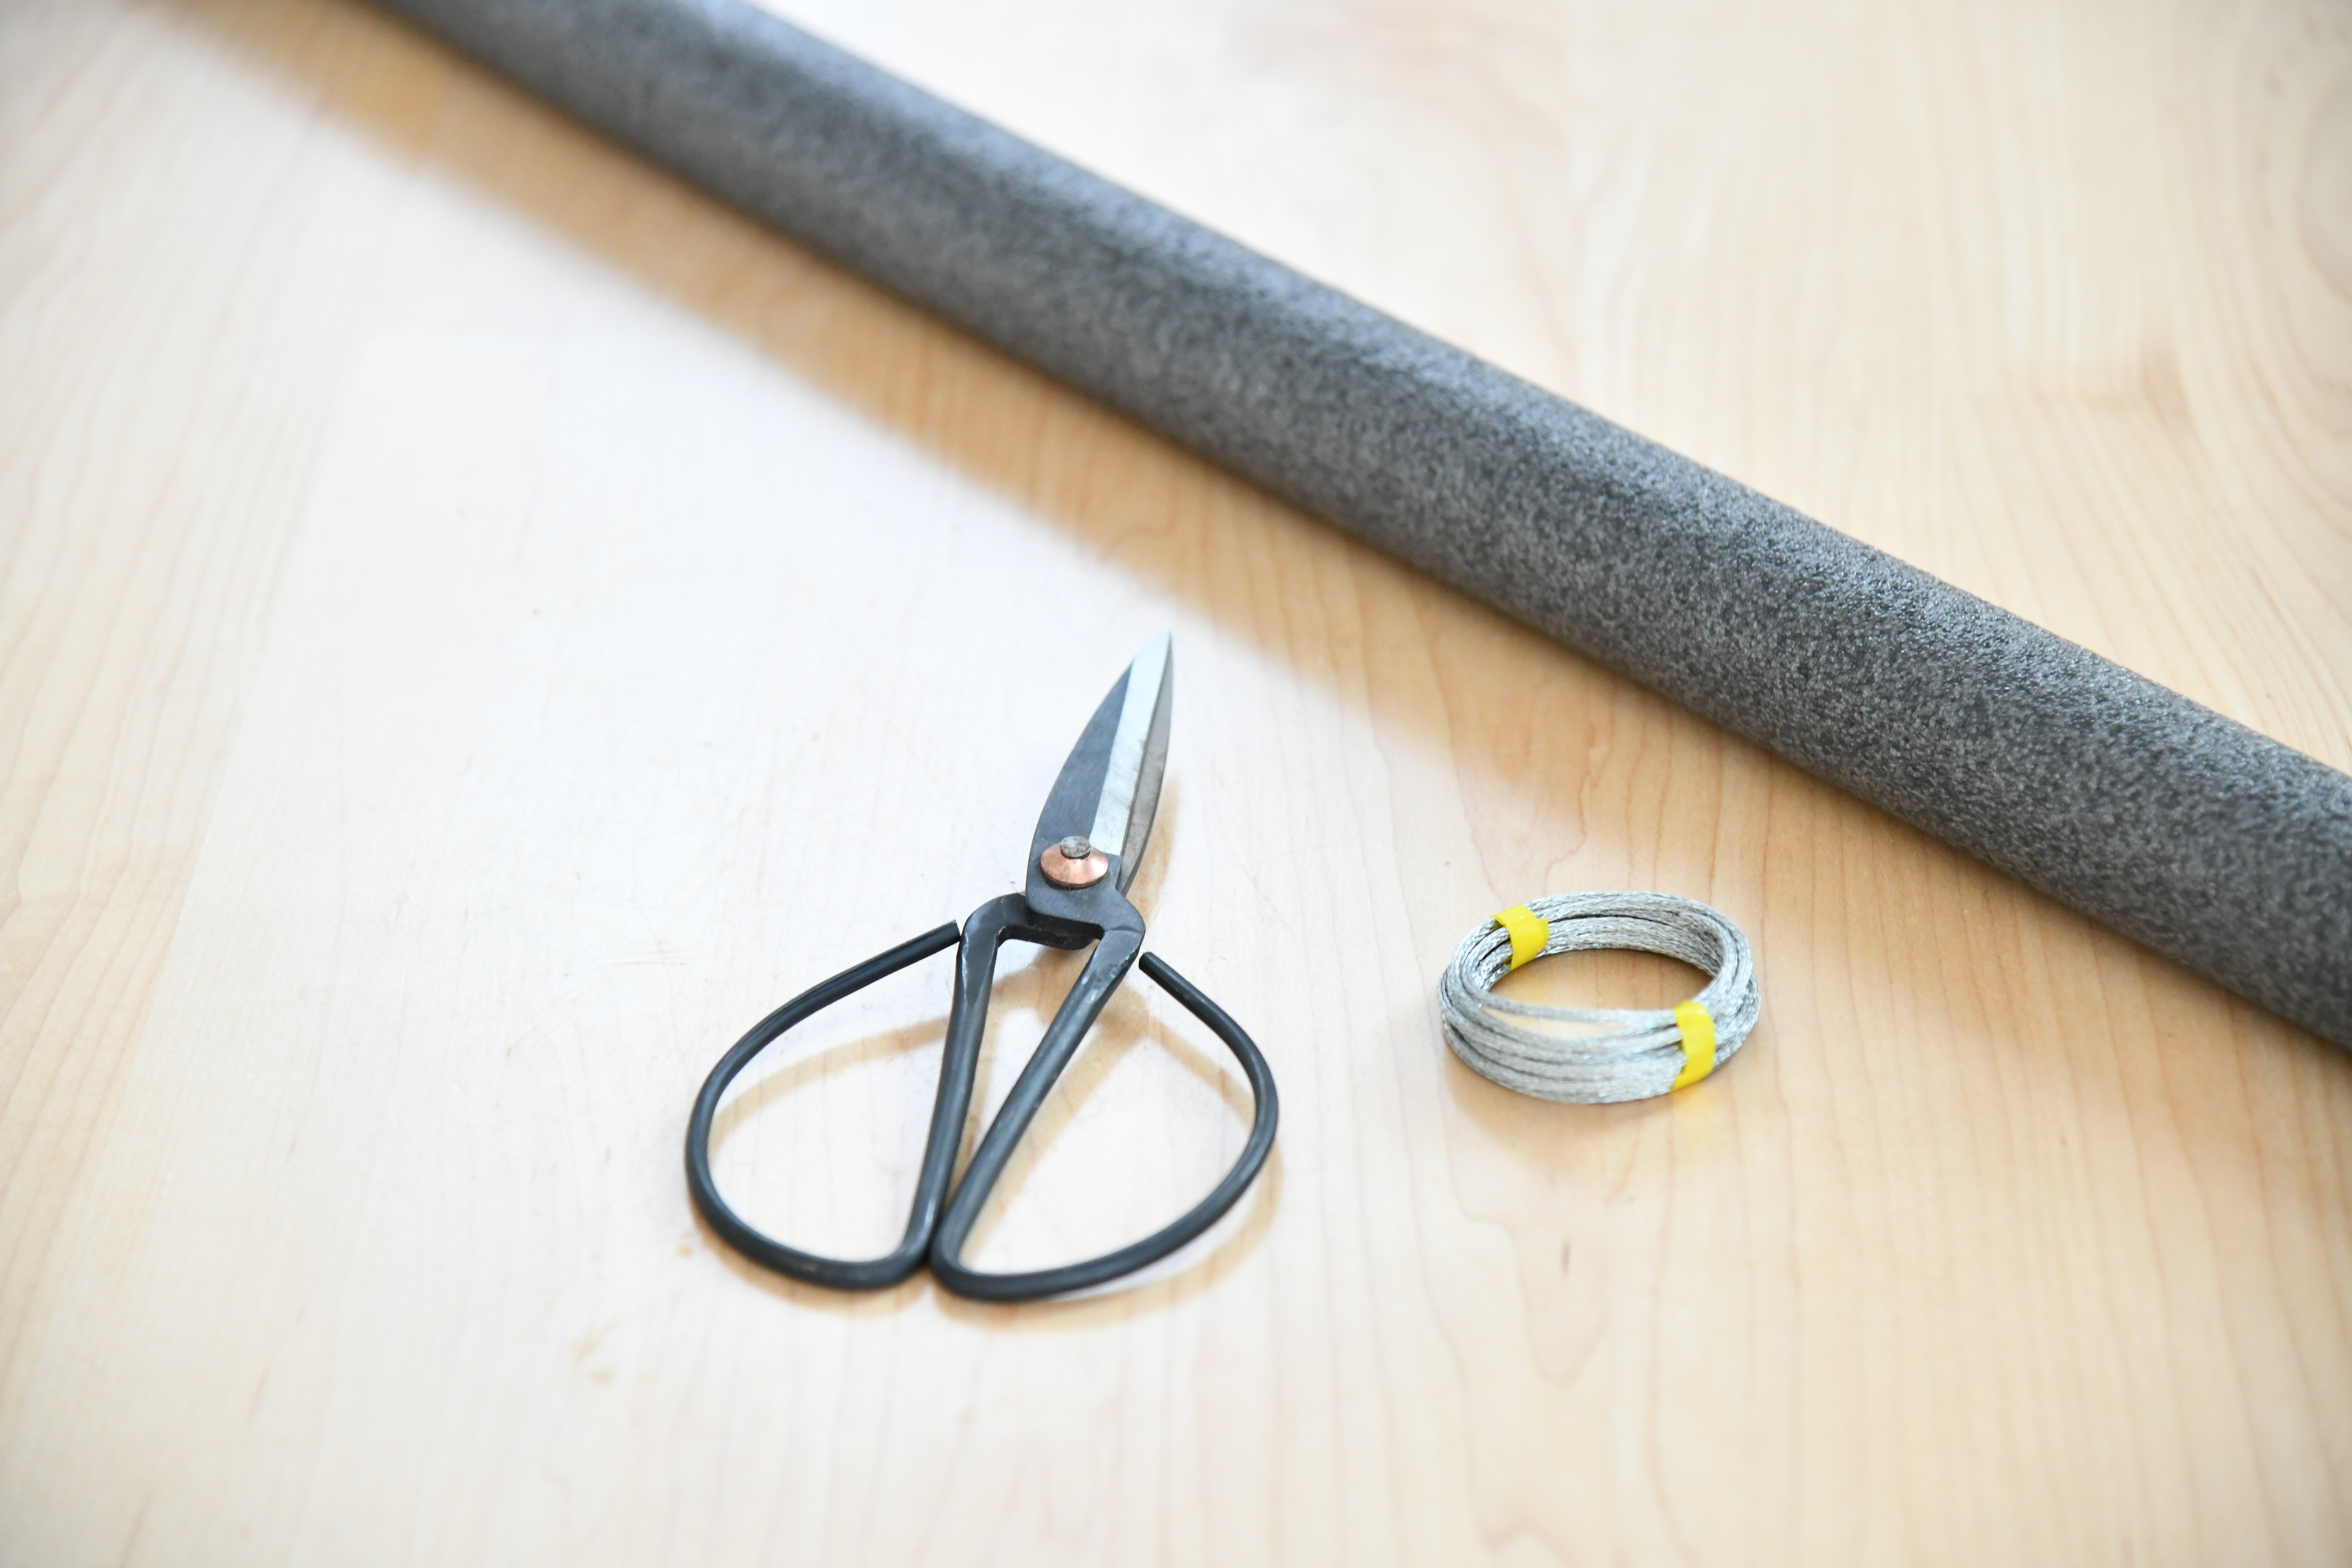
First cut each pipe in half, you will end up with four sections each each spider you will want to make.
So one spider will need two of the 6′ piping.
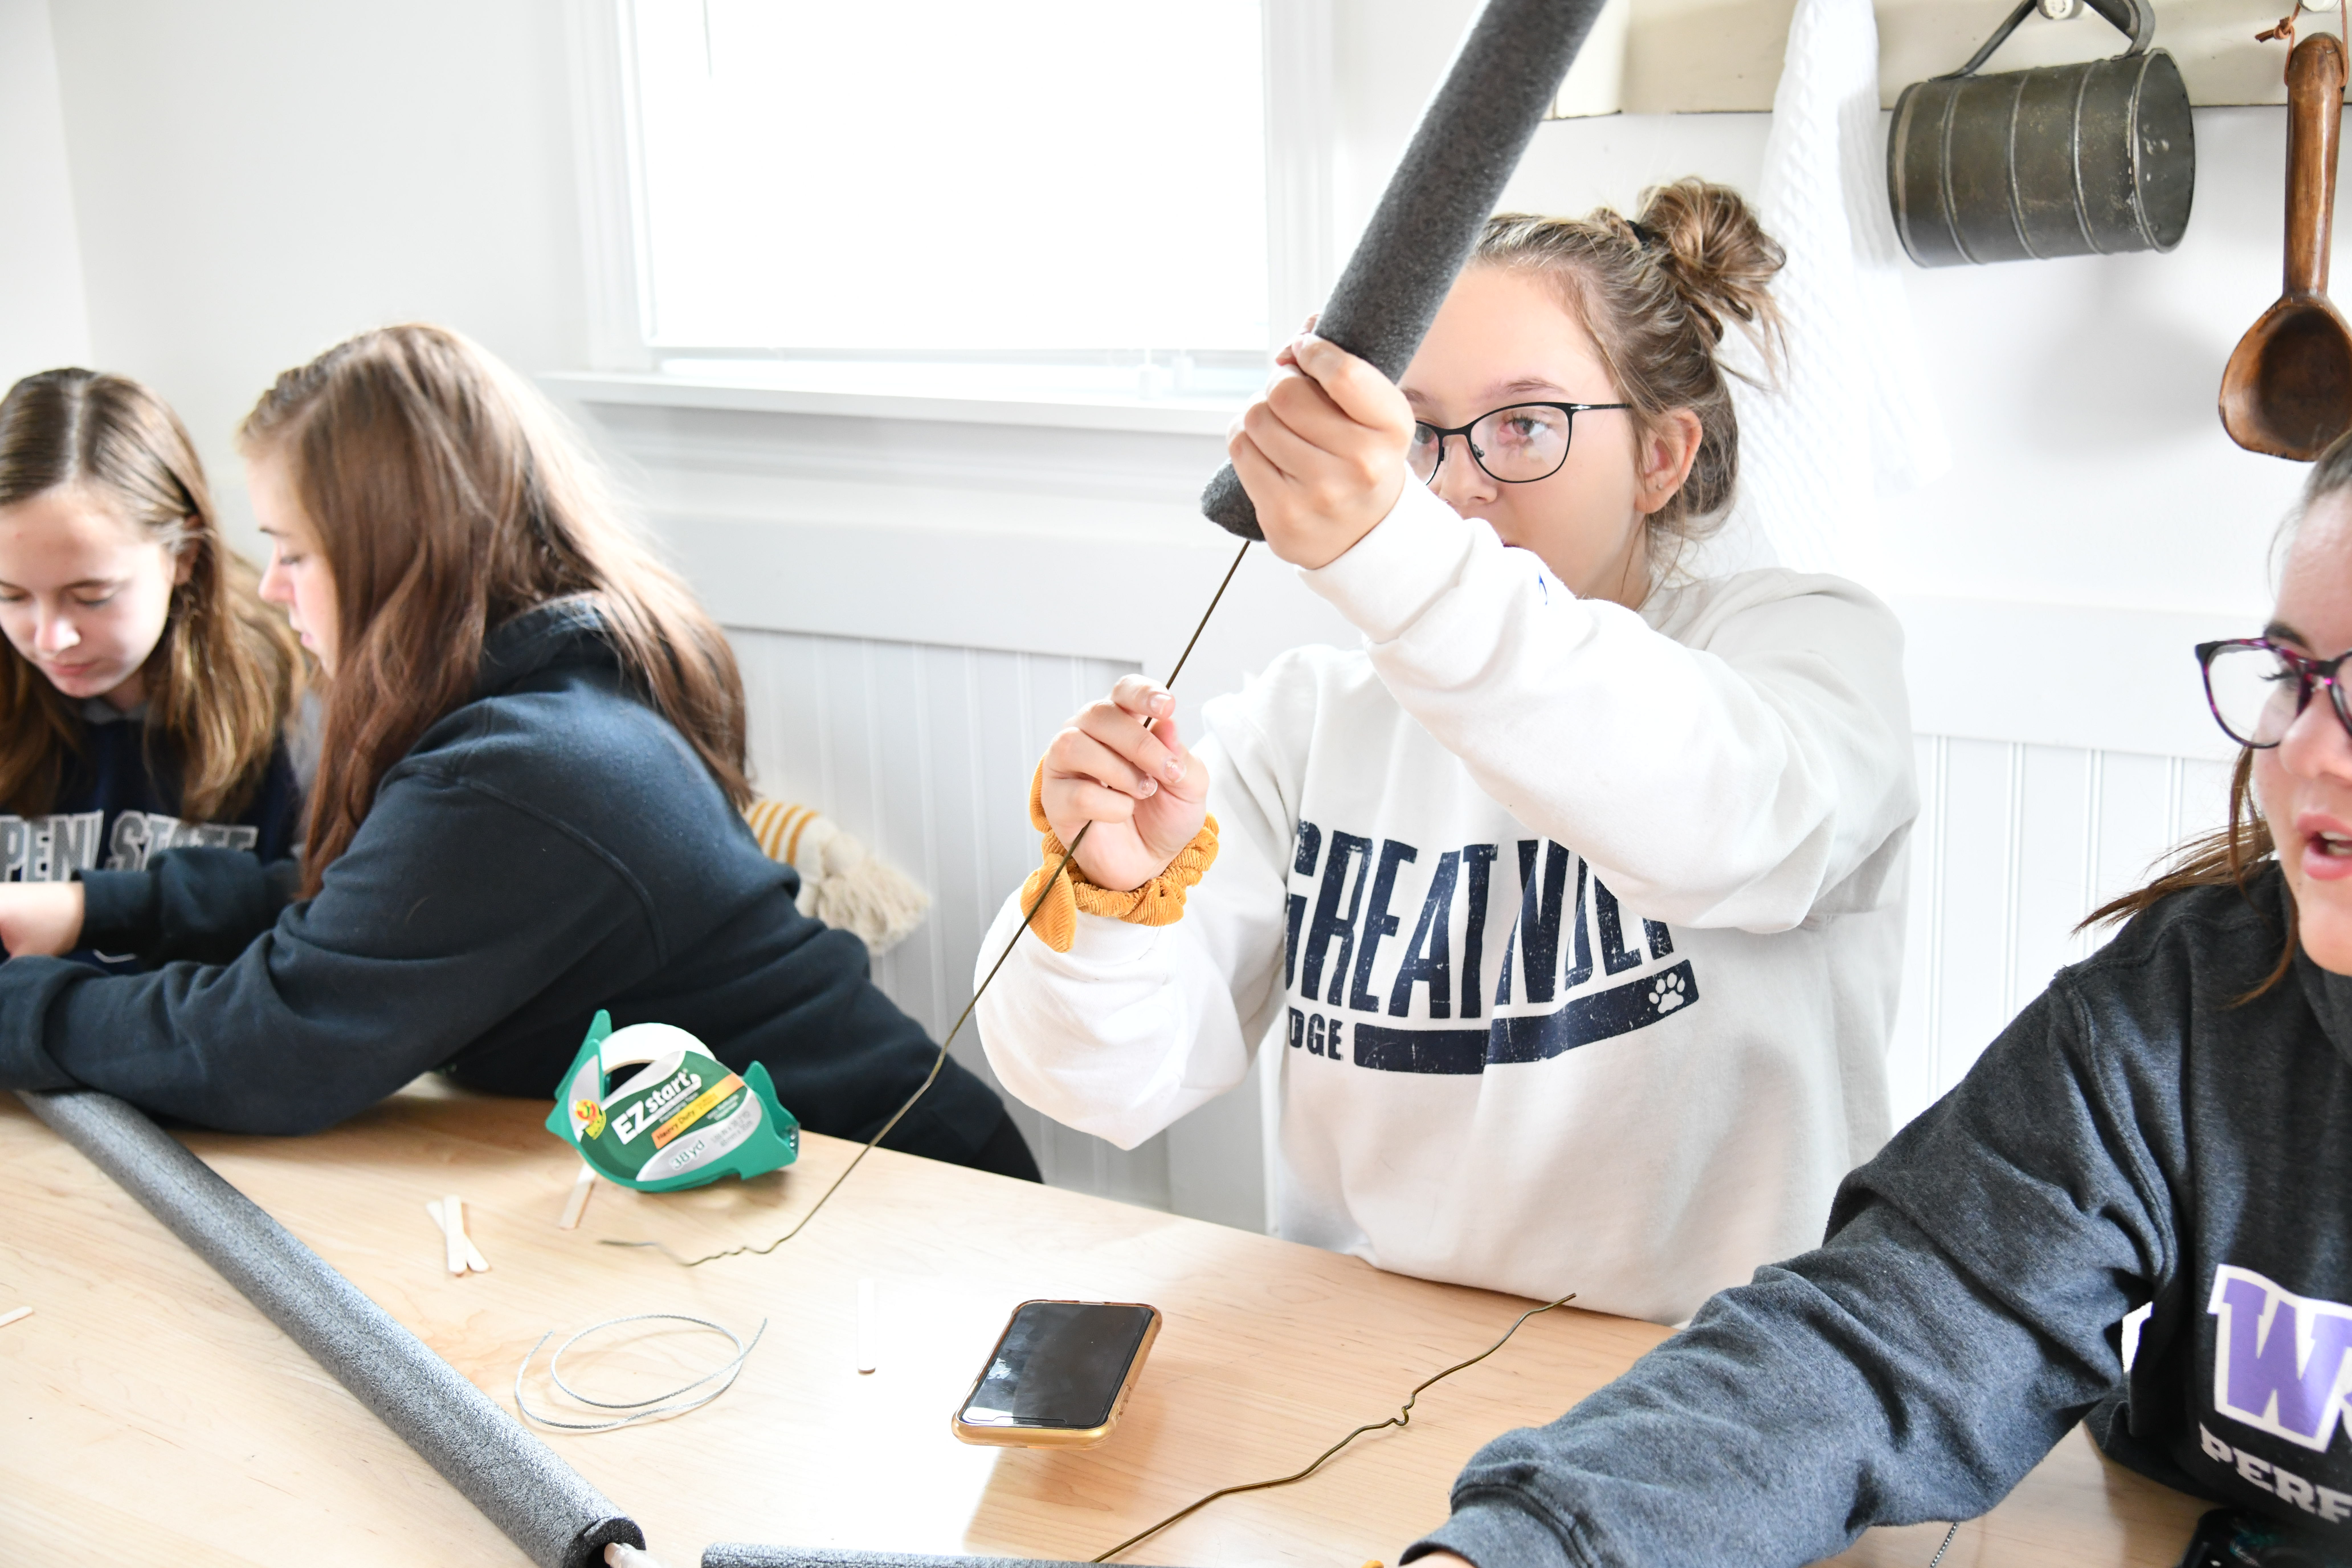
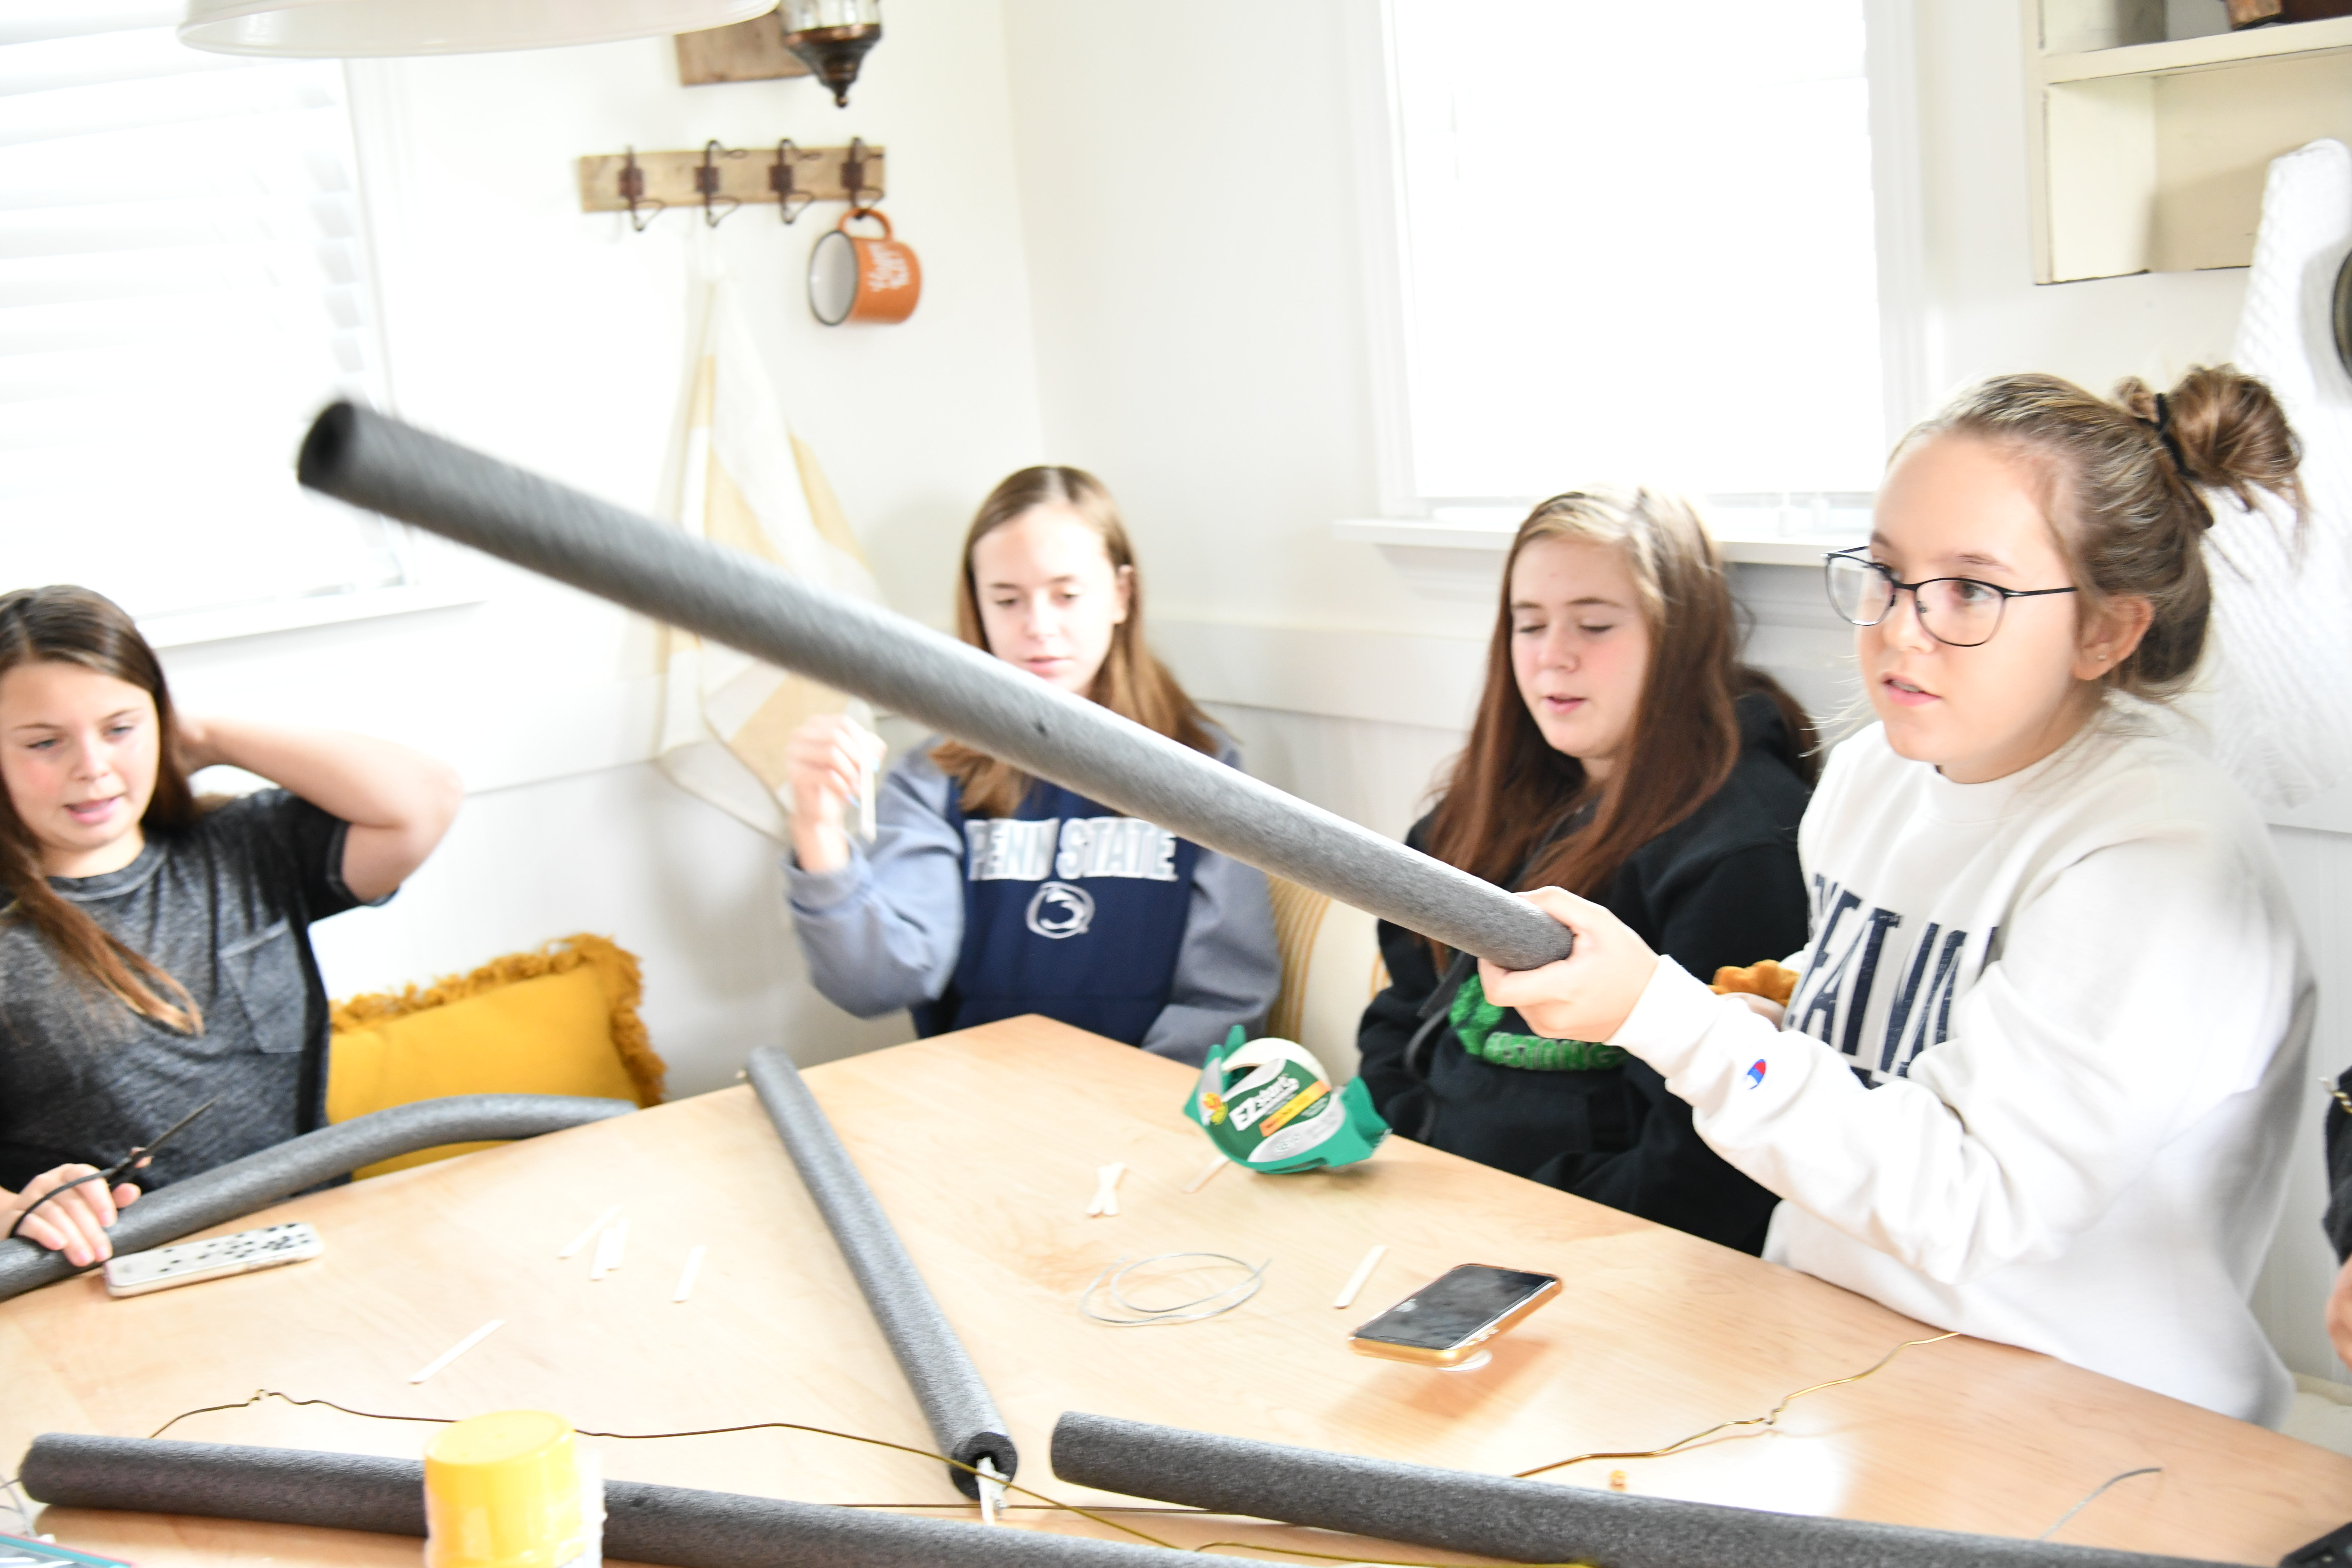
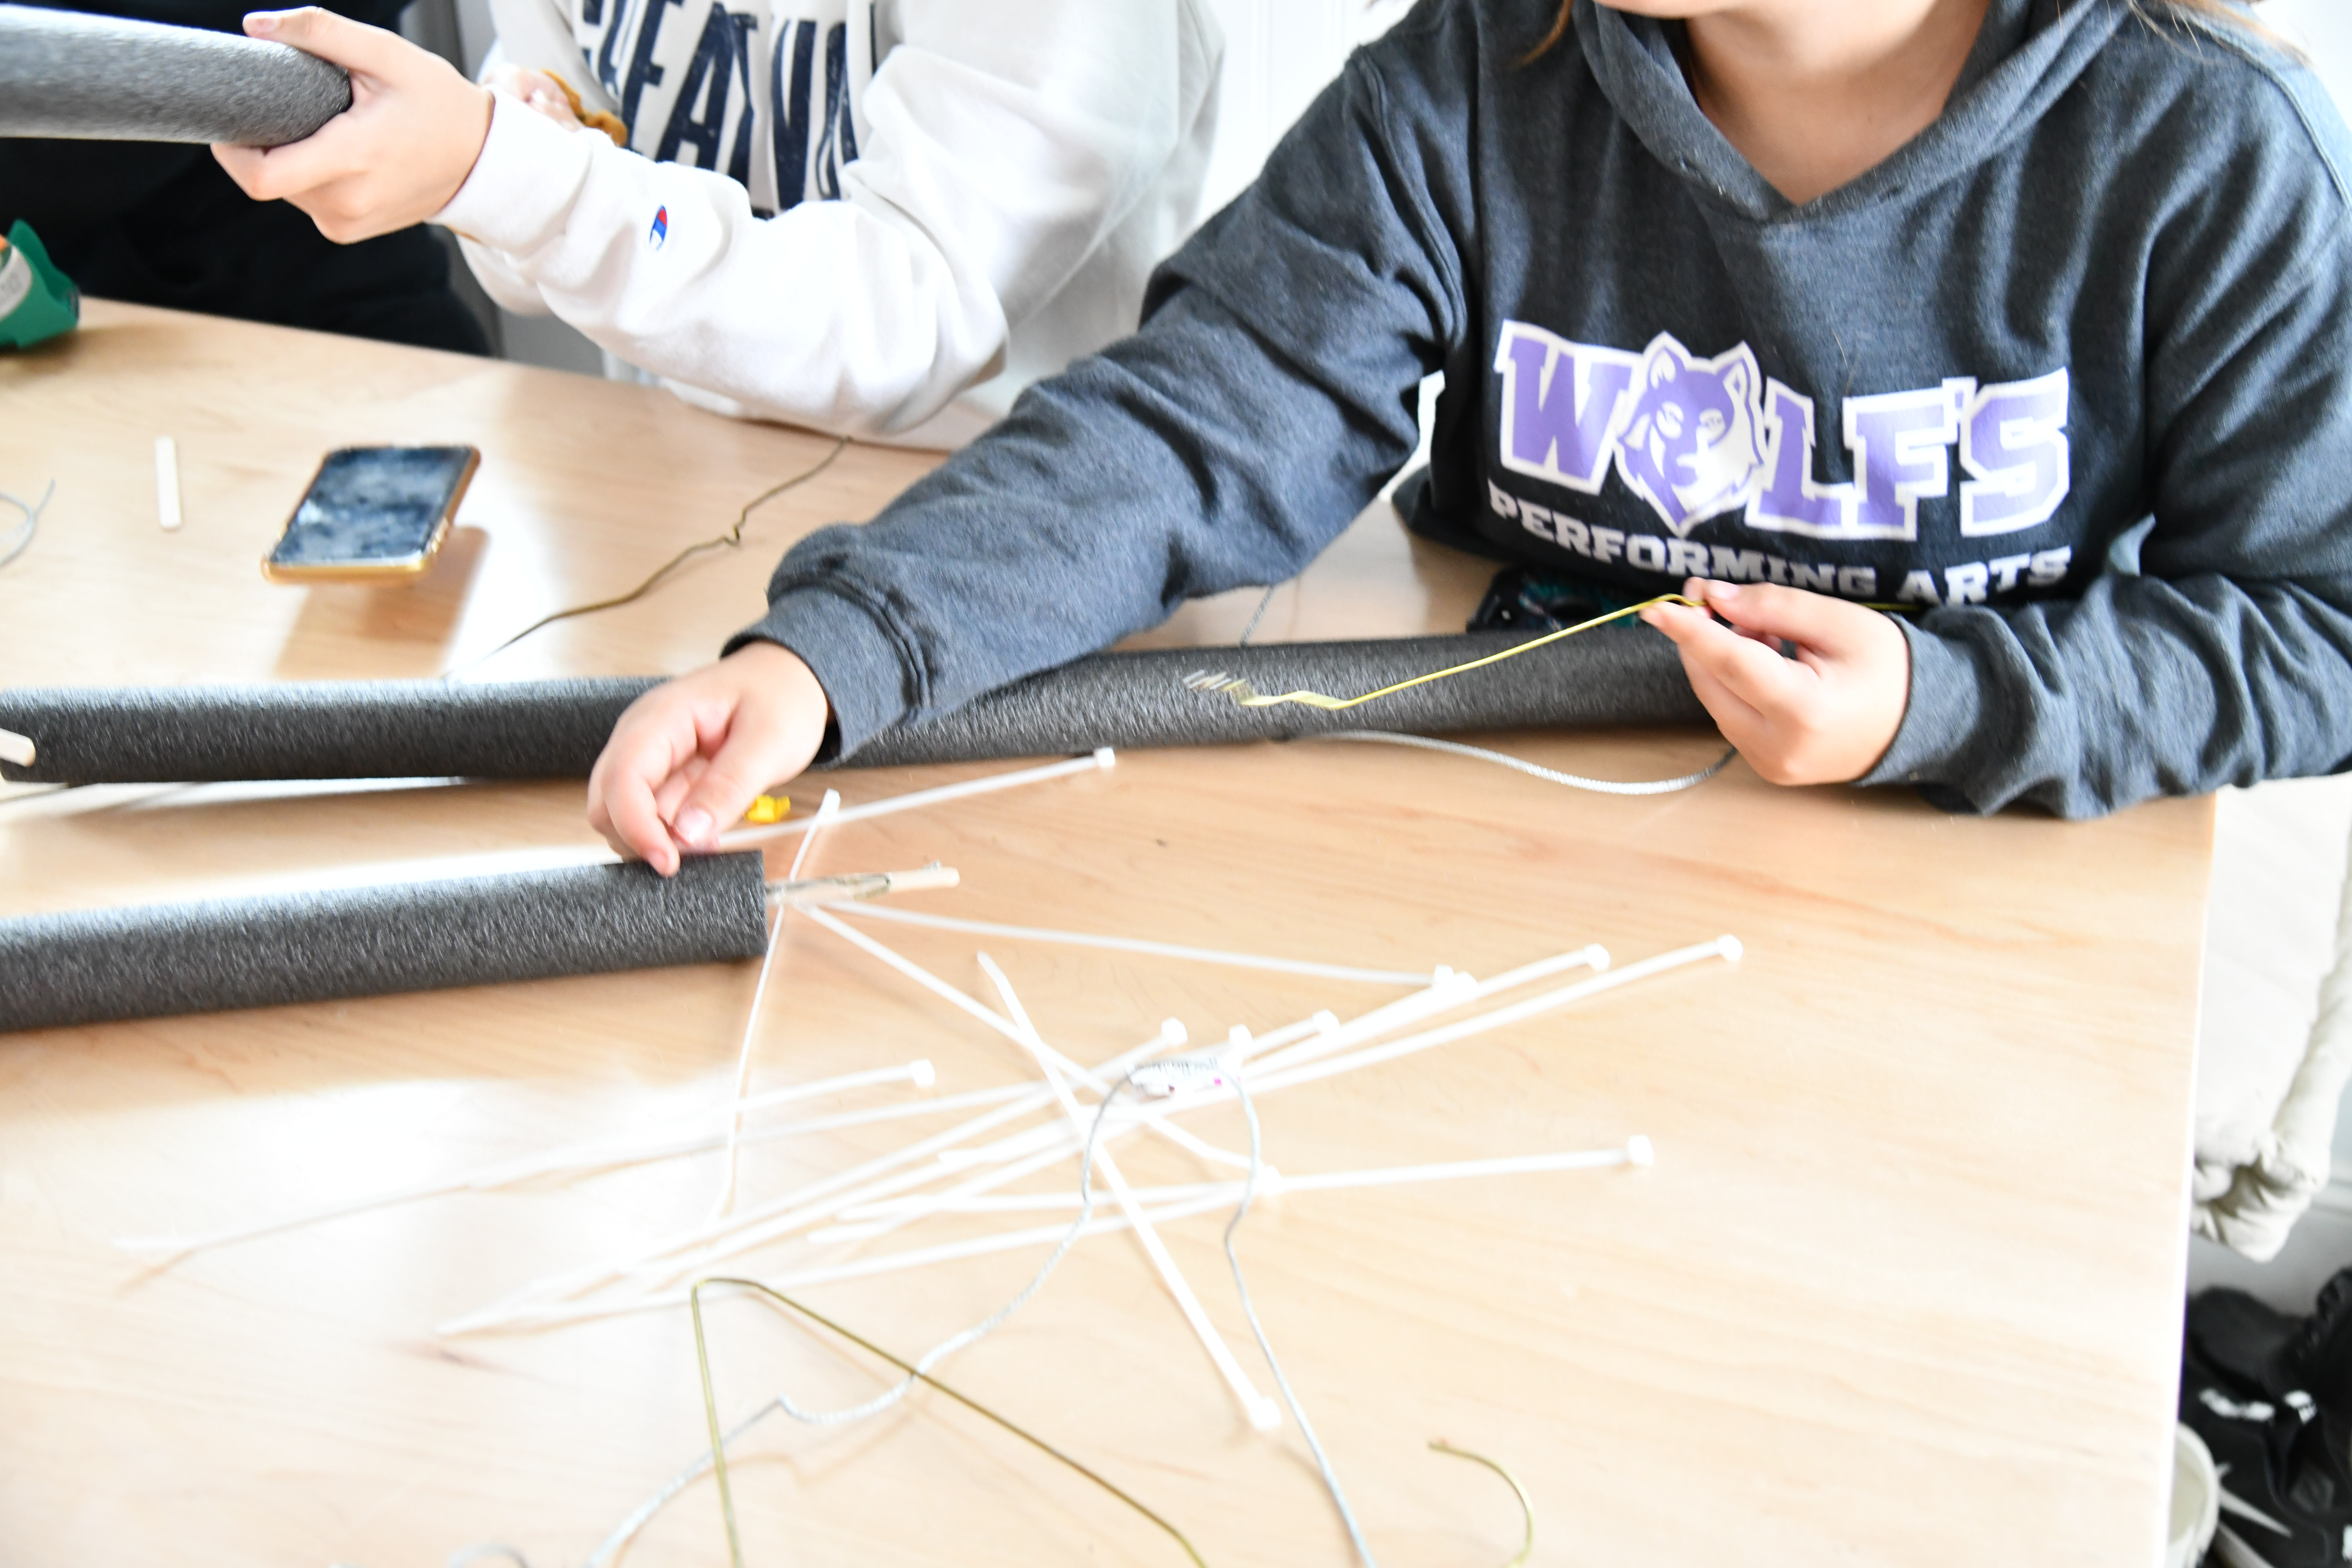
You will need a spool of wire that is strong enough to bend the plumbers piping.
Double your wire and slide through the plumbers piping.
This will allow you to bend it and create the spider leg shape easily.
Create the Legs
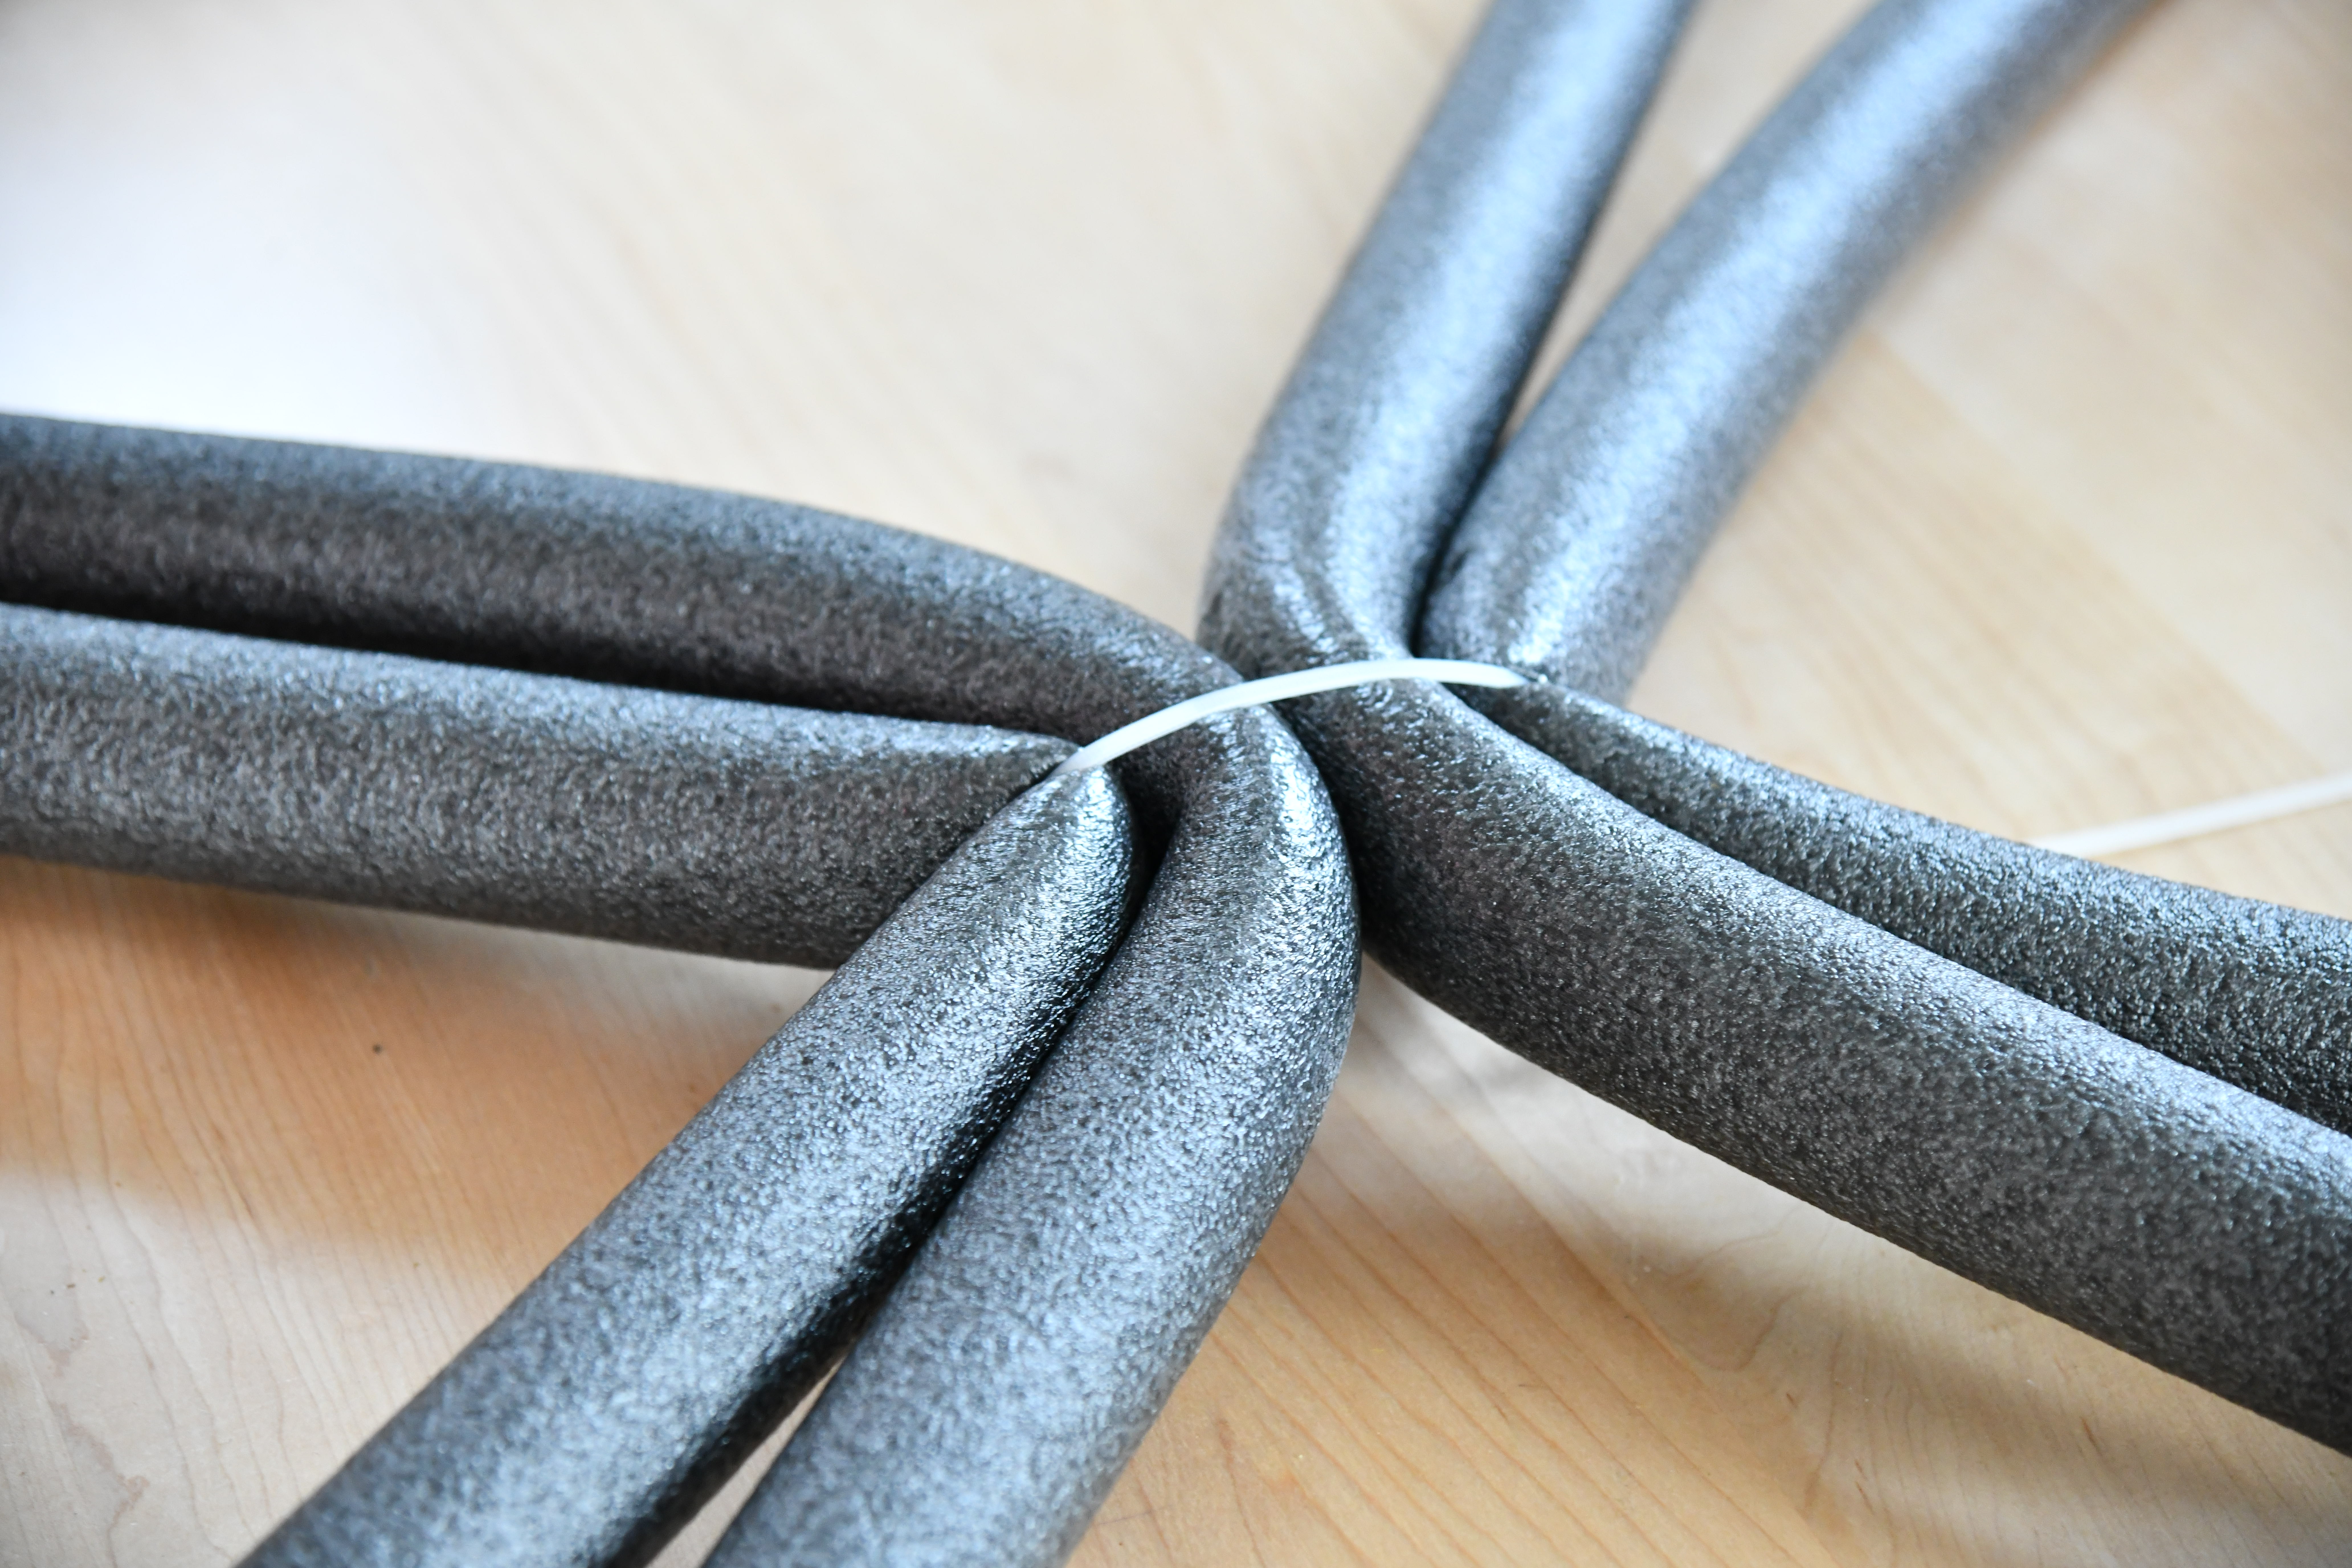
Take all four sections of plumbers piping that you have cut, and you can use a large zip tie or pipe cleaners to tie the sections together as shown above.
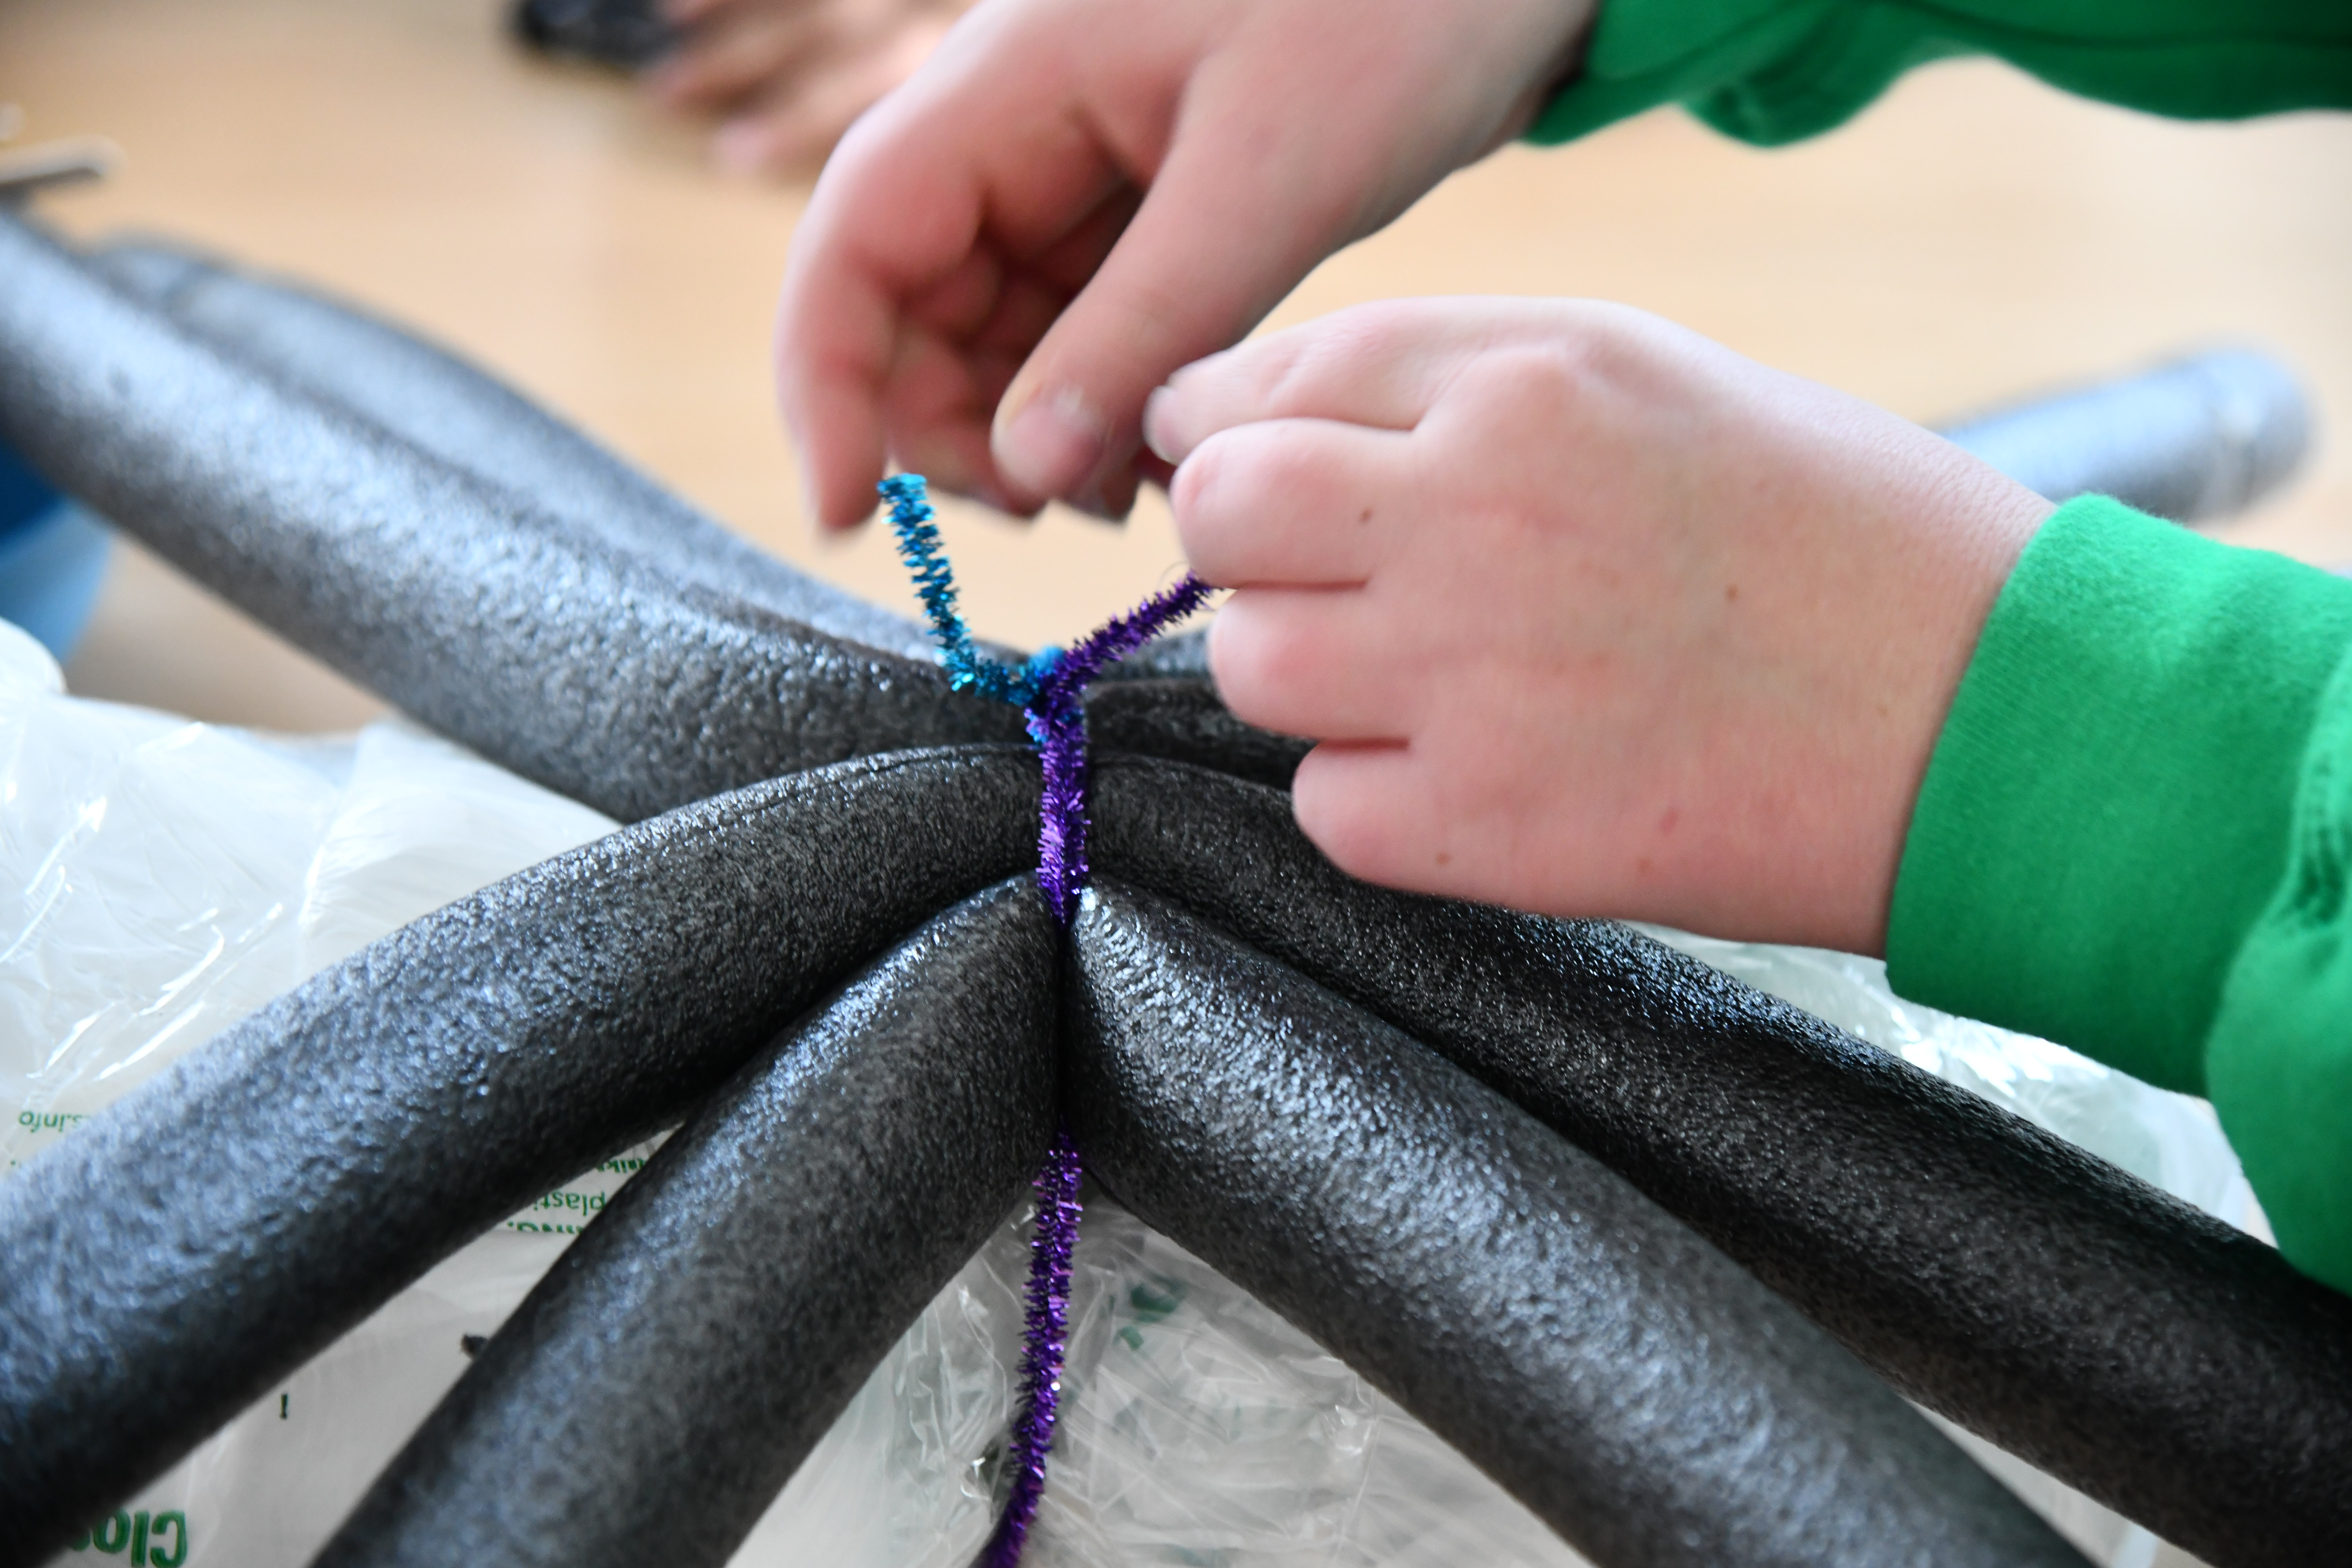
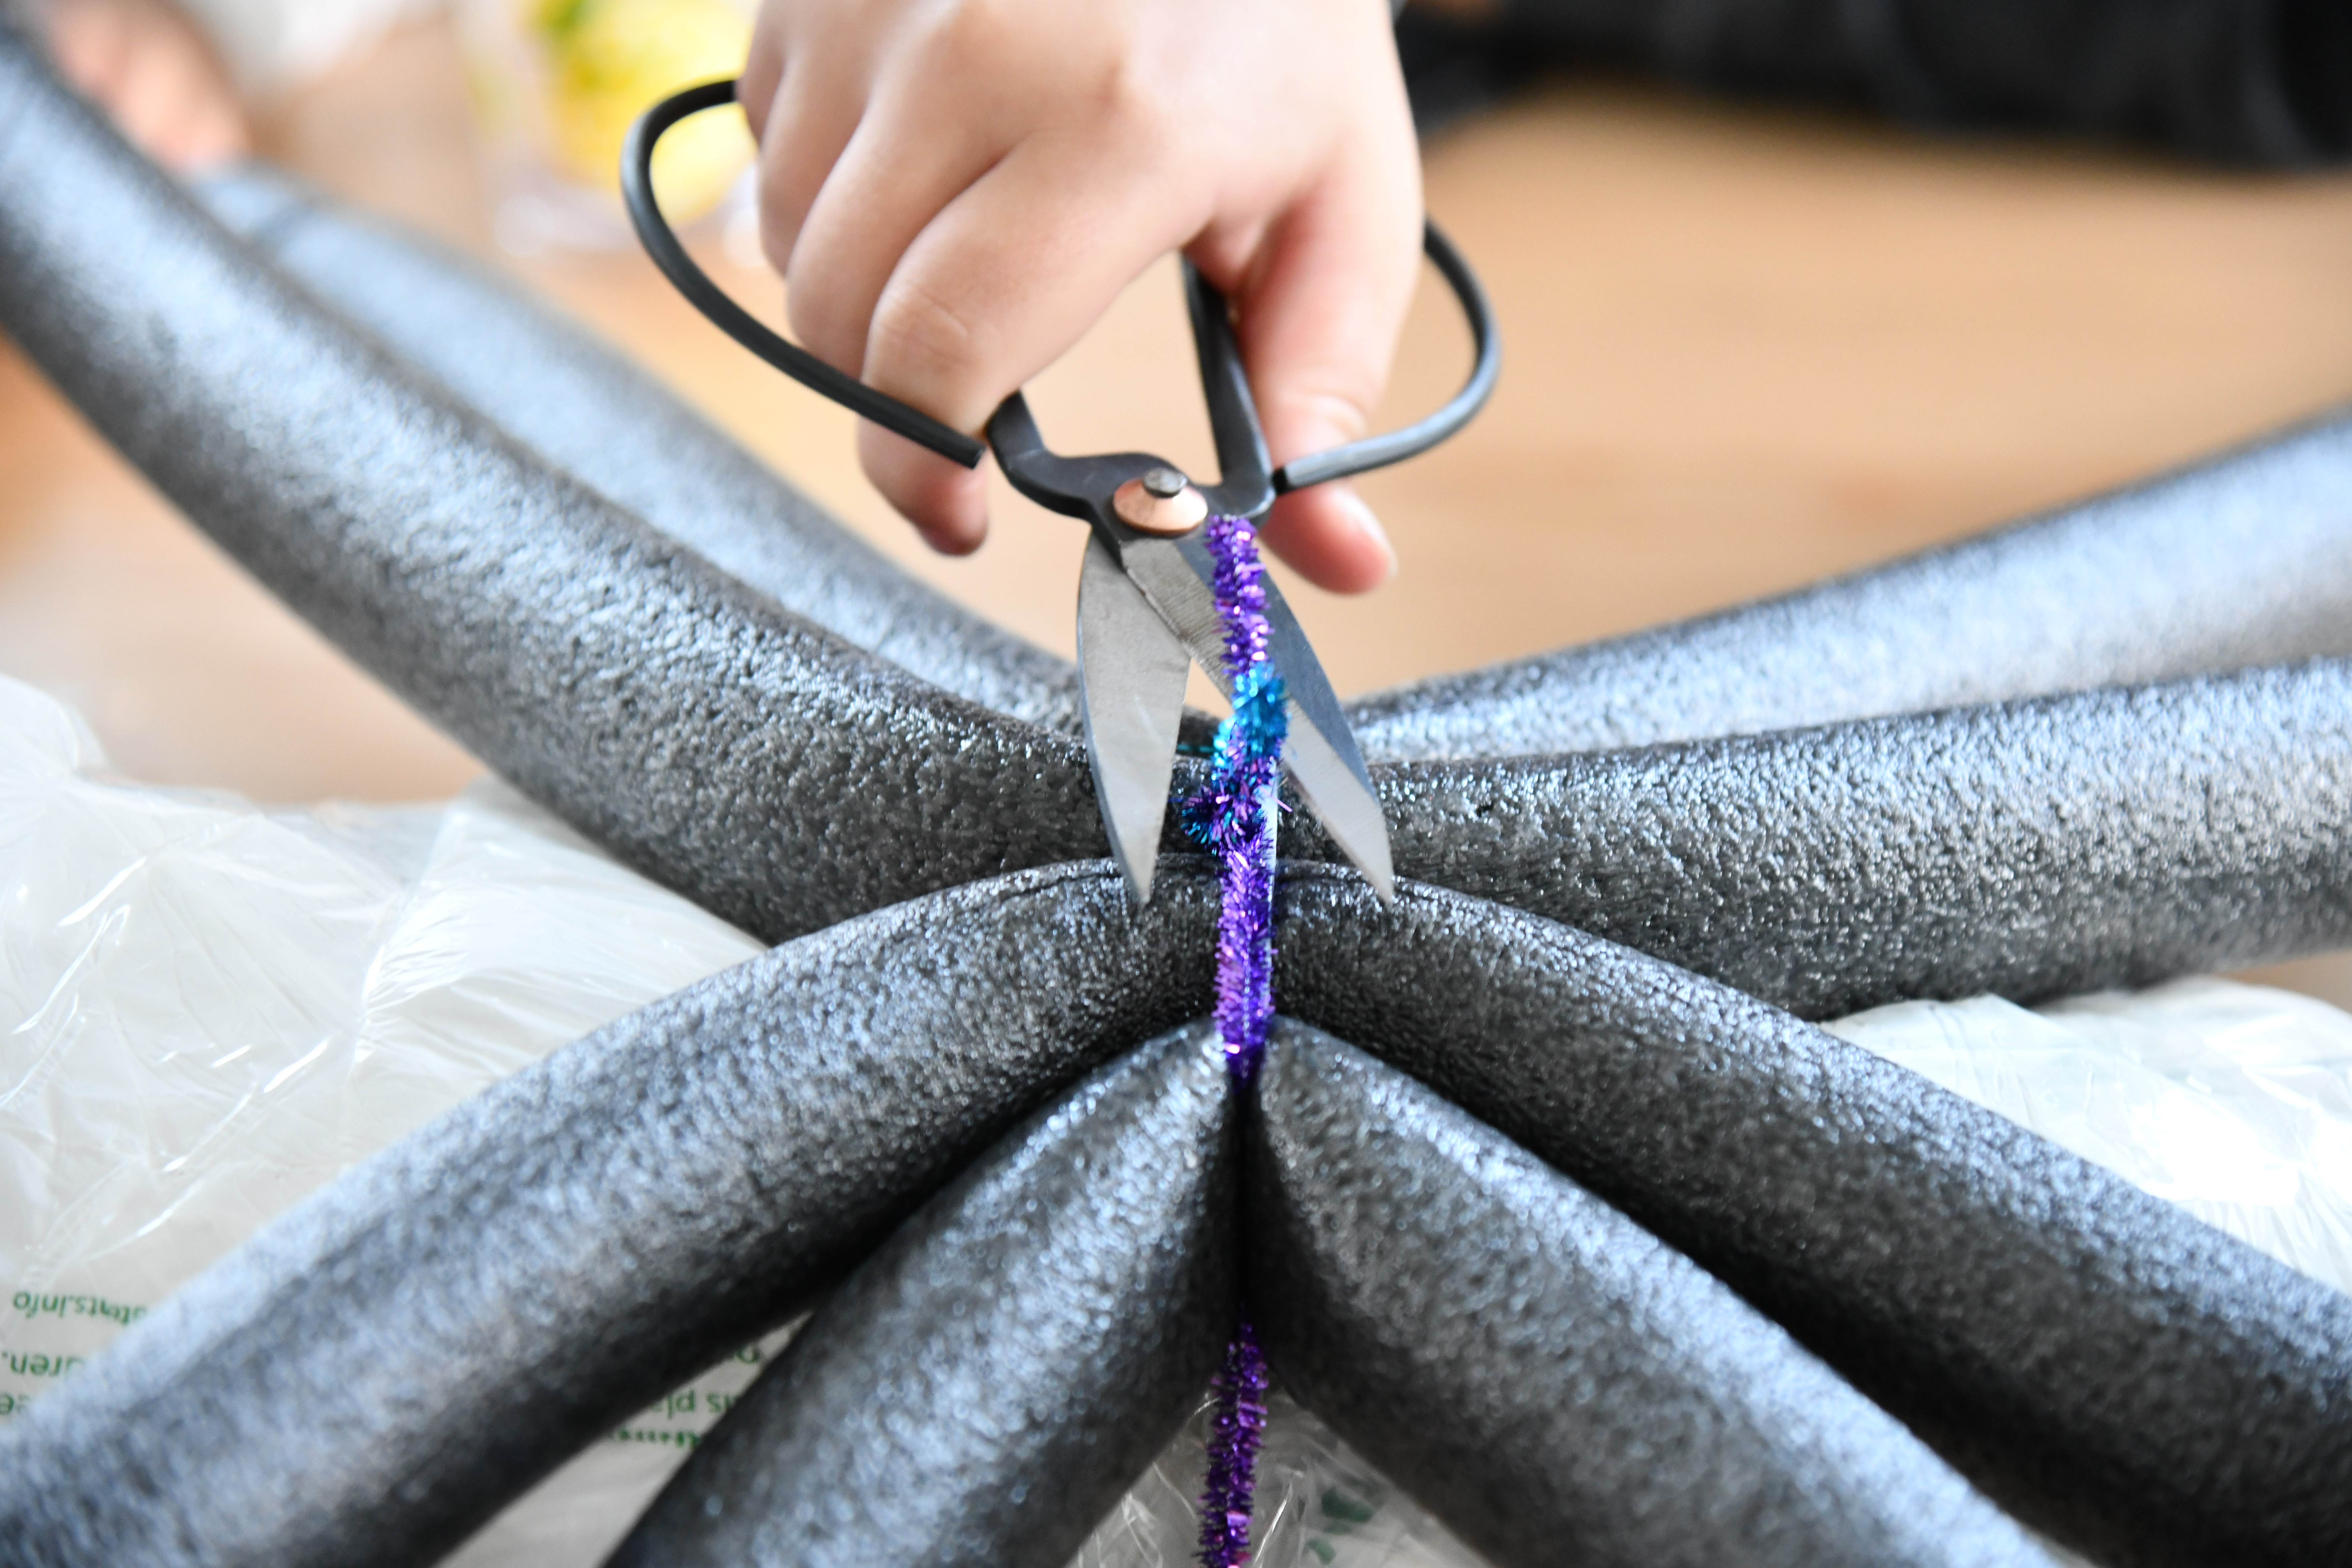
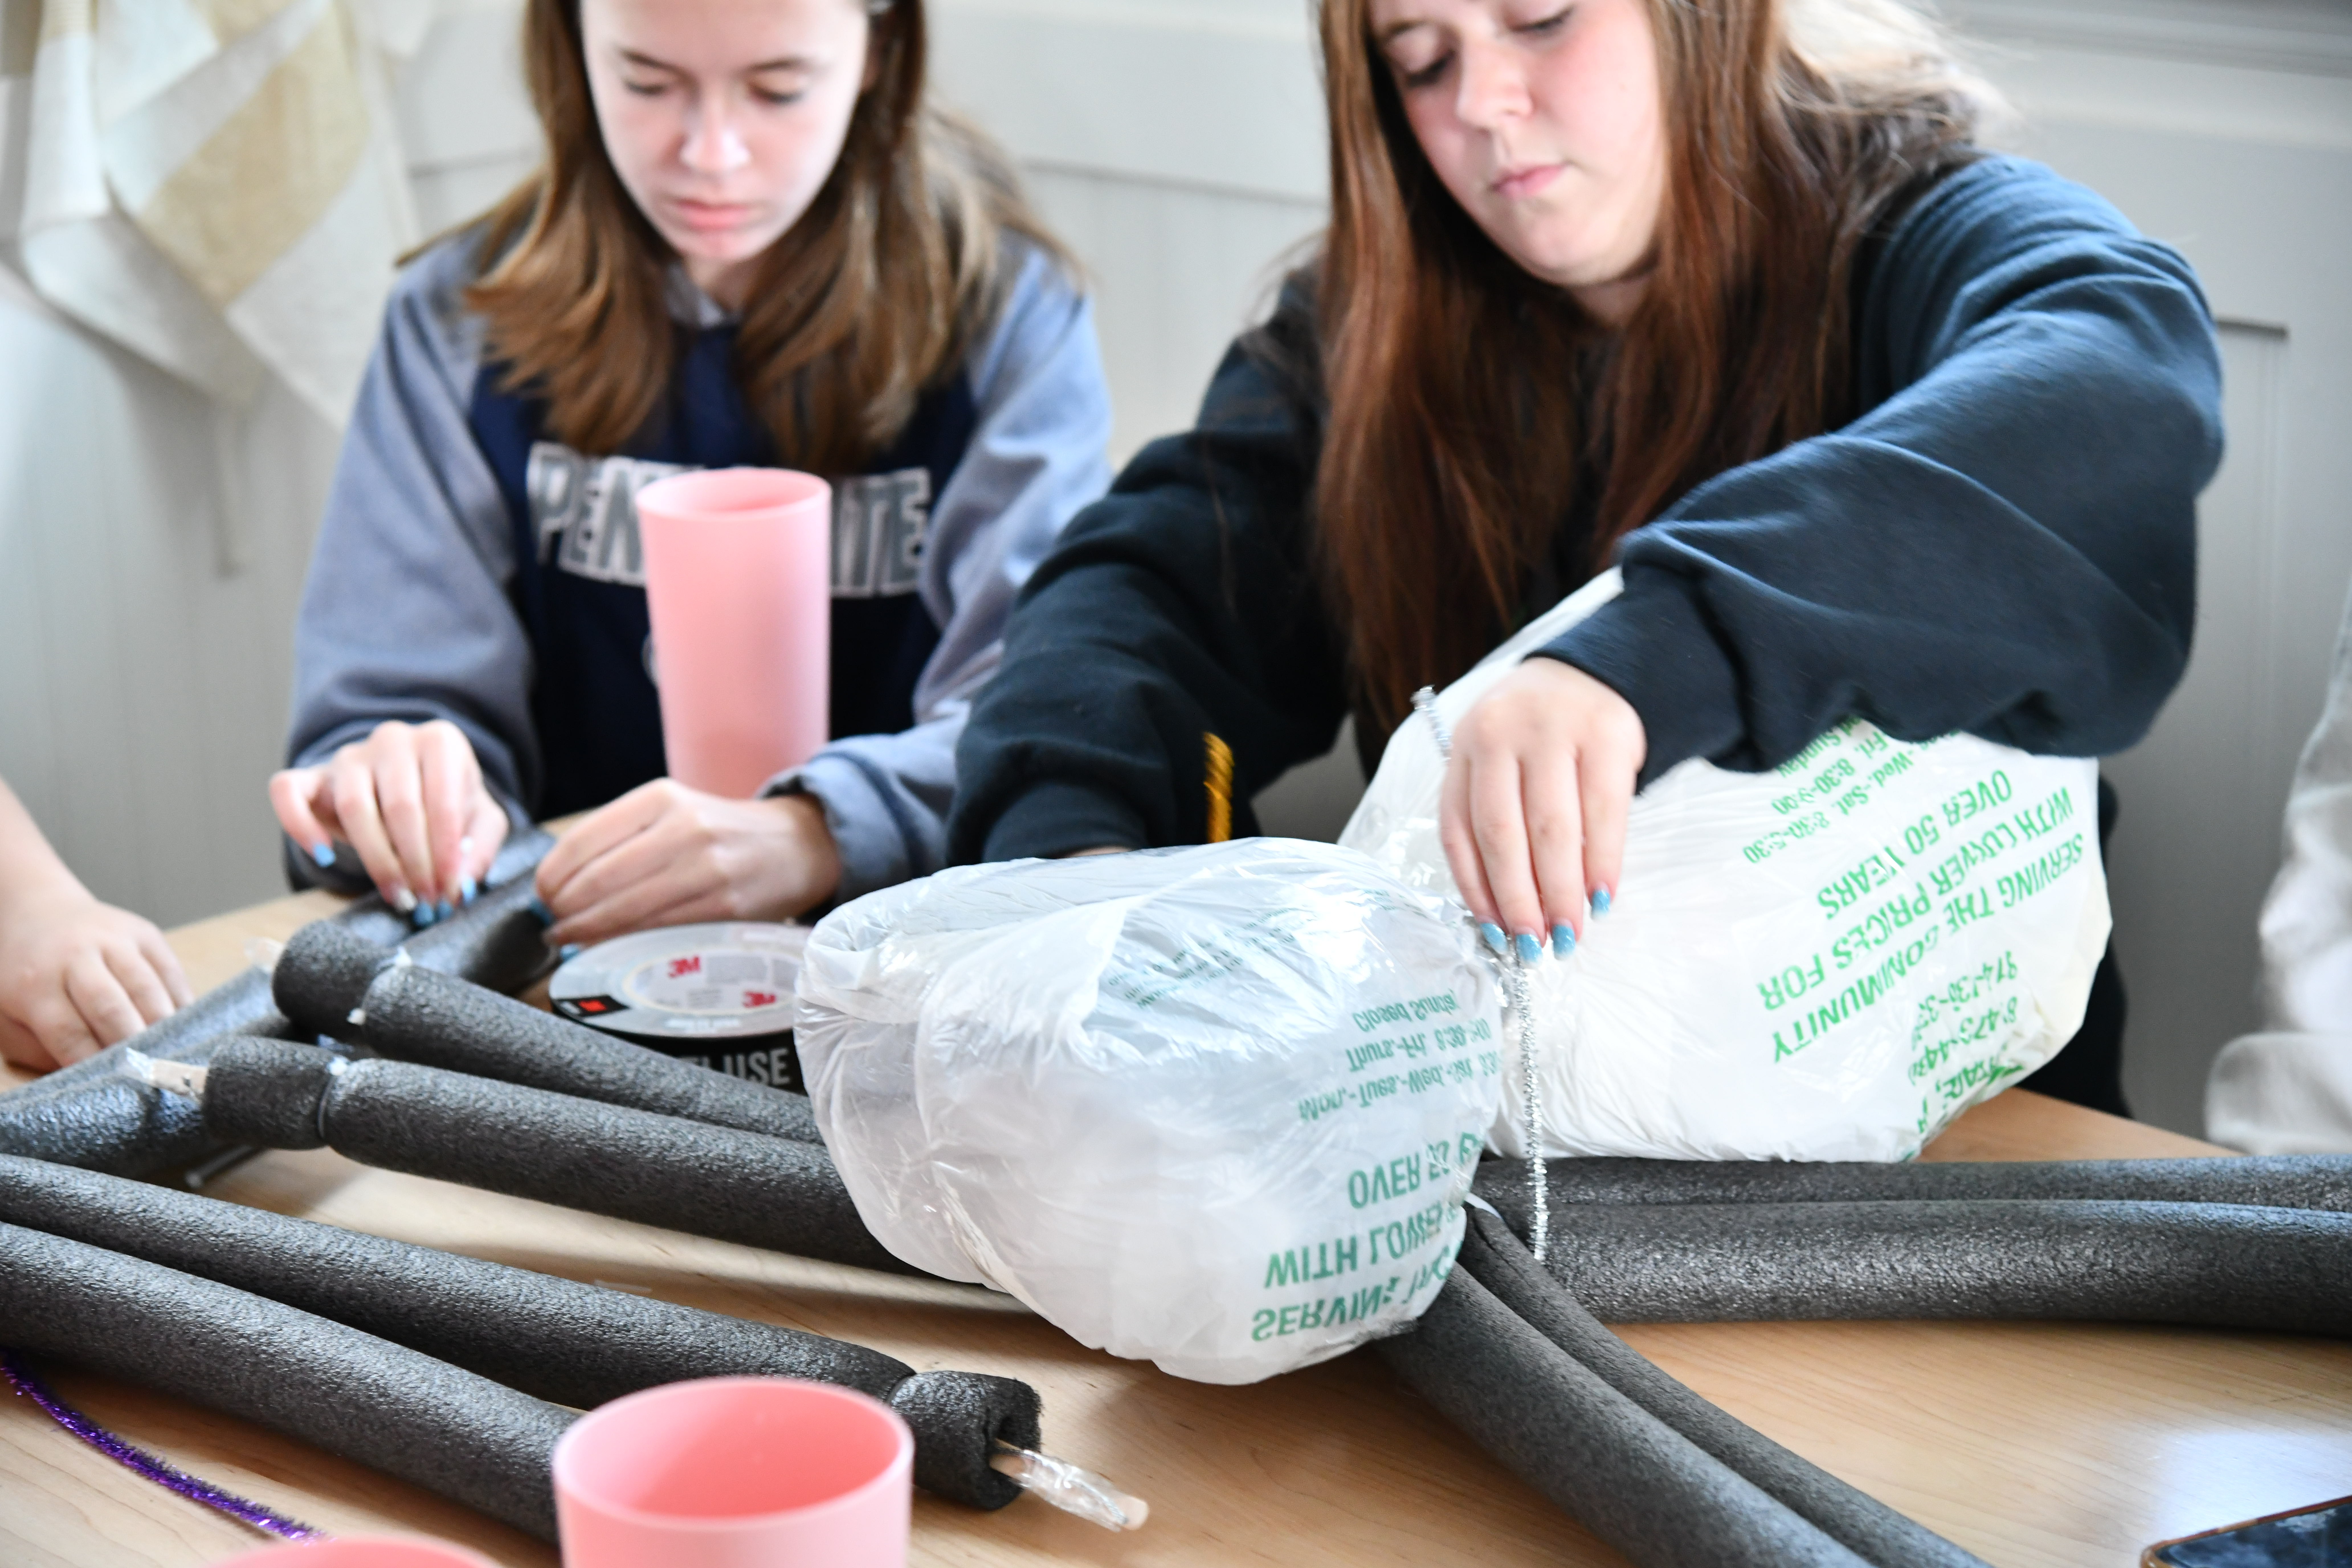
Then we wired the body onto the legs. You can use pipe cleaners like we did it worked perfectly.
Note* Before this step is where I would have just duct taped each leg with the black tape.
It would have been easier at this step than where I added it in below.
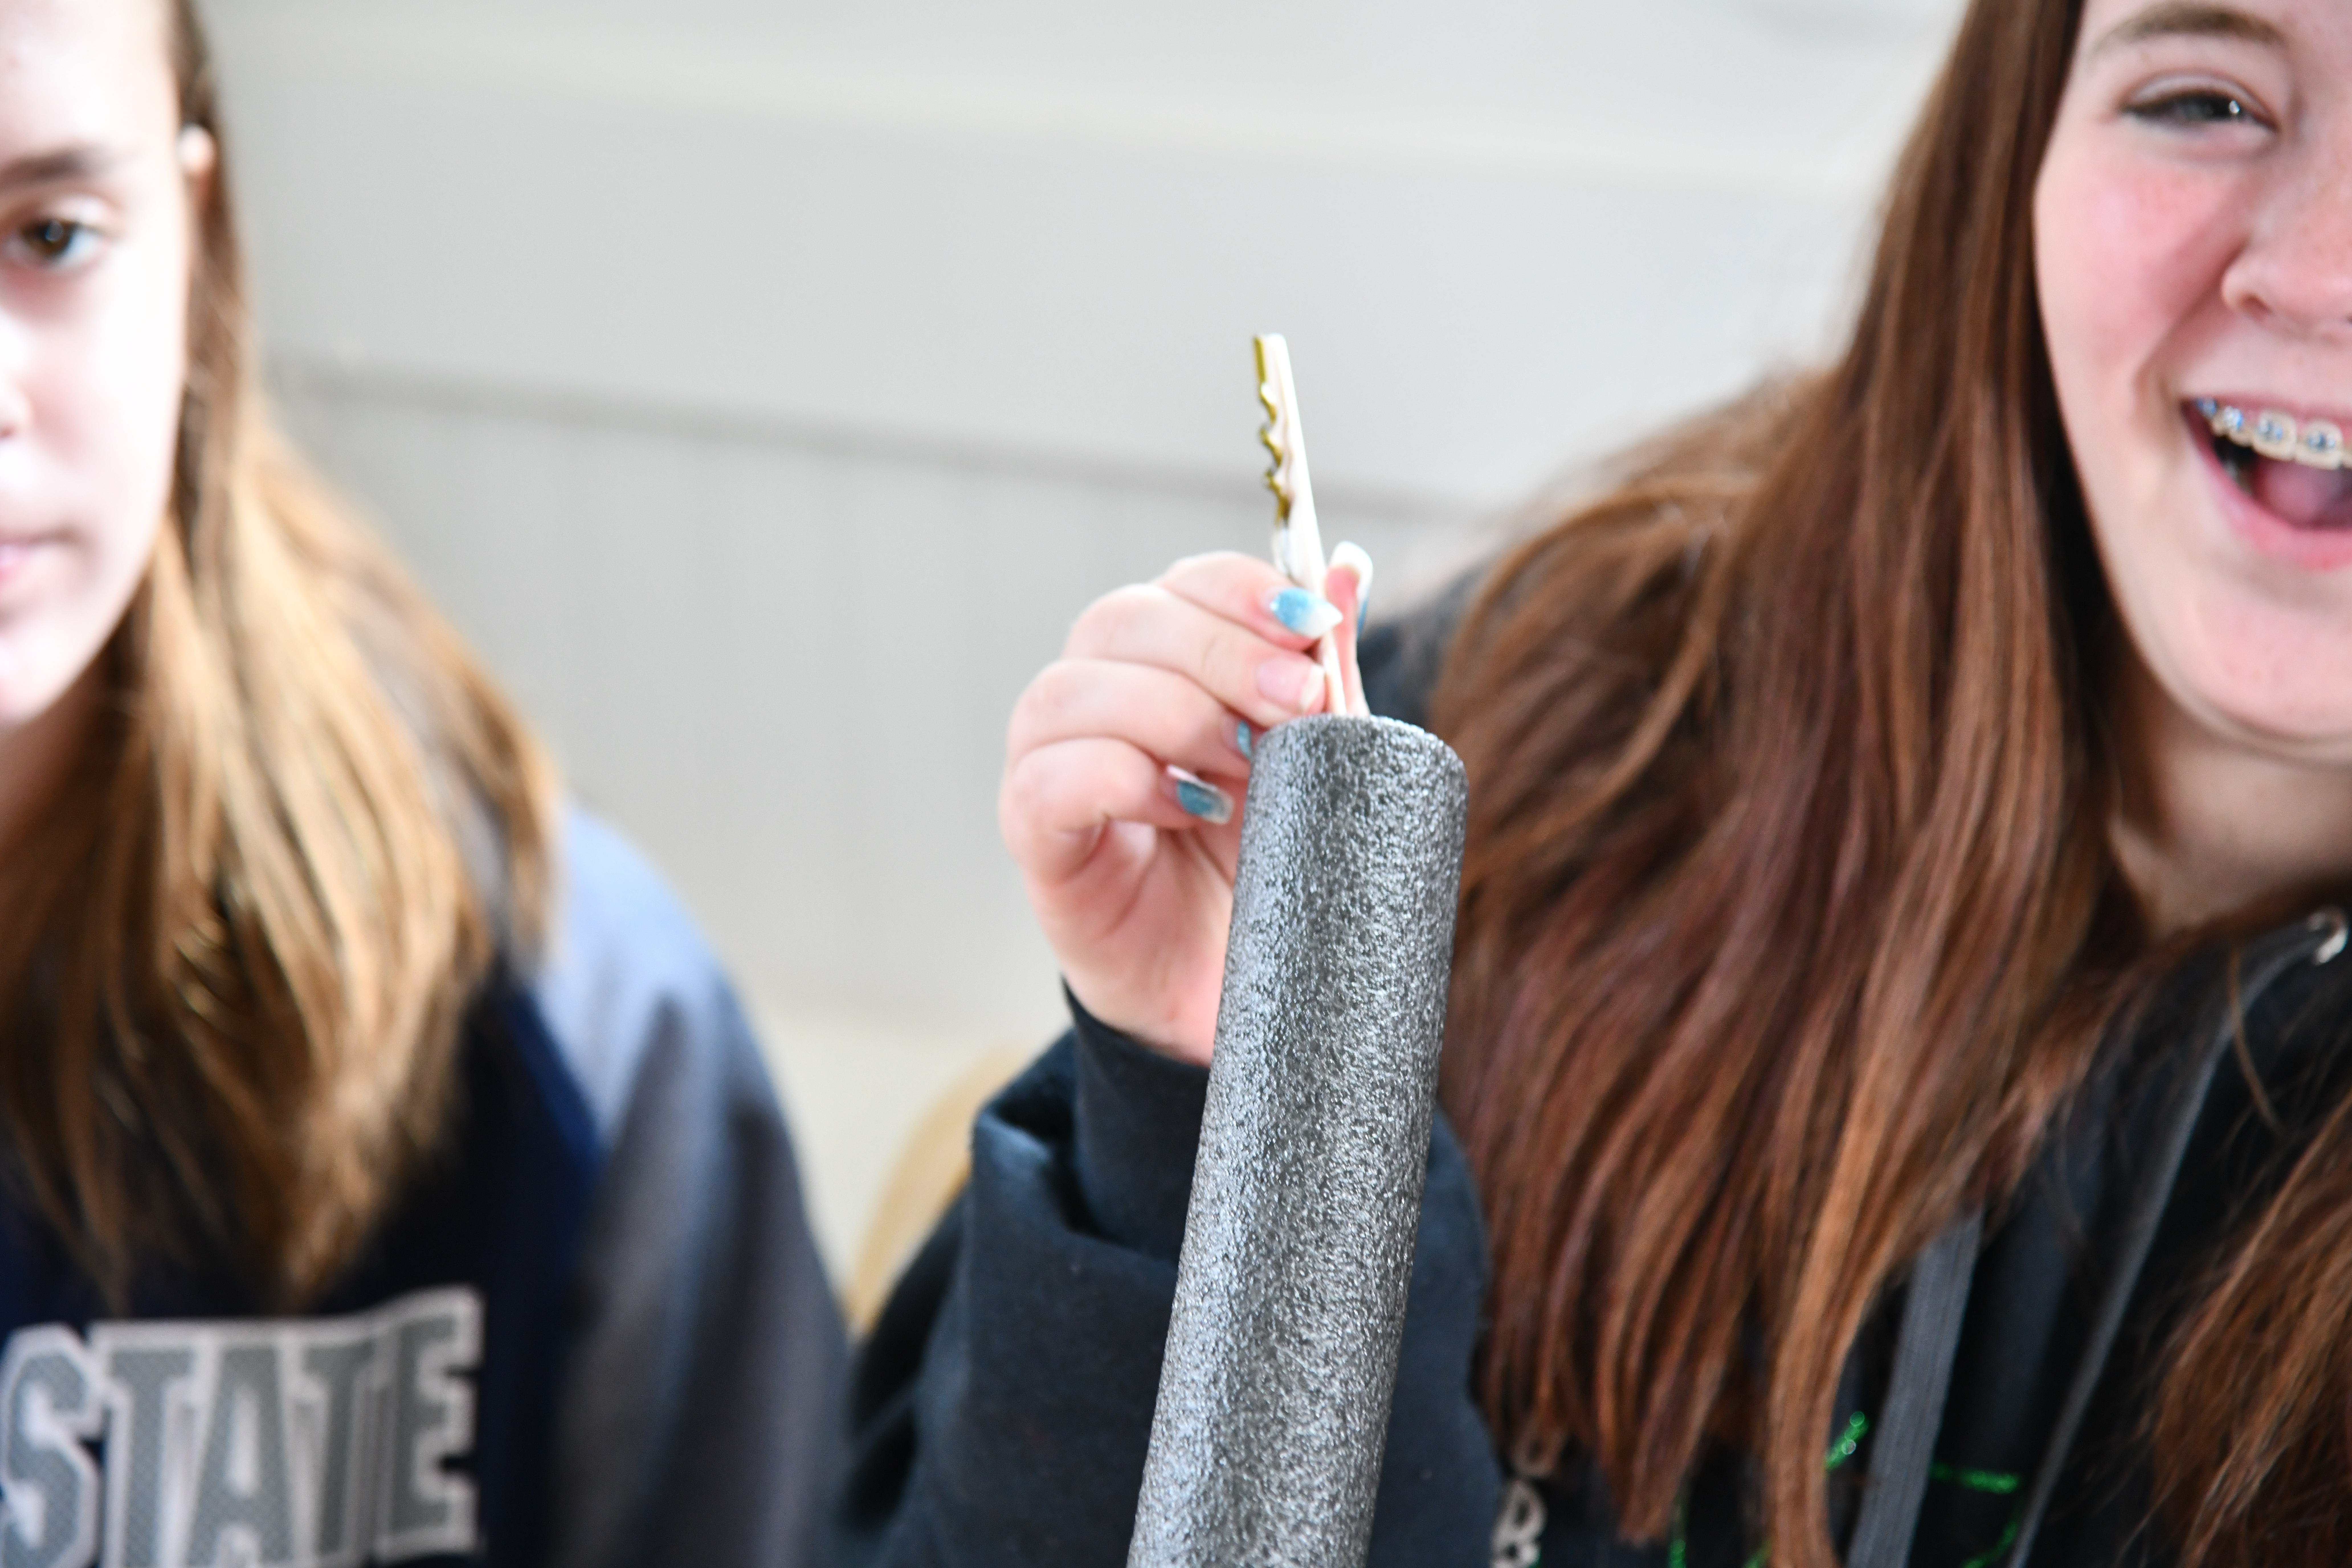
Now you want to use popsicle stick or BBQ Skewer to create the nails.
We used popsicle sticks.
We taped them to the wire hanging out each end of the piping.
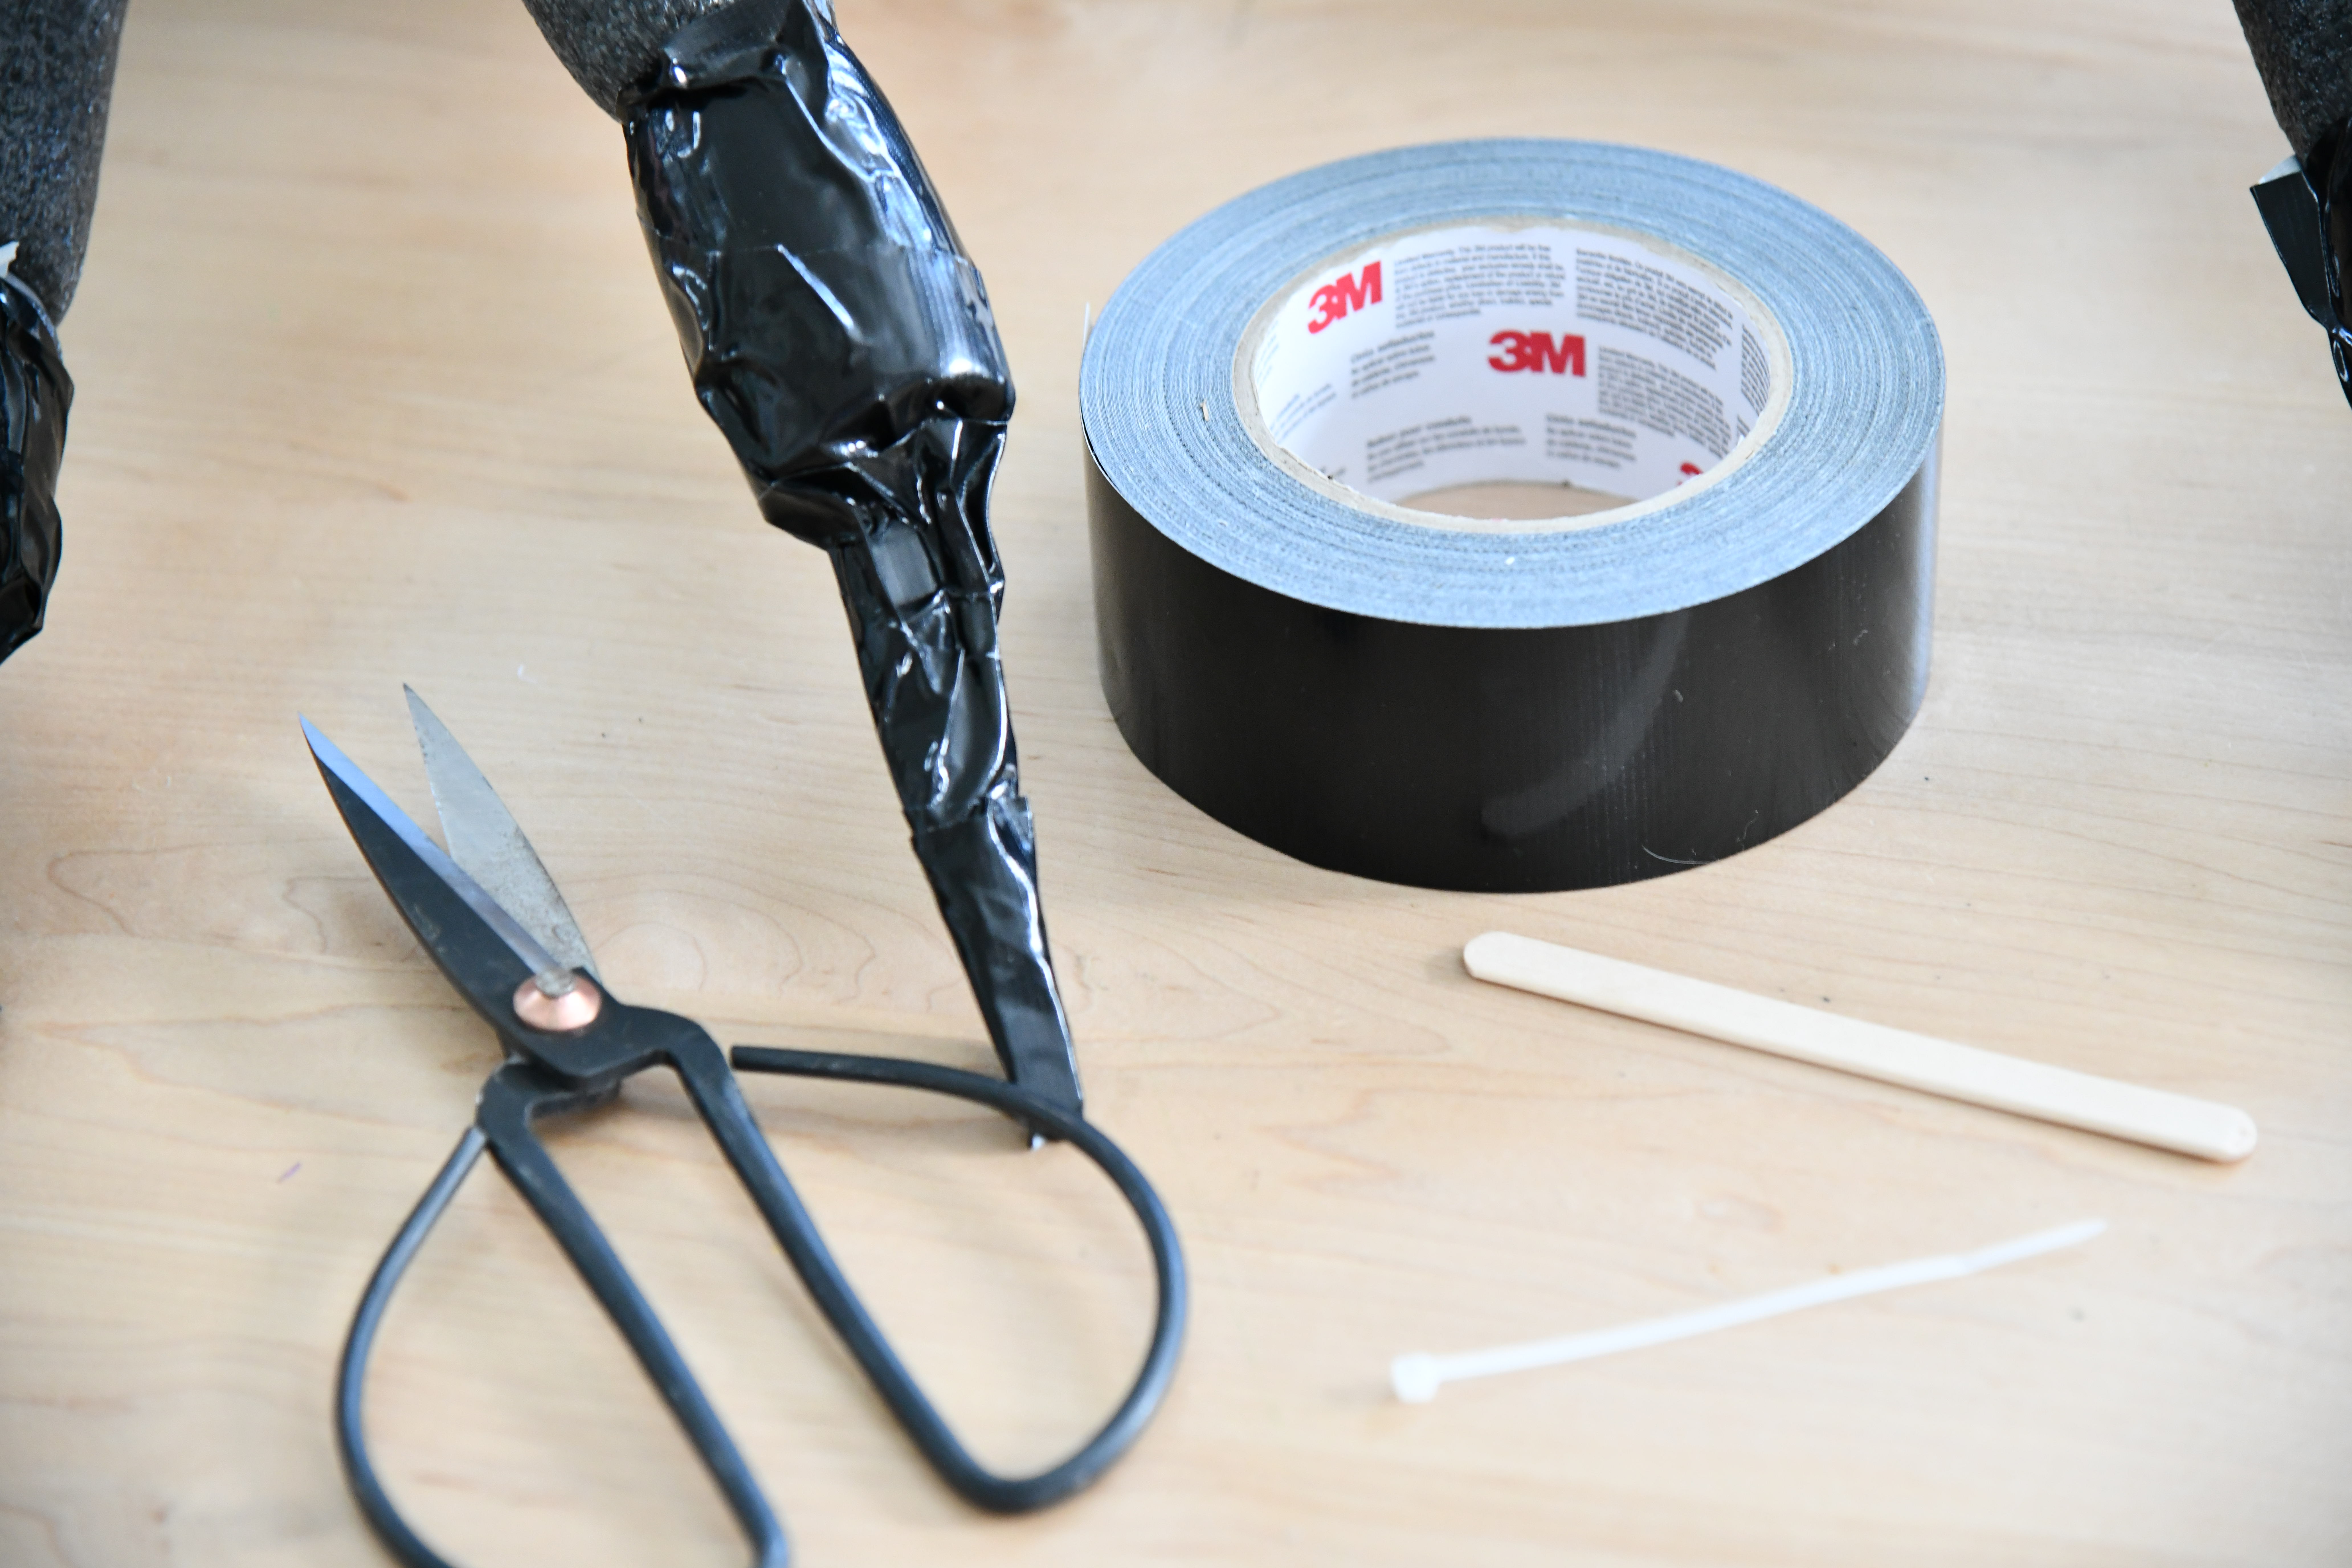
Take black duct tape and cover the entire popsicle stick.
You are trying to come to a point and create the spider nail.
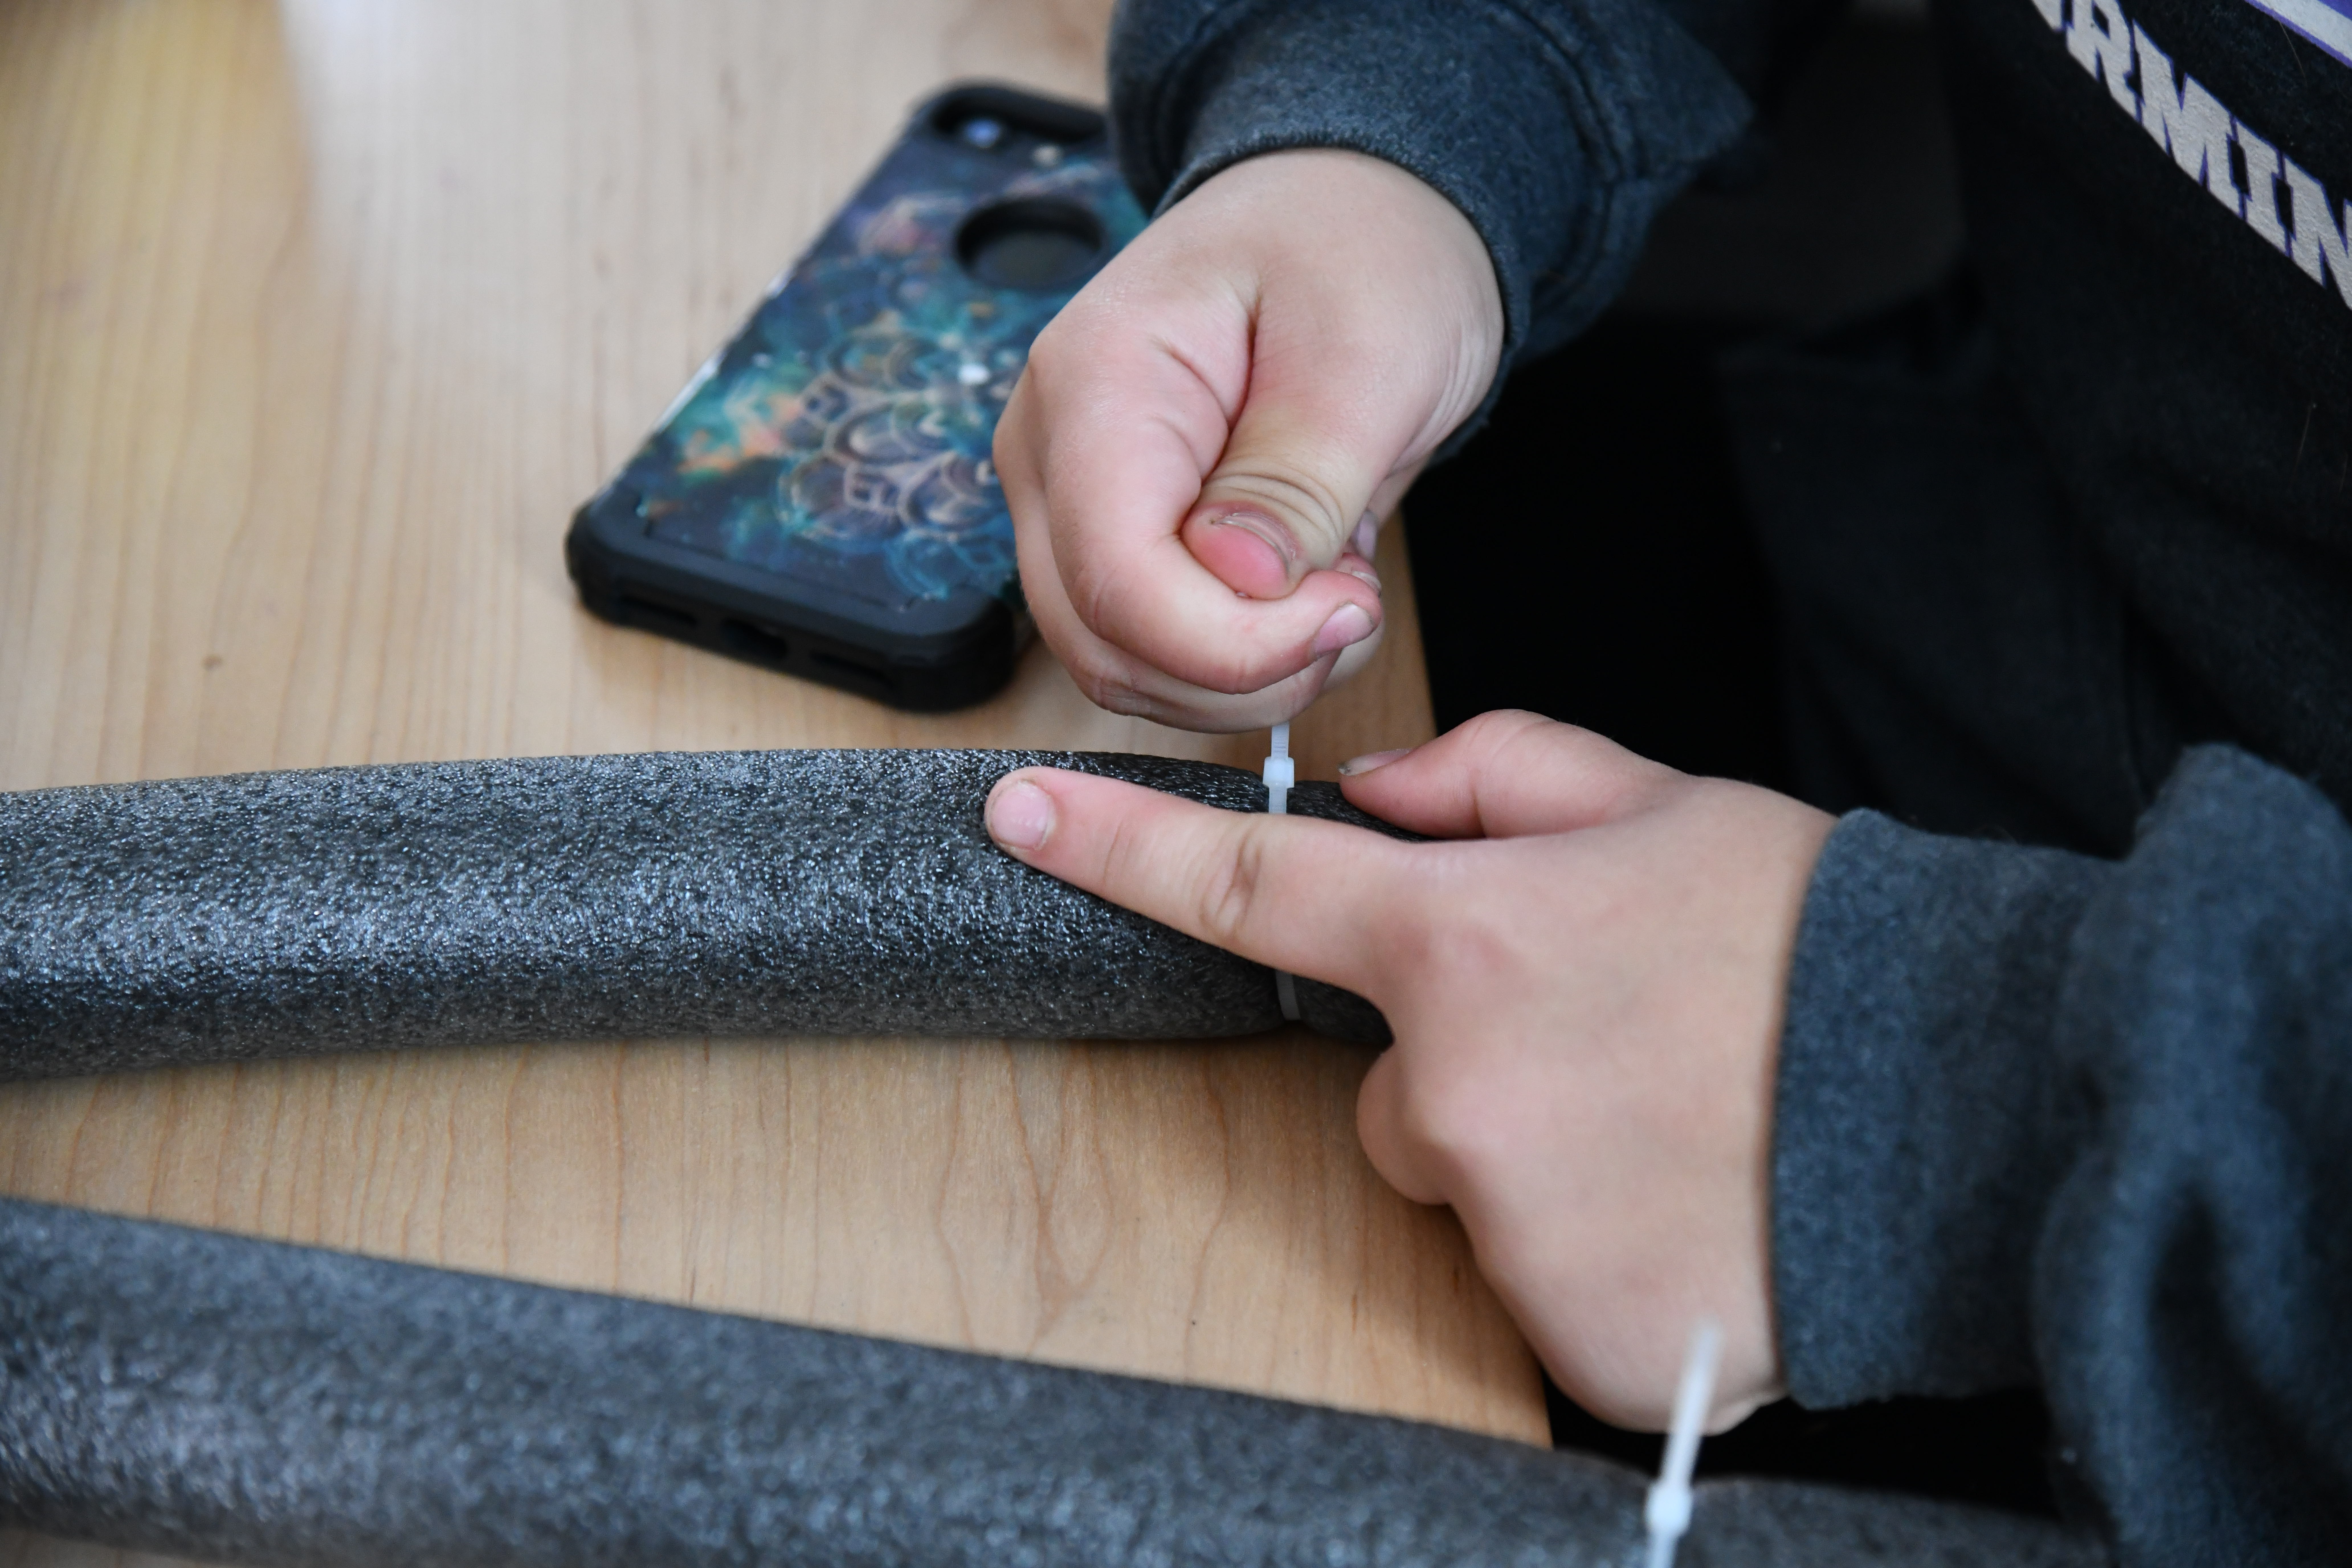
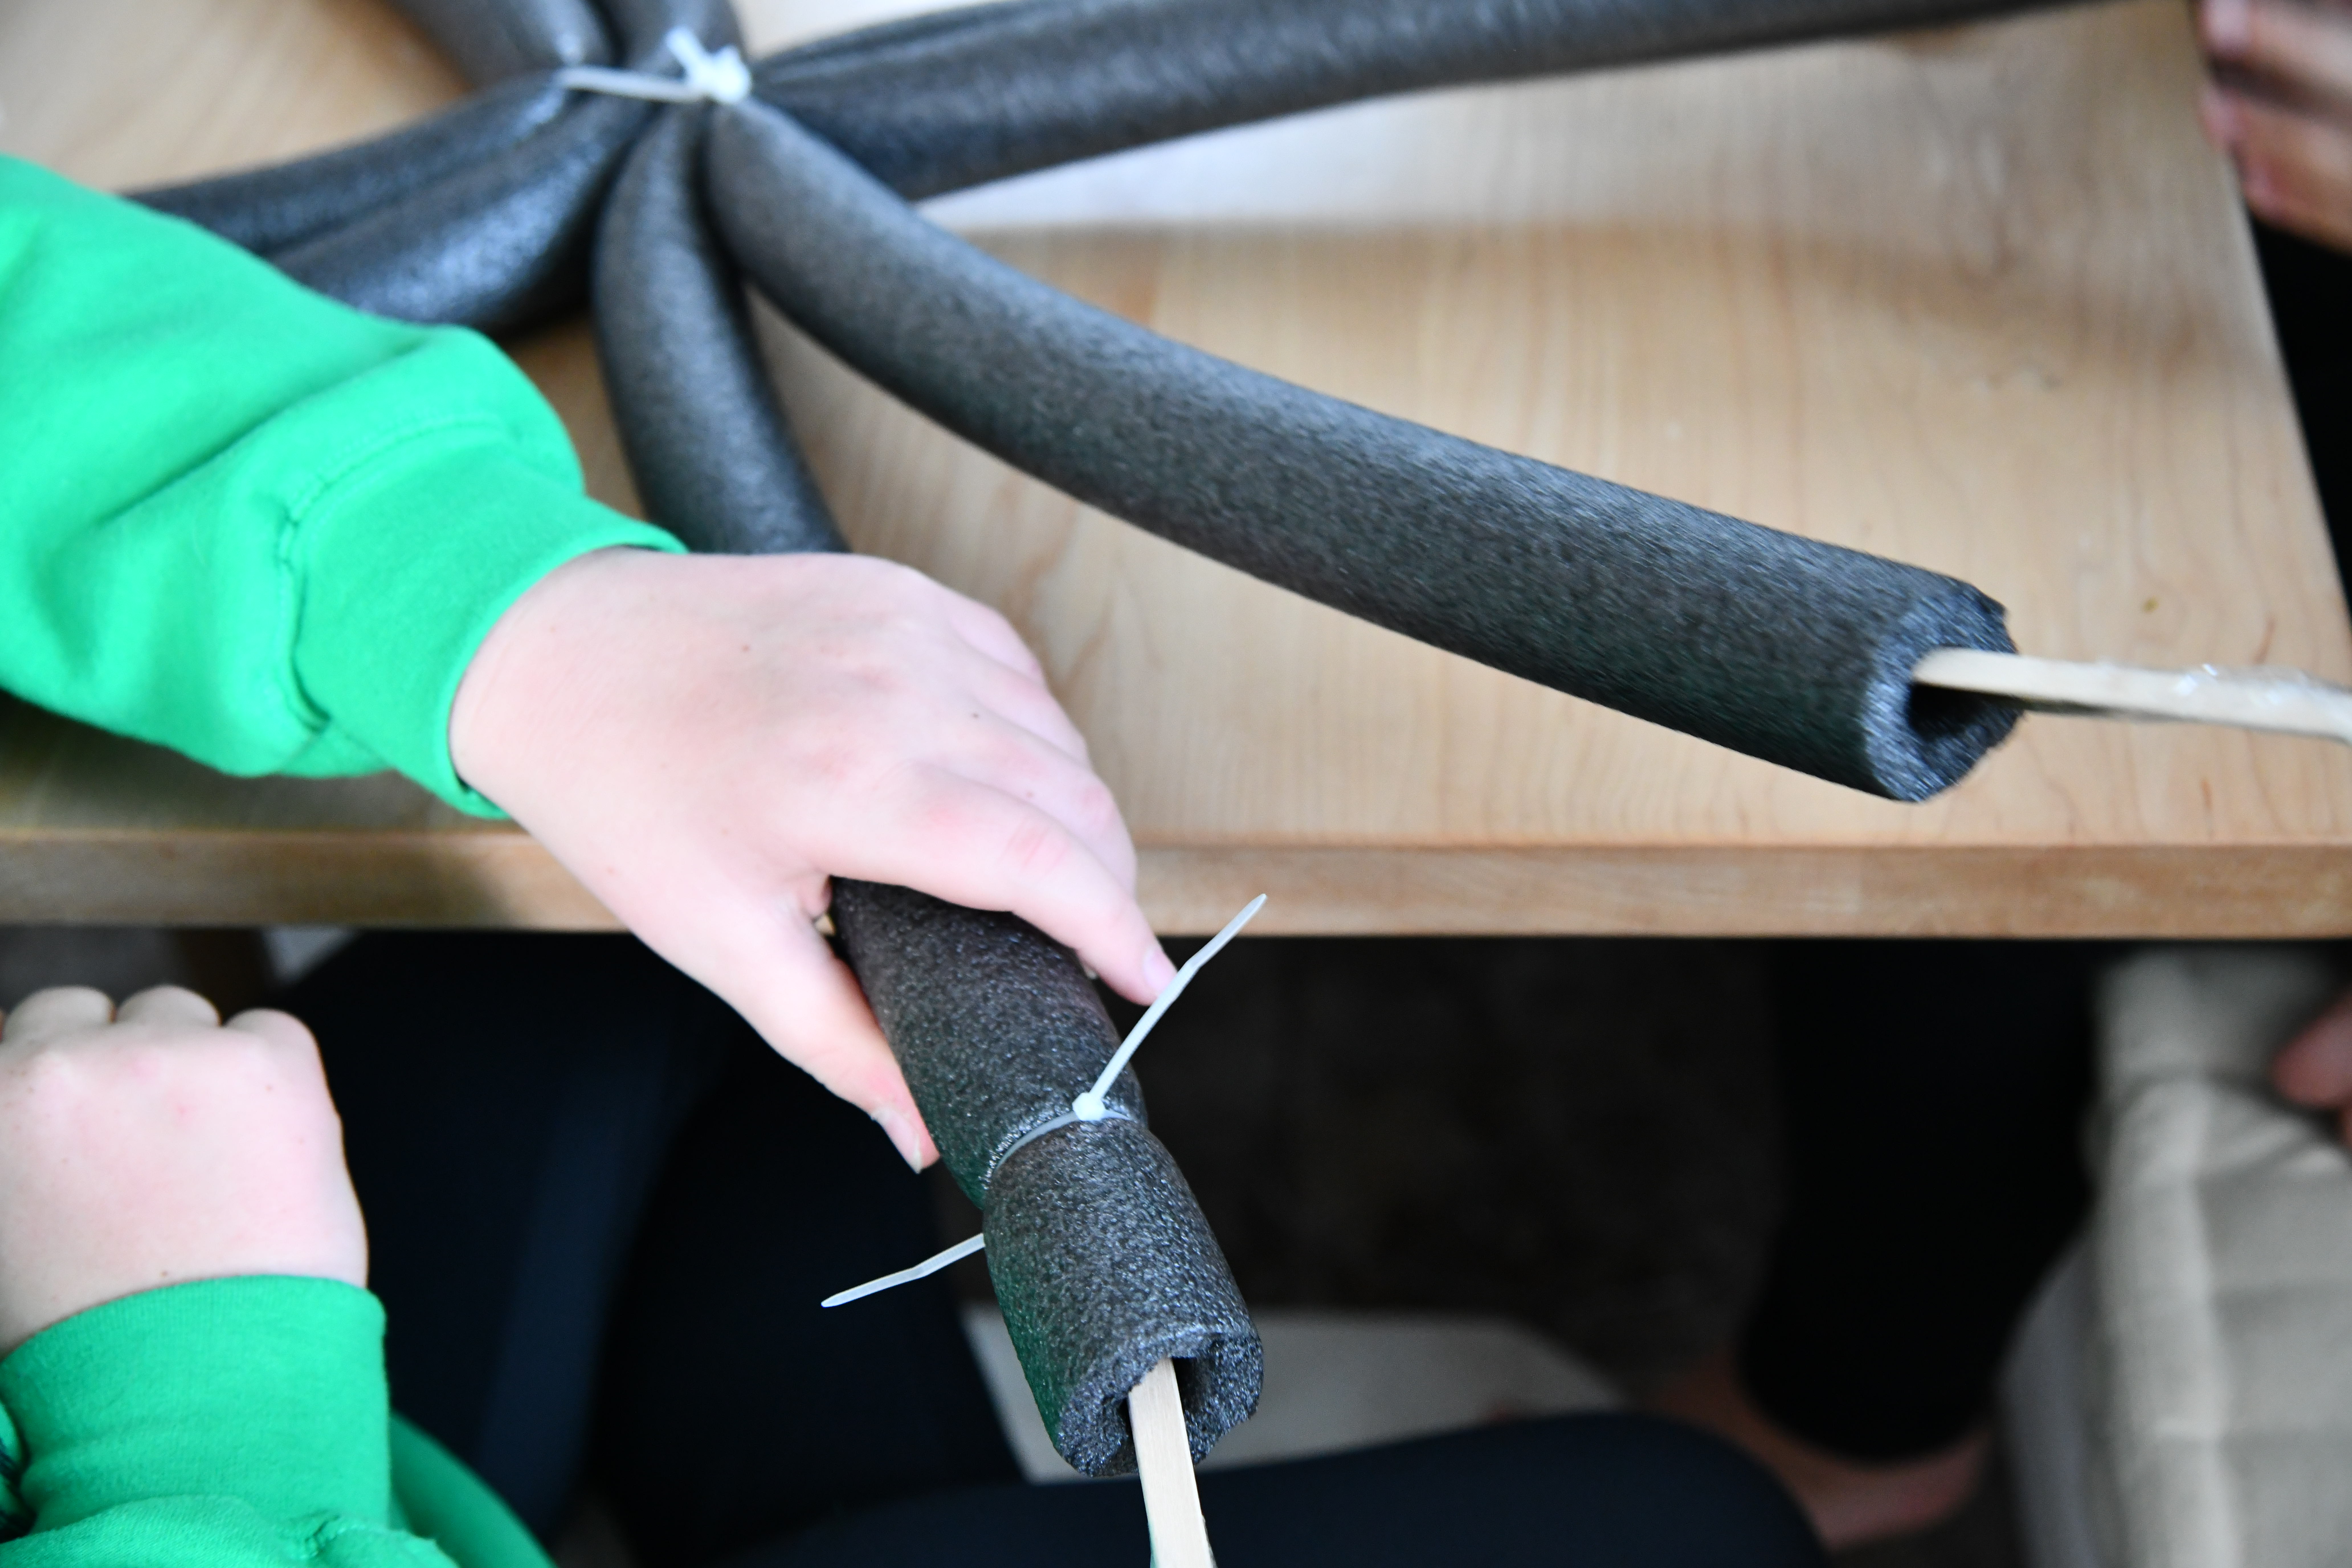
Next you want to use smaller zip strip and come up about 4″ from the bottom of the pipe.
This will help make the legs looks slightly sectioned off.
Spray Foam
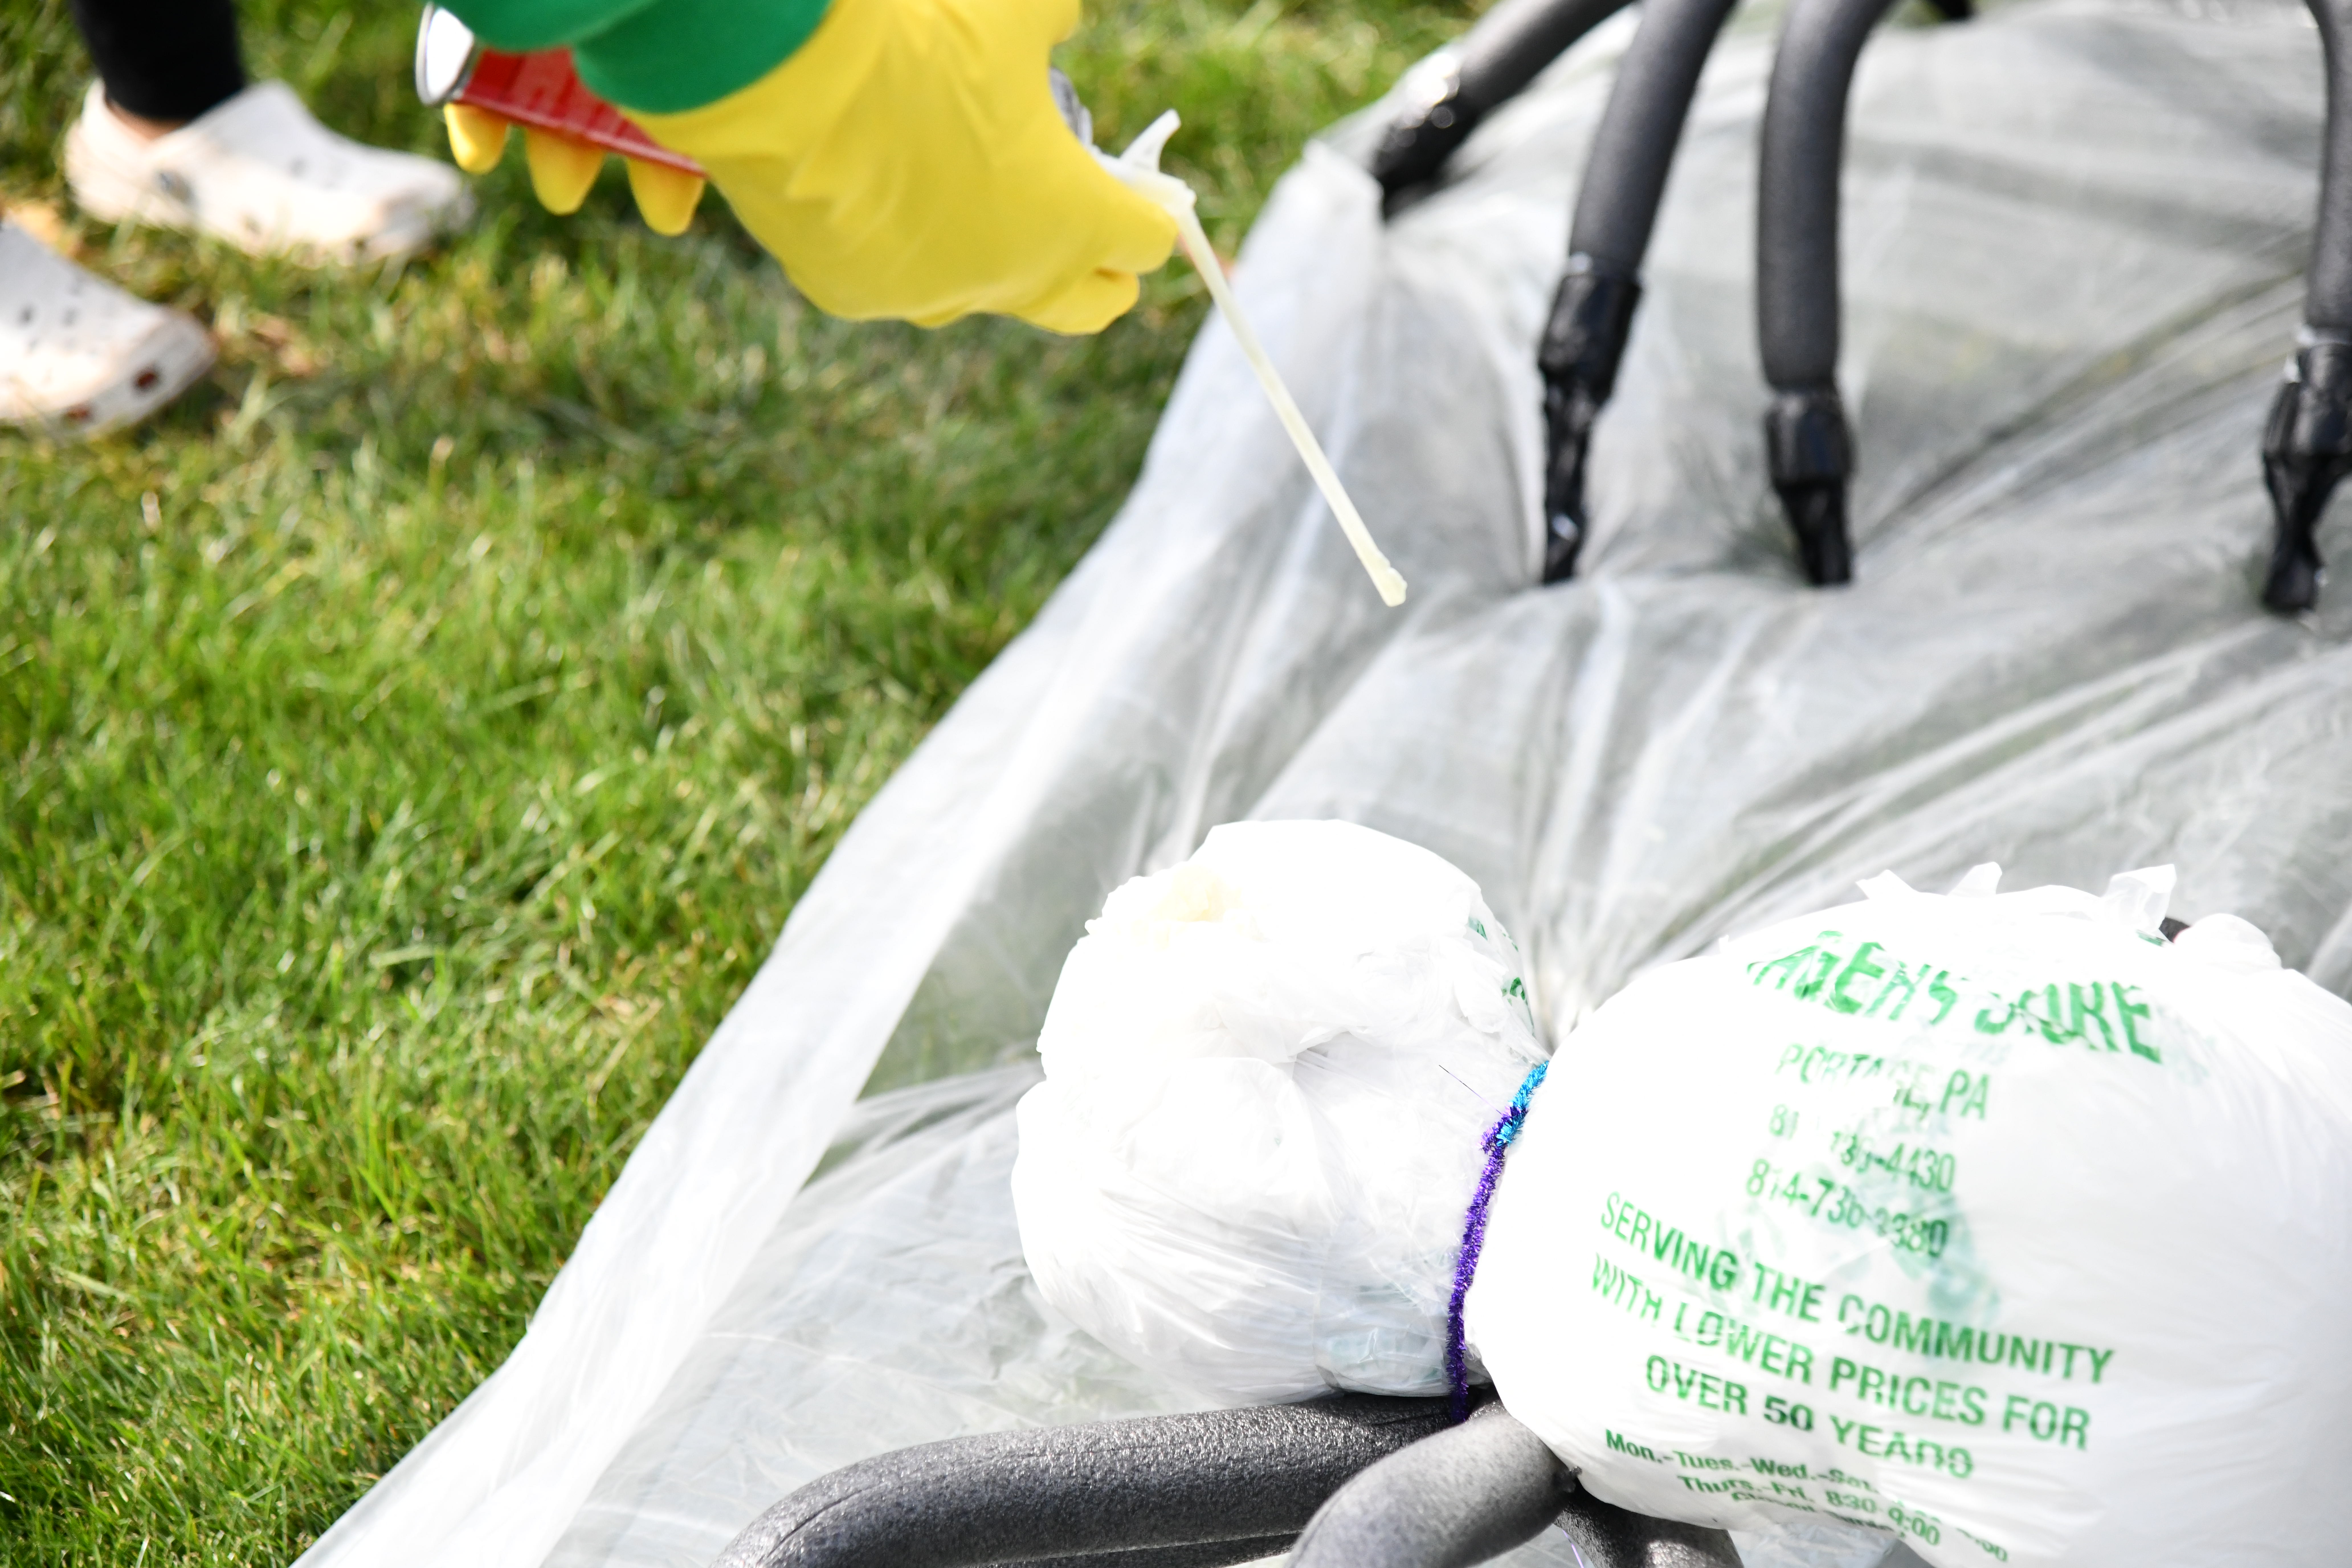
We shifted outside for the next few steps.
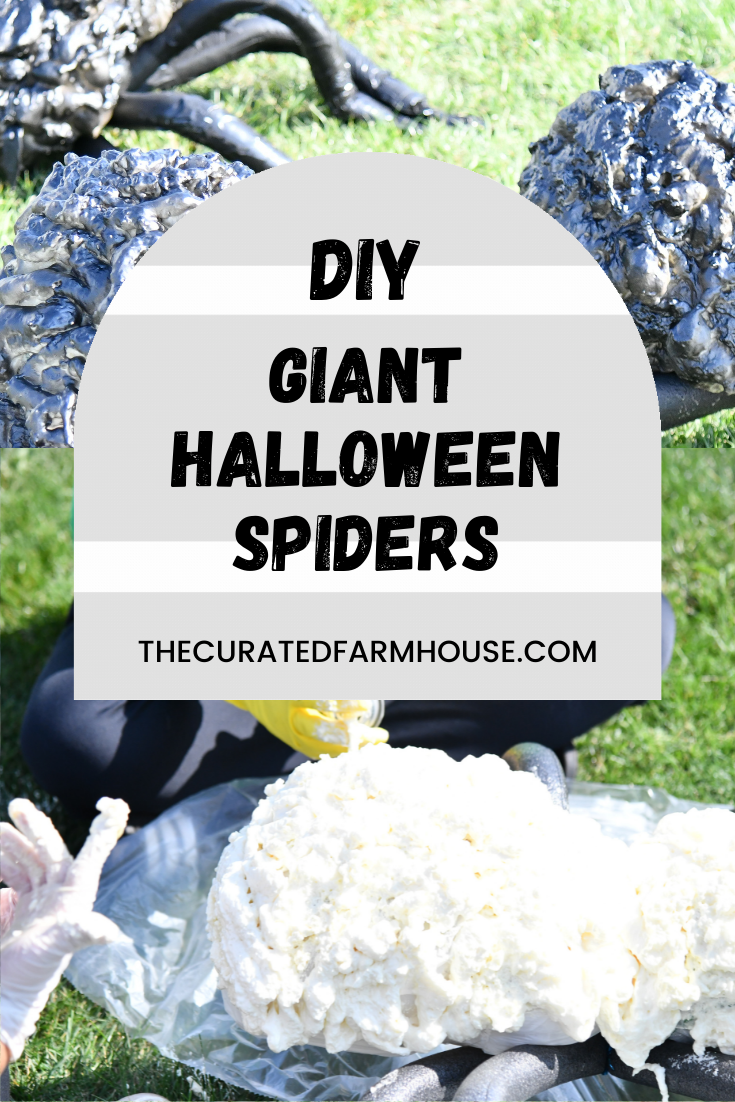
You will want to use spray foam and cover your entire body form.
It will expand so just cover what you can and wait a few minutes.
You can always go back later and fill in holes.
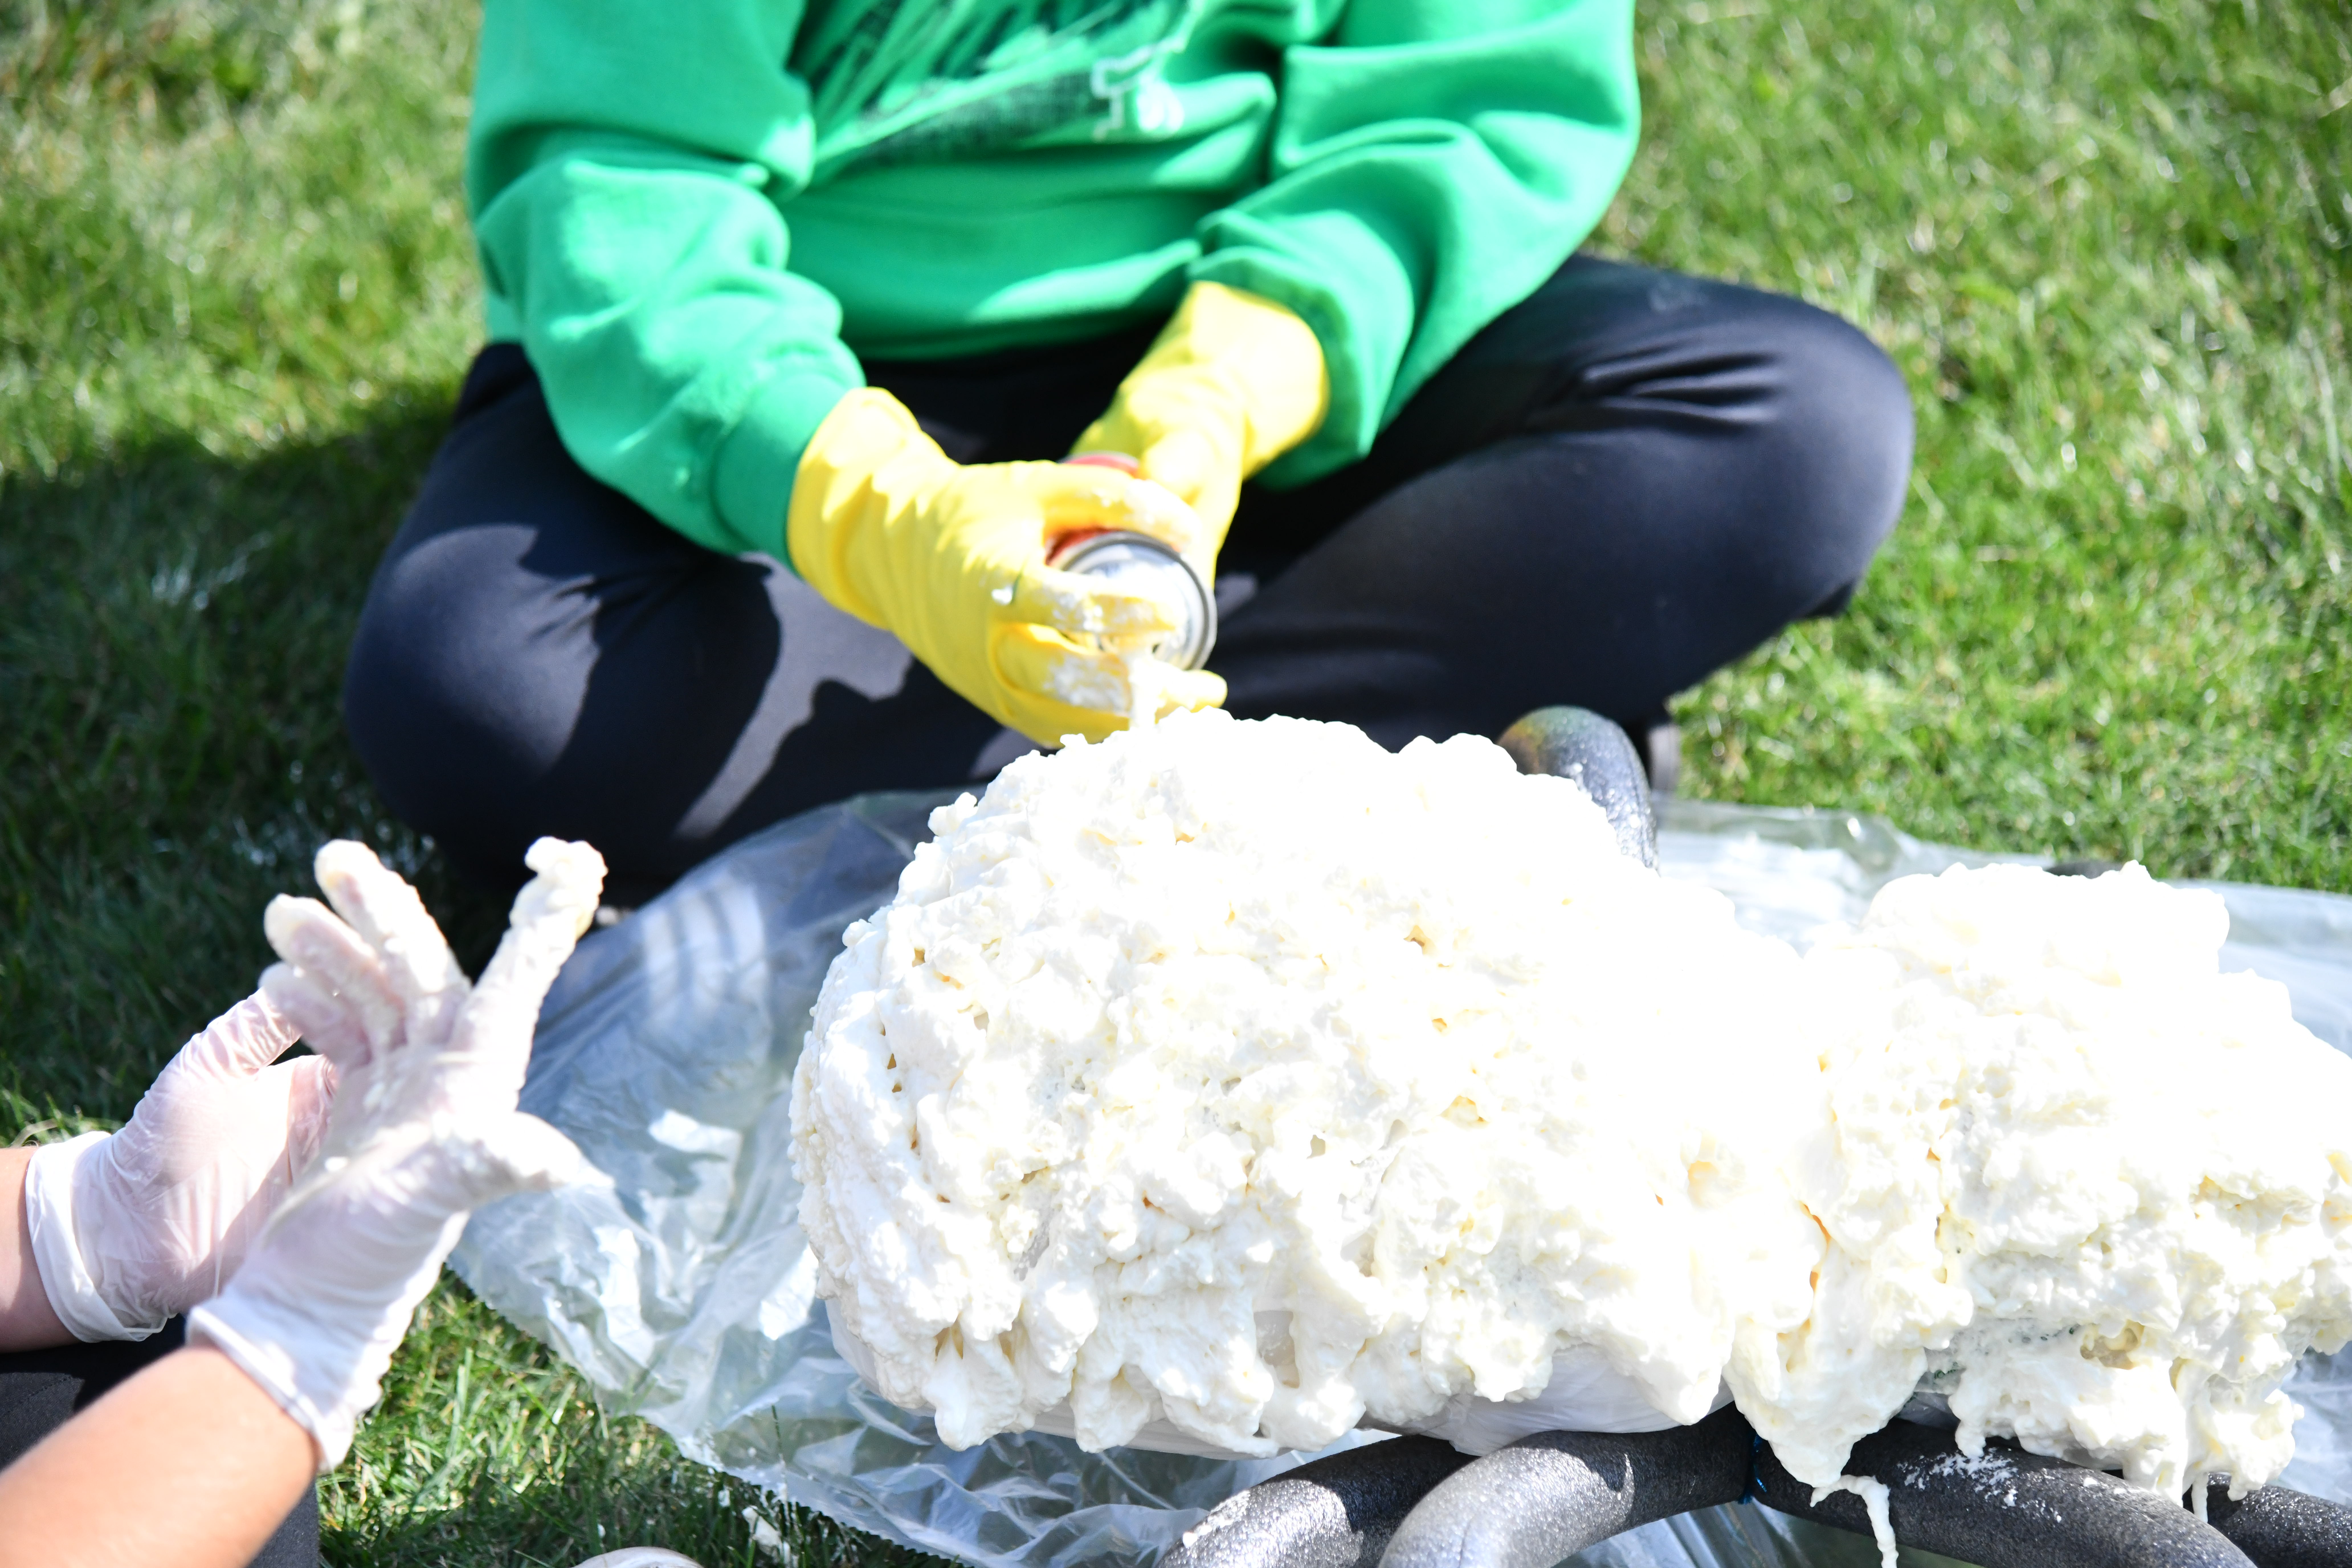
Hannah mentioned wearing gloves and I am so glad I listened.
This was so sticky and you want to make sure you don’t get any on your clothes (learned the hard way) it doesn’t come out.
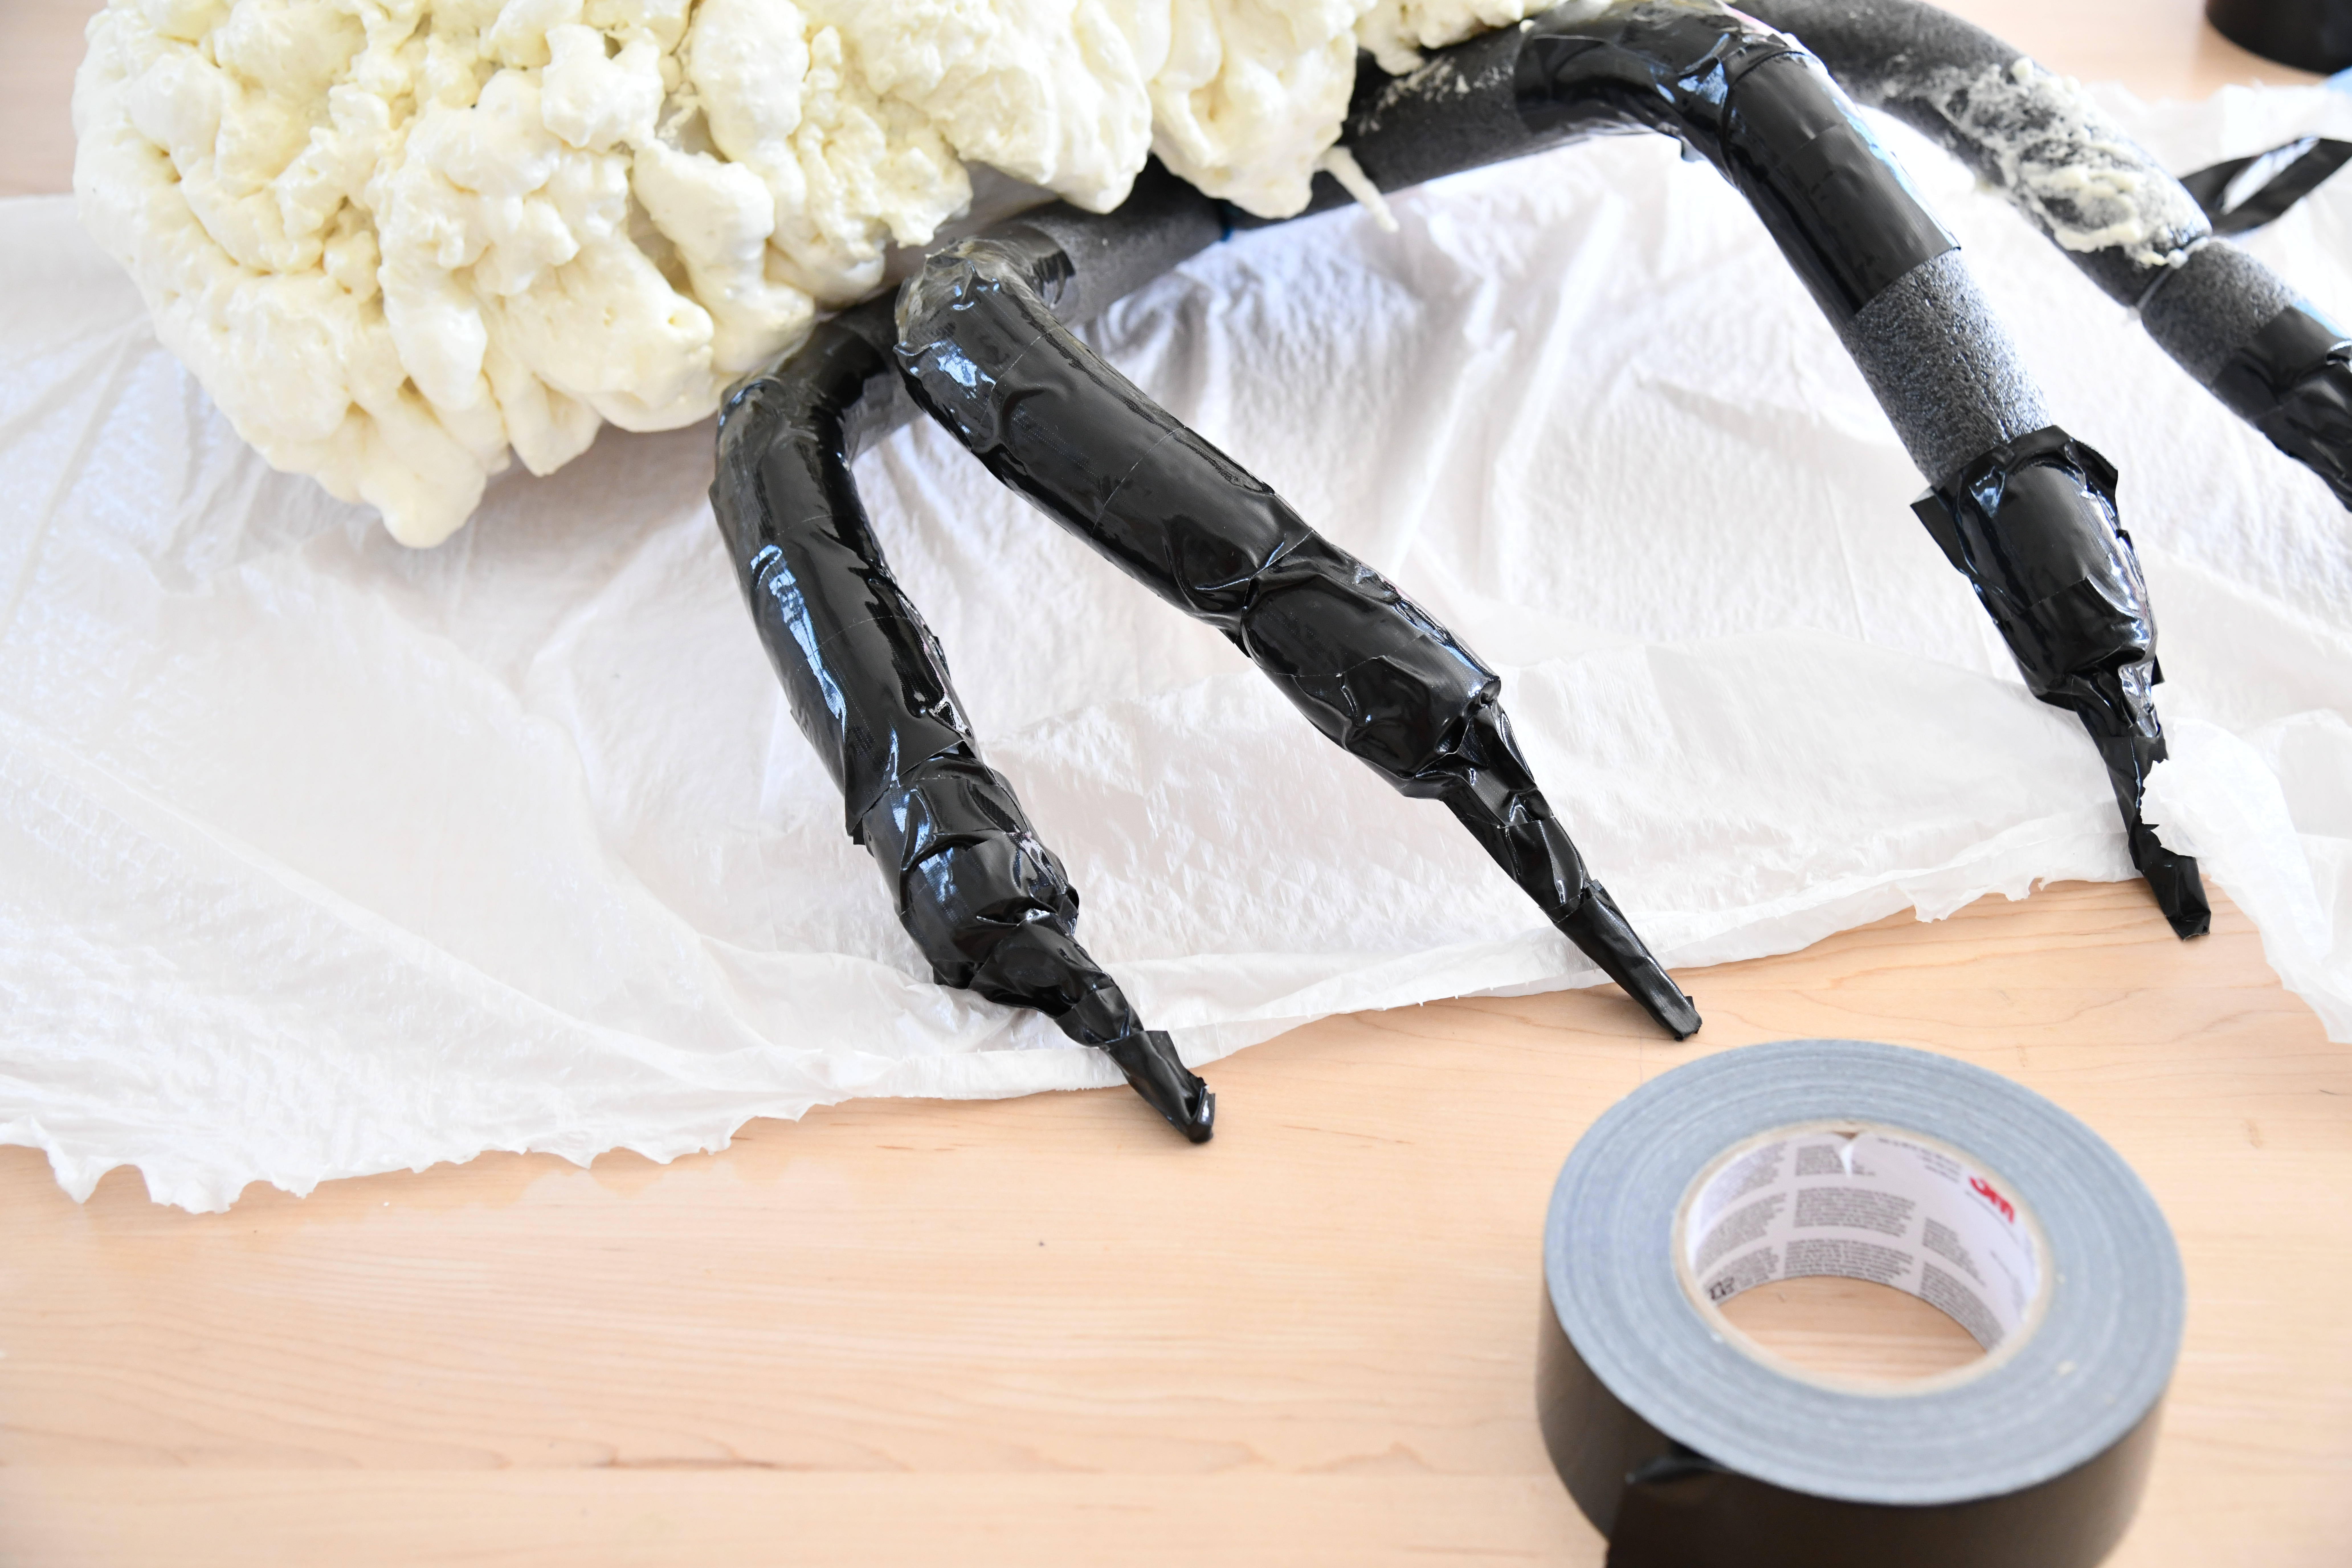
Once the foam had dried we brought the spiders back in the house and worked on wrapping the entire legs with duct tape.
Spray Paint
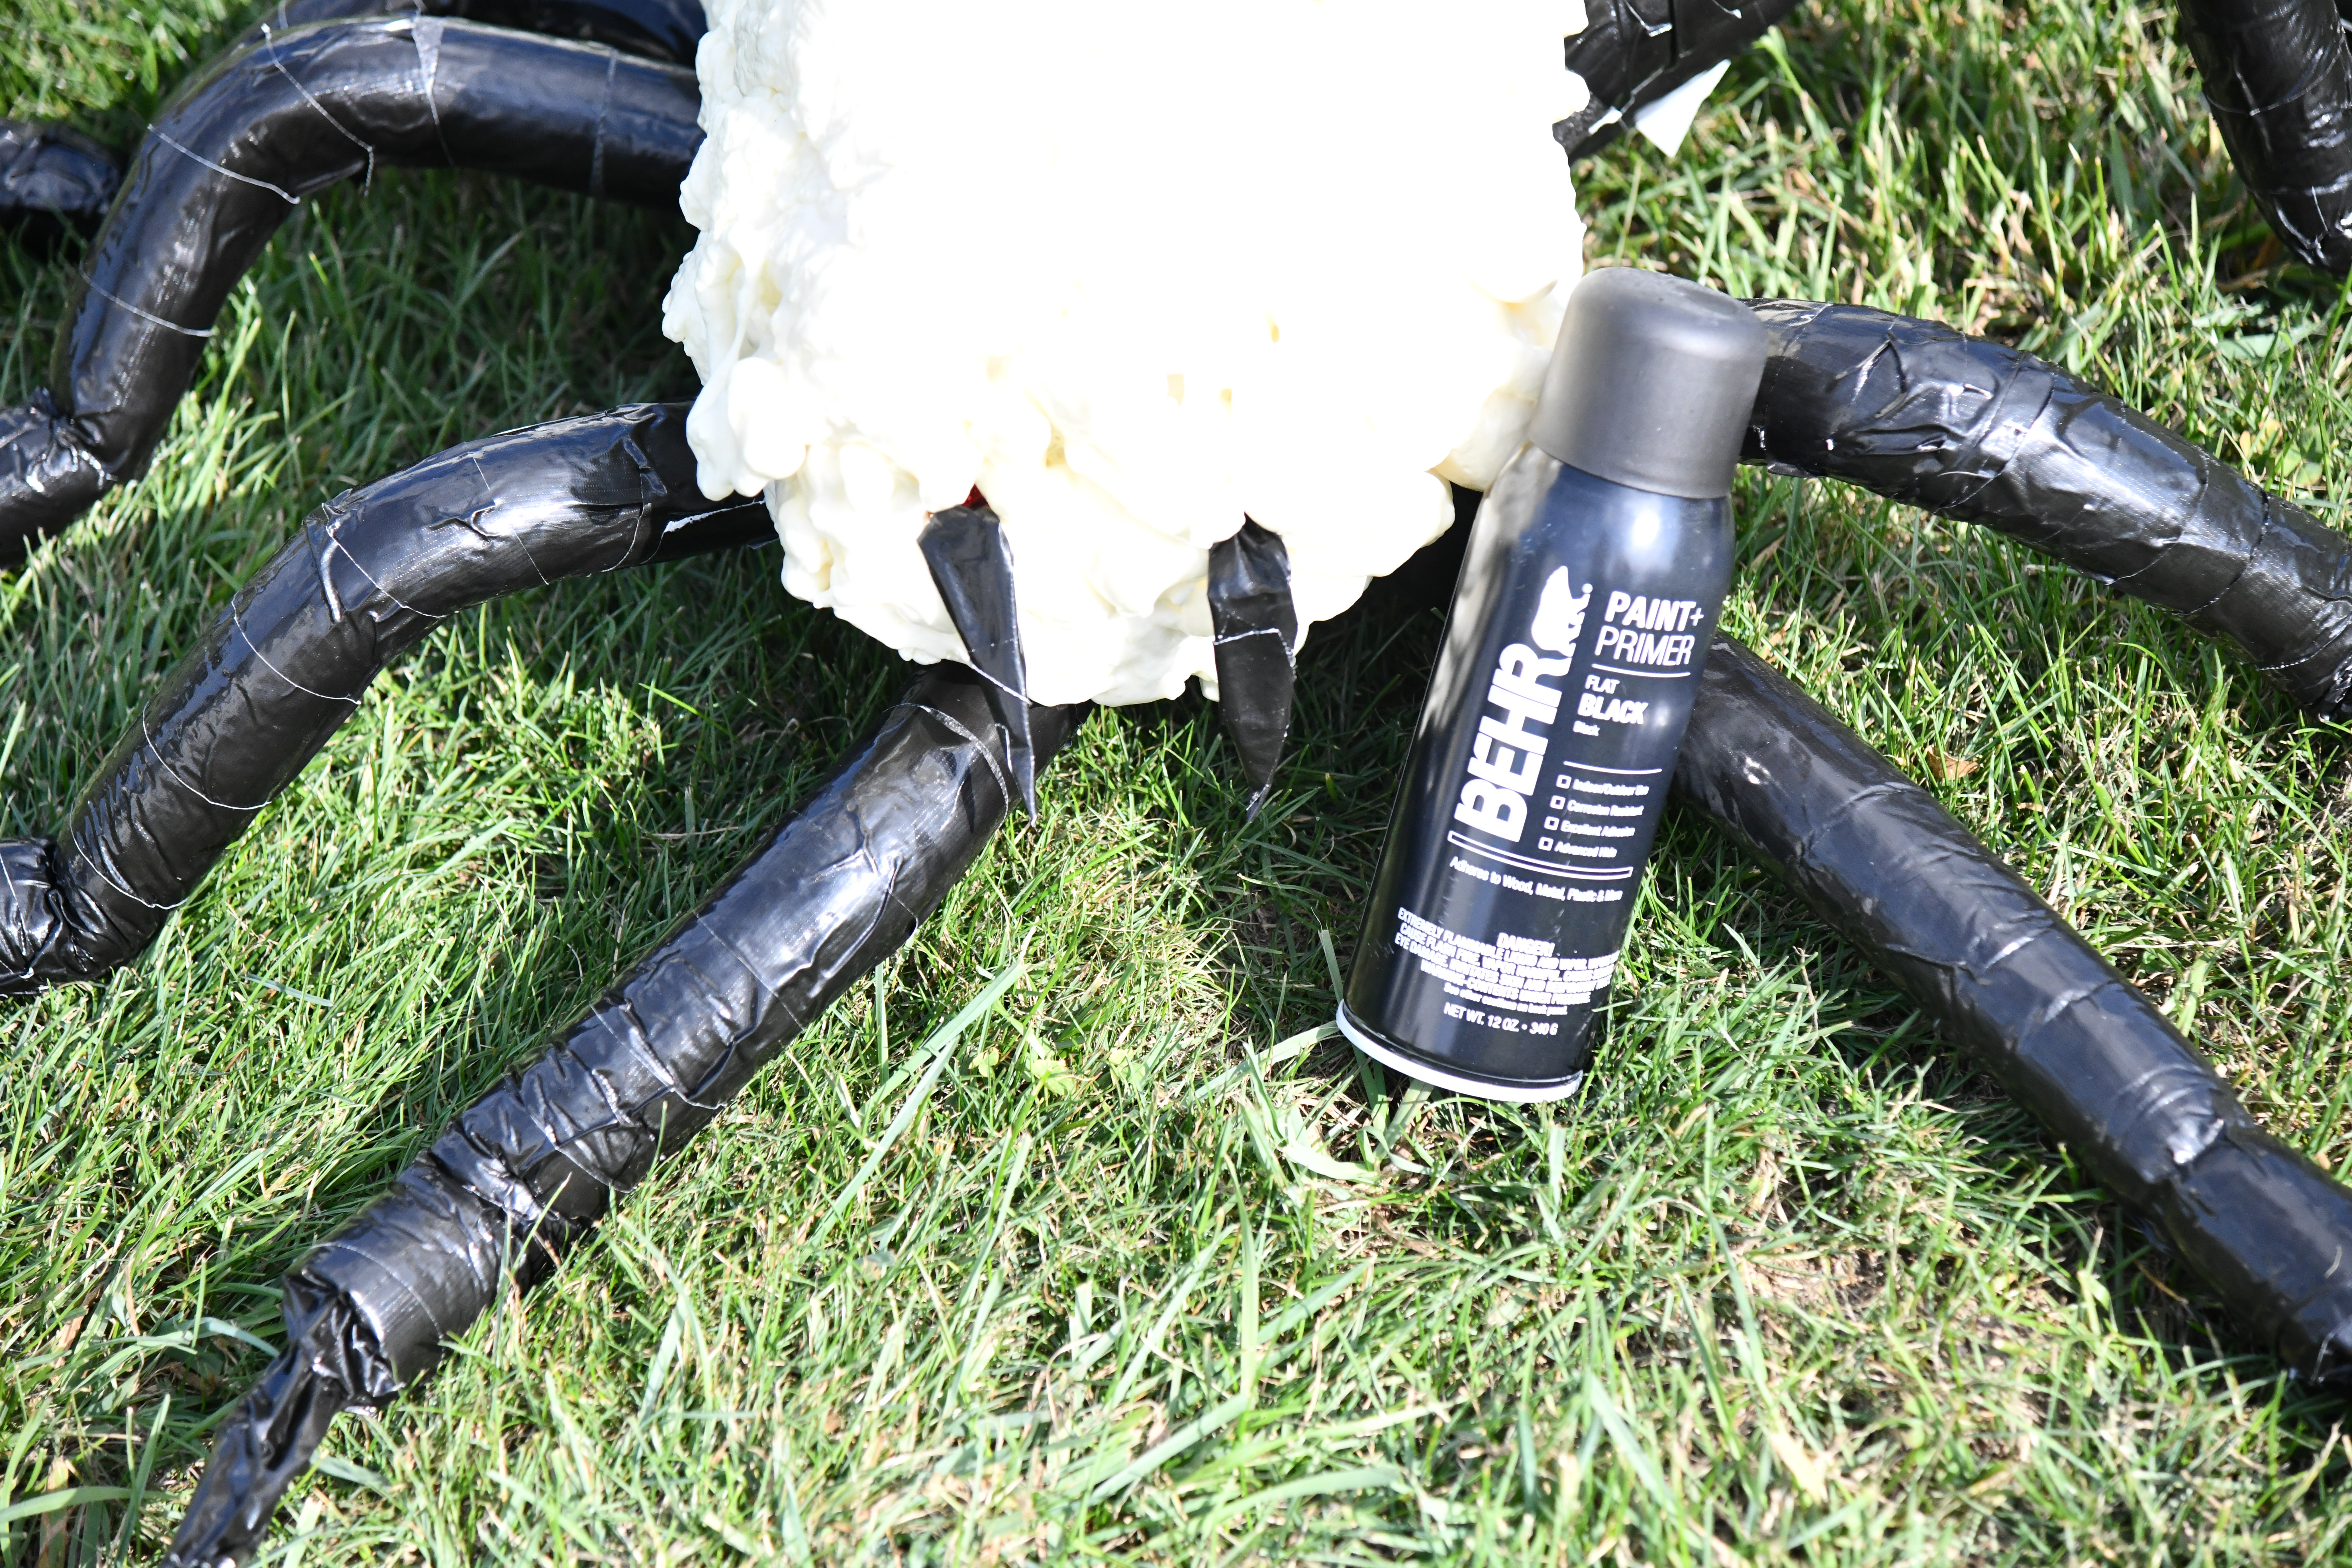
Now it was time to spray paint. The kids created some fangs which ended up looking super cute.
We used this Behr Paint + Primer in matte black
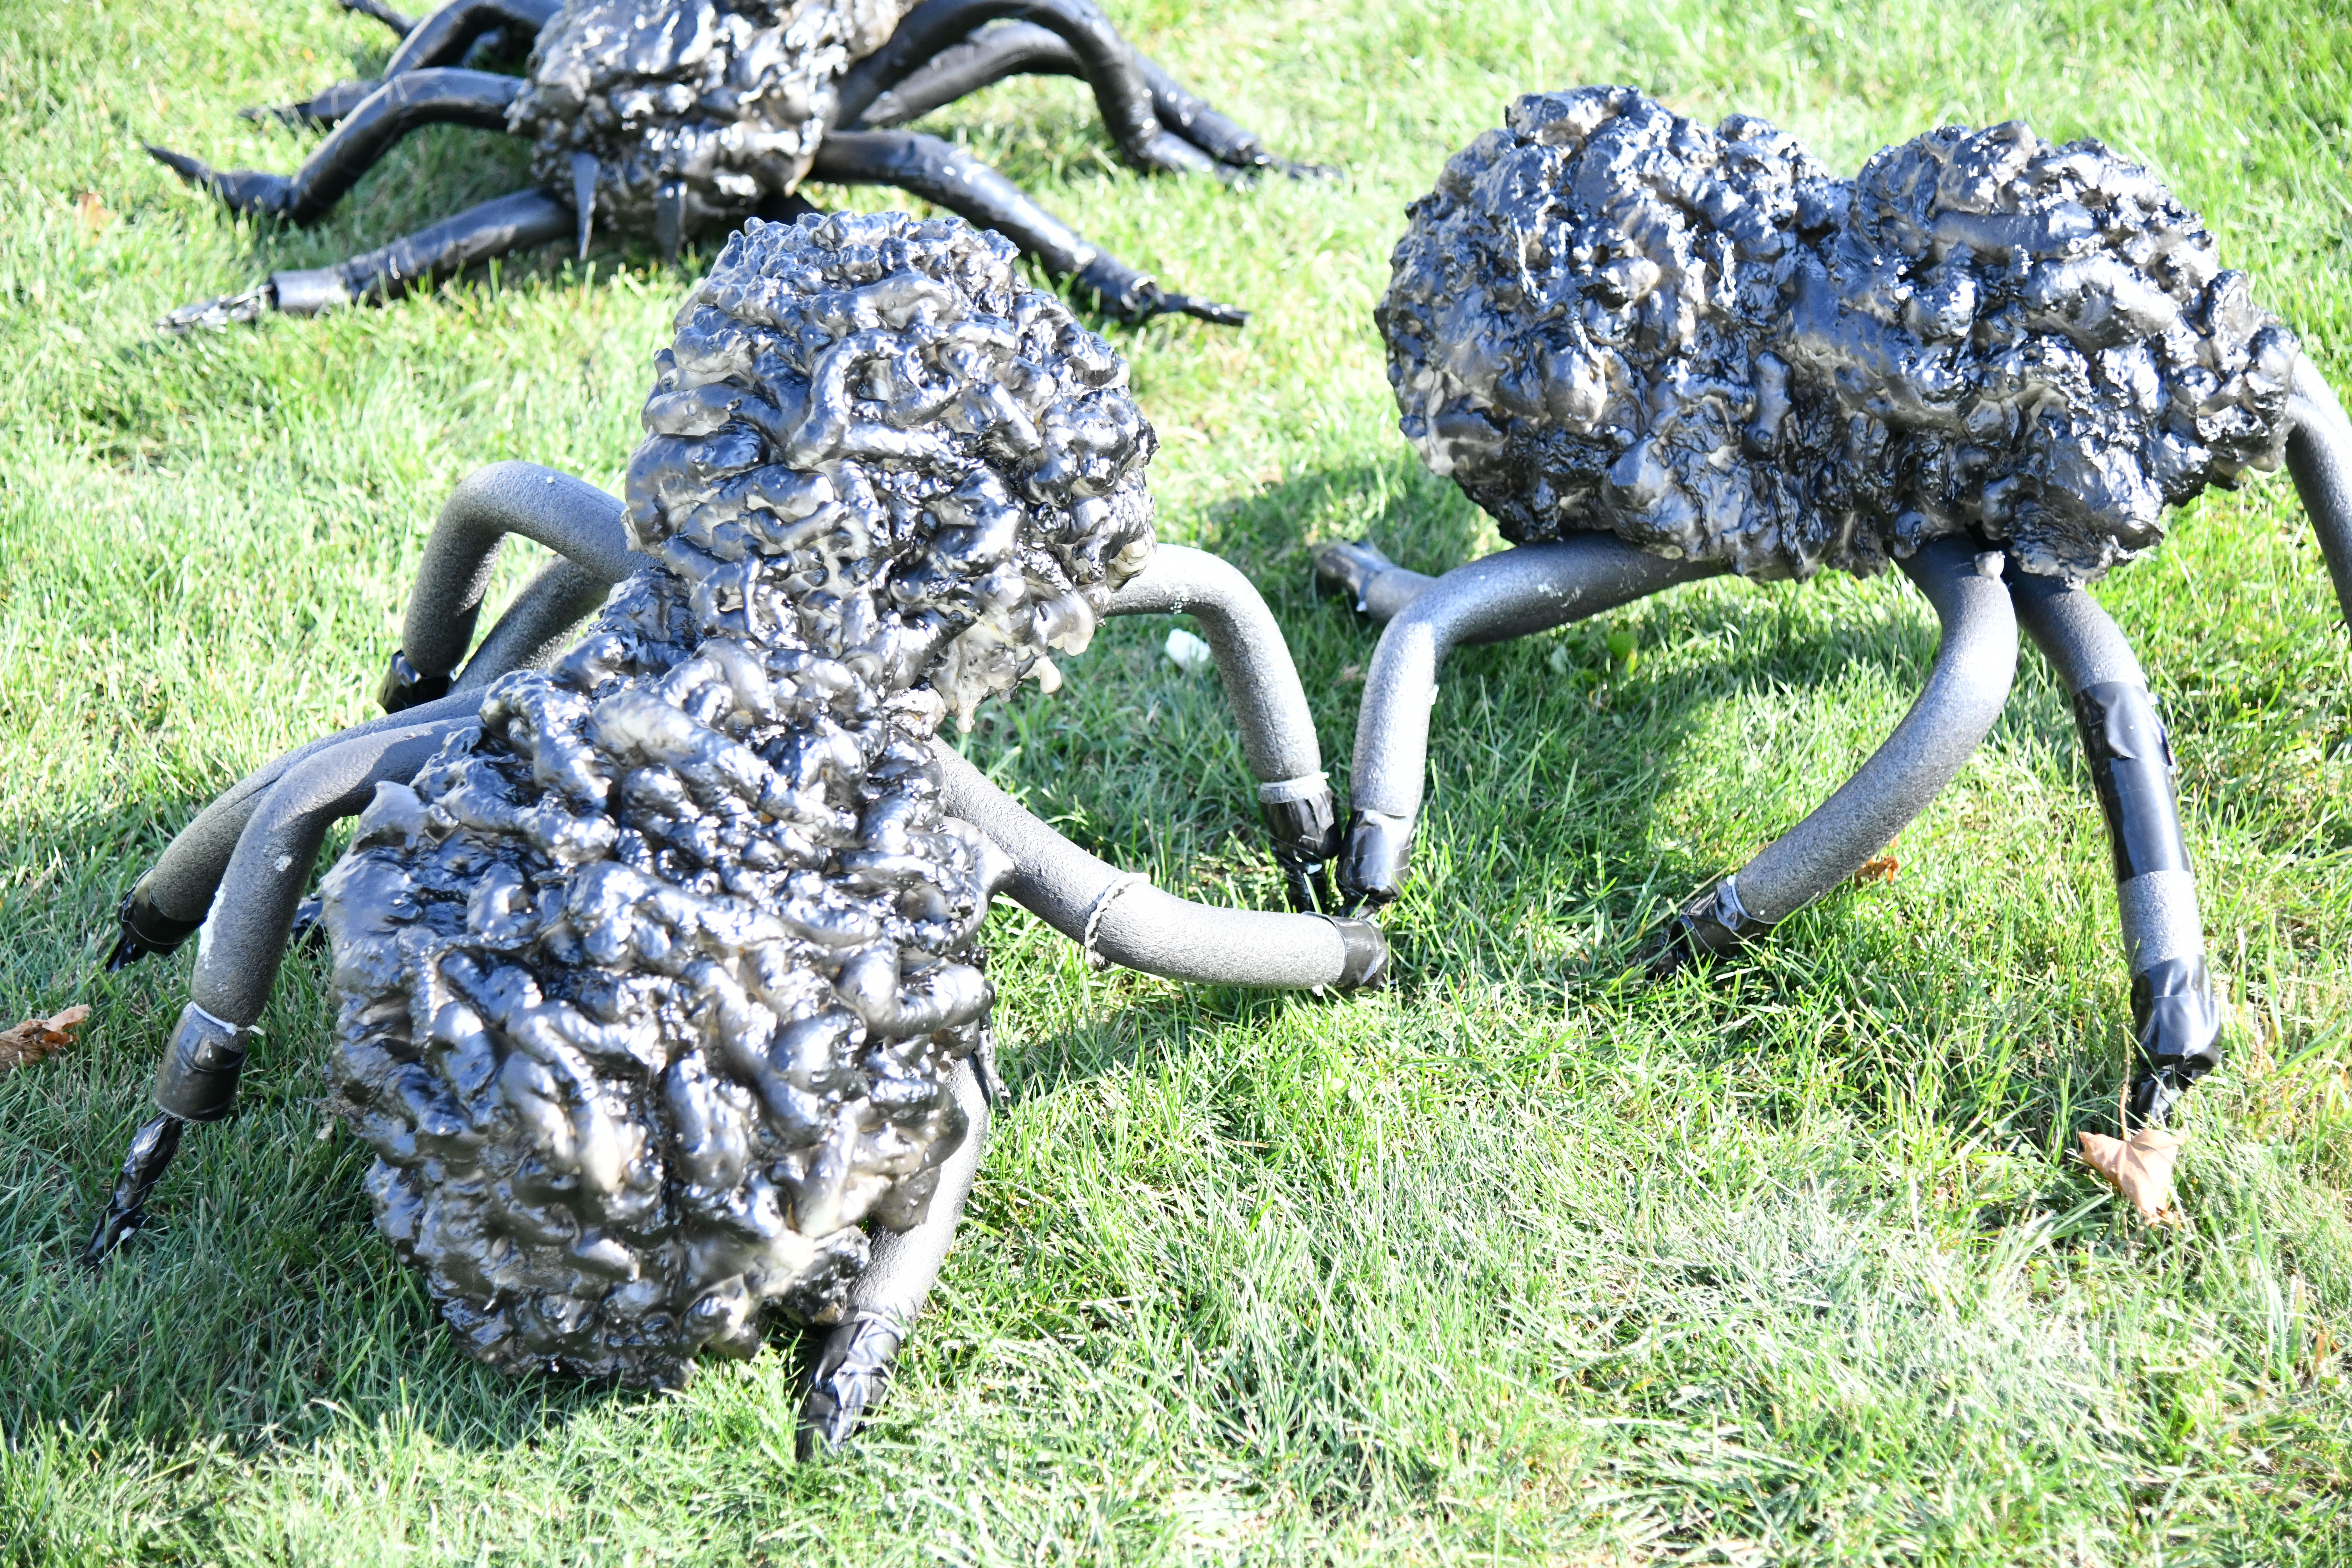
We used about 2 coats of spray paint, which completely covered the spiders.
One can was enough to do all three, if you want them darker I would probably use two cans.
We will be hanging these on the house and will update blog with photo once we get that done.
Save to Pinterest
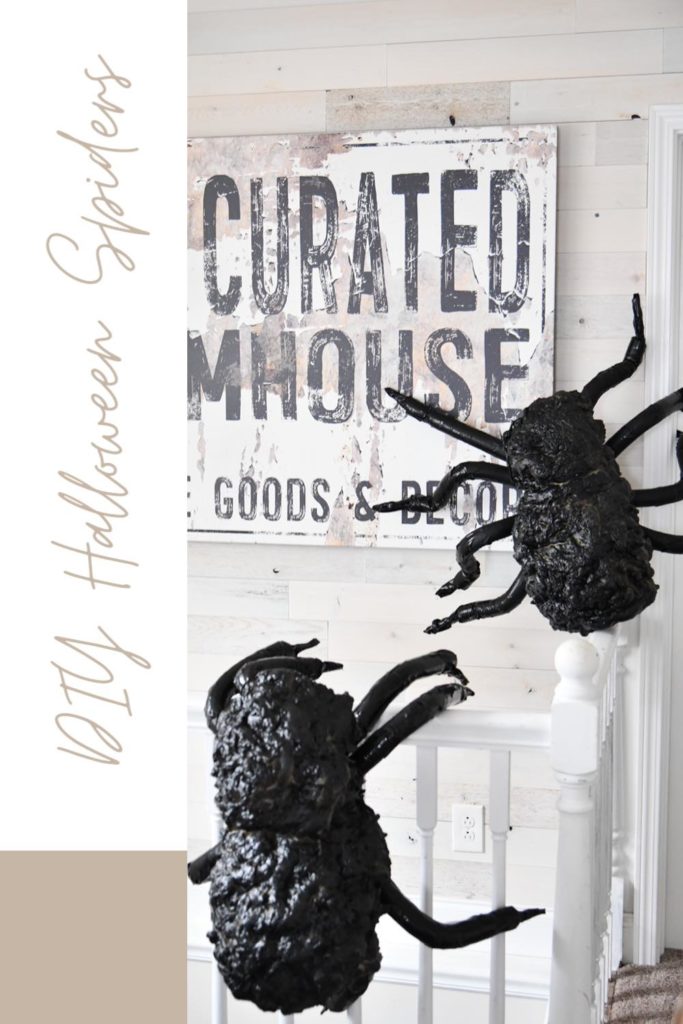
I hope you enjoyed this tutorial on how to make DIY giant Halloween spiders.
We had so much fun making this and I hope you enjoyed this tutorial.
Let us know if you plan to try this below in the comments.
Also be sure to check out our DIY Vintage Apothecary Bottle tutorial.
I would love for you to follow us on Instagram, Pinterest, TikTok, and Facebook! You can also join our email list so you don’t miss any fun blog posts or designing spaces.

[…] Love these floating witches hats and faux spiders to your house you can find a tutorial here. […]