


Rustic DIY Candlestick Holder
We cannot get enough candles in our home! They give off such a cozy vibe, and a special scent for all of your spaces. rustic DIY candlestick holder has to be one of my favorite DIY decor projects to date. Taper candlesticks are fun to change out for each season to add to your table, mantle, or any vignette.
Rustic DIY Candlestick Holder
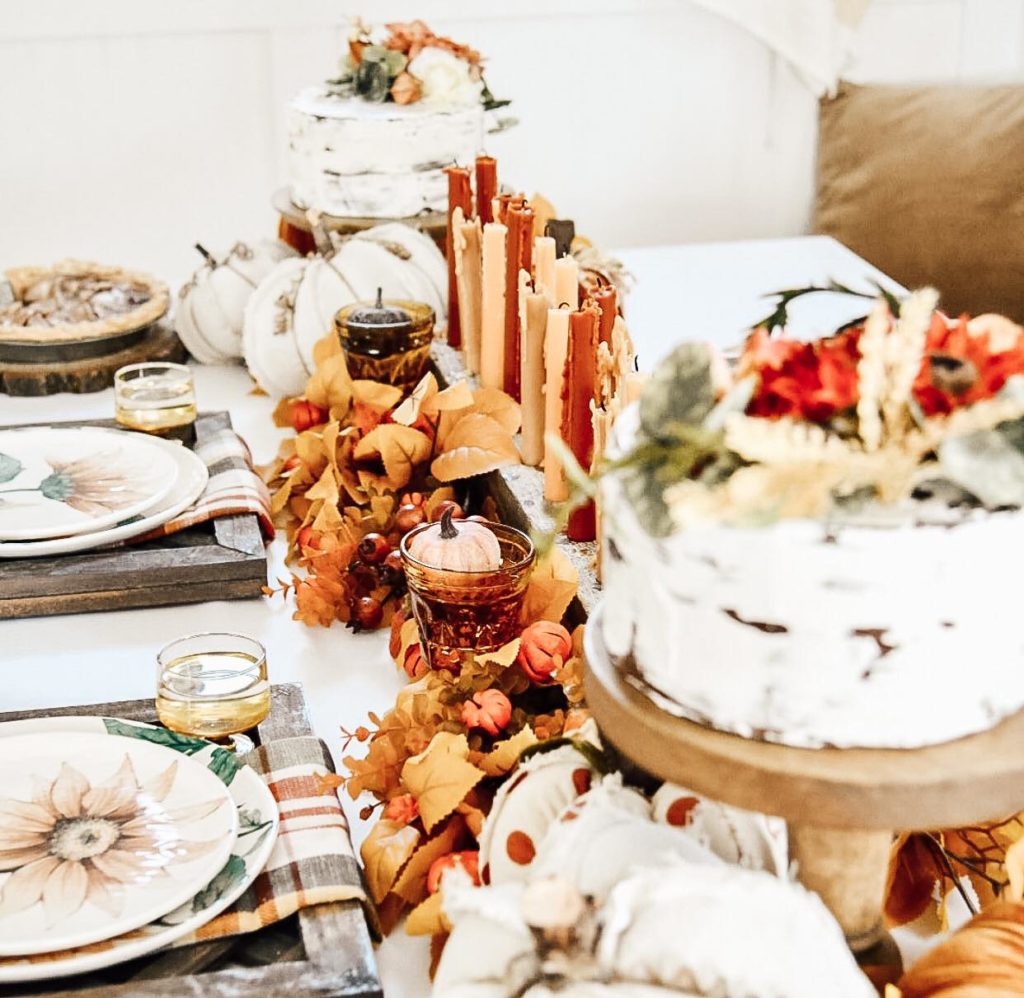
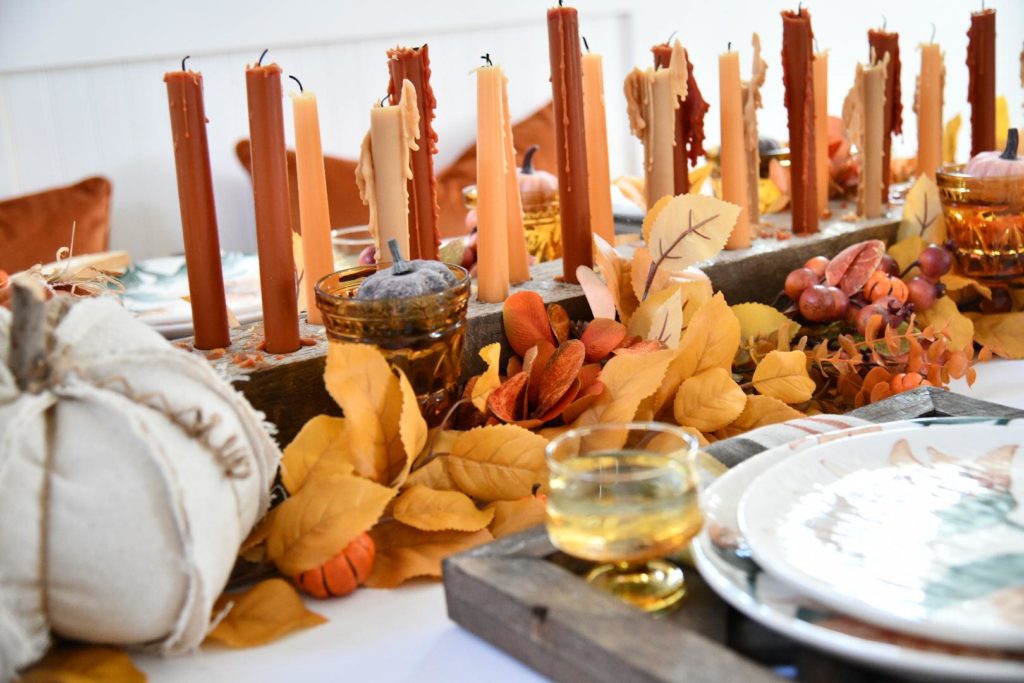
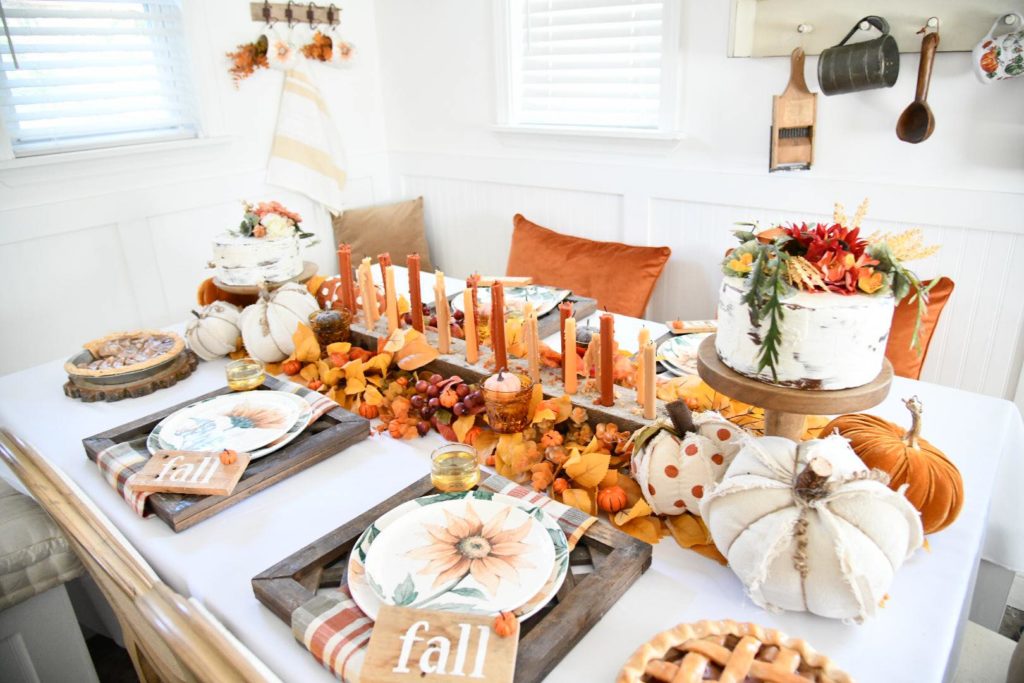
This vintage inspired rustic DIY candlestick holder was the perfect addition to our fall tabelscape this year. I have a feeling it will stick around after the holidays, and will become a staple in my home. I can just simply change out the taper candlesticks with each season.
It is definitely a statement piece on our table. I could not believe how easy this was to make. We picked up about 30 four foot 4 x 4″ vintage fence post boards from a vintage market in Lancaster, PA. This is also the wood that Mike makes our hands-on chunky candlesticks out of. The wood is worn, chippy, and chunky. It was the perfect wood for this project. You can of course pick up any type of wood, old or new for this type of DIY.
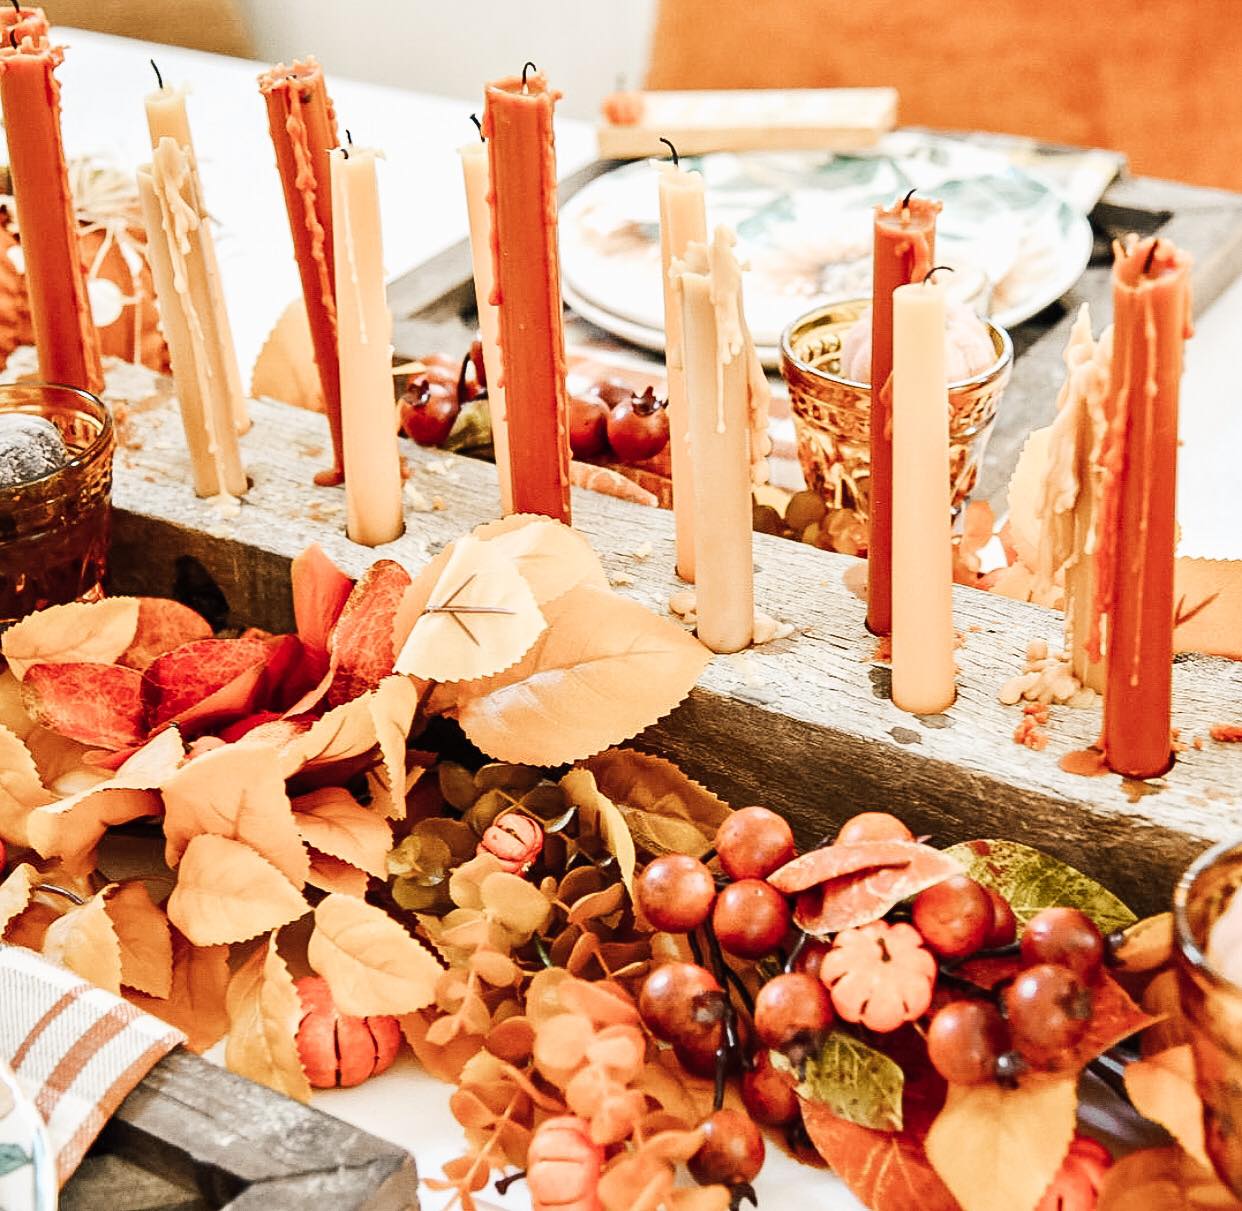
I just love the way the melted wax melt looks trickling down the side of the taper. So much color and texture, its screams fall to me.
Directions
This is such an easy DIY, anyone can do it. You do not need a high skill level.
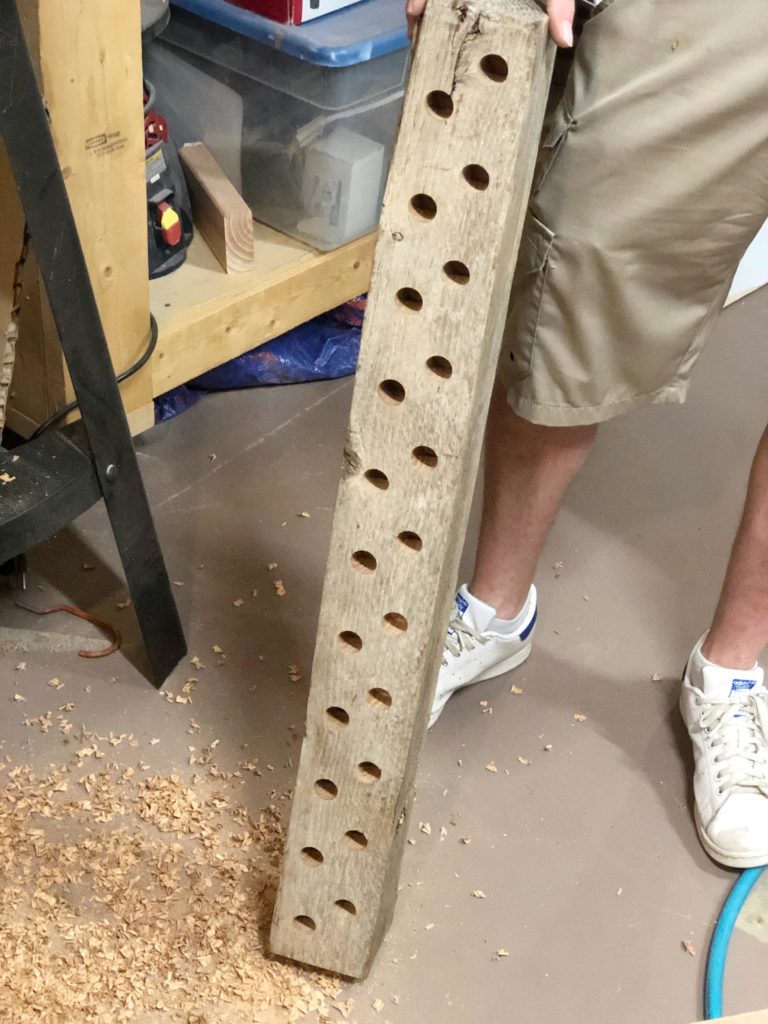
- First pick your 4 x 4 wood. We used a vintage fence post. You can check with your local Home Depot or wood mill and see what options they have. I love the look of the chippy, flaking, barn wood. Side Note: you can always choose to stain, your wood at a later point.
- Next choose your size! Most places you purchase your wood will actually cut the board down to what you need.
- Mike cut our 4′ board down to 34″. We wanted it to fit my dining room table and be a statement piece so that is why we decided on this time.
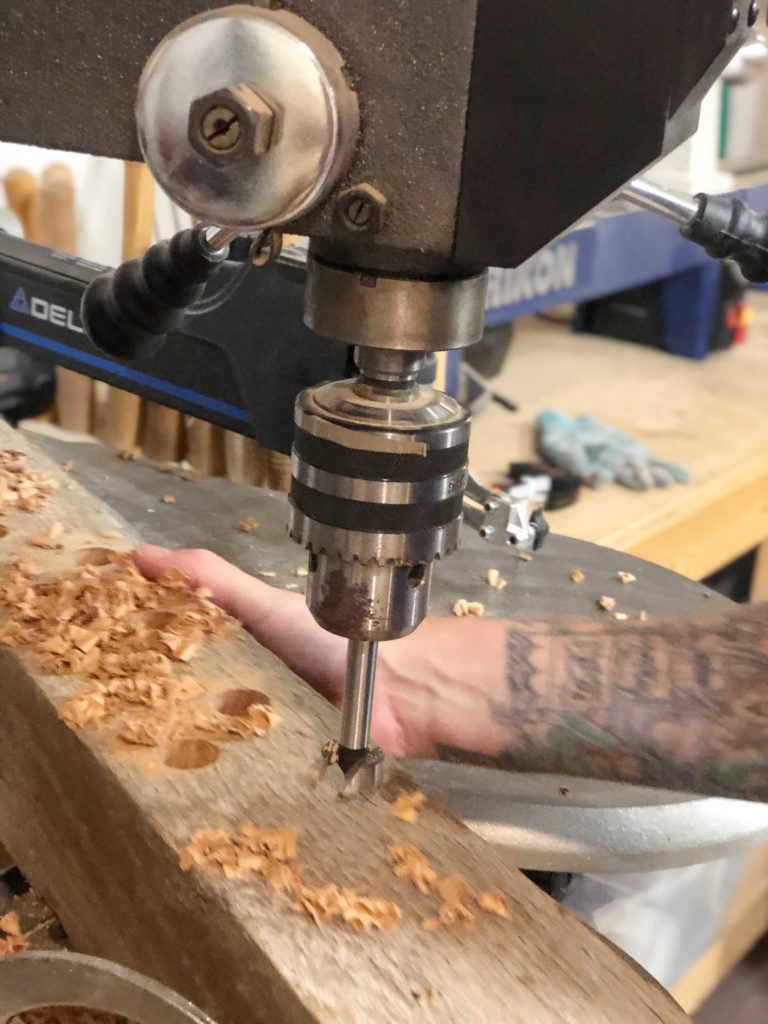
- Finally you have to drill the holes. Mike used a 7/8″ Forsner Bit on our drill press to create the perfect size holes. (More info Below)
- I would recommend add some wax melt on the inside of each hole to hold the candle stable and in place.
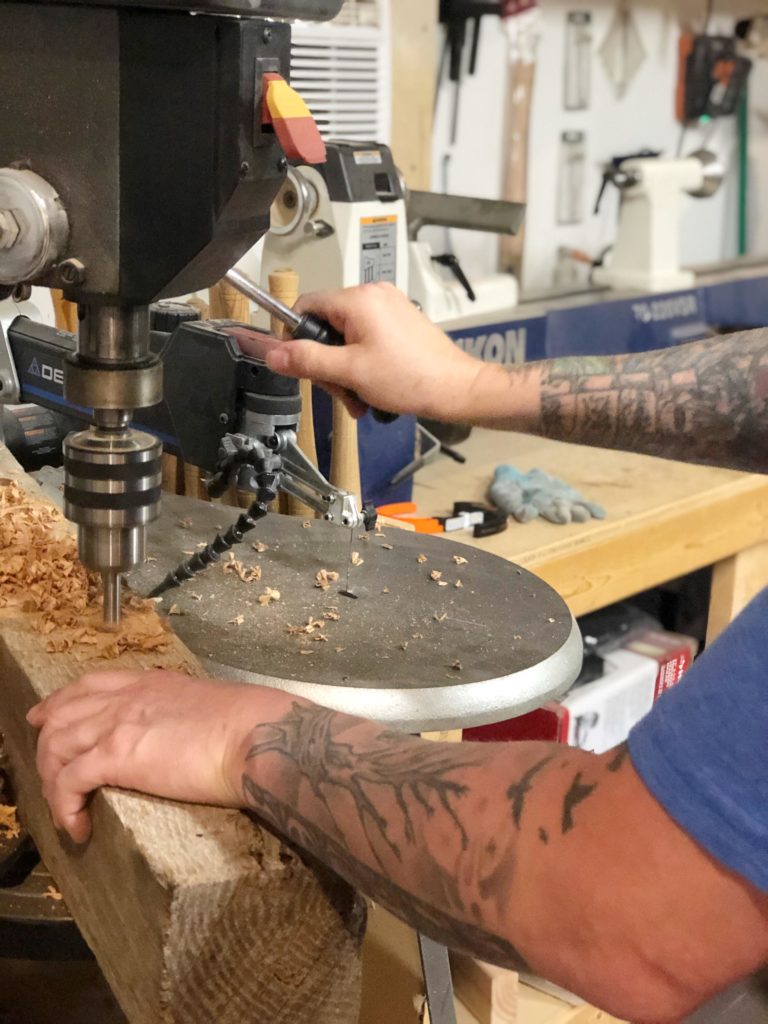
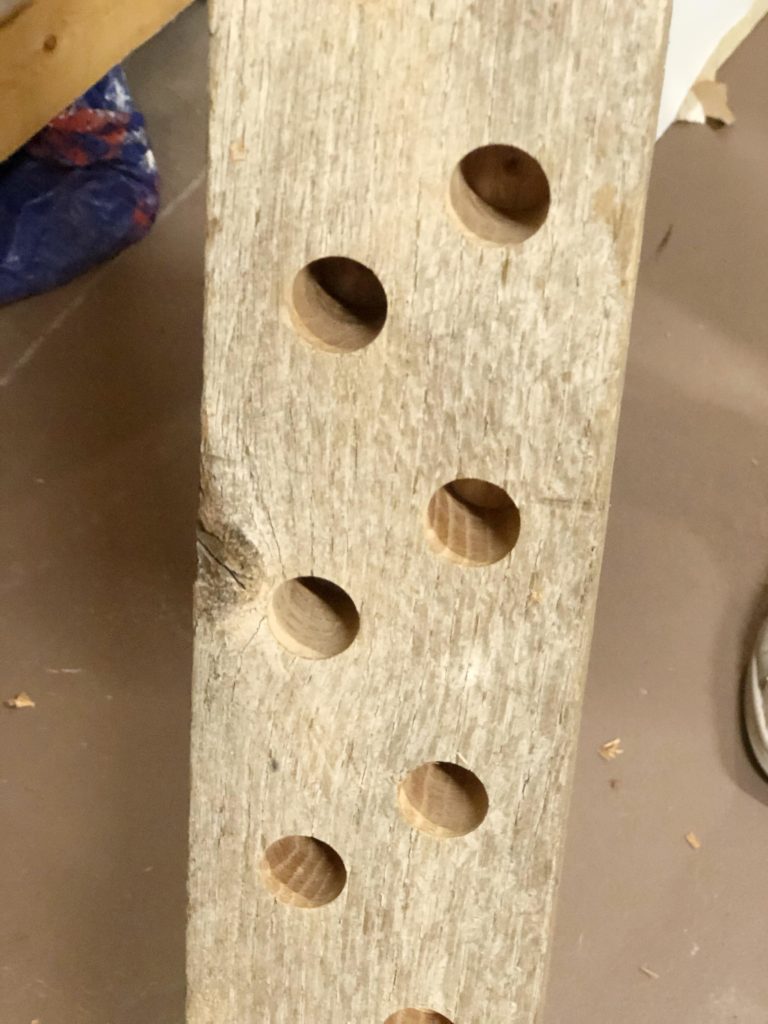
Details on Hole Placement
- Right Side: Measure in 3″ from the end of the 4 x 4″. This will be the center for the first hole. Next we measured each hole 3″ apart. You want to keep doing this until you get to the end of the board. We used a marker to give us a drilling point and on track with measurements.
- Left Side: We measured 1.5″ from the end of the 4 x 4″. This will be the center for the first hole. After that we measured each hole 3″ apart. Keep doing this until you get to the end of the board.
- Both side has 11 holes.
We hope this inspires you to be creative and decorate for fall. Be sure to check out our Cozy Farmhouse Fall Decor Ideas for 2020! Be sure to follow us on Pinterest and all of our cozy fall inspiration.


Hi! Where do you find your taper candles?!
These were from Hobby Lobby and Target Hearth and Hand.