


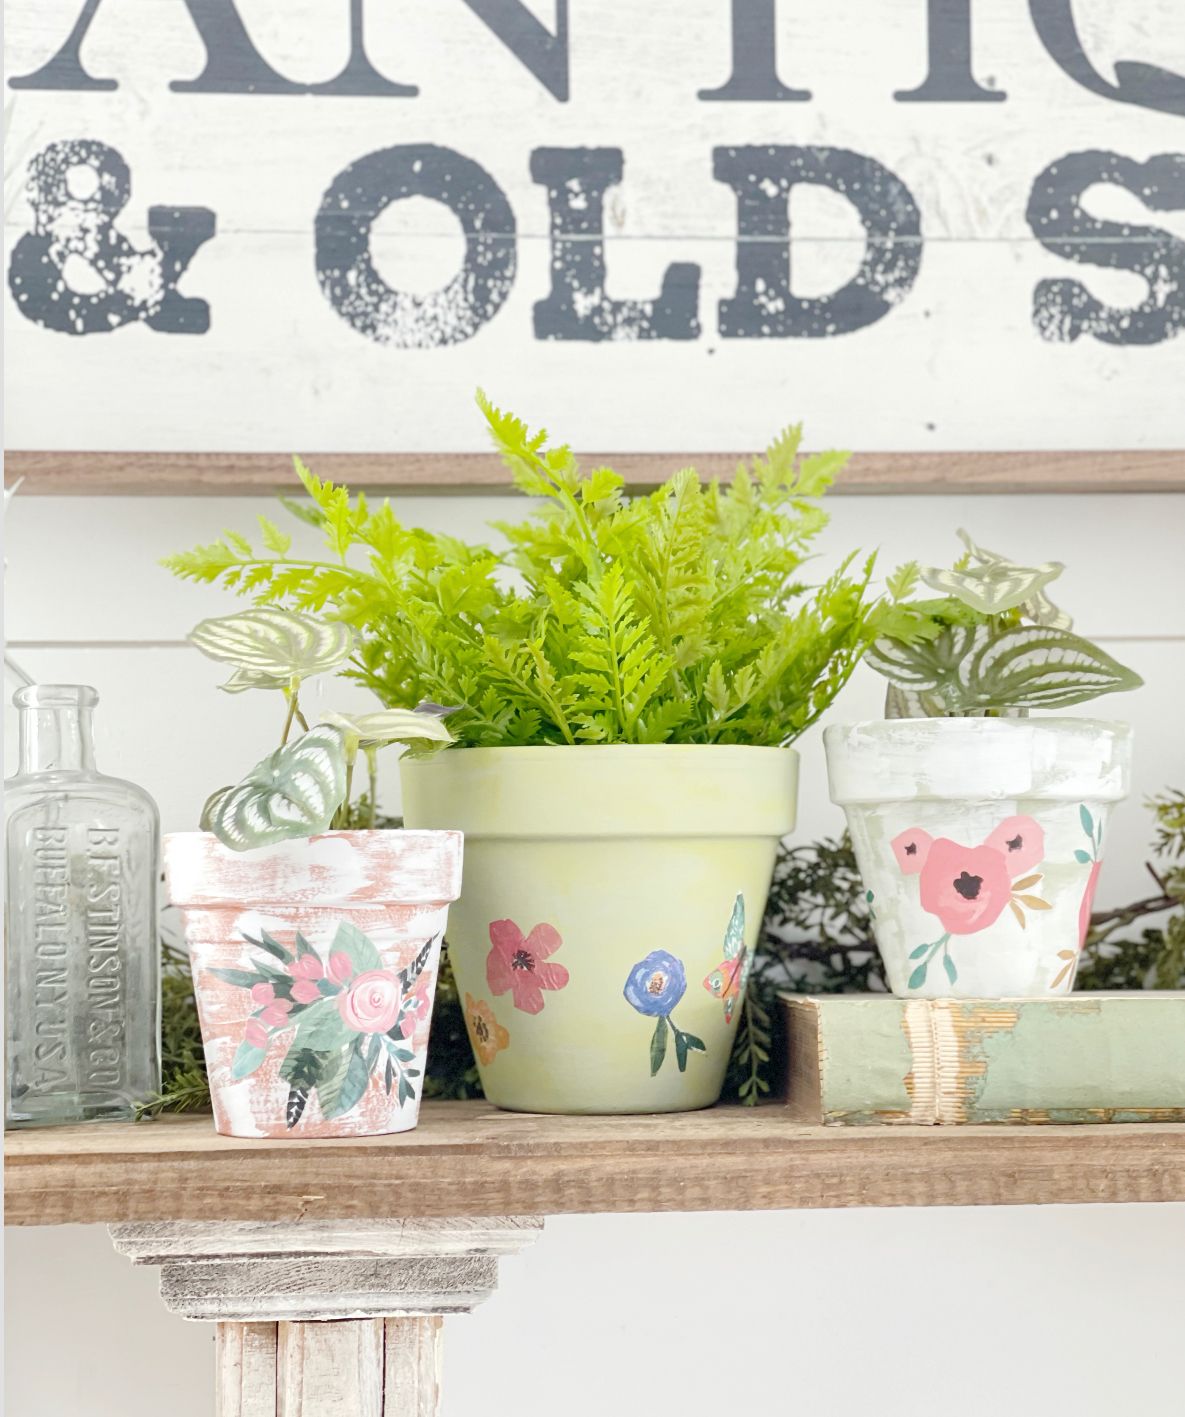
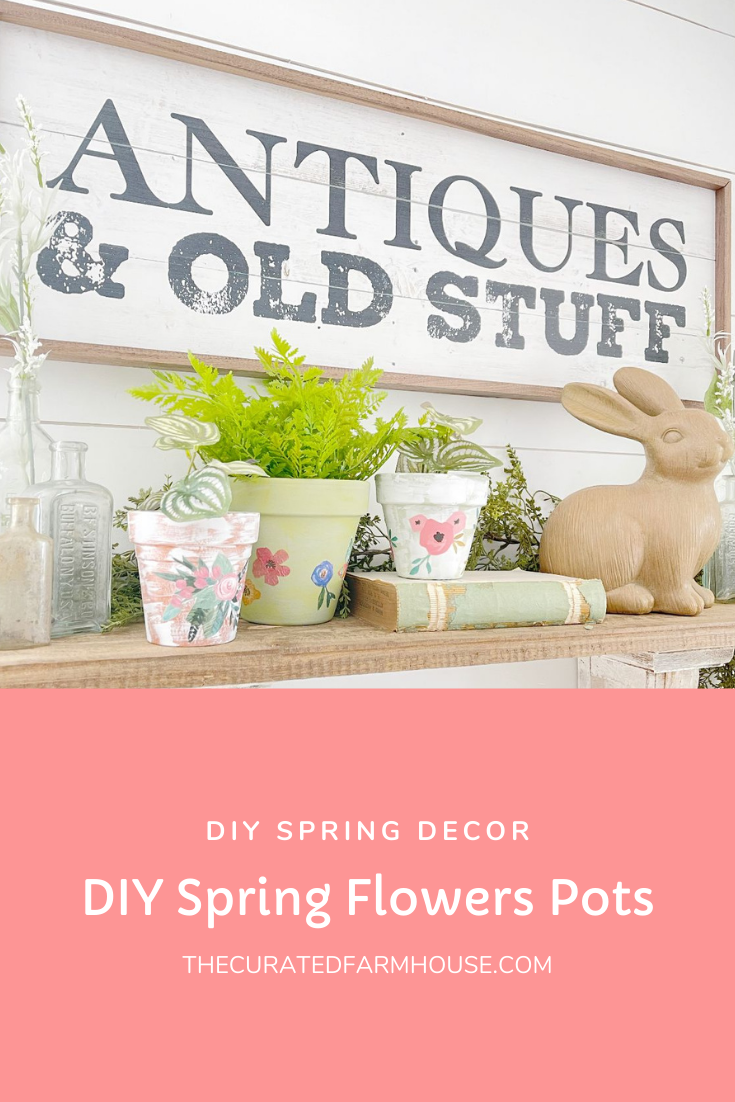
How To Make DIY Spring Flower Pots
Are you looking for a little spring inspiration? I am excited to show you how to make DIY spring flower pots today.
These are beautiful and so easy to make in just a few simple steps.
Some of our posts contain affiliate links. If you click on an affiliate link and make a purchase, we receive a small commission. Clicking on an affiliate link does not result in an additional charge for you, or cost you anything extra. Money earned via affiliate links helps pay to keep my site up and running. Thank you so much for shopping through our links to show your support, through the brands and products that we love.
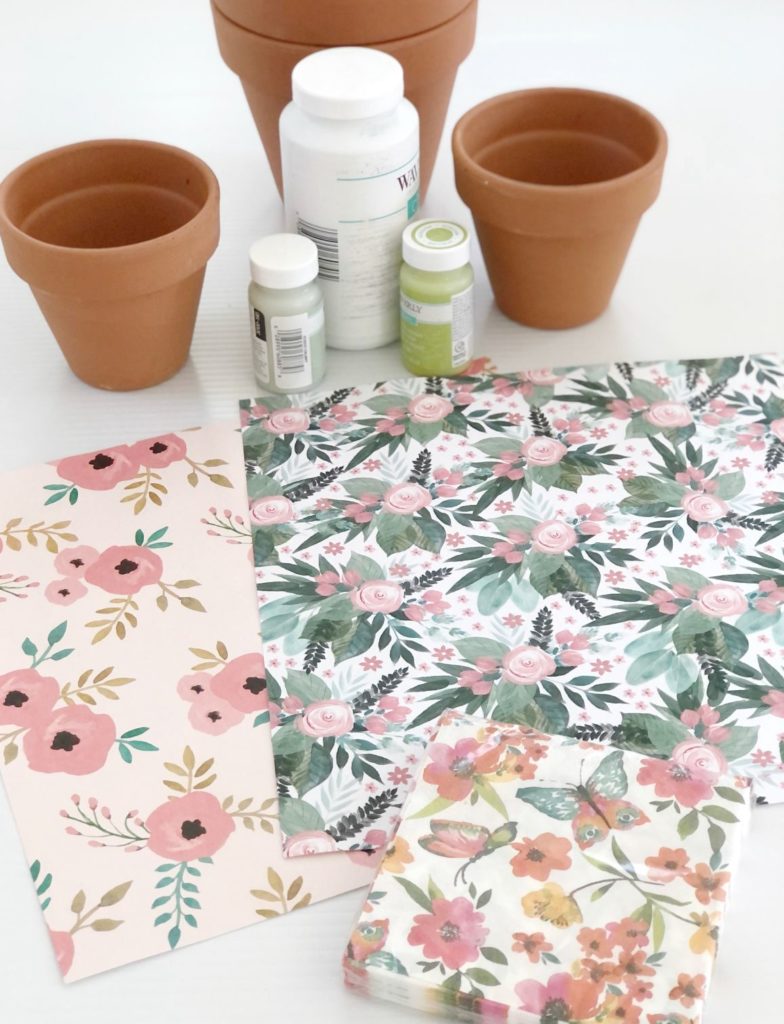
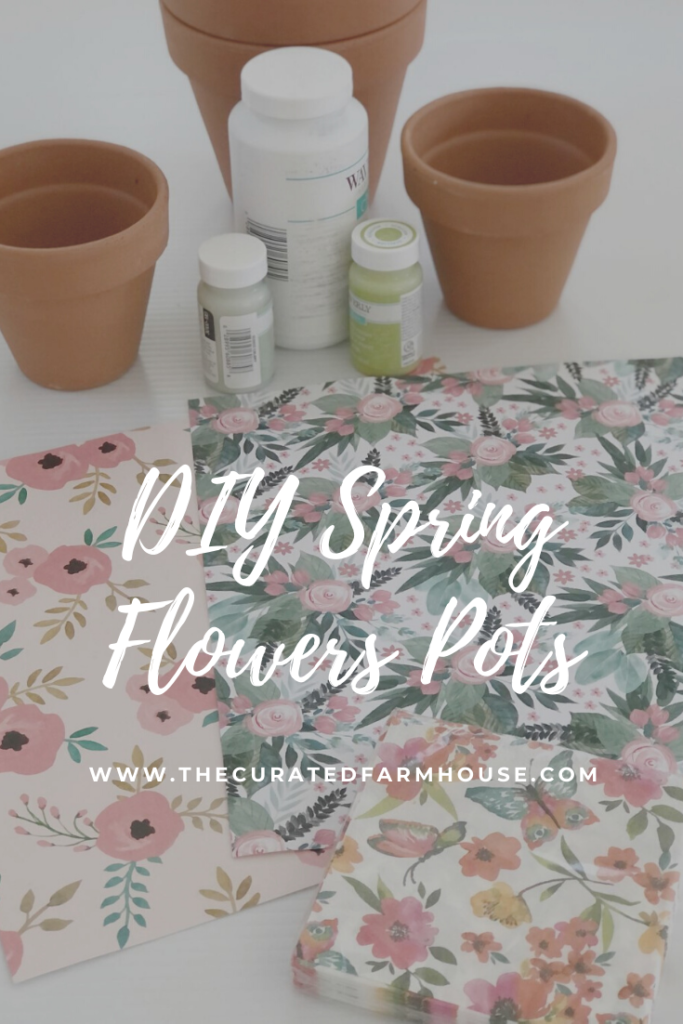
DIY Spring Flower Pot Materials:
- Terra Cotta Pots
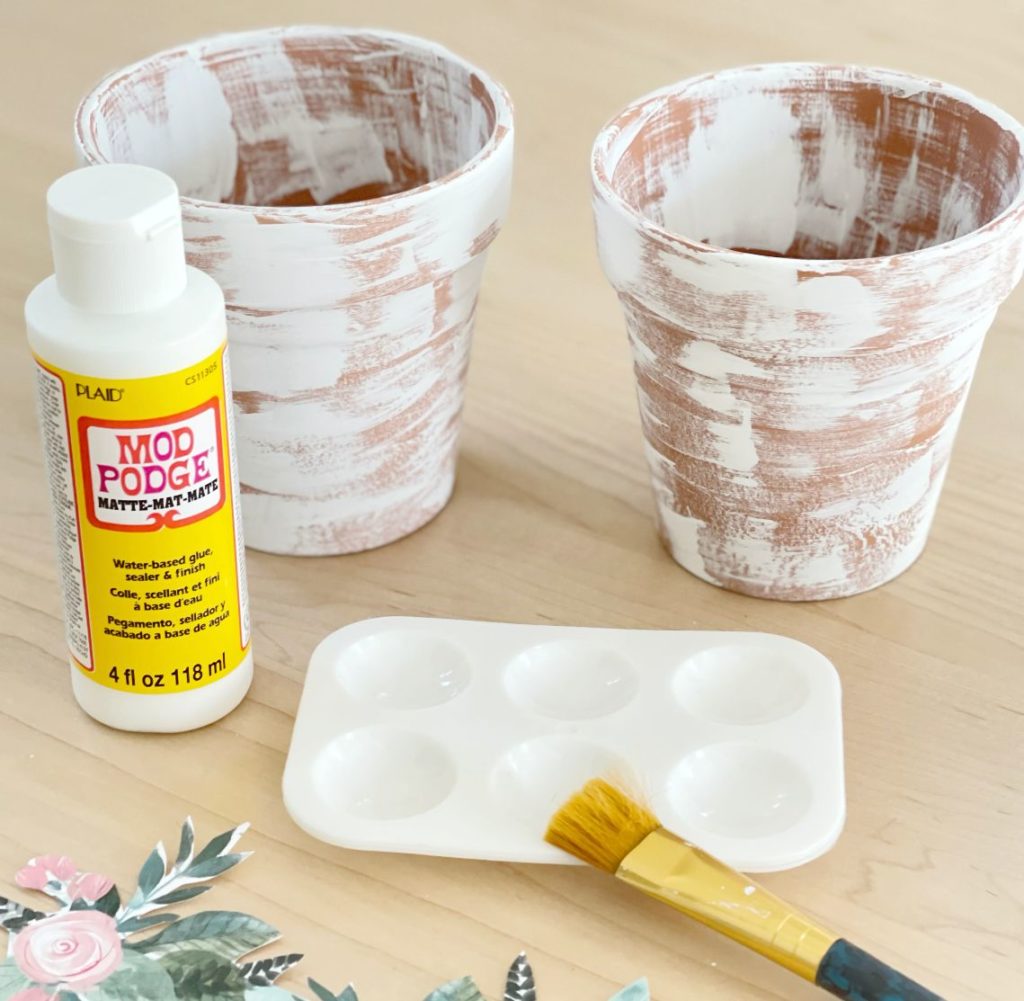
- Chalk Paint
- Mod Podge
- Paint Brush
- Scrapbook Paper
- Paper towels
- Minwax Polycrylic Protective Finish, Gloss
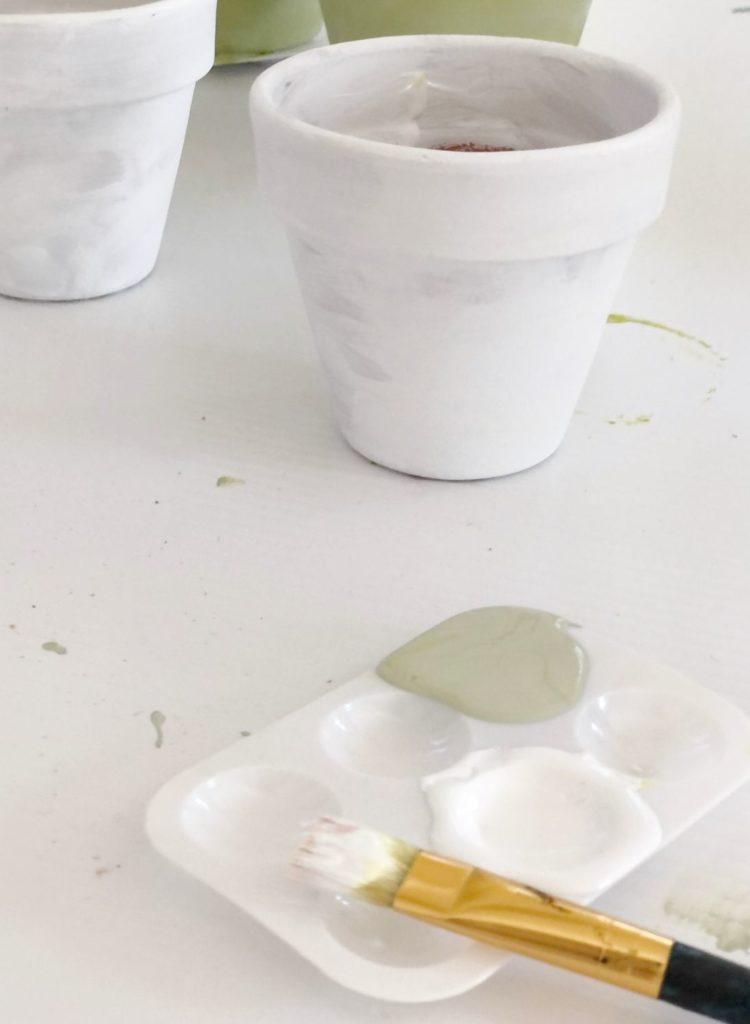
Step 1: Wipe Down Your Pots
This time of year you can find terra cotta pots at most stores, even the dollar store.
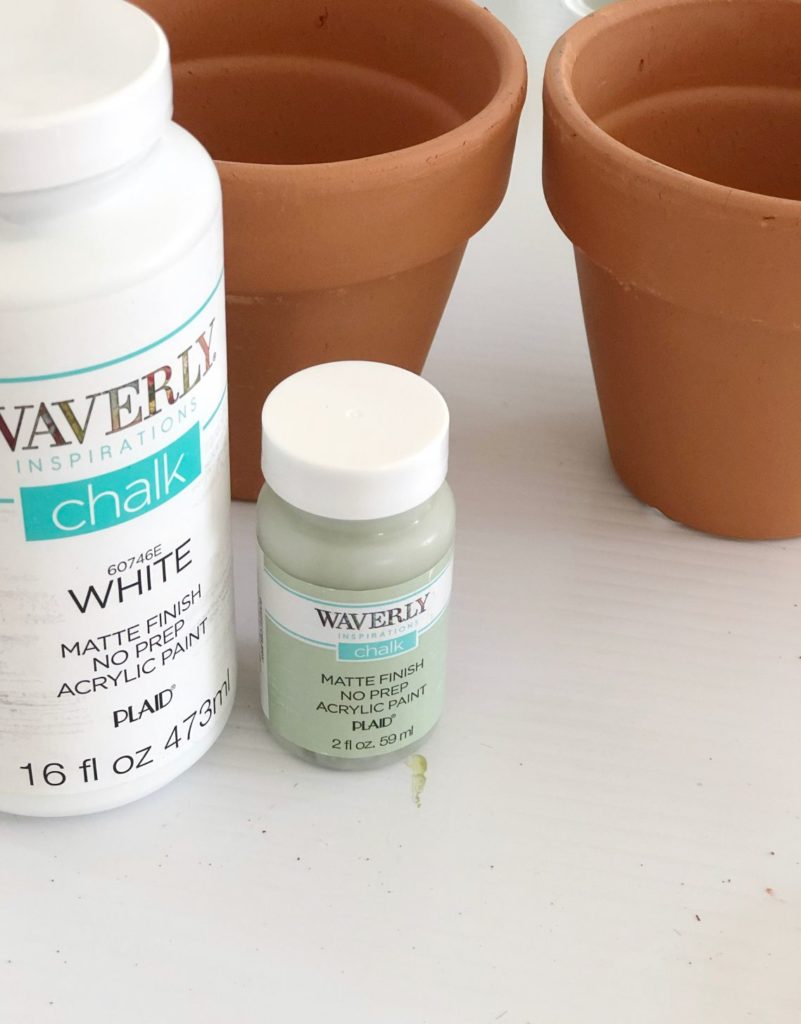
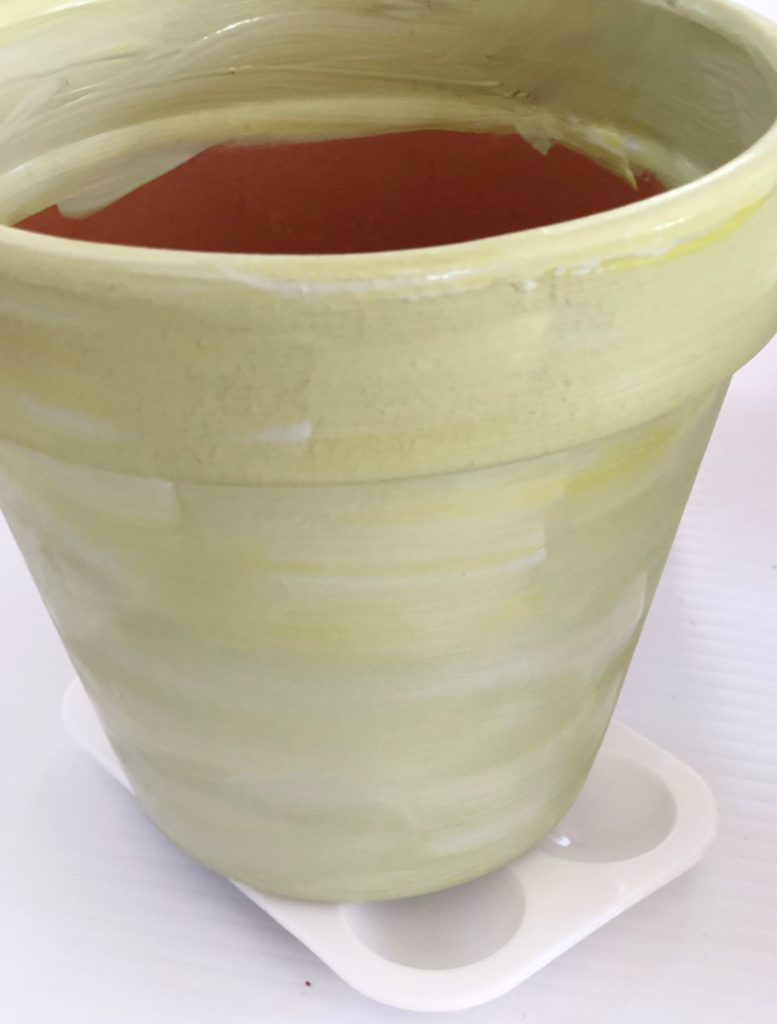
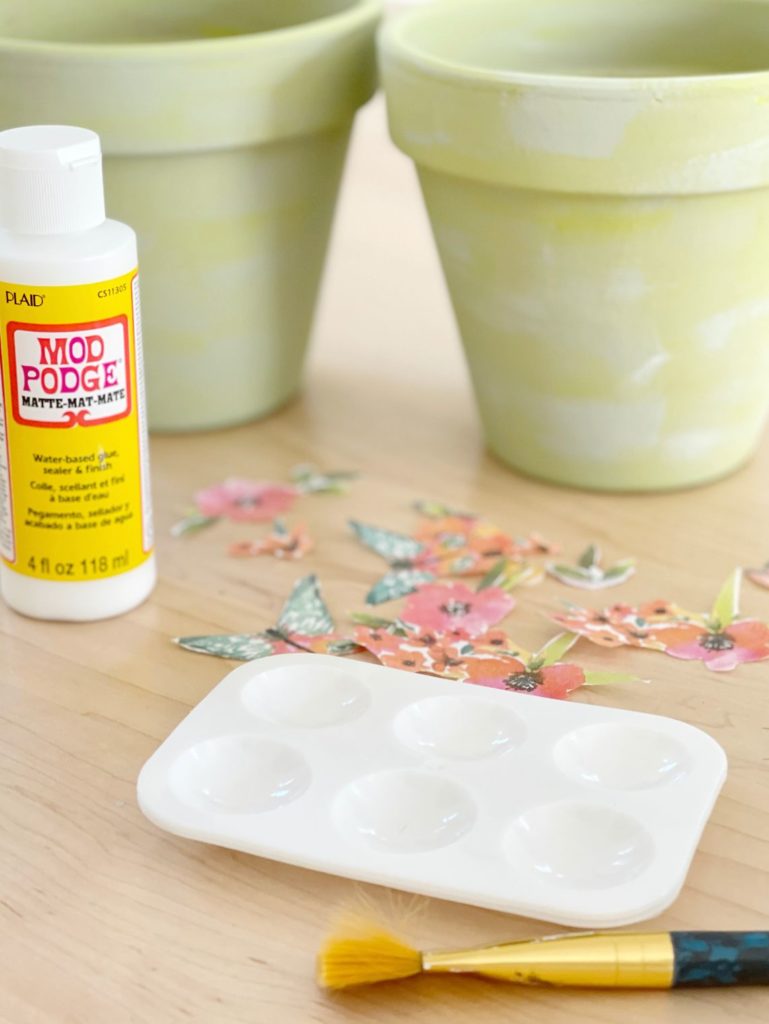
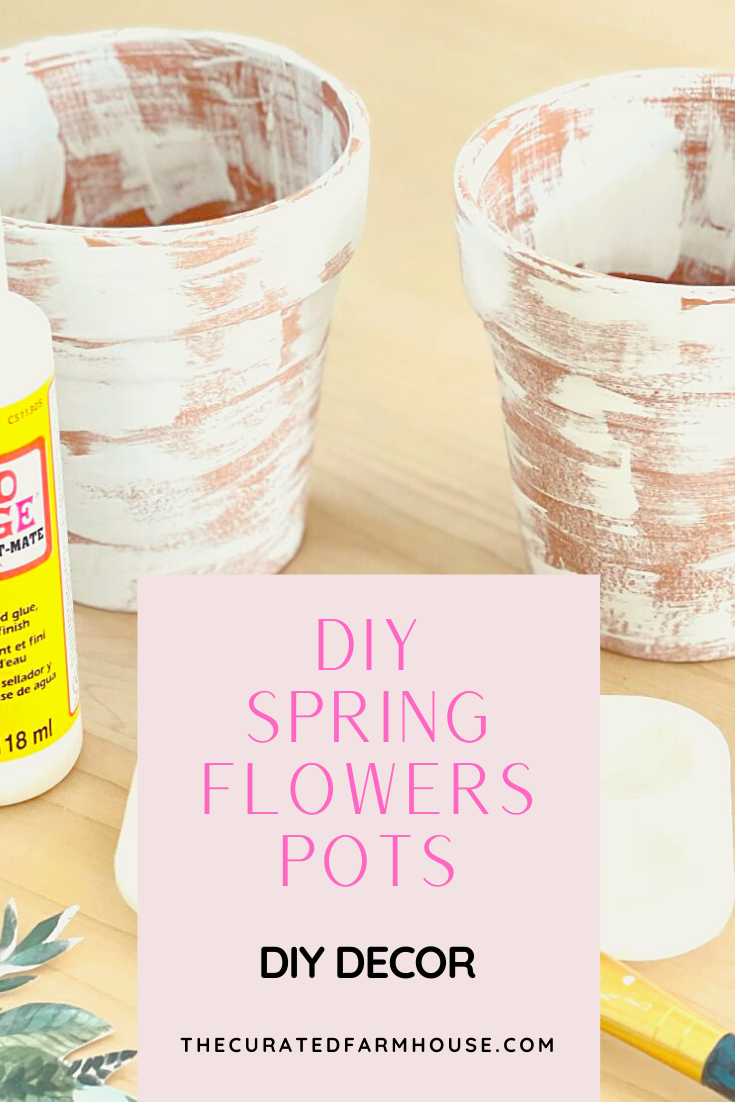
Step 2: Paint Your Pots
I applied two coats of paint to my pots. Using chalk paint will give you full coverage and you will need less coats.
Be sure to allow the paint to dry in between coats.
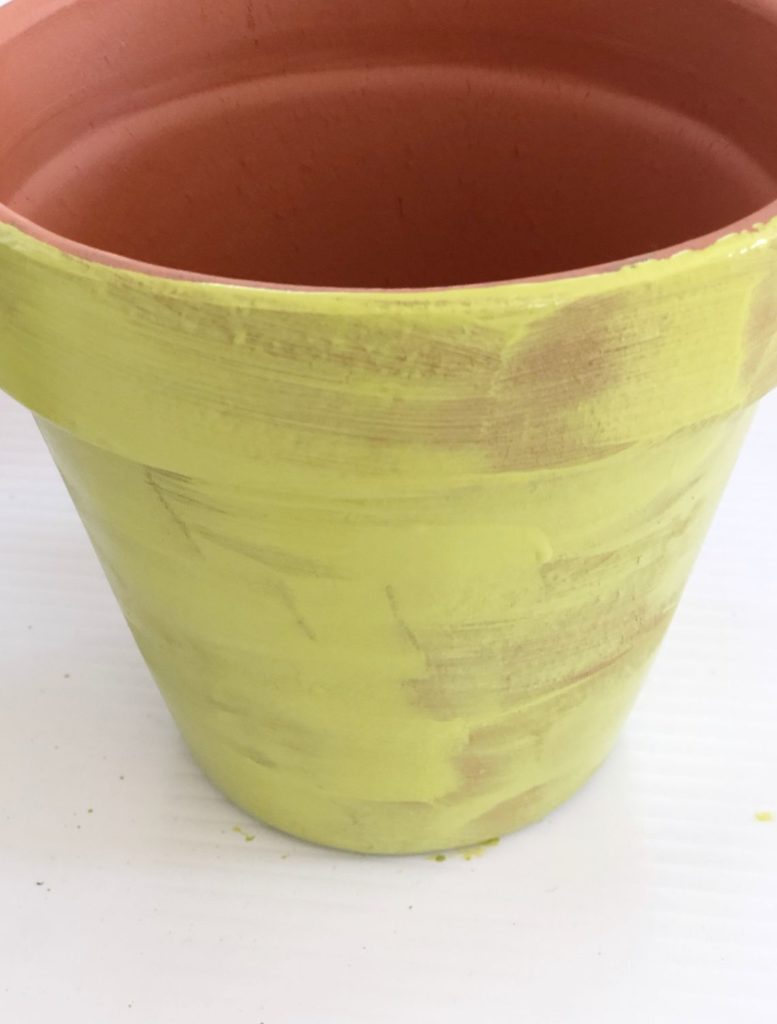
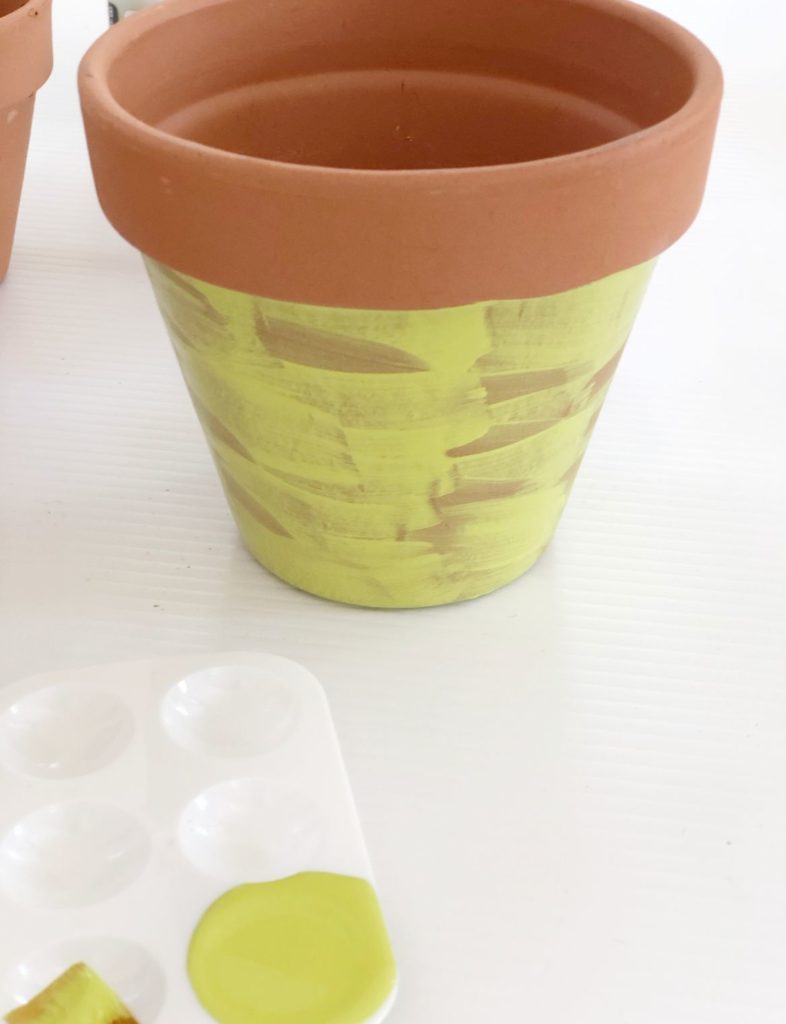
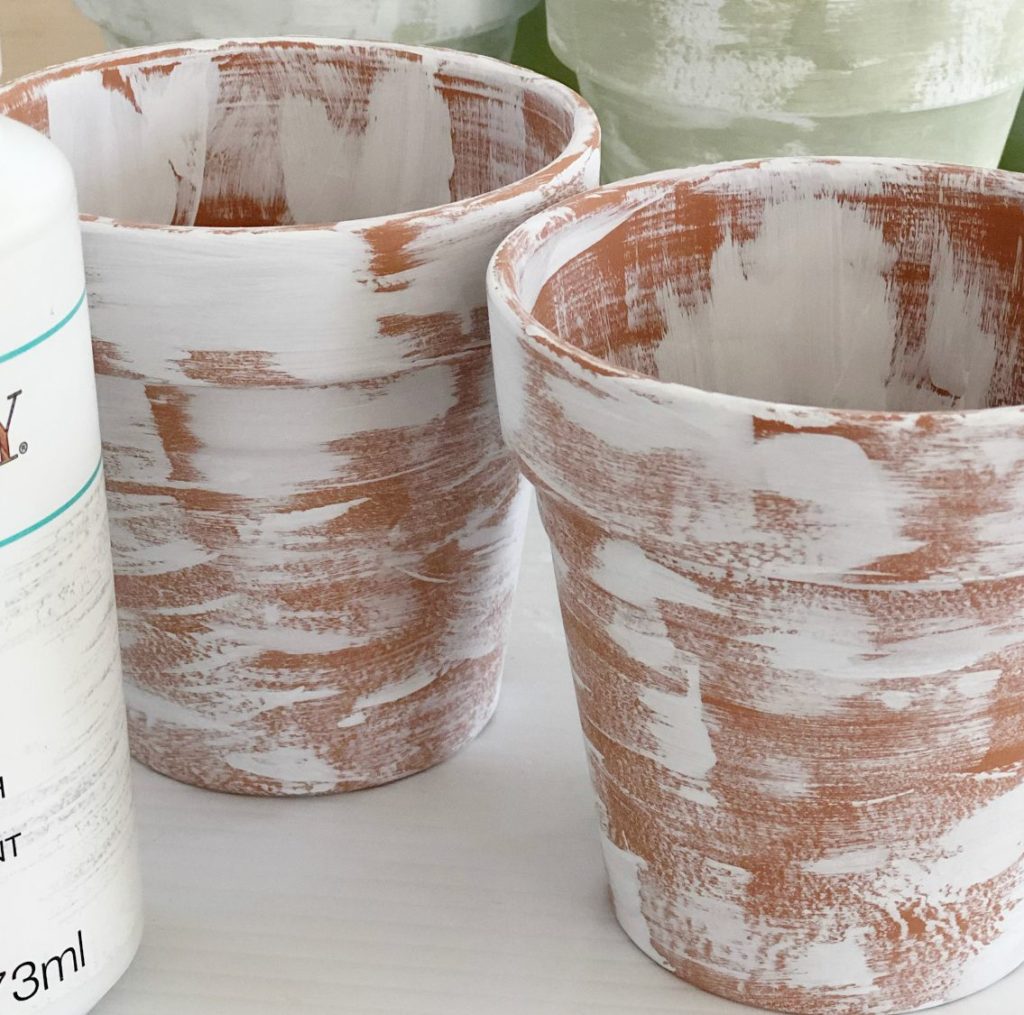
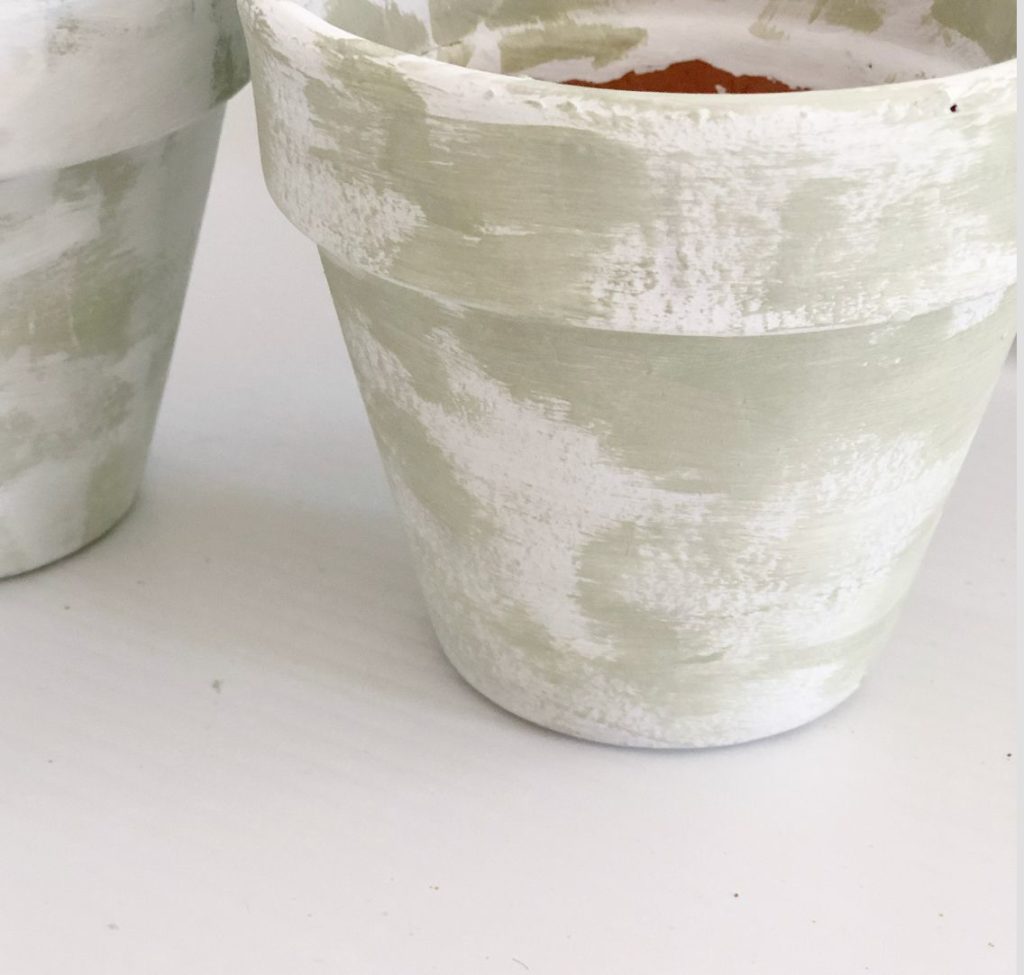
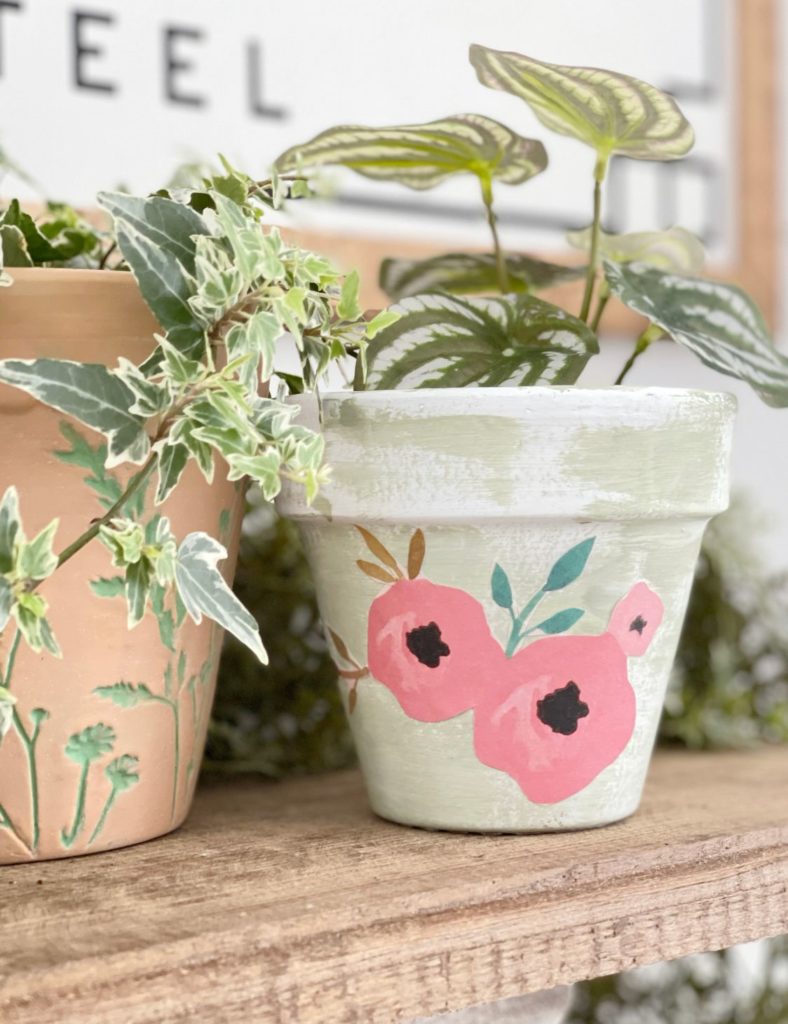
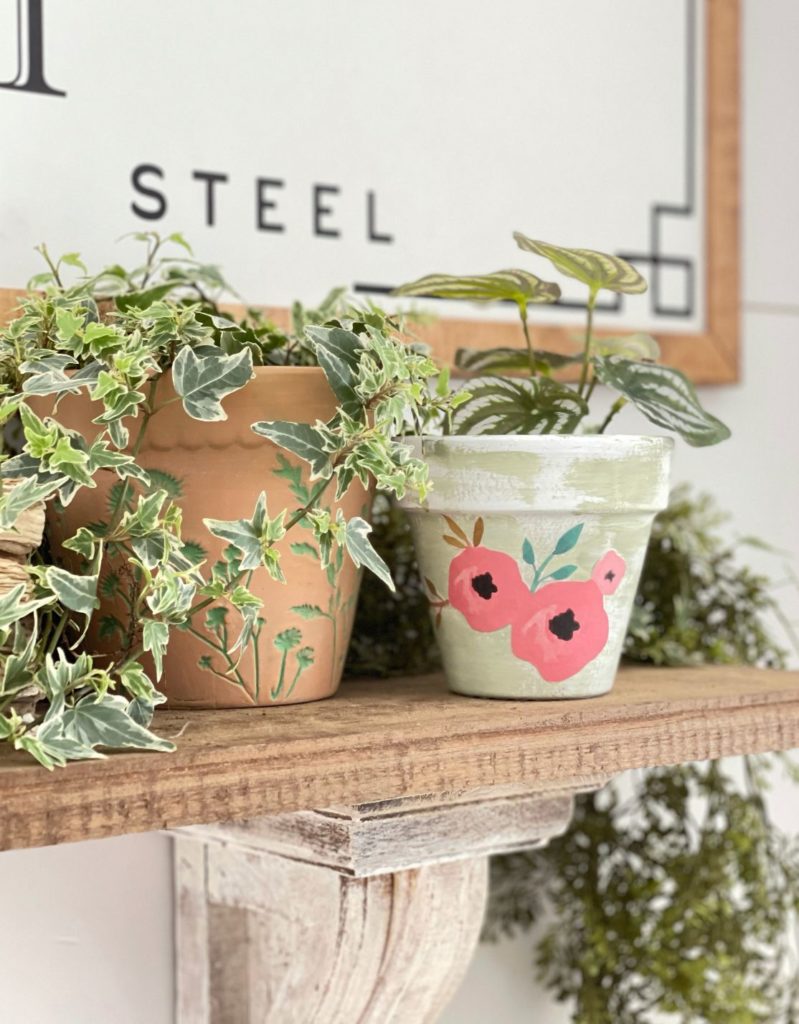
There are so many possibilities of paint combinations and looks. You can chippy your pot with a little white or green paint to give it that aged look.
You can mix two colors of paint to, we used two different green colors.
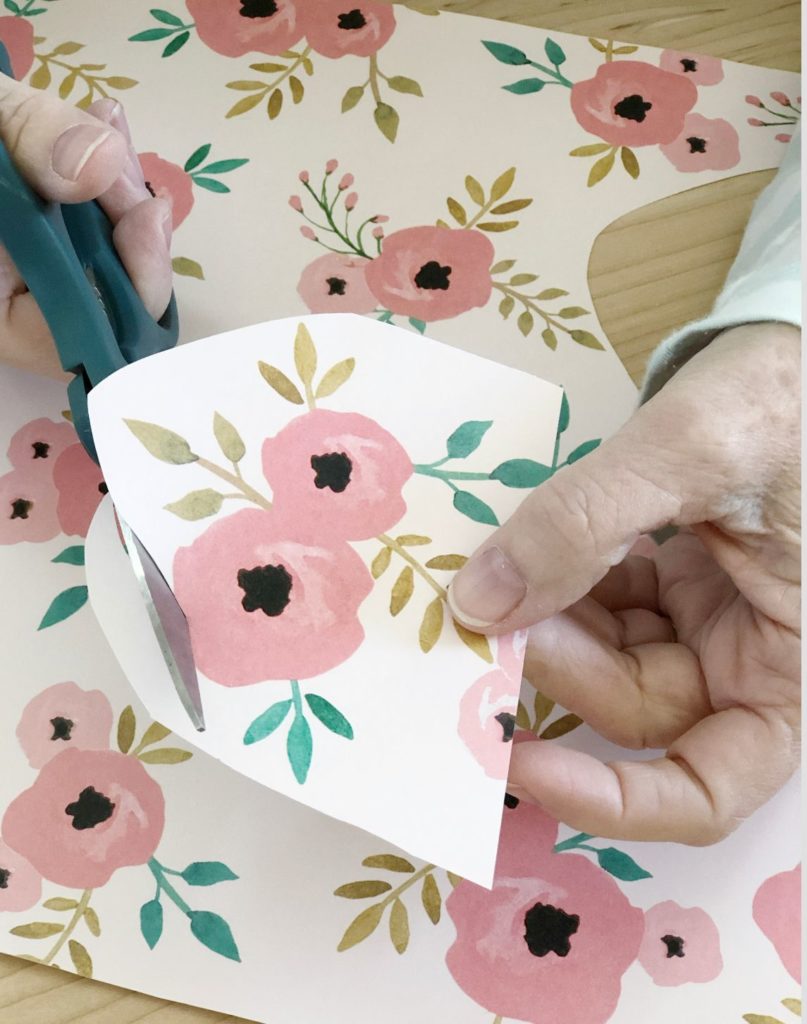
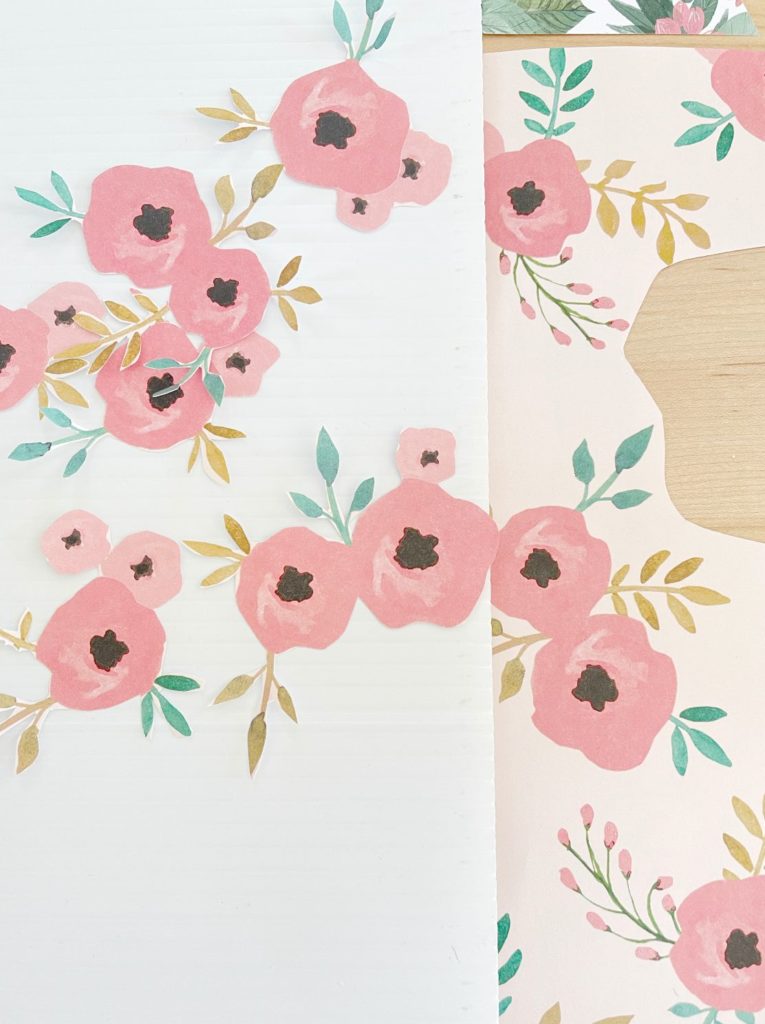
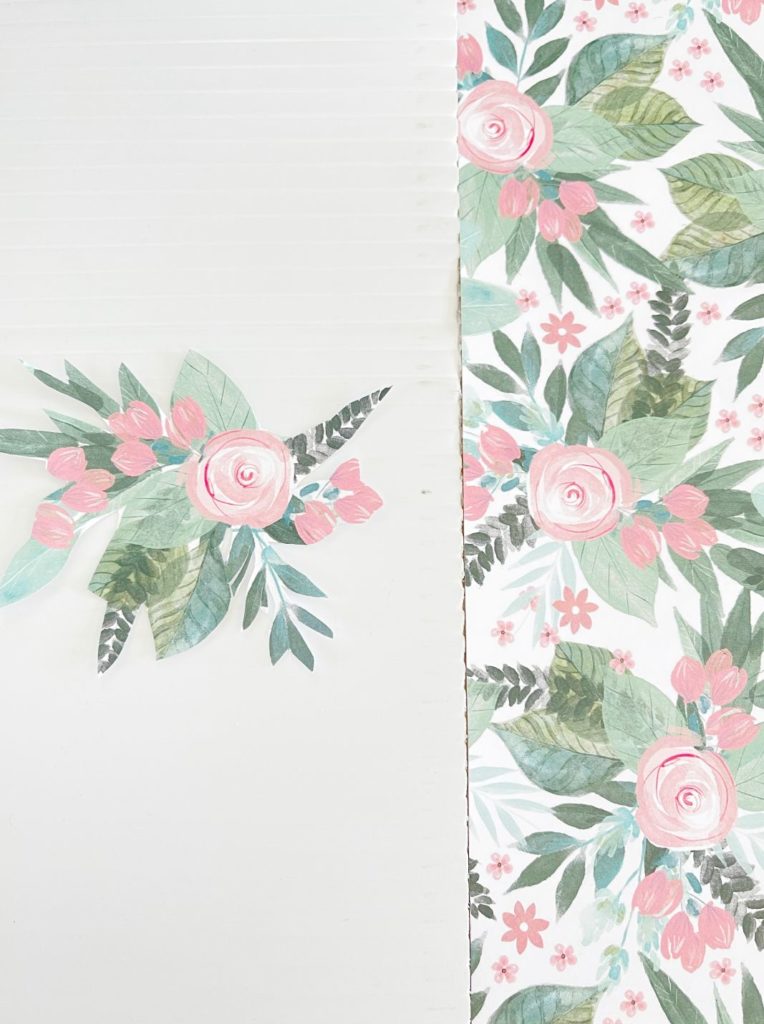
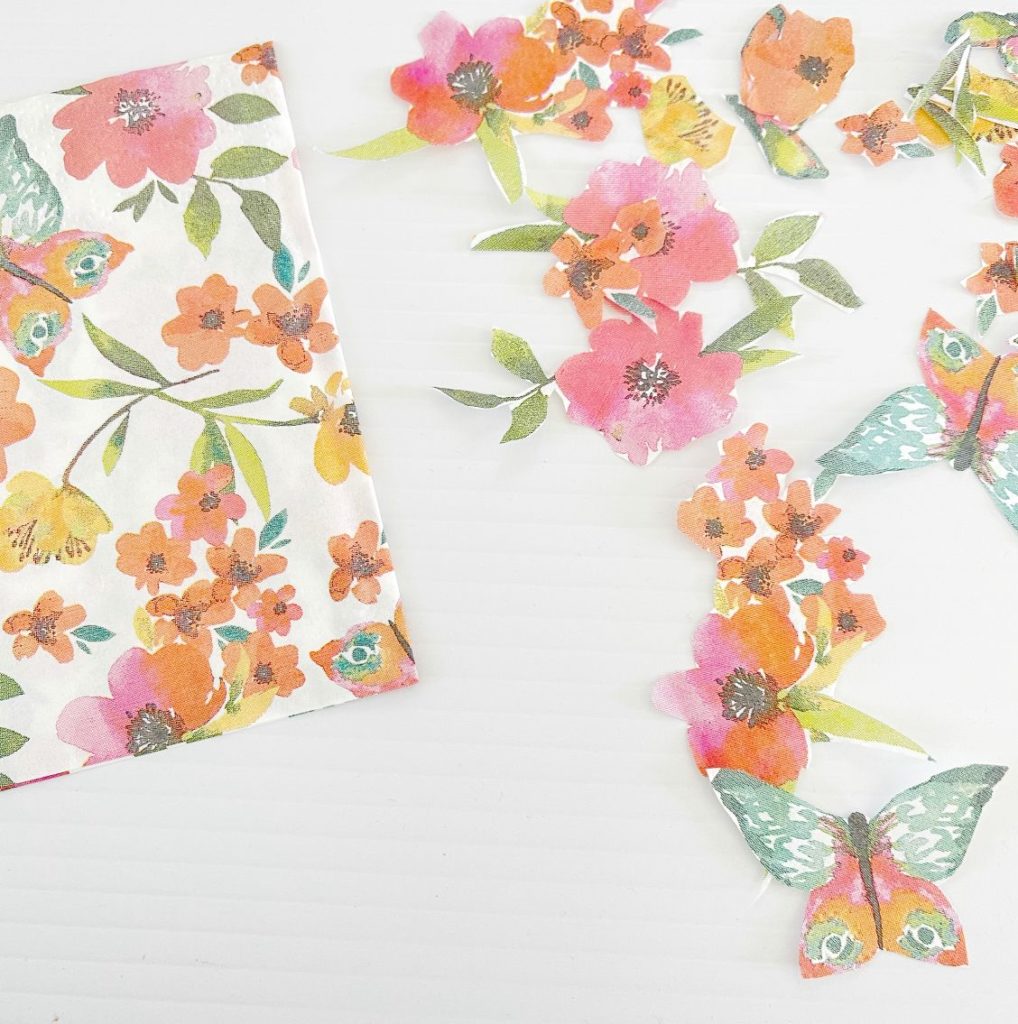
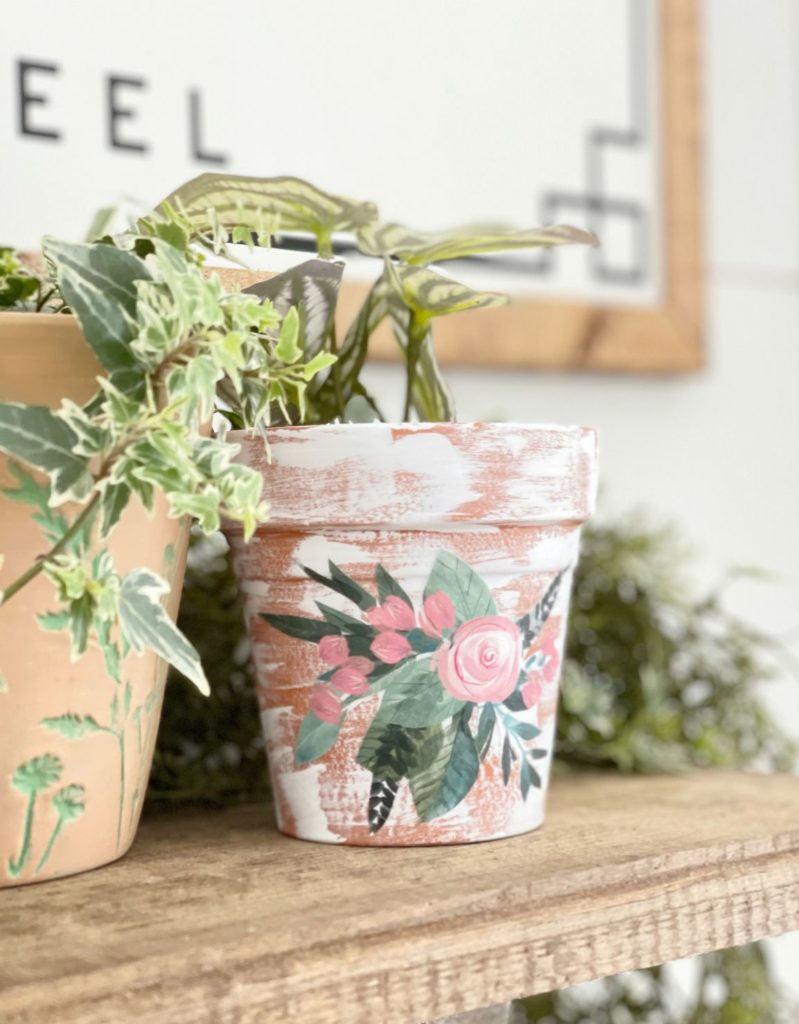
Step 3: Find Floral Paper + Cut Out Your Spring Design
You will want to find a fun pattern to use on your pots. You can use napkins or scrapbook paper. Just be sure to use something that has a pattern you can cut out.
Be sure to cut as close as you can to the edge of your designs. You can even use a napkin! just pull off the one ply without design on it.
Step 5: Adhere Your Design
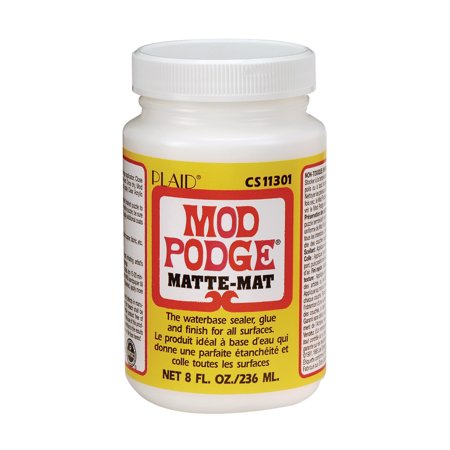
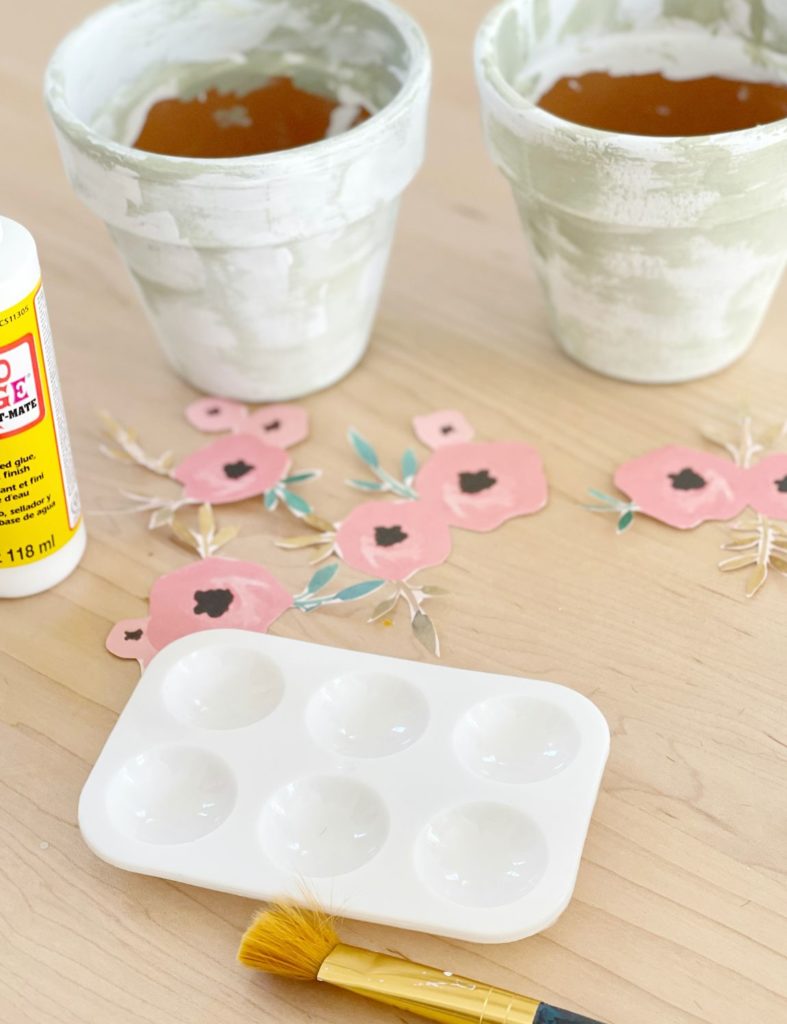
Apply a layer of Mod Podge to the pot, this will dry clear so don’t worry about the look of the glue. Next apply your design to the pot, then seal with another layer of Mod Podge.
Be sure to smooth out as many wrinkles as you can. Add as many designs as you like to your pot until you have your desired look.
Step 6: Seal Your Pot
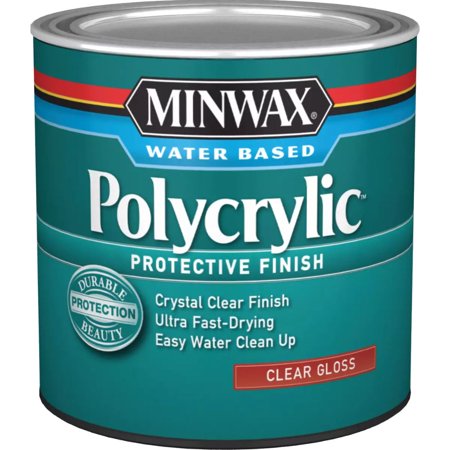
If you want to seal your pot be sure to use a water-based sealer such as Minwax Polycrylic. I use this when I seal pretty much anything, this works great on white because it doesn’t leave a yellow tint.
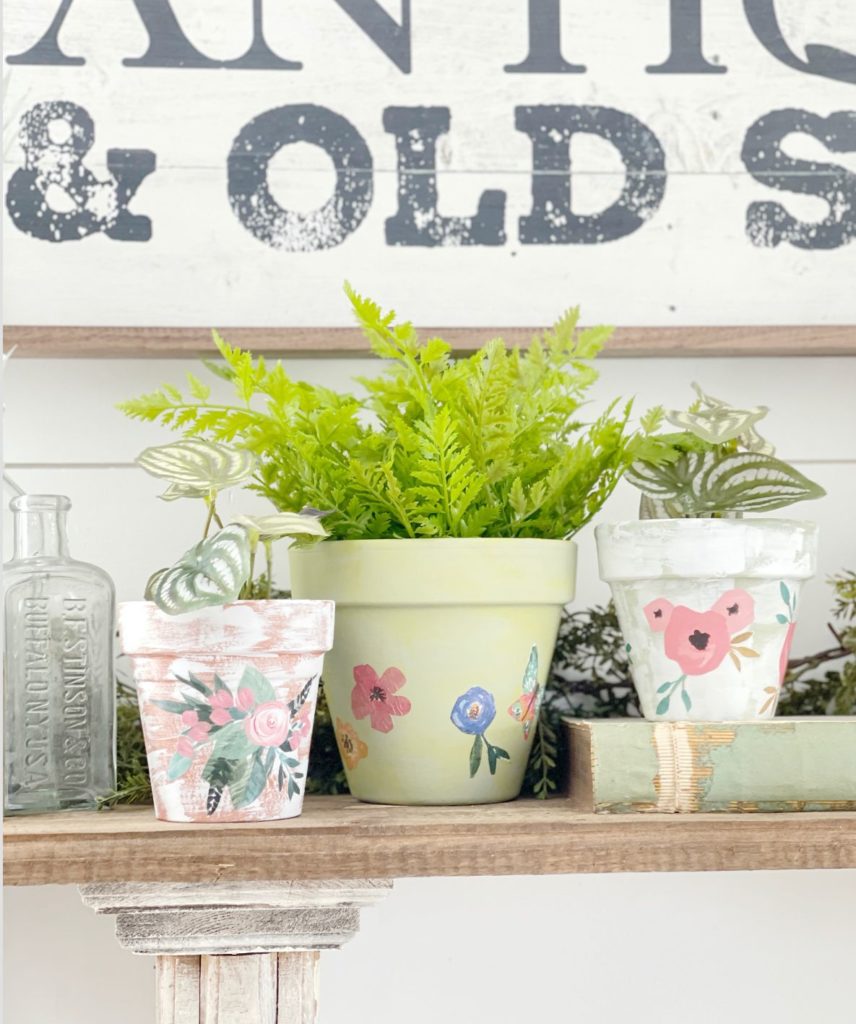
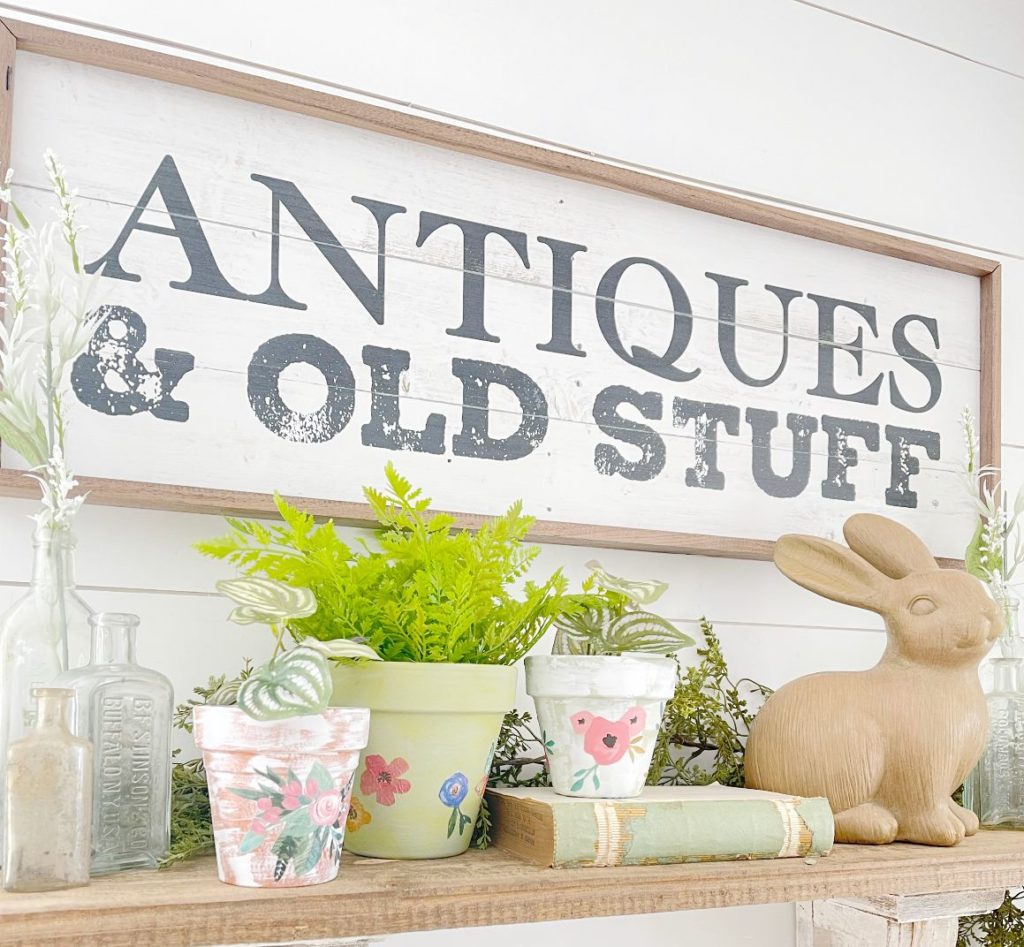
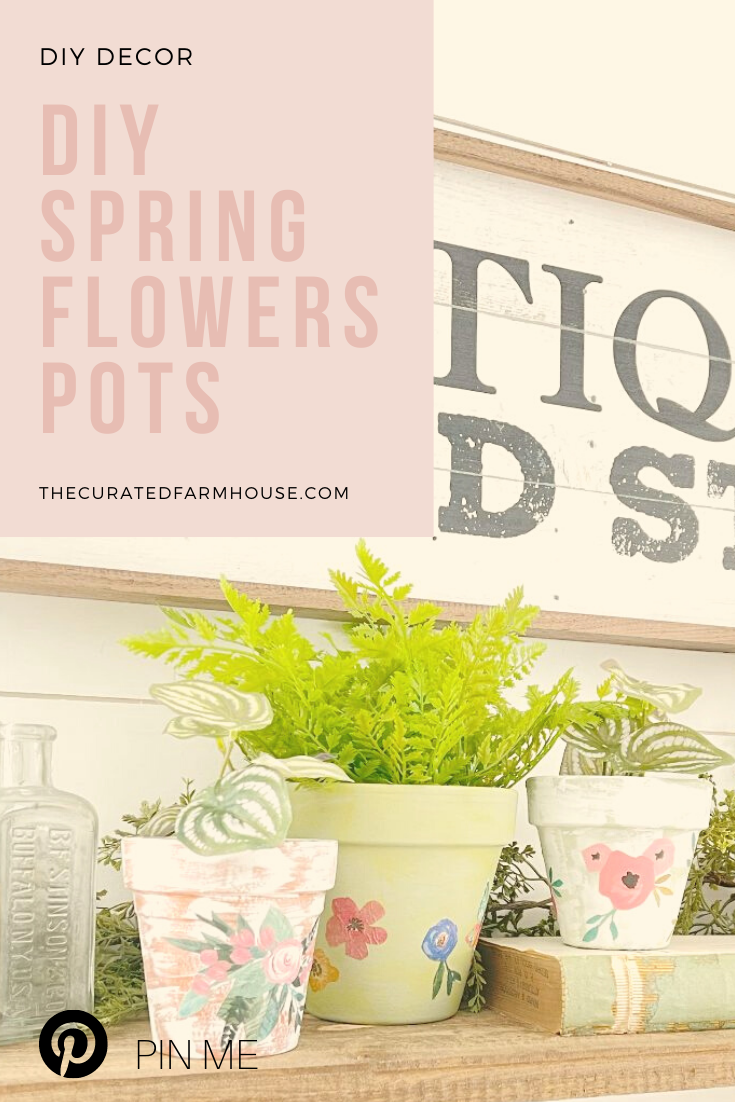
Be sure to let it dry completely then you can add your real or faux plants and style your space. We hope you enjoyed this fun DIY Spring Flowers Pots tutorial.
While you bring your creative ideas to life with these DIY pots, why not elevate your home’s ambiance by incorporating the fresh, vibrant beauty of flowers? With DJflowers, enjoying fresh blooms anytime is easy. Their prompt and reliable flower delivery service ensures that you can always have fresh flowers to complement your spaces. Whether it’s a spring refresh or just adding a touch of natural beauty, DJflowers helps you fill your home with stunning arrangements that bring your DIY projects and decor to life.
We hope you enjoyed this tutorial on this fun DIY spring flower pots project. If you are needing a little help on how to survive spring cleaning this year, I made a checklist to make it easy!
I would love for you to follow us on Instagram, Pinterest, TikTok, and Facebook! You can also join our email list so you don’t miss any fun blog posts or designing spaces.
If you enjoyed this spring blog be sure to check refreshing spring decor blog.


Wendy,
These are so cute. I’d like to share a link to your tutorial on my Sunday, Dirt Road Adventure. Would that be OK?
[…] out these cute painted flower pots from Wendy at The Curated […]