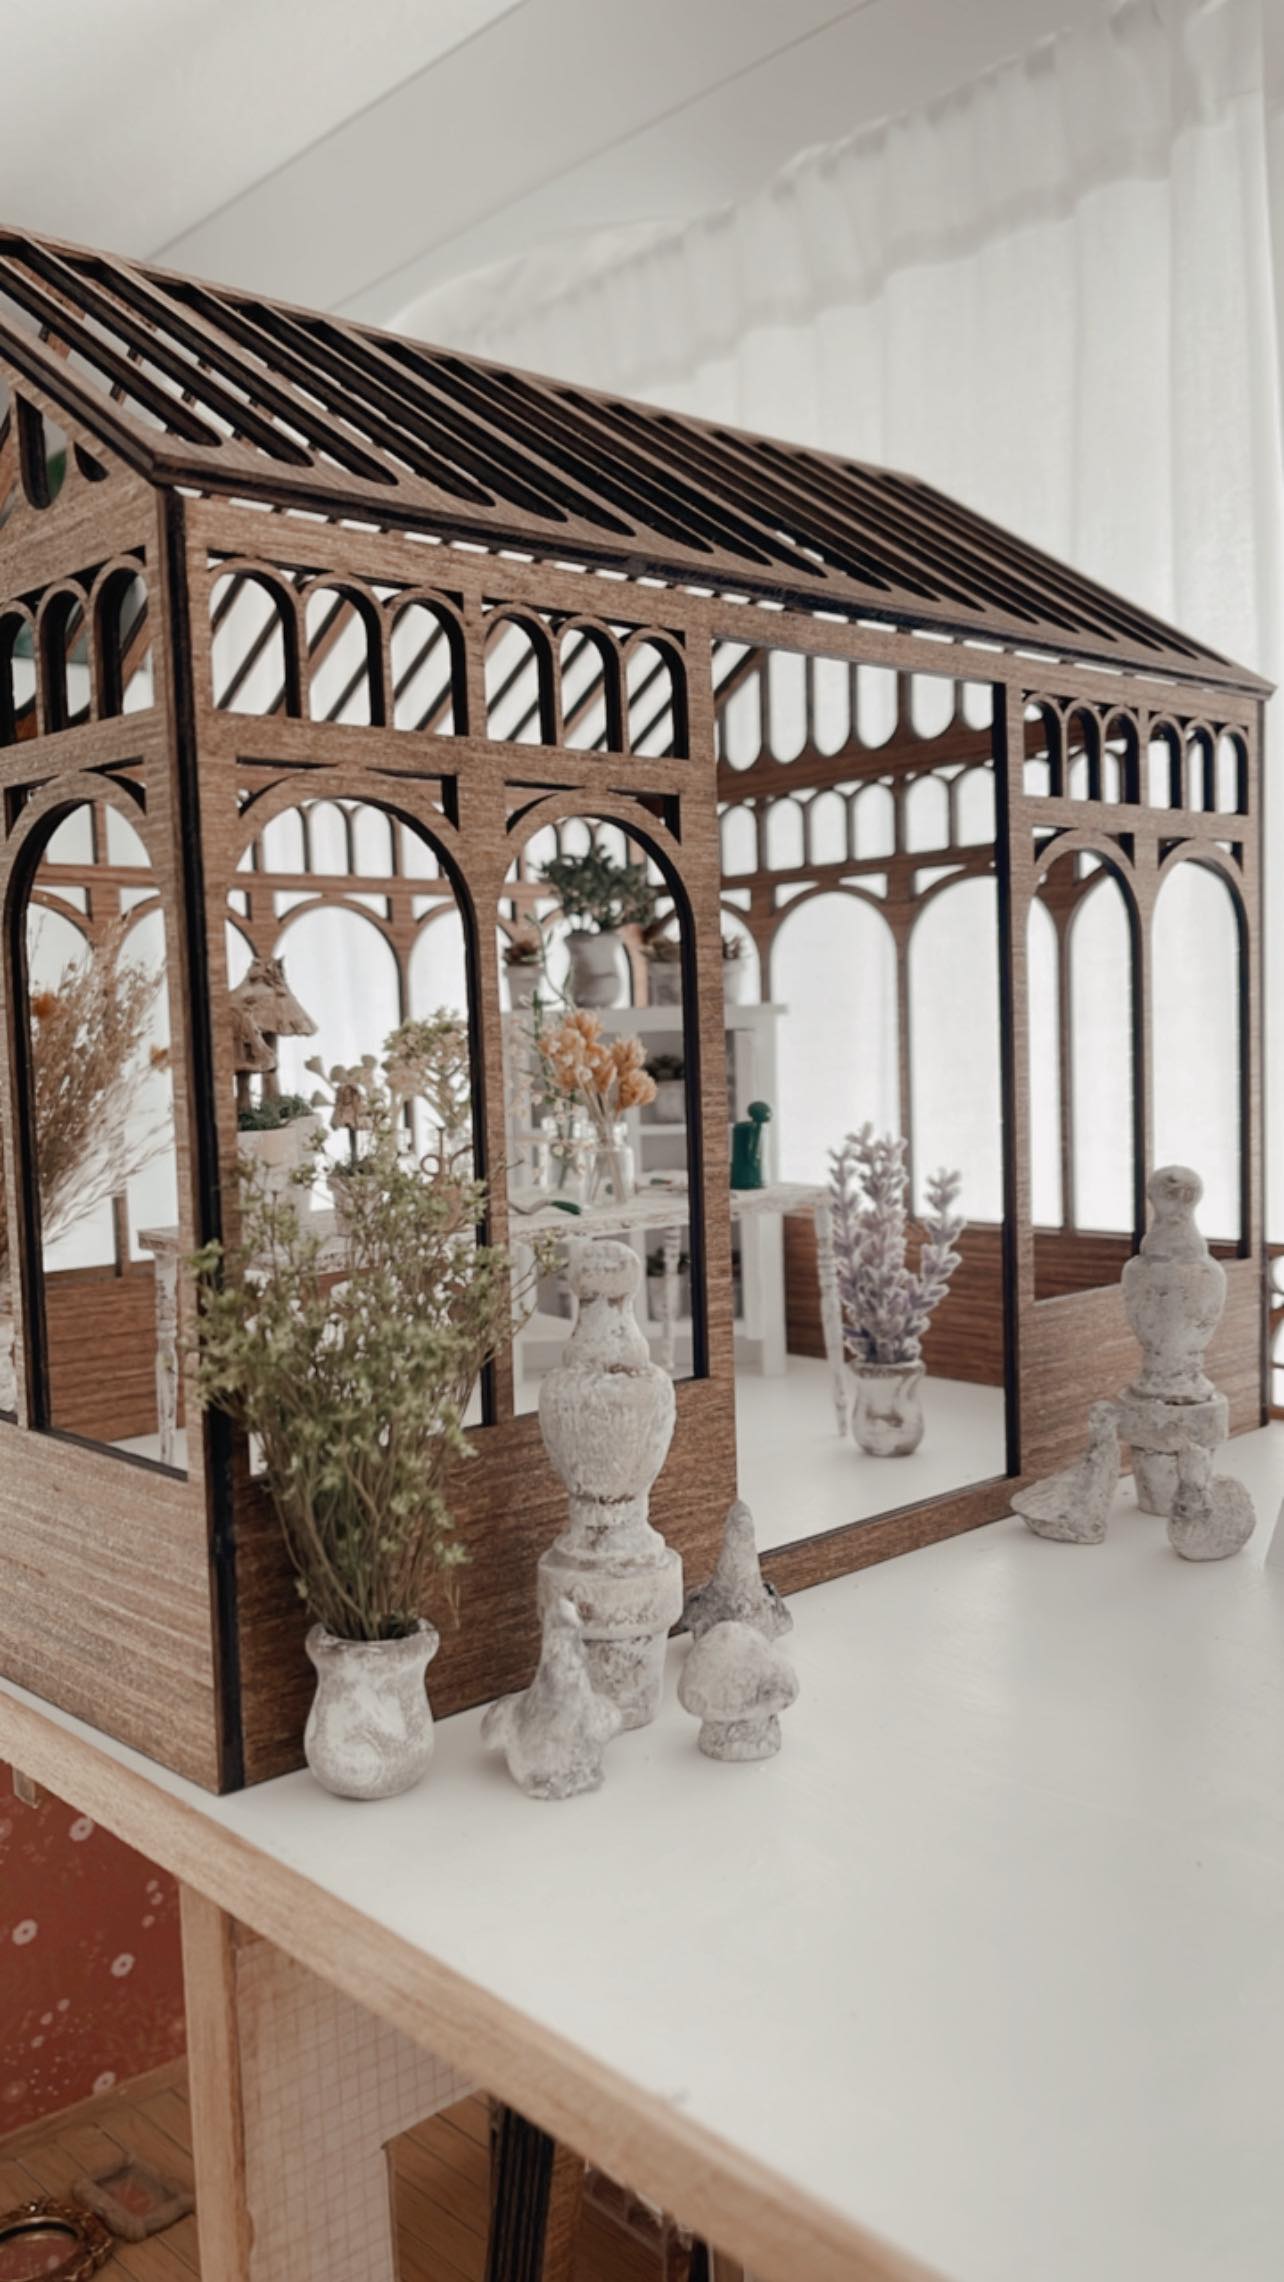
If You Love Miniatures You’ll Love This Greenhouse
If you love miniatures you’ll love this greenhouse.
Today I am showing you step-by-step tutorial on how to assemble one of our DIY Greenhouse Kits.
We send you everything you need (minus the glue) to construct the miniature dollhouse greenhouse of yoour dreams.
Oour goal with our DIY kits is to keep our products simple and easy to put together.
So let’s get started.
Some of our posts contain affiliate links. If you click on an affiliate link and make a purchase, we receive a small commission. Clicking on an affiliate link does not result in an additional charge for you, or cost you anything extra. Money earned via affiliate links helps pay to keep my site up and running. Thank you so much for shopping through our links to show your support, through the brands and products that we love.
Supplies
I prefer to use super glue (Loctite Super Glue Gel Control) when assembling walls, but this is totally your choice.
If you go with wood glue (We recommend Gorilla Glue) be sure to use the painters tape to hold the parts in place for a few hours until everything dries.
We recommend painting or staining beforehand. The stain we used in the Minwax Wood Finish Penetrating Stain, Early American. For paint we recommend either Waverly chalk paint, or Heirloom White General Purpose Spray Paint.
Assembly
With just 6 pieces, 7 if you have a floor this DIY kit is a breeze.
STEP #1: The Main Walls
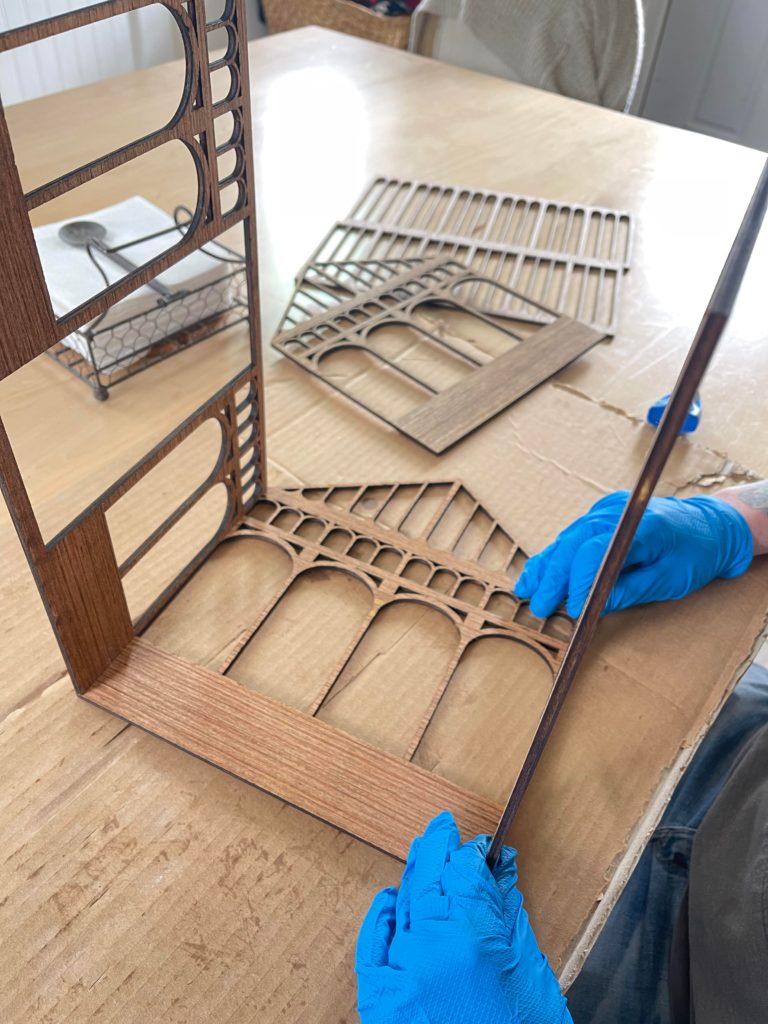
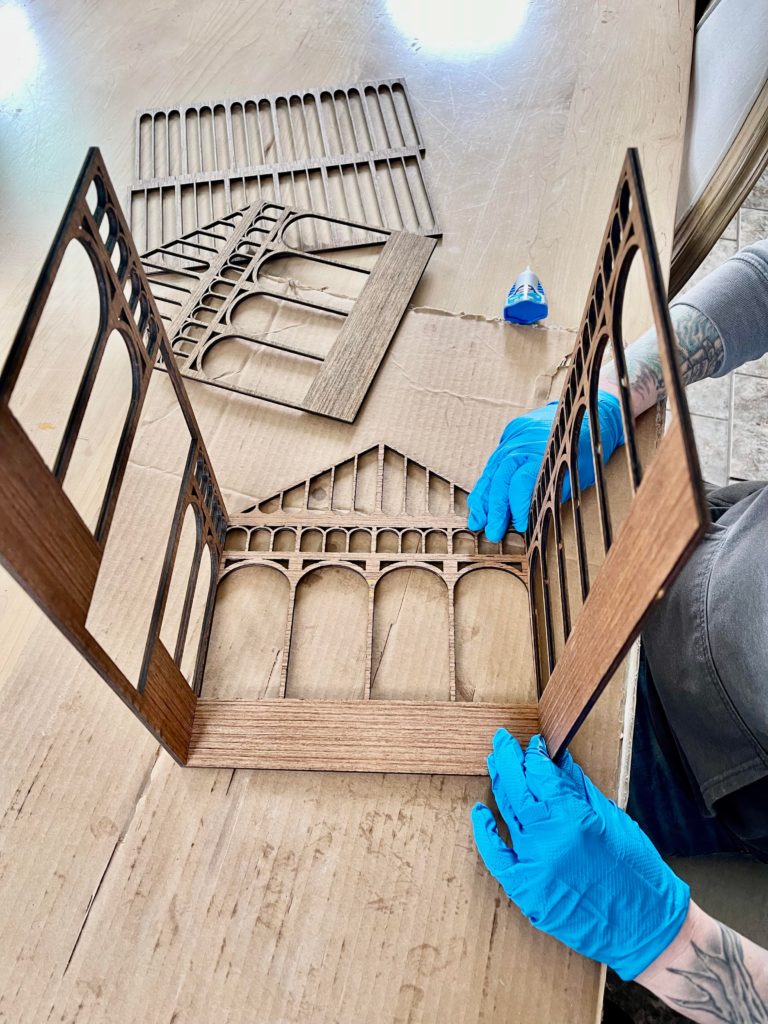
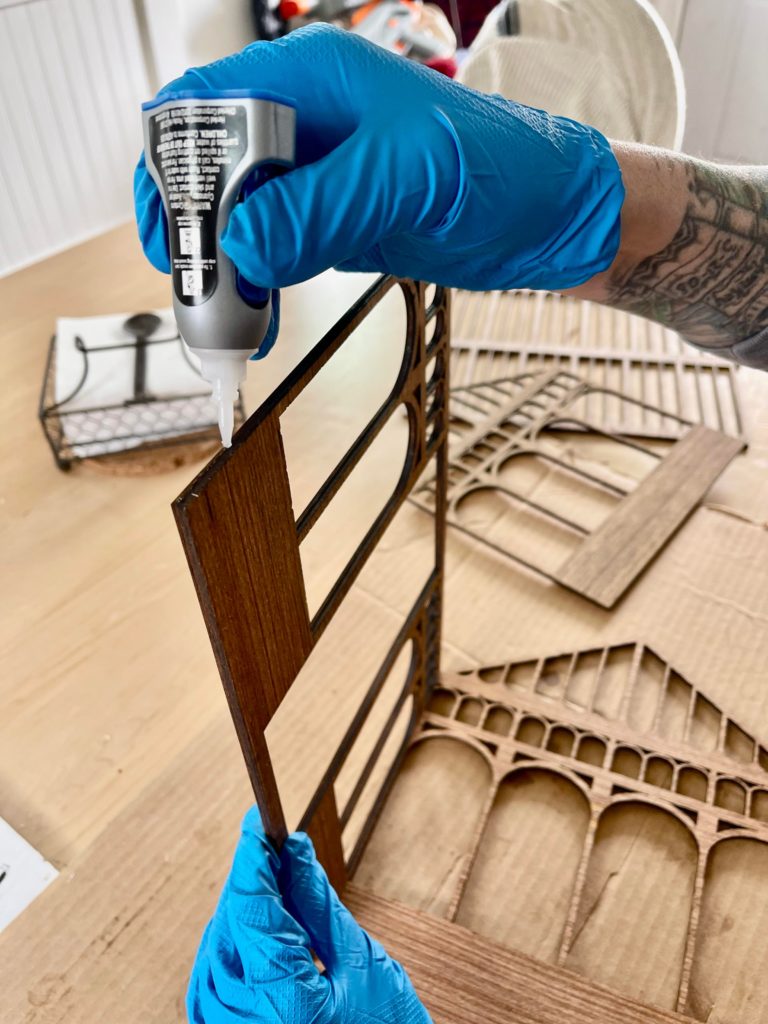
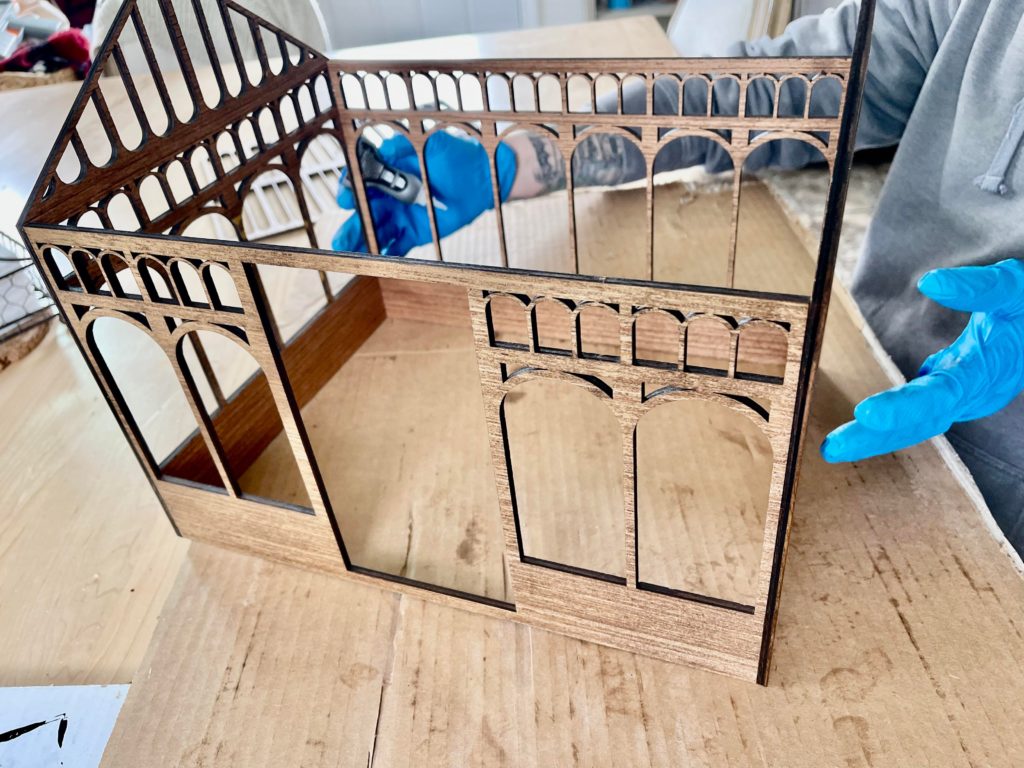
The first step is to atach your longer main walls.
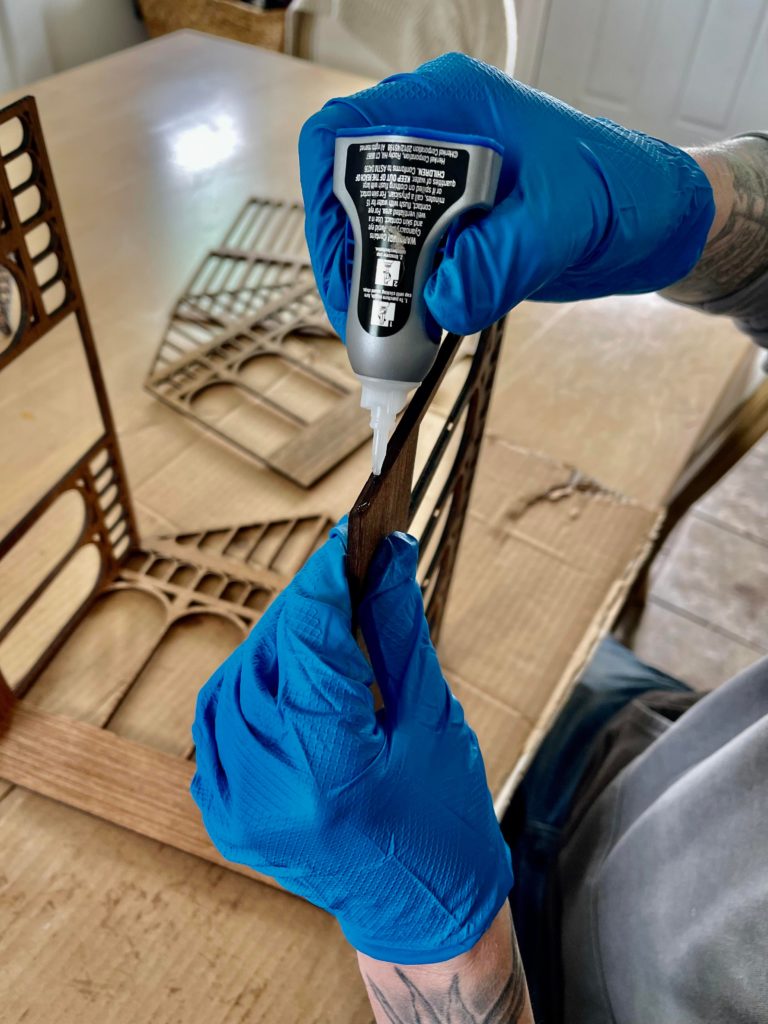
Lay your side wall flat, and add super glue or wood glue along the edge.
Then place the larger wall on top of the smaller wall not along side.
Hold until dry or attach painters tape and move on to the other wall.
Rotate and do the same thing on the other wall.
Next Step: Side Wall
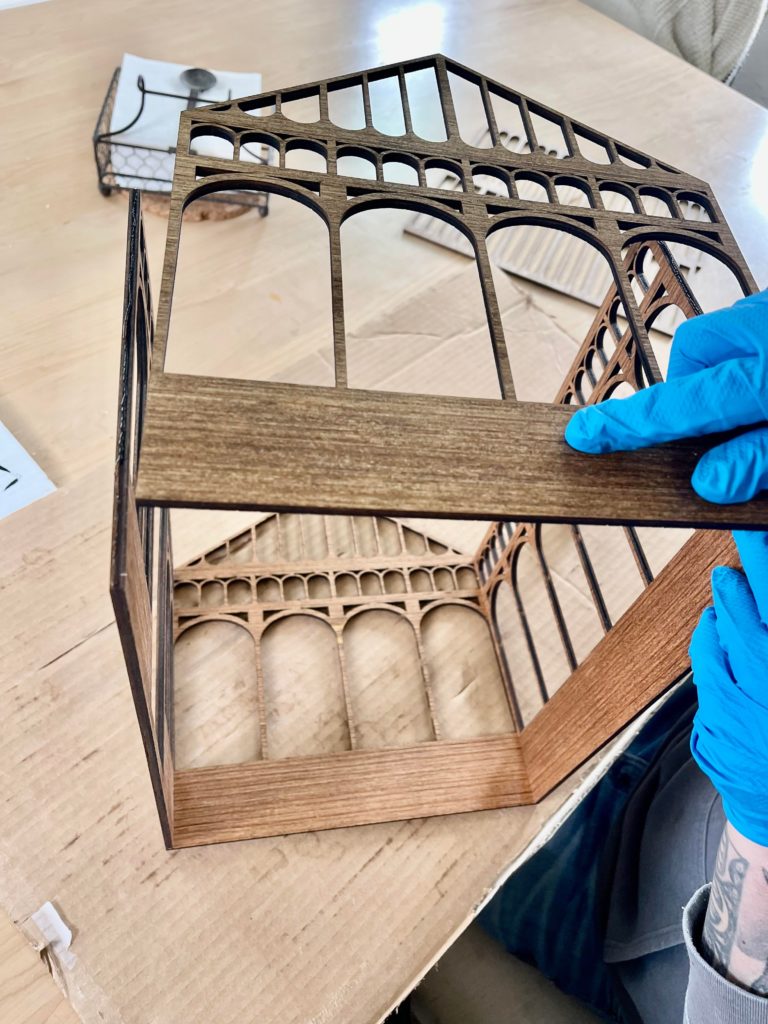
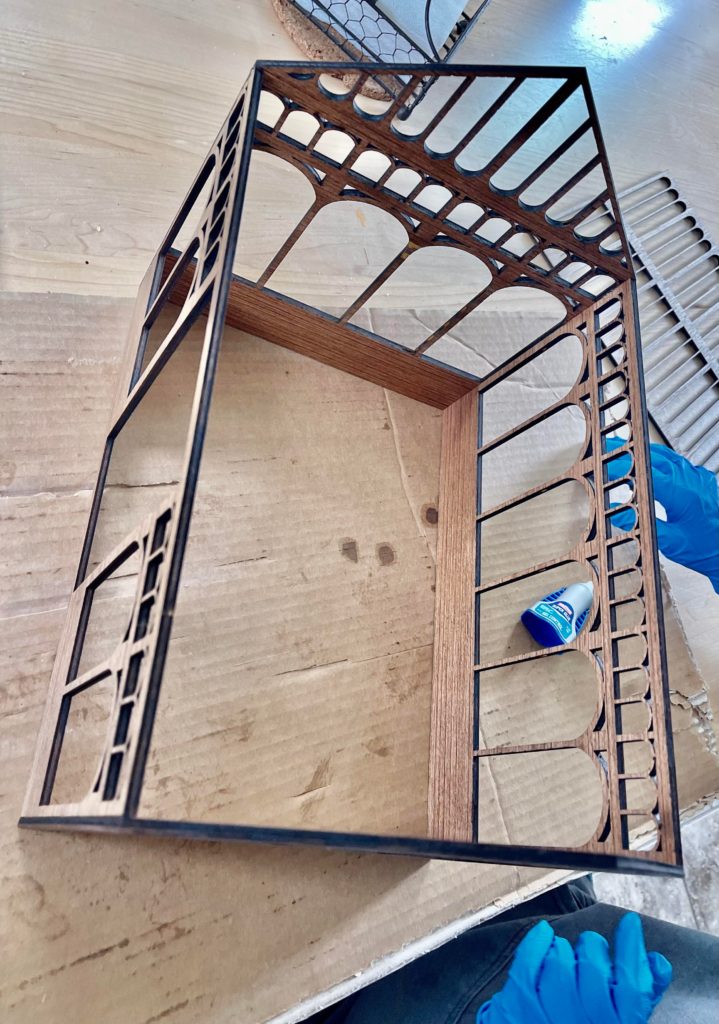
You will only have one side wall to attach.
Run the glue along side each side of the longer wall that is already attached.
Simply place the side wall on top and hold in place.
Final Step: Roof
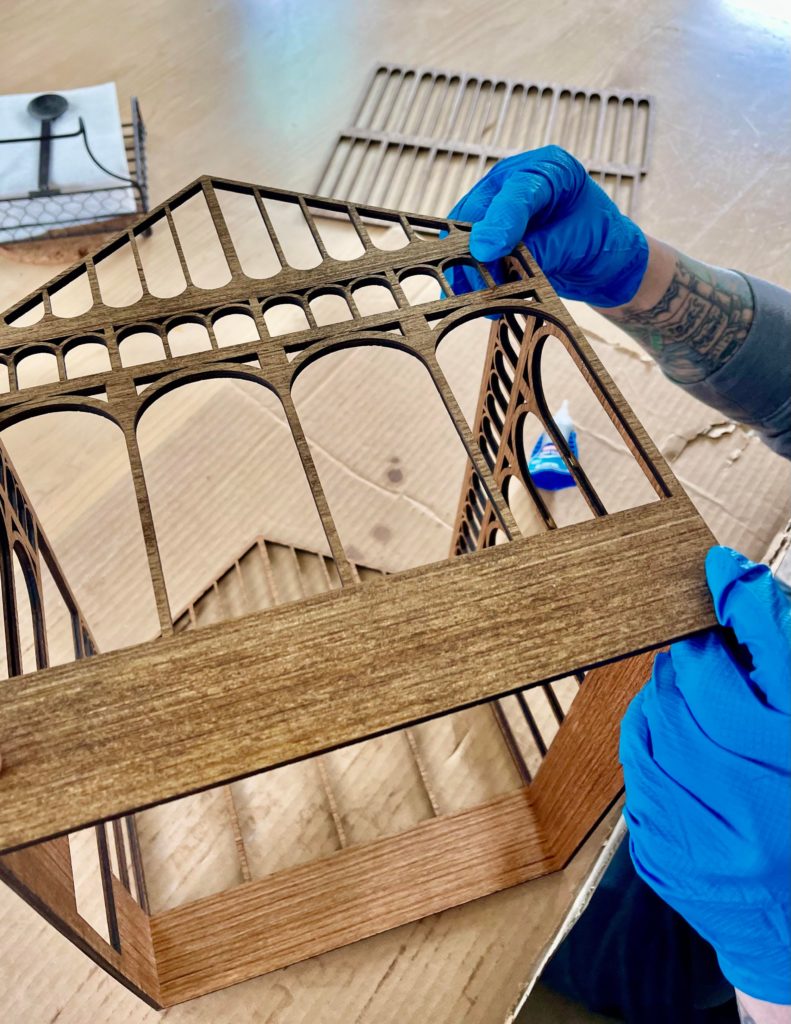
Your final step is to attach the roof.
Apply glue along the eintire roof.
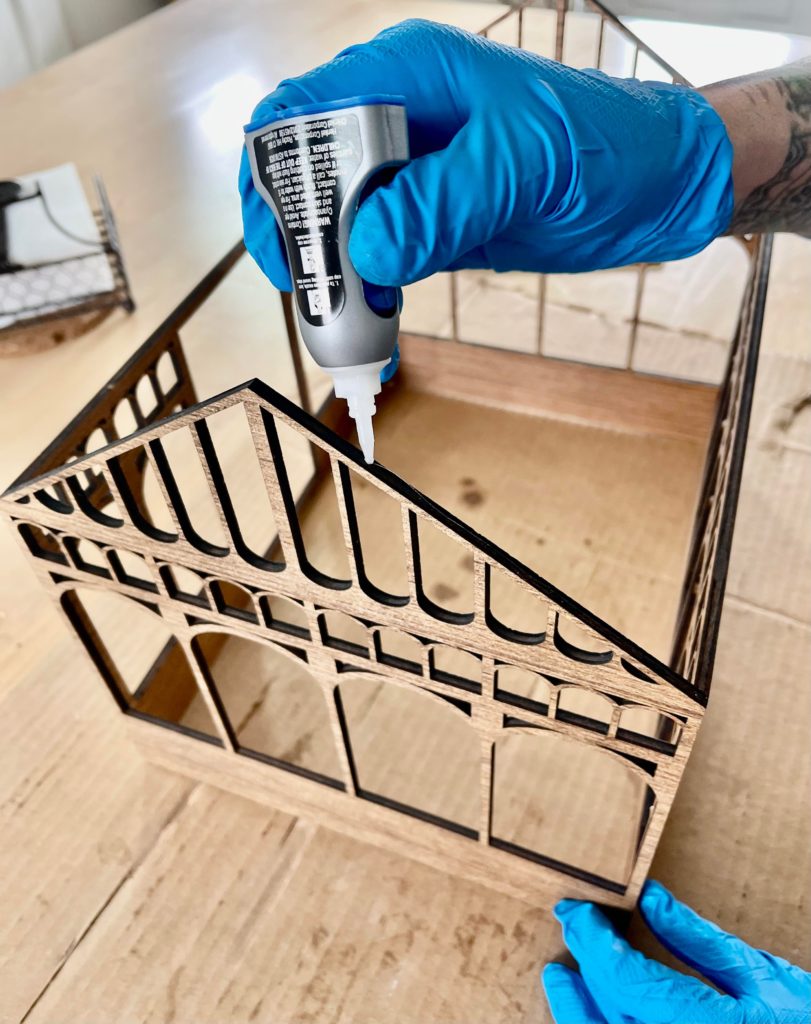
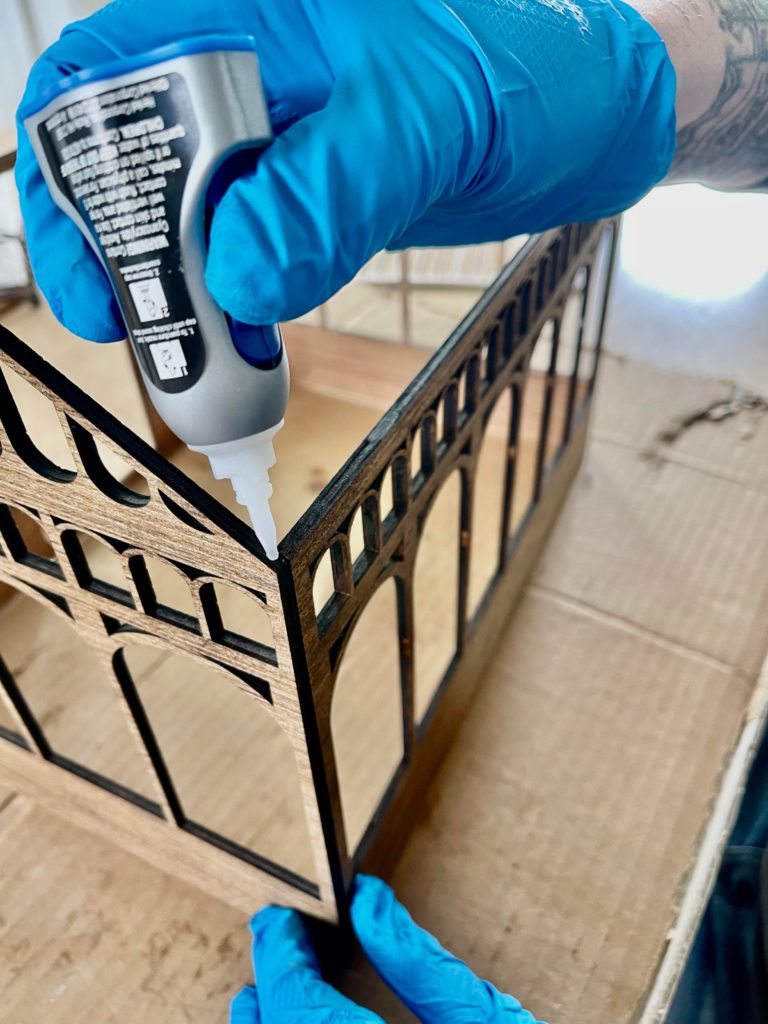
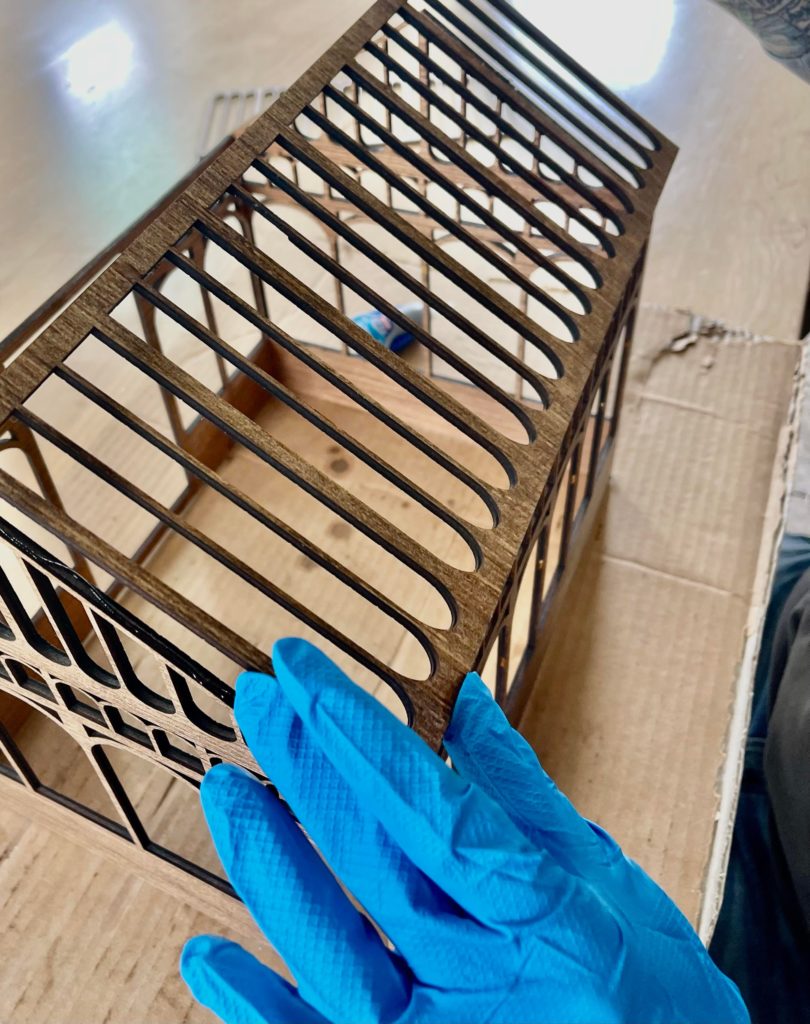
Place each side of the roof leaving small gap at the top.
Finished Version
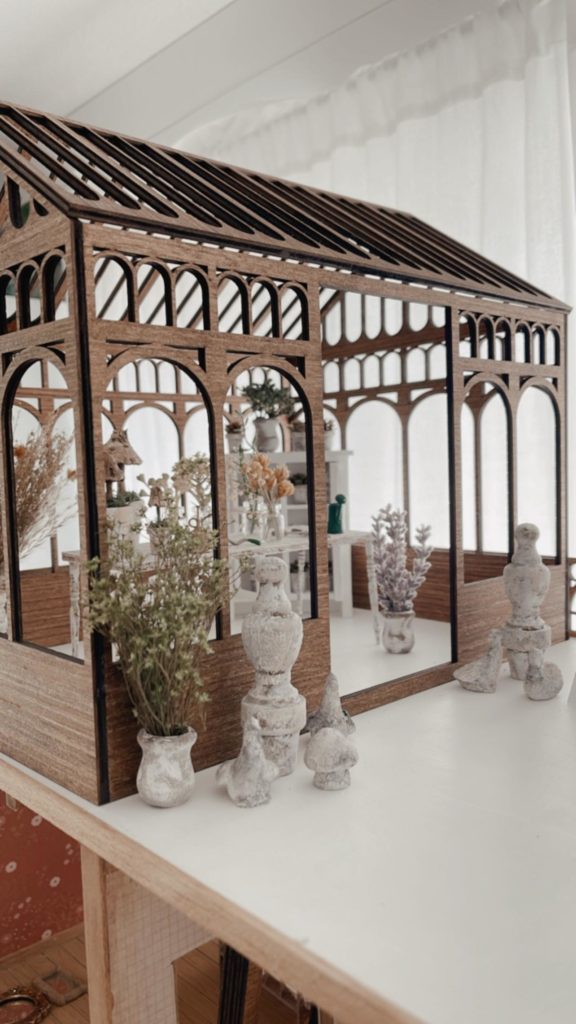
If you have a floor you can choose to assemble the walls on the flooring at the start or place entire greenhouse on floor at the end.
I chose to leave the floor unattached so I can remove structure to move items around my greenhouse.
That is totally up to you.
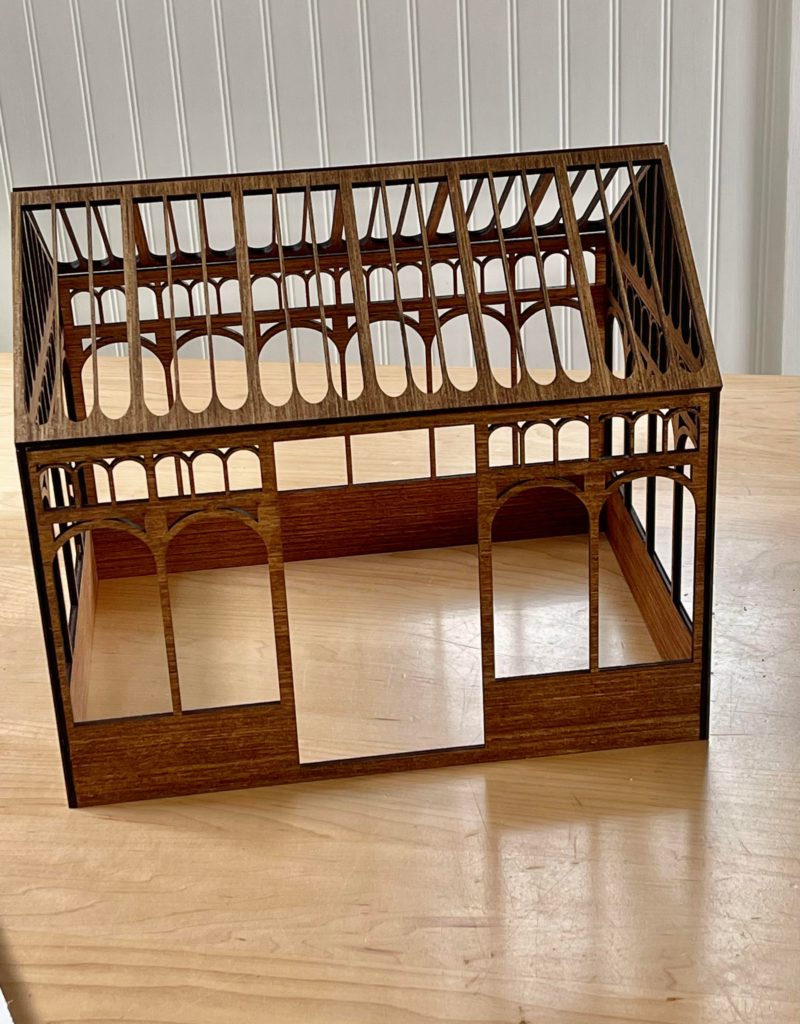
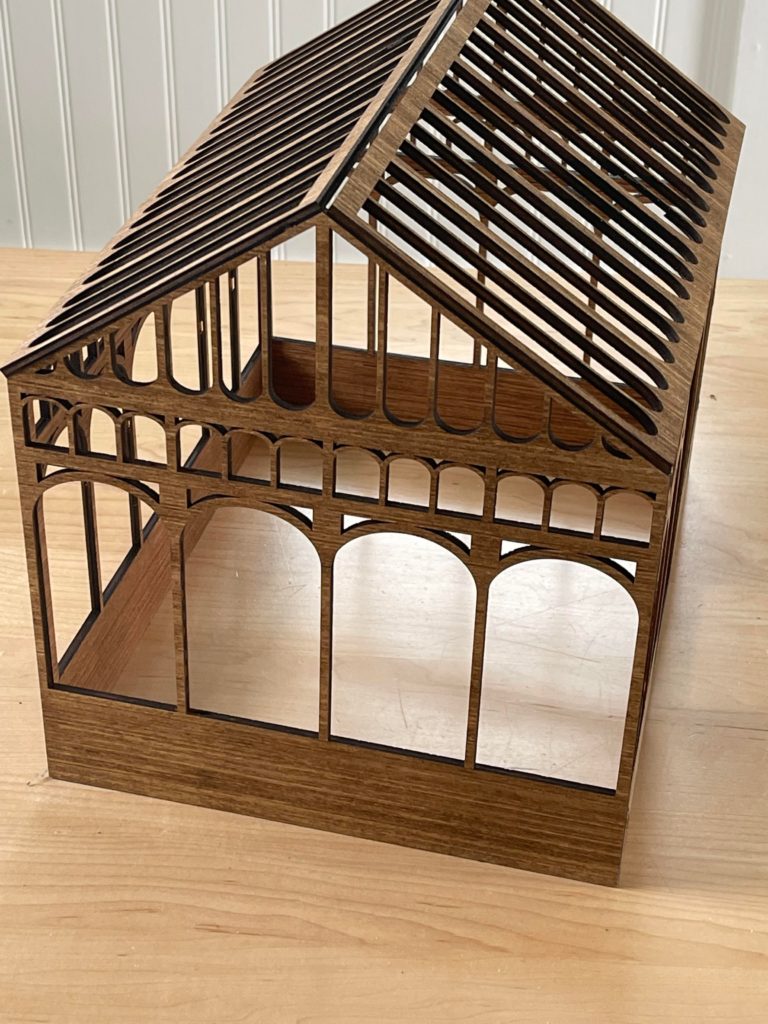
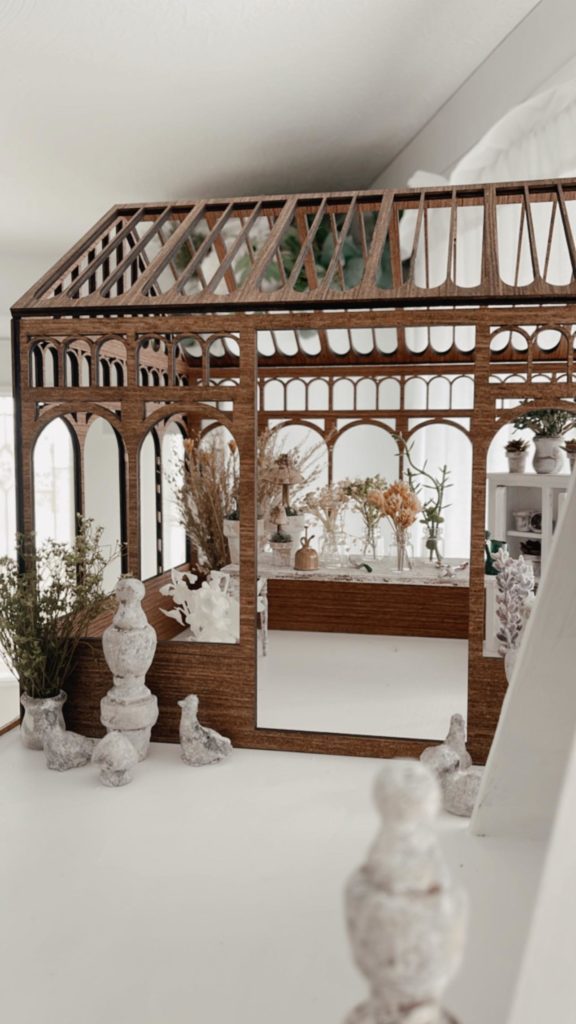
I hope you enjoyed our tutorial on “If You Love Miniatures You’ll Love This Greenhouse” be sure to check out how we make all these amazing items on our new Thunder Laser!
I would love for you to follow us on Instagram, Pinterest, TikTok, and Facebook! You can also join our email list so you don’t miss any fun blog posts or designing spaces.

I love the kit I got. I can’t wait to make the greenhouse and fill it up.
Why aren’t the instructions printed in with the greenhouse? I ‘bout went crazy until I found that I had to print them out and save them-arghhh! ( Okay-now that I vented I feel better-but really-why not just print out the directions and include them?
Hope you take this in the right way and that you had a great vacation… and, by the way …the greenhouse is wonderful and I will use it for a “studio!)
I am so sorry for your troubles Pam. We thought this would be an easier way for people to see step-by-step vs. printing a ton of paper. We will work on a PDF to include with the kit. Thank you for your feedback