


DIY Vintage Pot Tutorial
There is nothing like a little bit of sunshine to get your creative juices flowing. A few weeks ago I took a trip to Dollar Tree and found these small terra cotta pots three for $1. My DIY heart starting craving a fun, quick, easy tutorial. I love to take new pots and age them, giving them a vintage antique finished look to them.
Materials
- Terra Cotta Pots
- White Chalk Paint
- Water
- Antique Wax
- Paper Towels
- Paint Brush
Step #1: Buy Your Terra Cotta Pots
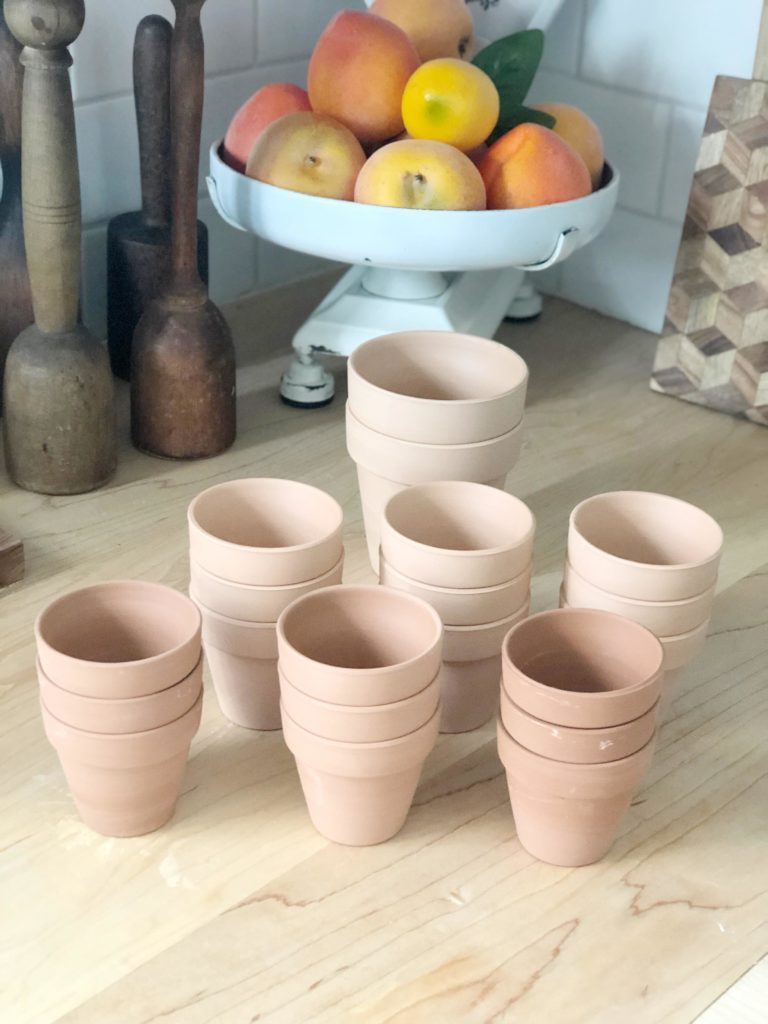
I found these at the Dollar Tree and they had a variety of sizes. You can find terra cotta pots at most stores including Walmart.
Step #2: Grab Your Brush and Chalk Paint
You want to make sure you have a brush on hand, depending on the size of the pot you may want a small or larger brush.
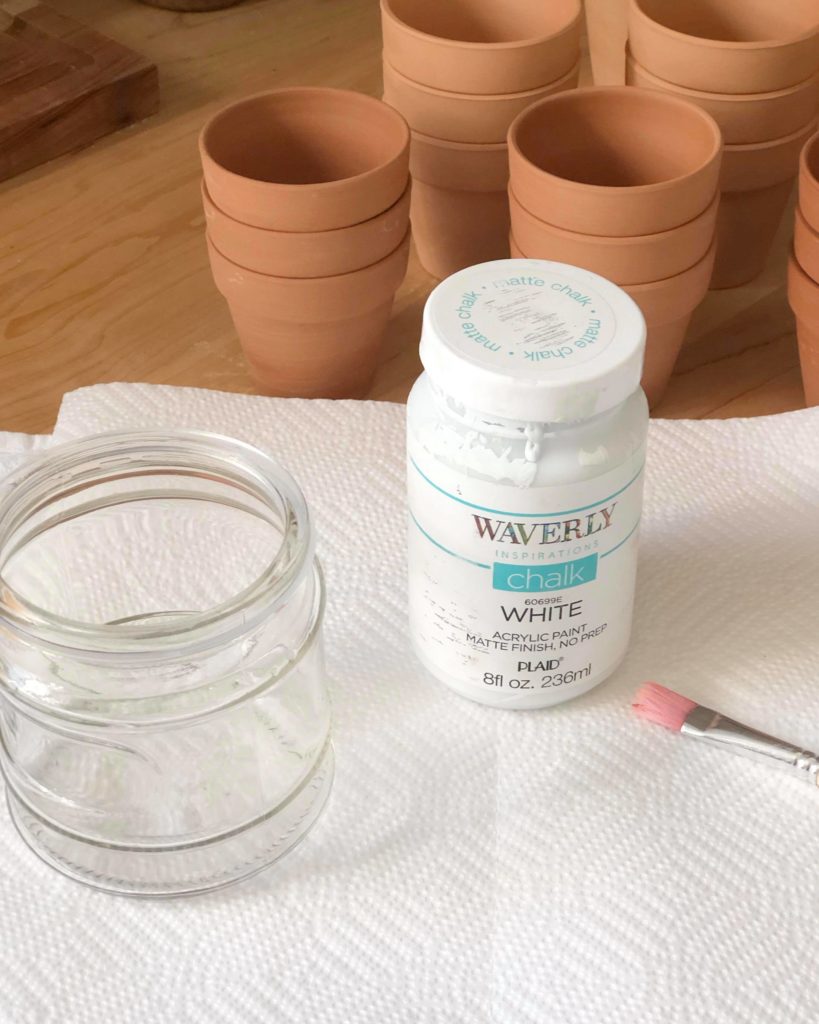
Step #3: Pour Your Paint Into Jar
I had this old jar on hand you could also use a cup. The amount of paint you will pour in will depend on how many pots you are working with.
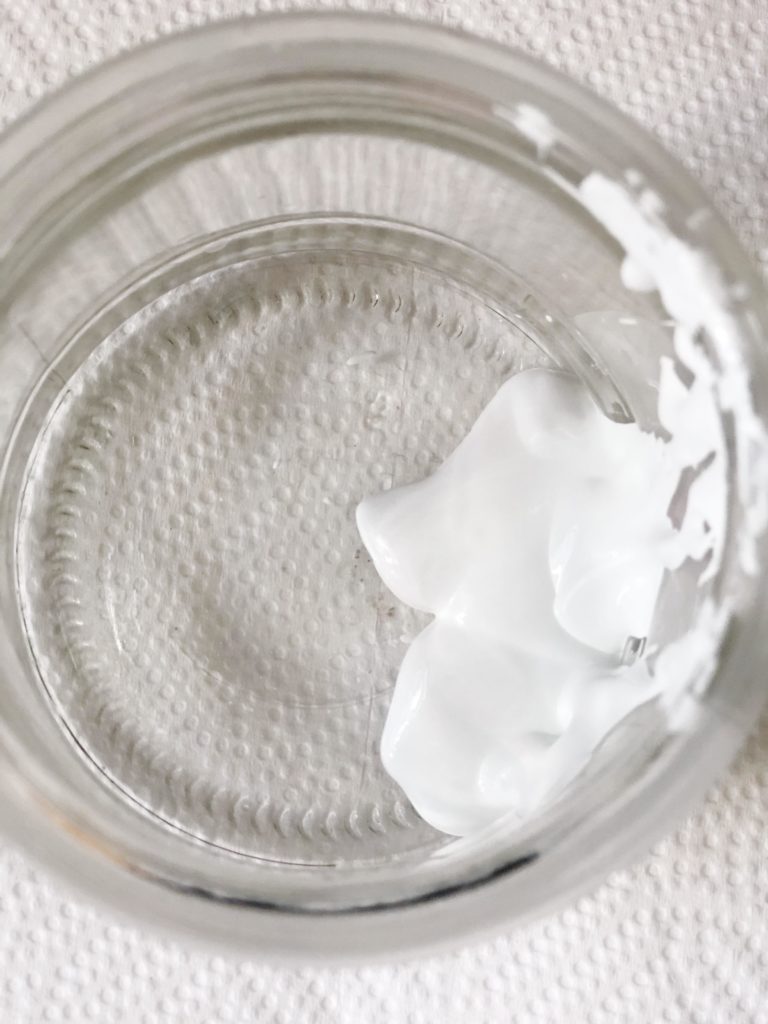
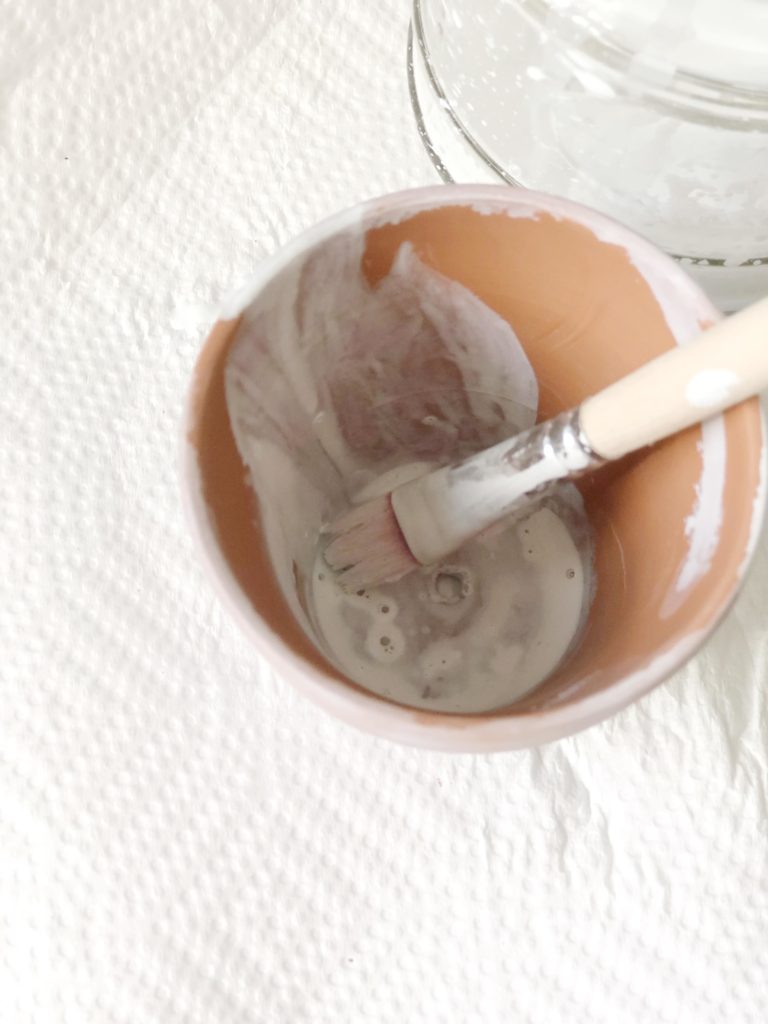
Step #4: Water Down Your Paint

This step is very important. Chalk paint is very thick, which makes it a great product to work with. It will adhere to almost any surface, but for this project we walk it to be a little thinner. So I add equal parts paint and water. Use your paint, and mix well.
Step #5: Paint The Pot
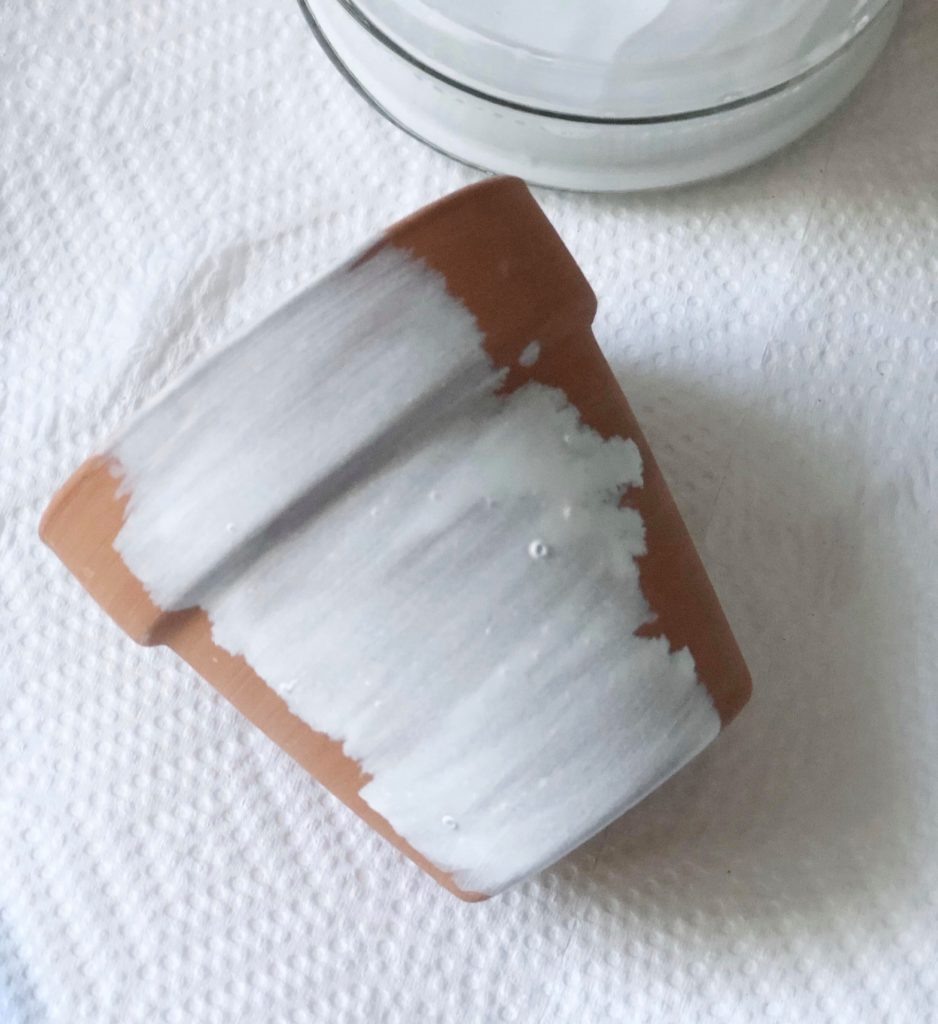
At this step you want to completely cover the entire pot with the paint/water mixture.
Step #6 Paint the Inside
Be sure to paint the inside and bottom of the pot. You want to cover every surface!
Step #7: Wipe Entire Pot Down
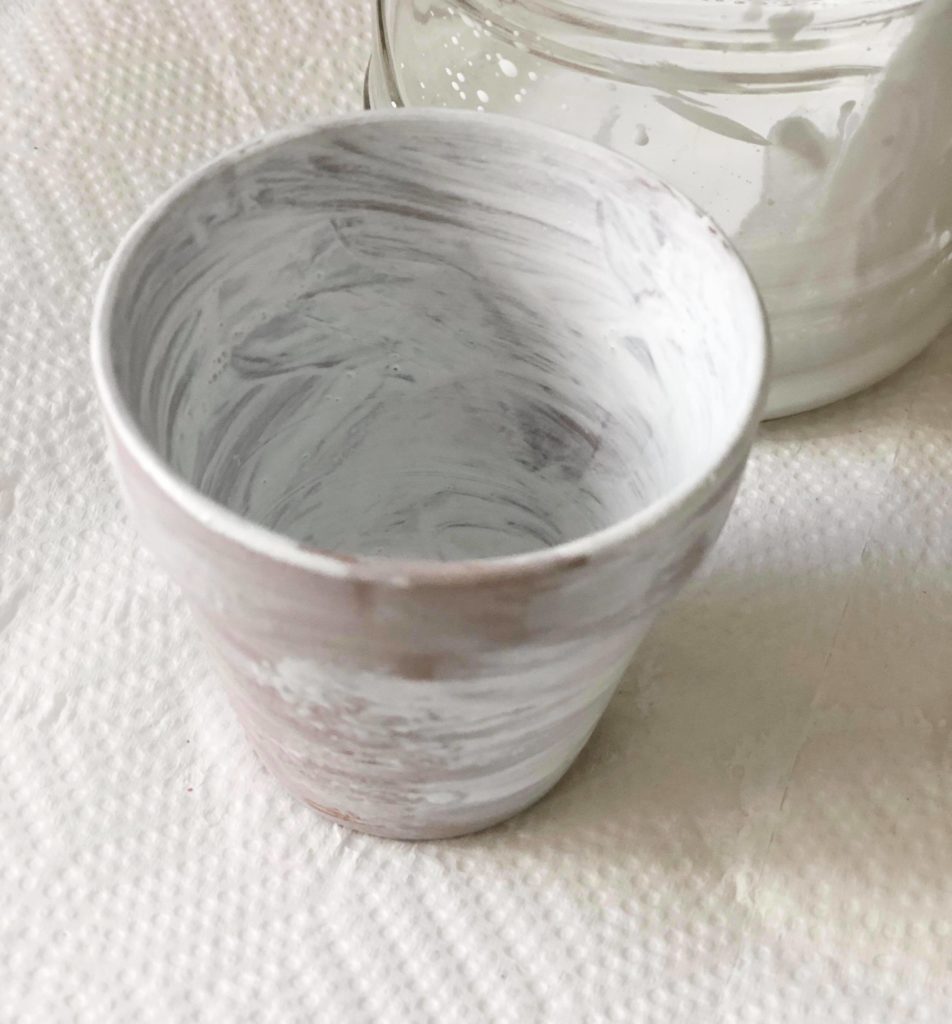
At this step we want to take a dry paper towel and wipe down the outside and inside of the pot.
Step #8: Let Pots Dry
You want to make sure to let the pots dry completely. This may take a few hours depending on the temperature.
Material: Waverly Antique Wax
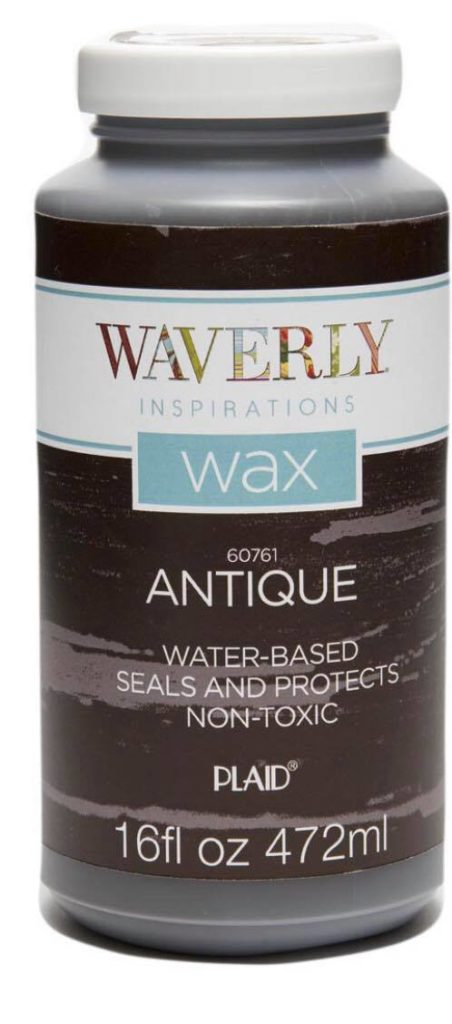
This is the wax I will used for reference. You can find this at Walmart.
Step 9: Antique Wax
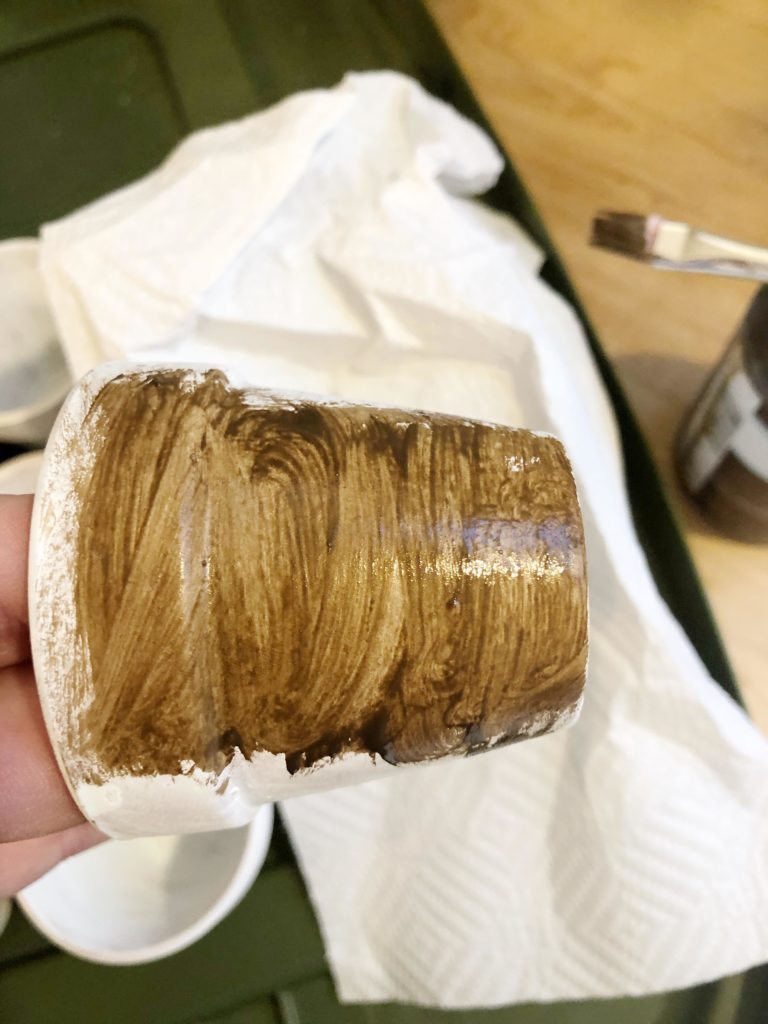
You want to wipe/or use a paint brush to cover entire pot with the antique wax. This dries very quickly, so you want to use dry paper towel to wipe wax off as soon as your done adding it to the pot. You want to take off any excess wax.
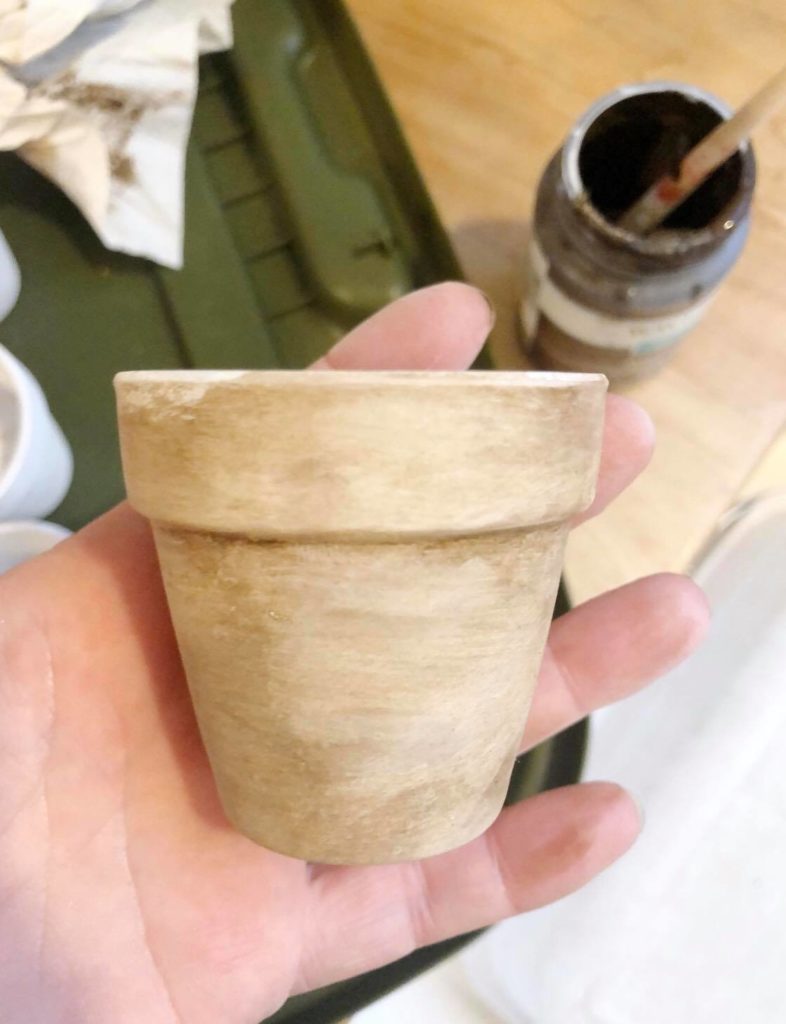
This is what it should look like after you wipe off the wax. If you have some darker spots, I recommend using a damp paper towel on those spots. The water will help remove the wax that has dried darker in those areas.
Step #10: Let Them Dry
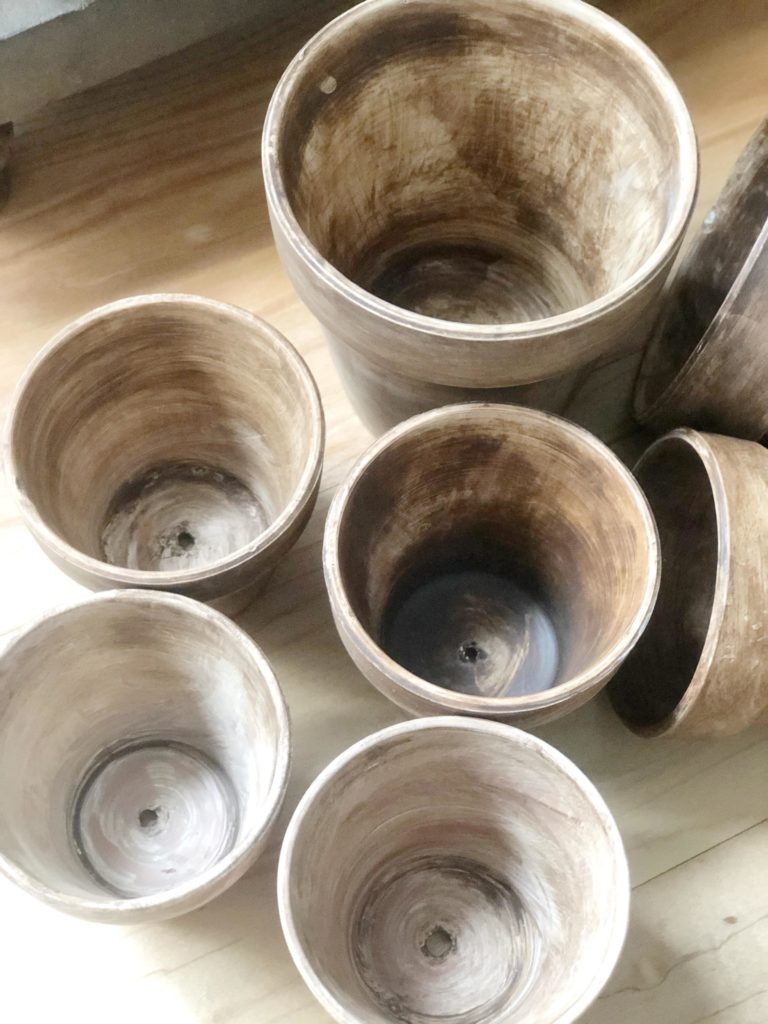
I would recommend letting the wax dry over night. You want to make sure it is completely dry before moving on to the next step.
Step #11: Time To Sand
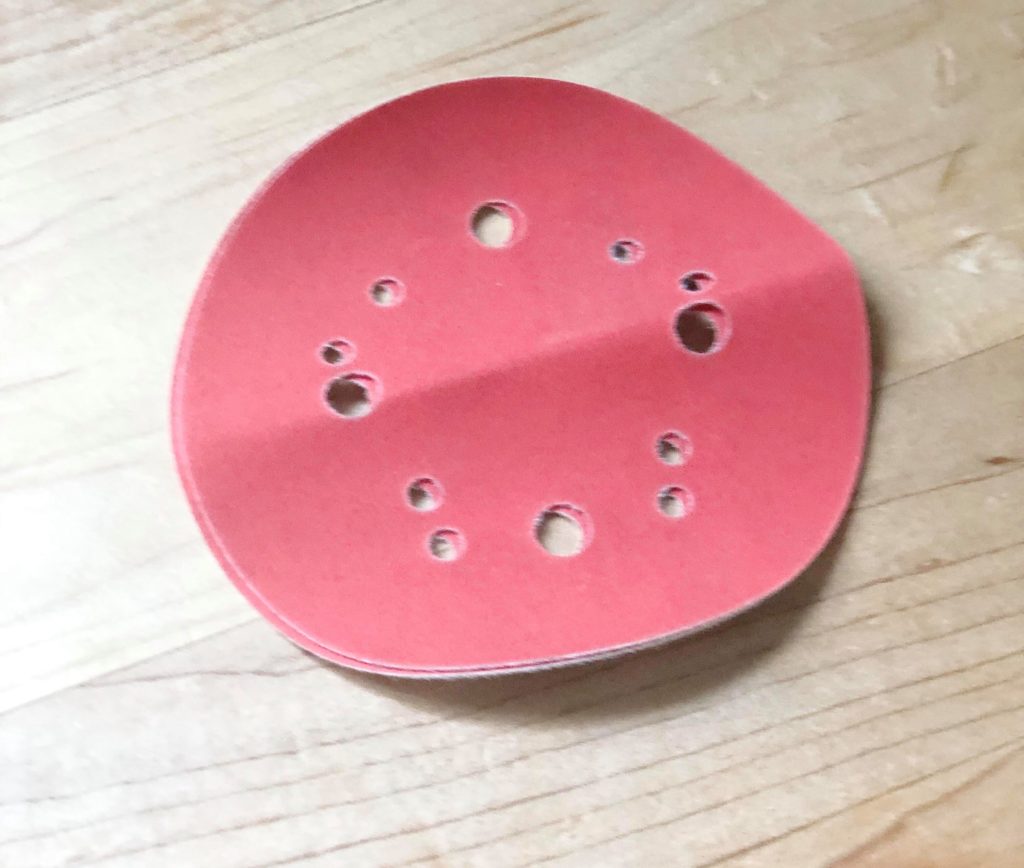
You can find sandpaper at Dollar Tree or any local hardware store. I had this sandpaper from my sander on hand, so I just used that. I take the sand paper and run it over the sides of the pot. Go around all the creases and top of the pot as well. Then sand the inside and bottom of the pot.
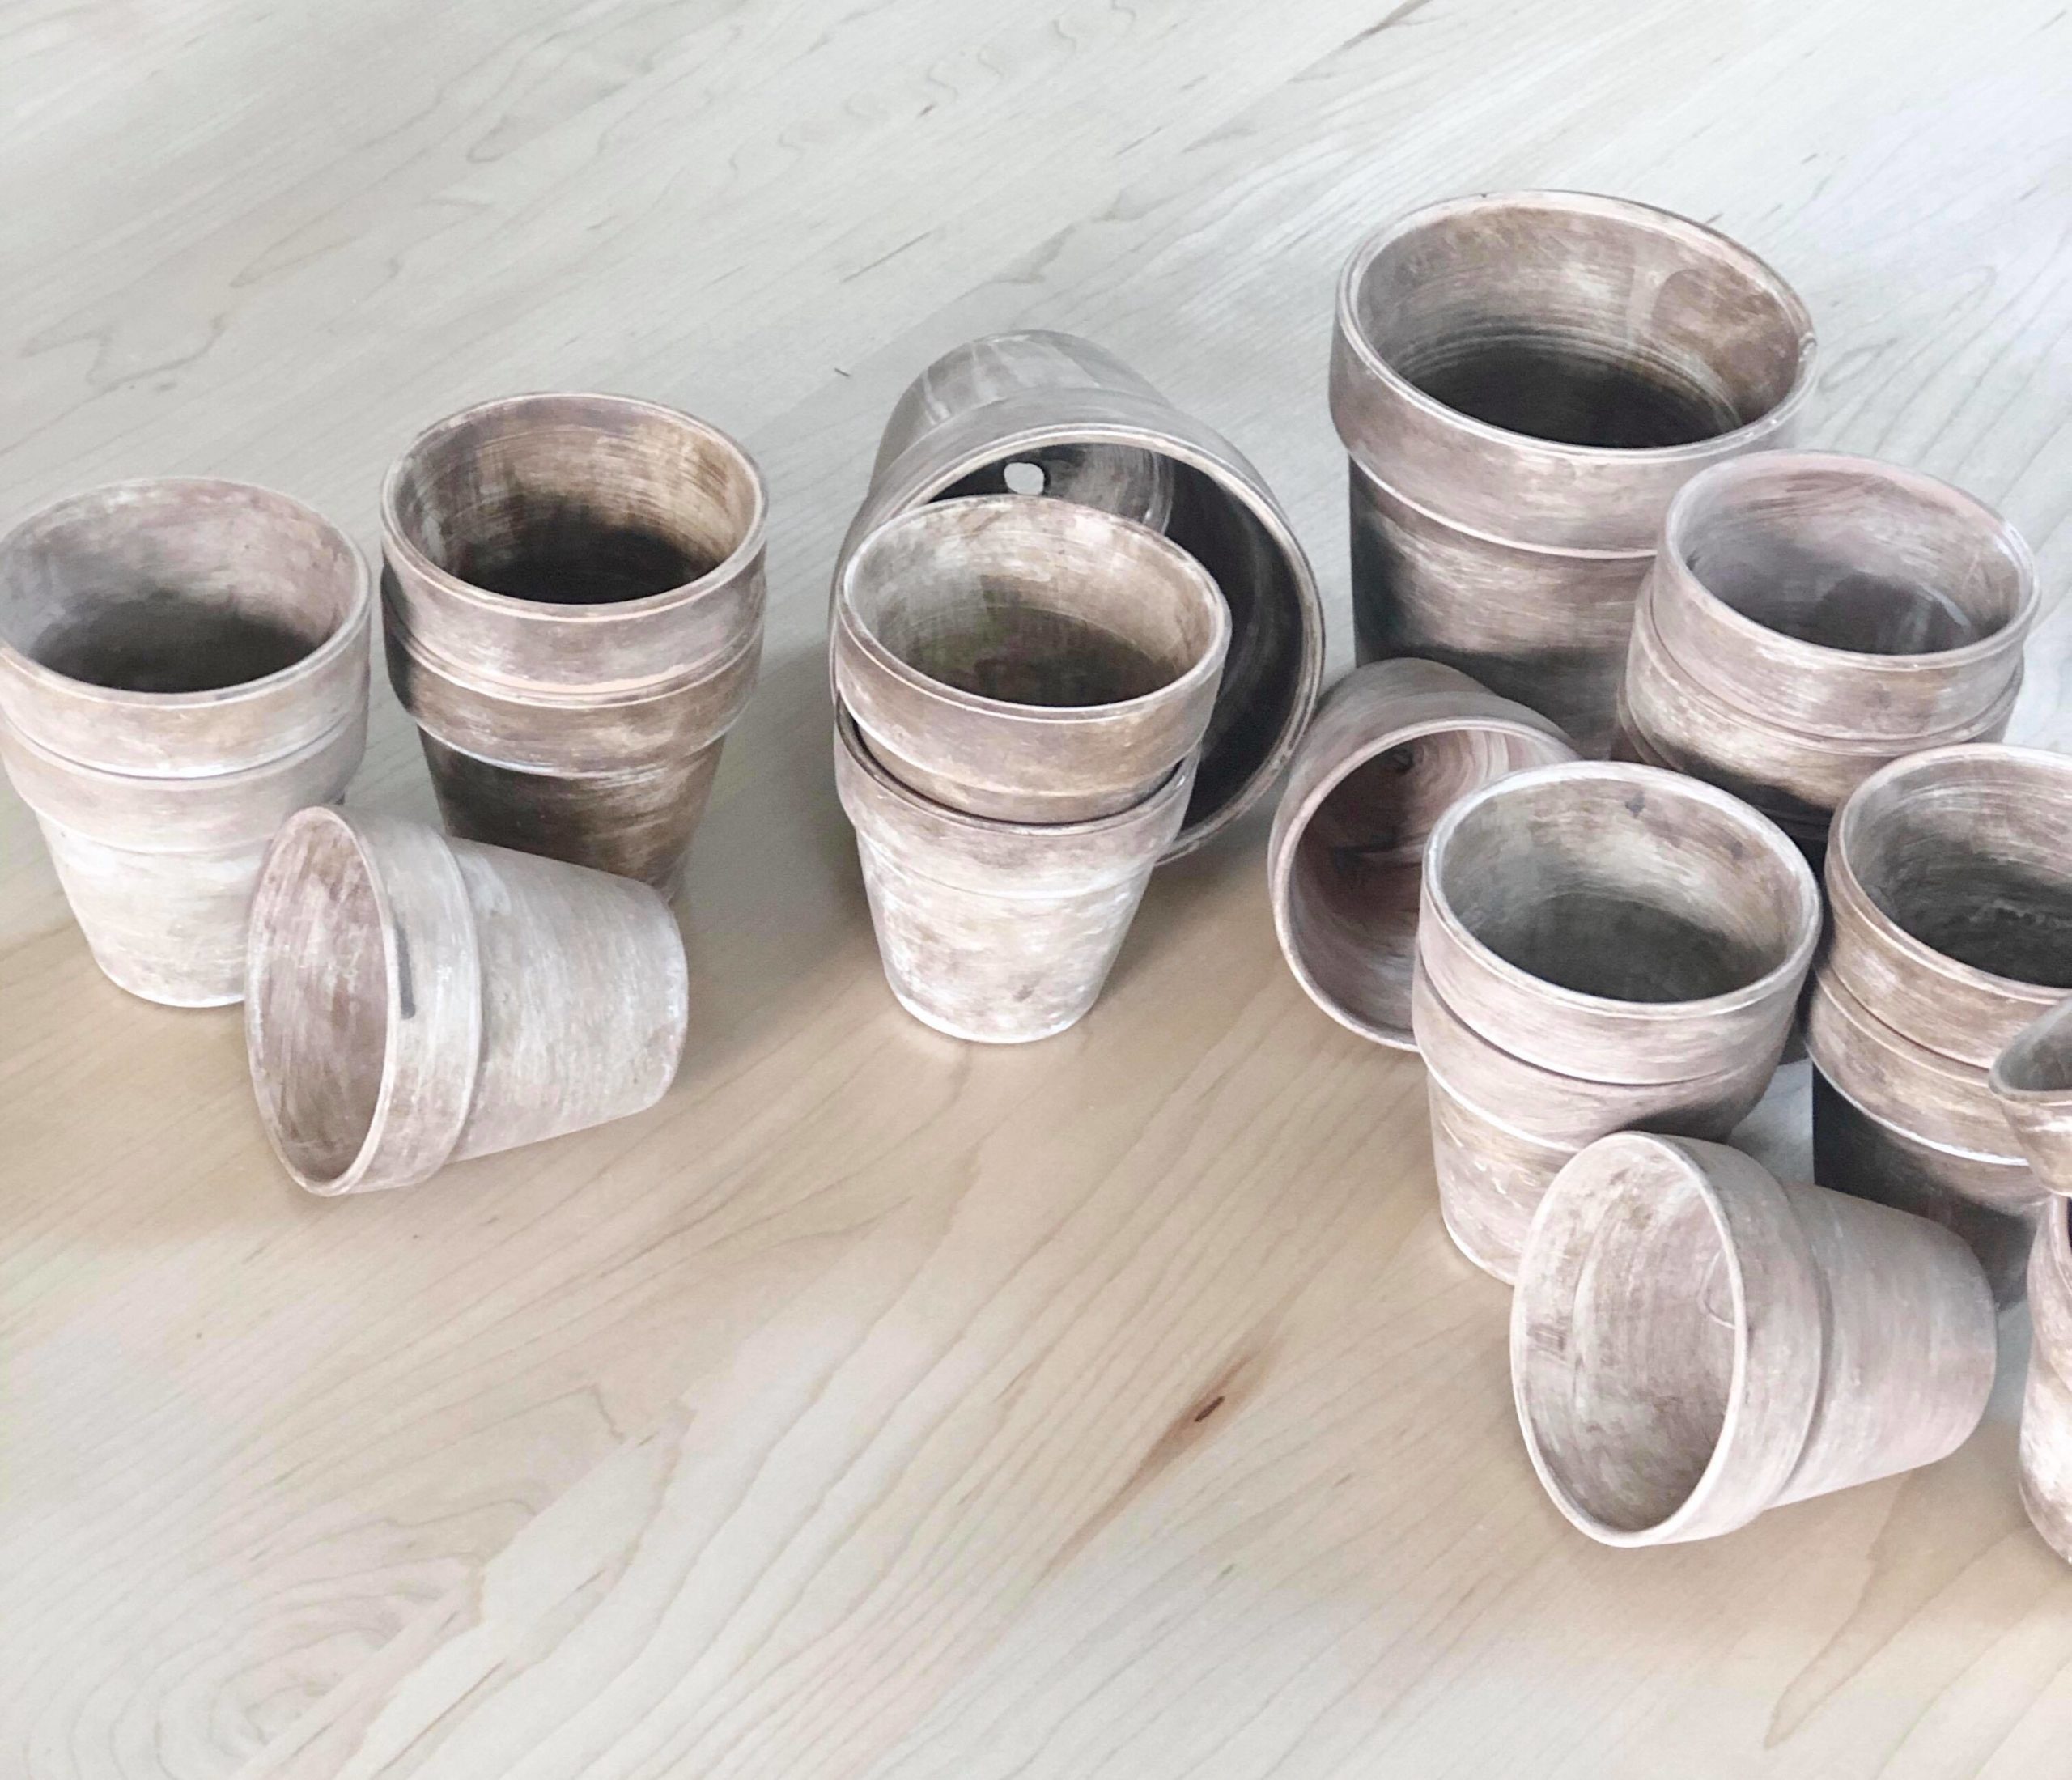
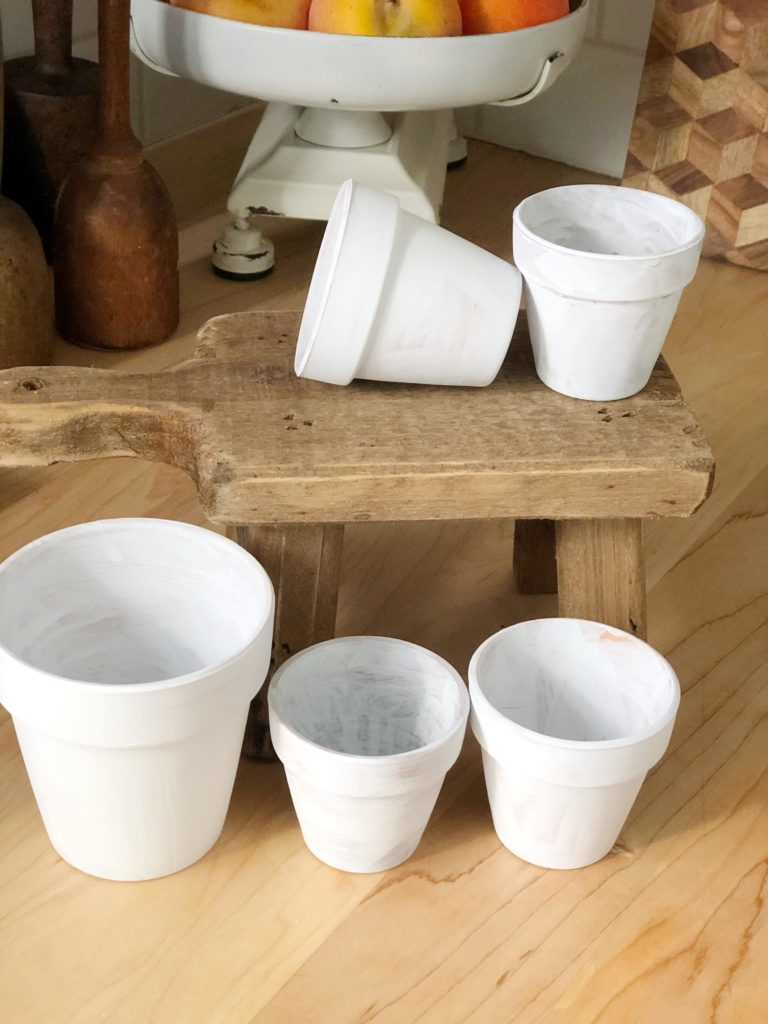
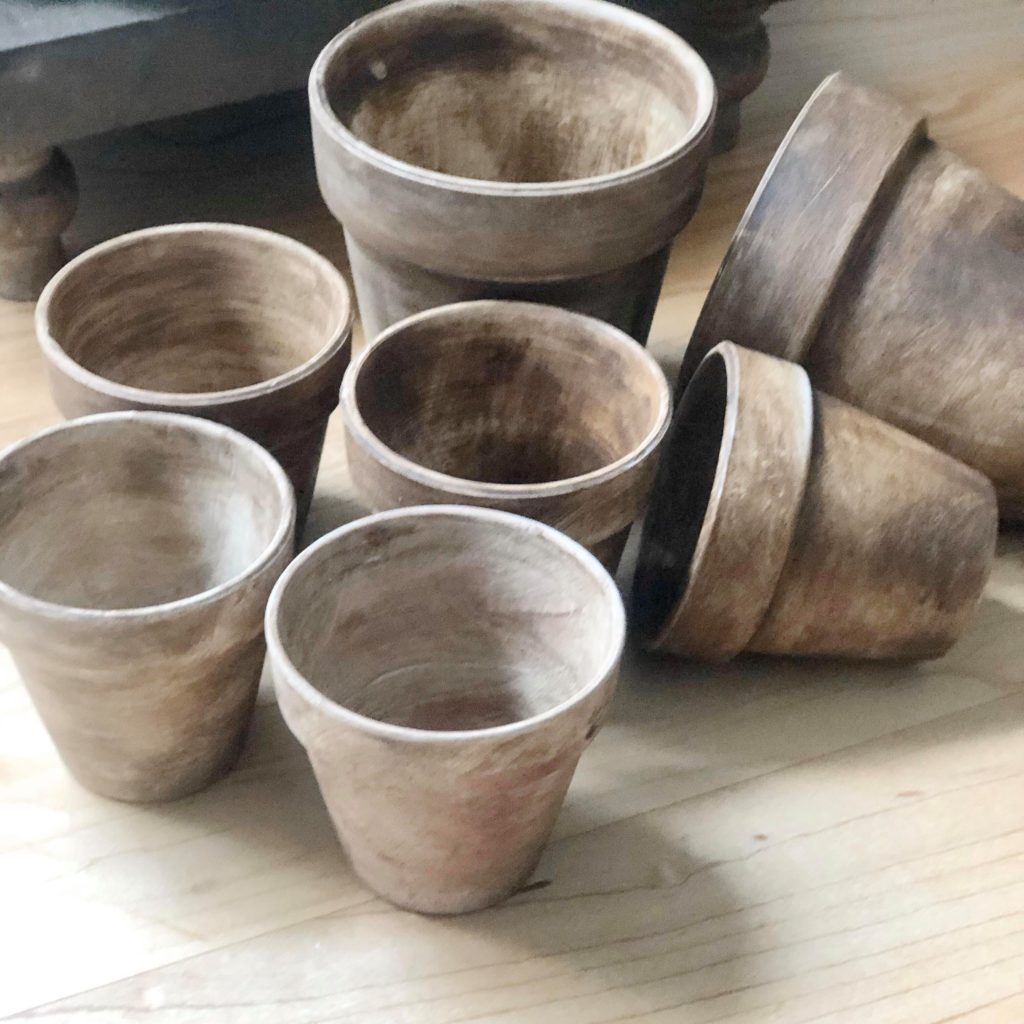
The Finished Project
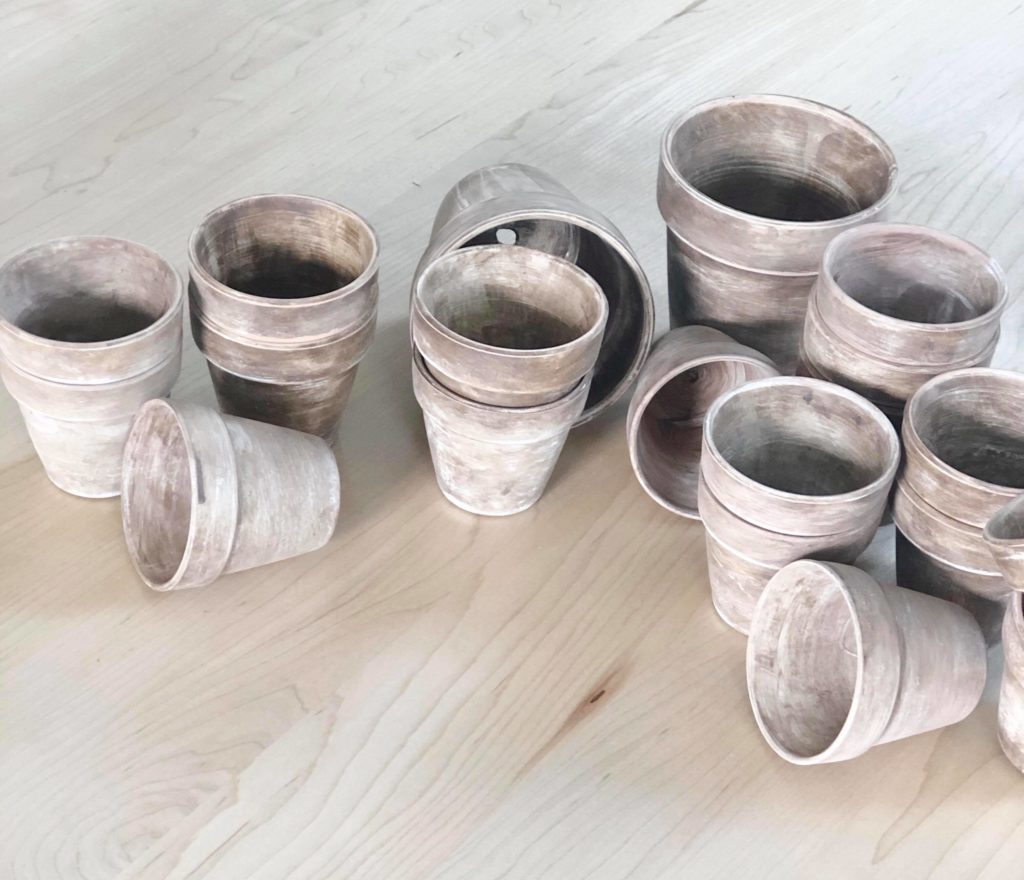
I hope you enjoyed this fun and easy DIY. This is truly an affordable project that can be done on any size pot. You can choose to seal these pots if you like, I don’t because any wear and tear on them, just makes them look more vintage!
Be sure to check out our Favorite Target farmhouse mirrors under $100!
Do you follow us on Instagram or Pinterest? It’s a fun way to keep in touch and see what I’m up to.
Thank you so much for dropping by! Leave us a comment we would love to hear from you!


I love that you used a dark wax over the white paint. The darker color is beautiful and unexpected. Thanks for sharing!
Yes I love that you can make them lighter by wiping wax off, or make them darker by leaving wax on longer.
I just love this idea thank you for sharing this with us
Thank you Susie! So glad you liked it!