How to Cut Your Own DIY Shiplap
Buying precut shiplap can be super expensive. Why not learn to cut your own shiplap and save your money for other pats of your project? This is an affordable way to get the look you want, without breaking the bank.
When Mike and I moved into our forever home last year after retiring from the Army, we had a ton of projects we wanted to start out of the gate. We recently remodeled outliving room and though this would be the perfect time to share how we do it!
Step #1: Let’s Get Started
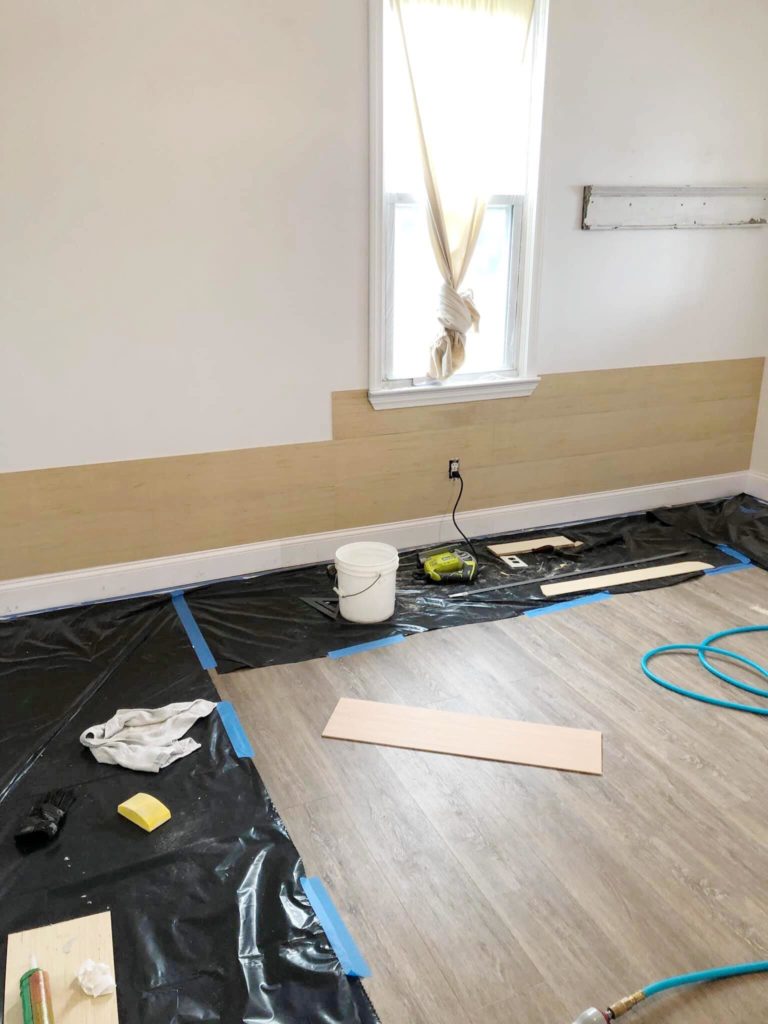
The underlayment did not need sanded down, therefore it was ready to begin nailing it on after we cut it into our desired width. You can start at the ceiling or from the floor (which was what we did.) I would recommend taping 1-2 coins thick between slats before nailing them otherwise your lines are going to inconsistent. You can also pick up a metal flat slat from Home depot to place between shiplap sections.
We chose to cut the underlayment into 5″ thick slats but you can go as wide as you like. Four random lengths of plank were cut and just rotated the pattern on each level up. We had to get creative and cut specific sizes for around the outlets and window pane (this can be super tricky and its ok if they aren’t perfect I think that adds character.)
Step #2: Finish Wall
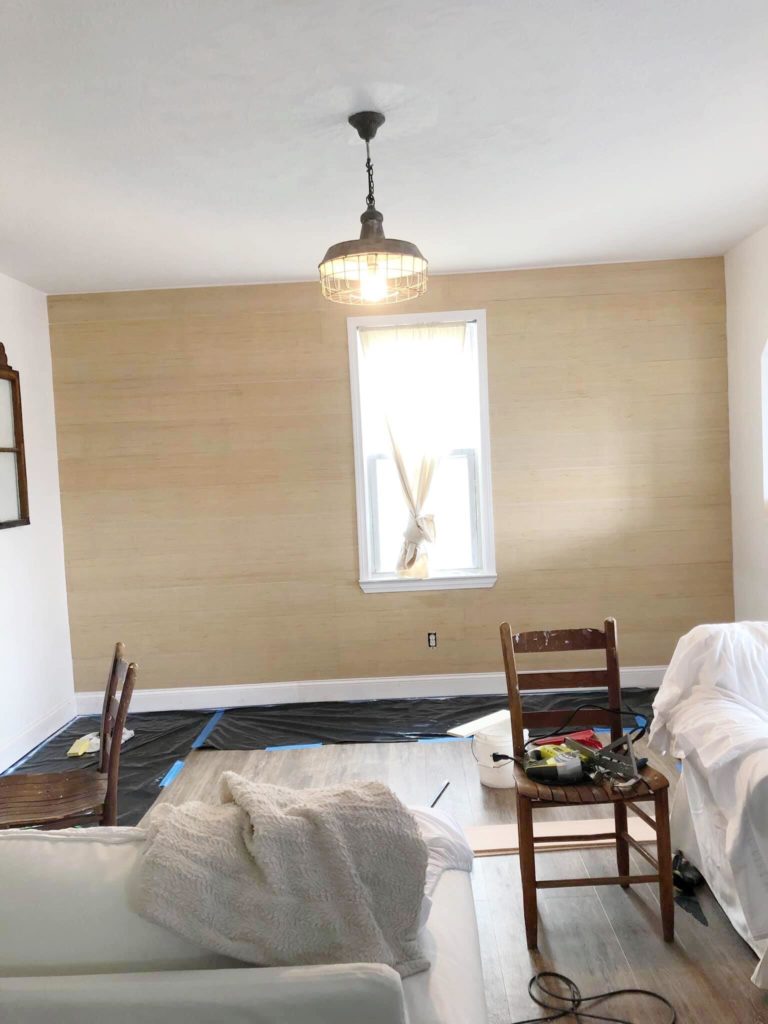
There is usually a small gap at the ceiling or toward the baseboard depending on where you start your planks. Our baseboard and planks were flush since we started at the bottom and moved upward. You will learn as you go when it comes to cutting your shiplap.
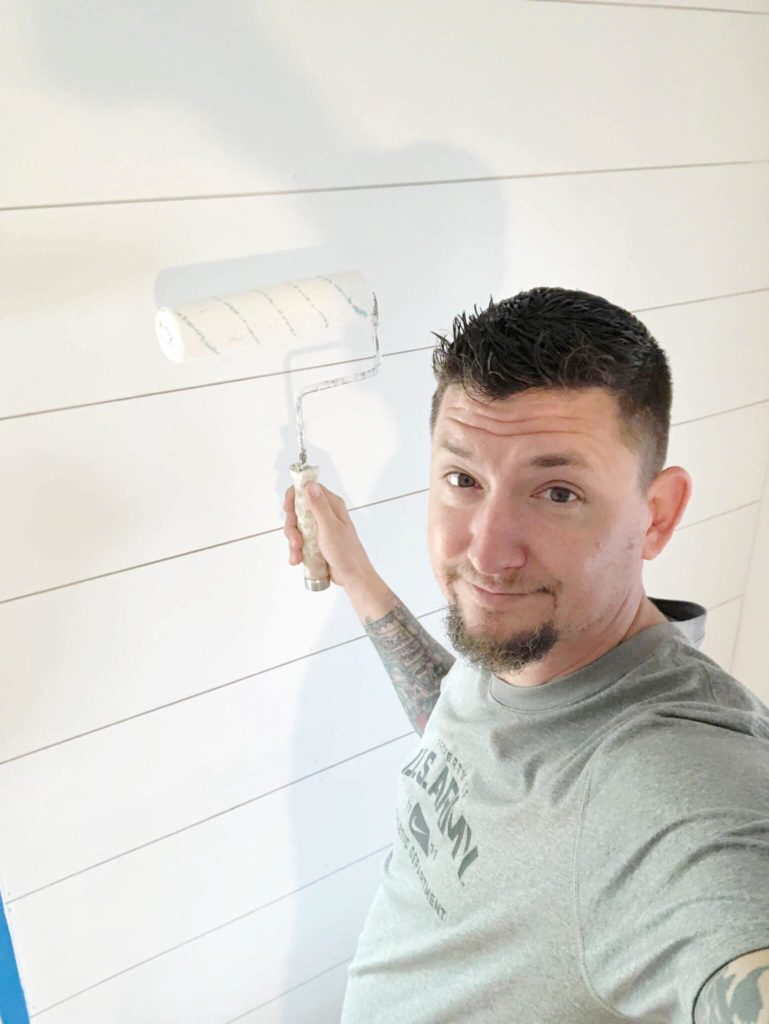
Step #3: Painting
It took us about 3 hours to get the boards up (with cutting the custom pieces and taking some breaks in between.) At this point I would recommend to fill in the nail holes, before painting. Once you sand down the filler you are ready to paint. Total cost for this area was about $60 if you consider wood and supplies. We only needed 2 coats of paint, since this was a bright white so we used 1/2 gallon of paint. We used about 2 Sheets of the underlay material for this area.
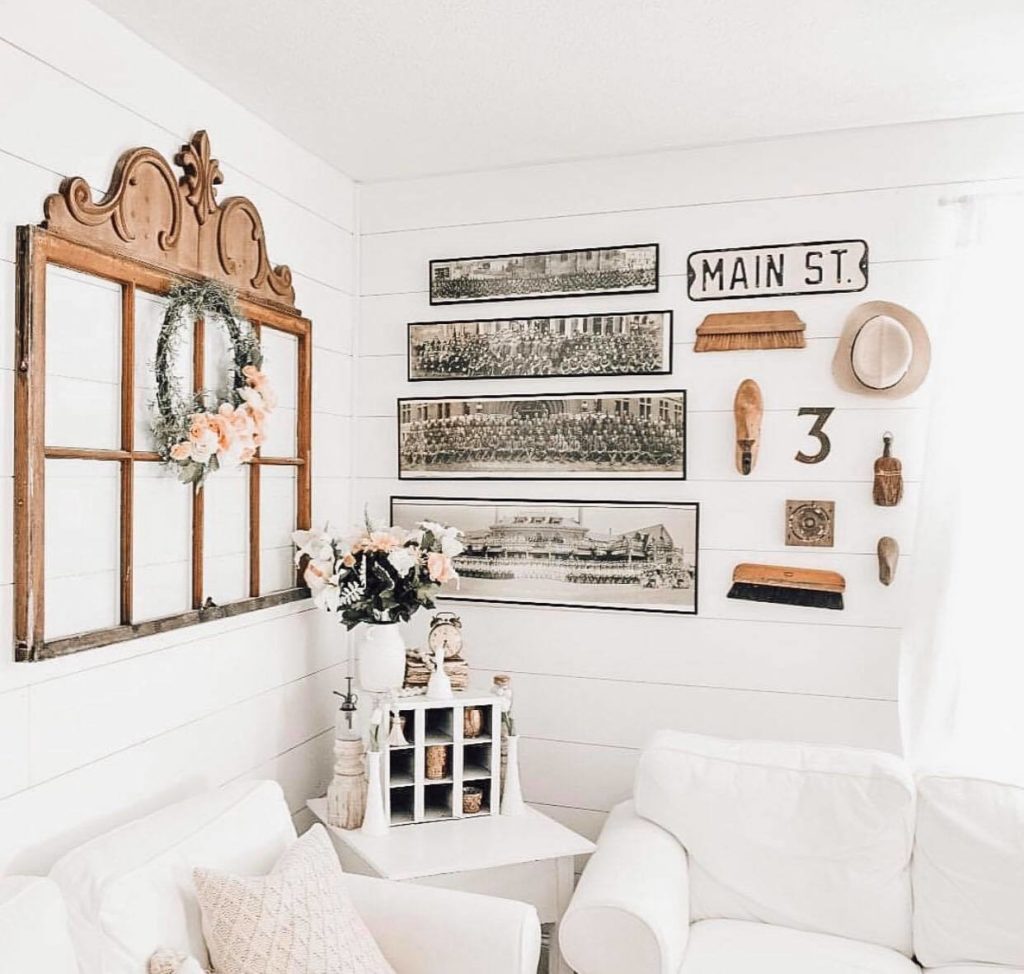
Finished Project
Seeing the end result could not make us happier with this affordable DIY Shiplap (other than the spacing) which we will use on our next project. We were in such a hurry to get this done that we totally missed this step. It looks amazing and the slats are already starting to space on their own so I am sure over time that each slat will start to show itself.
Materials
- Plywood (Common: 7/32 in. x 4 ft. x 8 ft.) $13.98 per sheet
- 18 Gauge 2-in-1 Air Nailer/Stapler $22.99
- Paintable wood filler
- 1/2 in. x 1/4 in. Crown 18 Gauge Staples 5000 PC $6.99
- Coin or Spacers for between slats
- Miter saw, table saw, or jig saw
- Paint
Be sure to check out our DIY peel and stick shiplap project!