


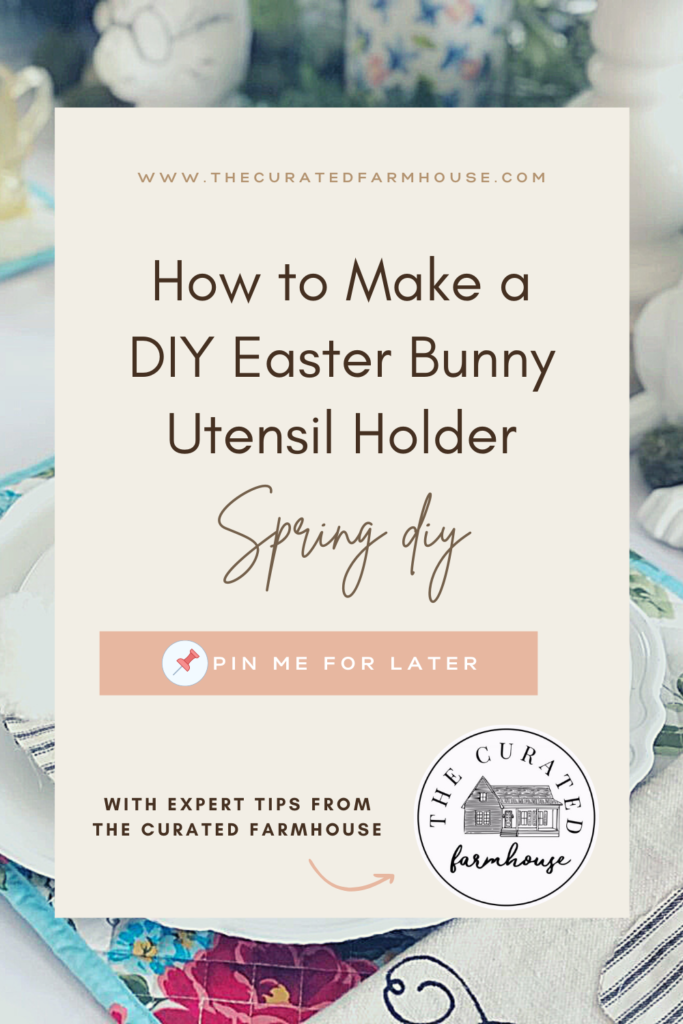
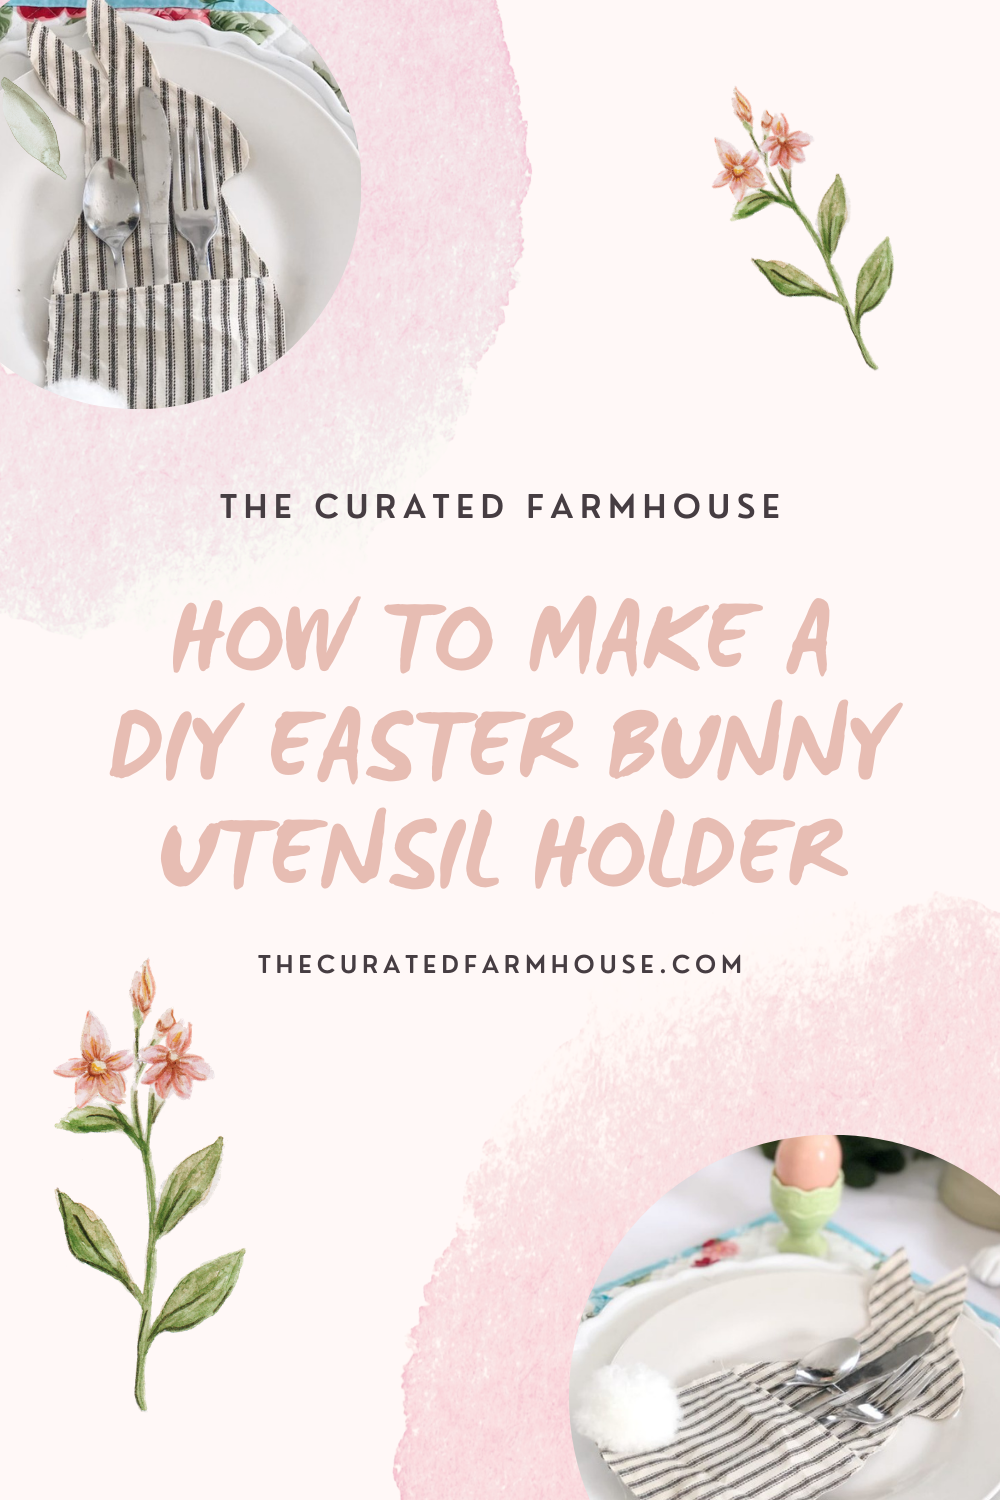
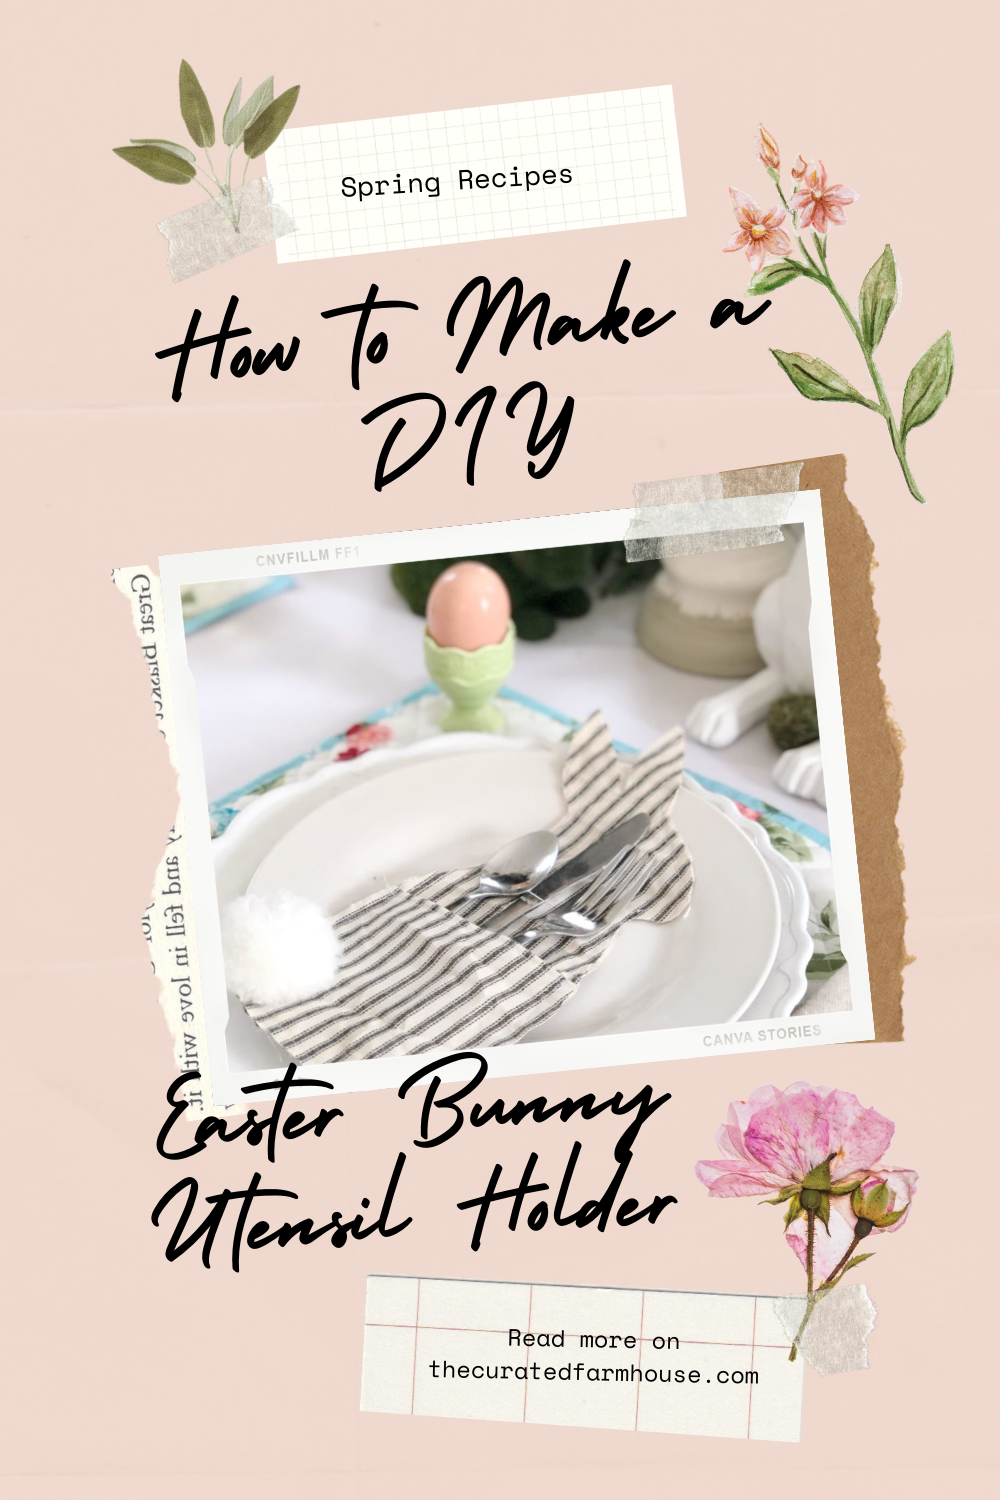
How to Make a DIY Easter Bunny Utensil Holder
I am so excited to share with you how to make a DIY easter Bunny utensil holder. This is a fun easy craft, you can make at home with only a few materials. If you don’t have a sewing machine you can always use hot glue gun in place of steps that require a sewing machine.
Materials
- Drop Cloth (Wash it 1-2 Times to soften fabric)
- Ticking Fabric
- Yarn (For Tail)
- Cotton Balls (Other Option for Tail)
- Hot Glue Gun
- Finger Tip Protectors (Optional)
- Learn to Sew: Sewing Machine
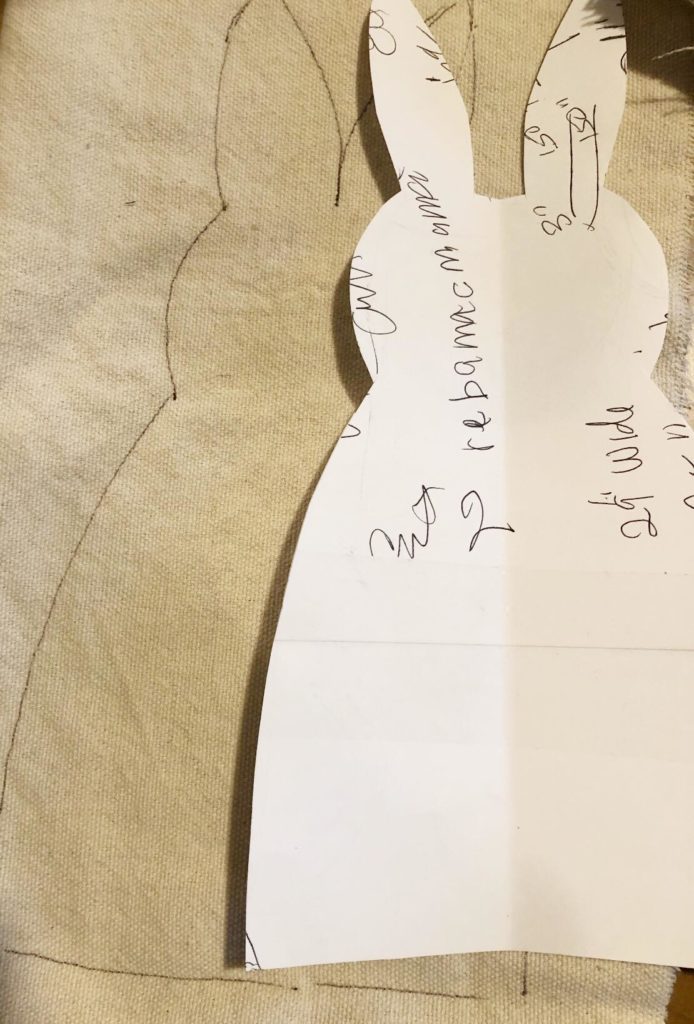
Step #1: Cut Your Pattern
Create your own pattern! You can use cardboard or paper if you want to be creative! You want to go about 18″ so it’s big enough to fit on a plate after seeing it all together.
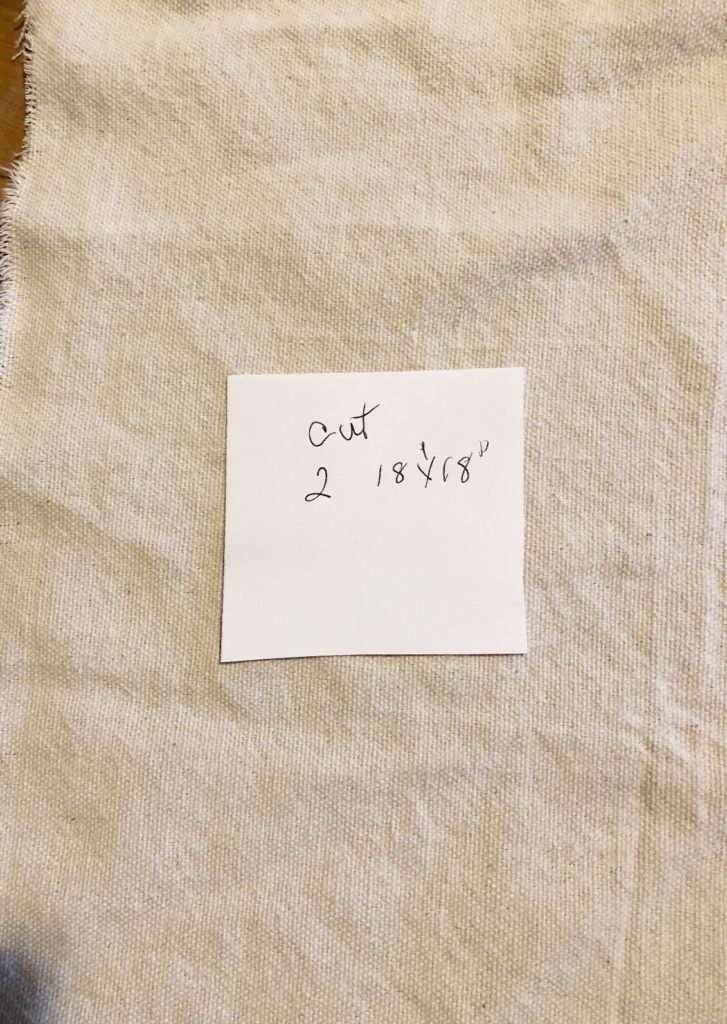
Step #2 Cut Your 2 Bunny Shapes on Fabric
We decided to use drop cloth and a ticking fabric to show a few examples. You can use whatever fabric you want to match you table decor. Keep in mind this is a project you can use for any holiday with any share or theme.
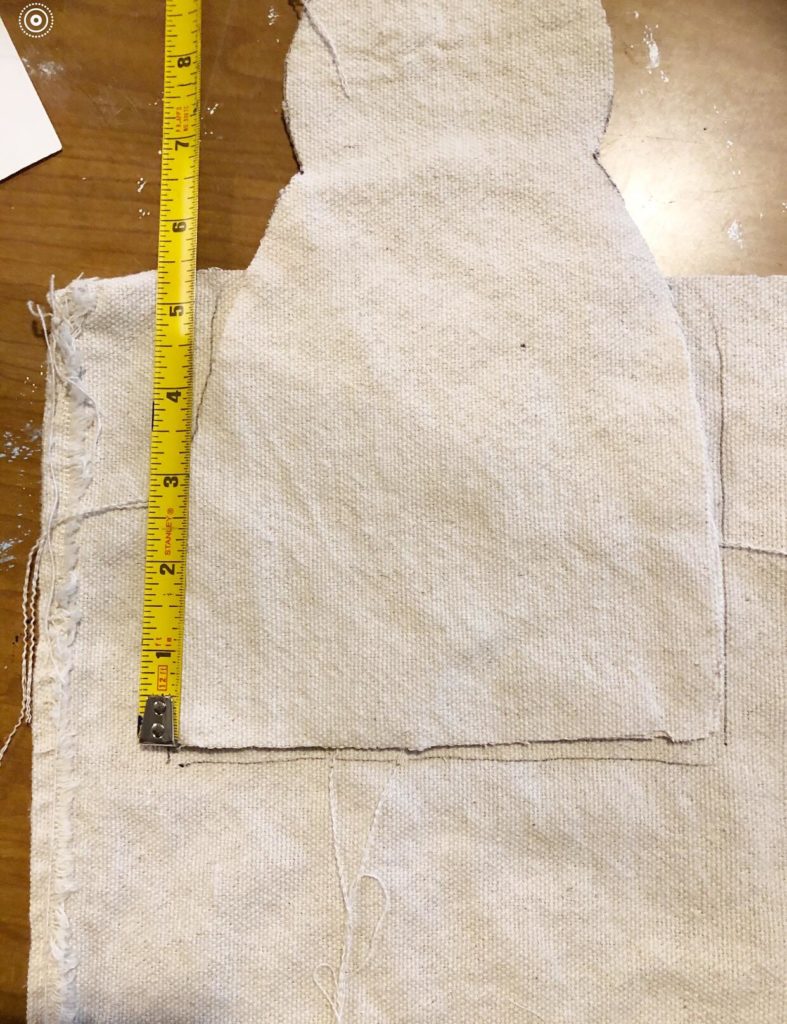
Step #3: Cut Your Silverware Pouch
Next you want to create the silverware pouch. Cut 2 fabric bottoms about 6″ use the bottom of your bunny pattern to make this shape.

Step #4: Sew Your Top Seam of Pouch
Take the two bottom pouches and sew them both together adding a top seam.
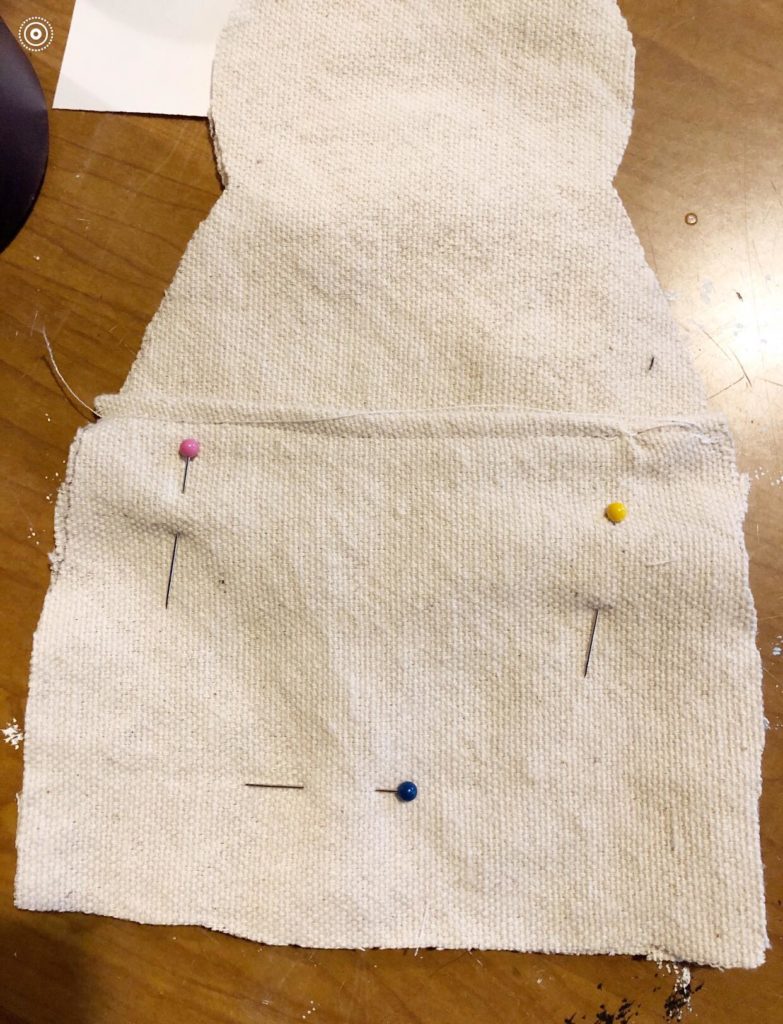
Step #5 Pin Your Patterns
Next pin the two bottom pieces onto the other two top parts. You are then going to sew around the entire outer portion of the pattern of the bunny. If you do not have a sewing machine, you can easily hot glue or use fabric glue, to stick the pieces together at this step.
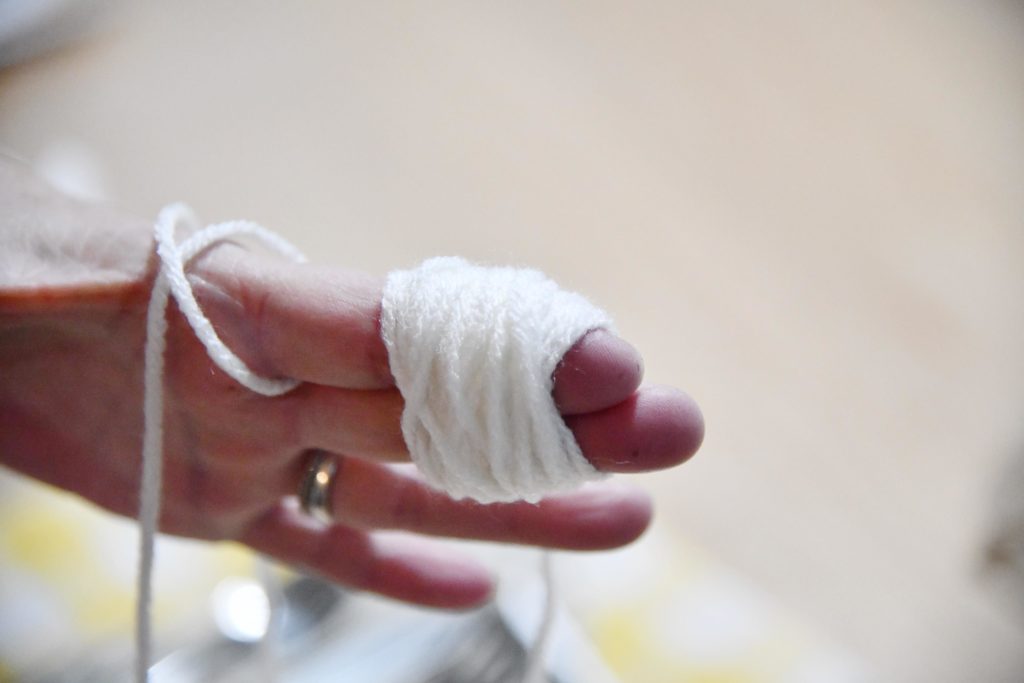
Step #6 Make Your Bunny Tail
You can use yarn or even a cotton ball if you don’t want to make your own tail. Cut a piece of yarn about 10″ you can see in photo its off to the left of the the yarn wrapped around the finger. I wrapped the yarn about 30 times around my two fingers. Once you’ve done this slide the 10″ strip down the middle of your two fingers. Then tie it off twice to ensure it is in place. Then you will cut the yarn all the way around. It will then look like a pom-pom.
If your going a non-sew route you can easily hot glue the tail at this step.
I share a video of this process on my blog. I use a pet brush to scruff up the pom and make it look more fluffy.
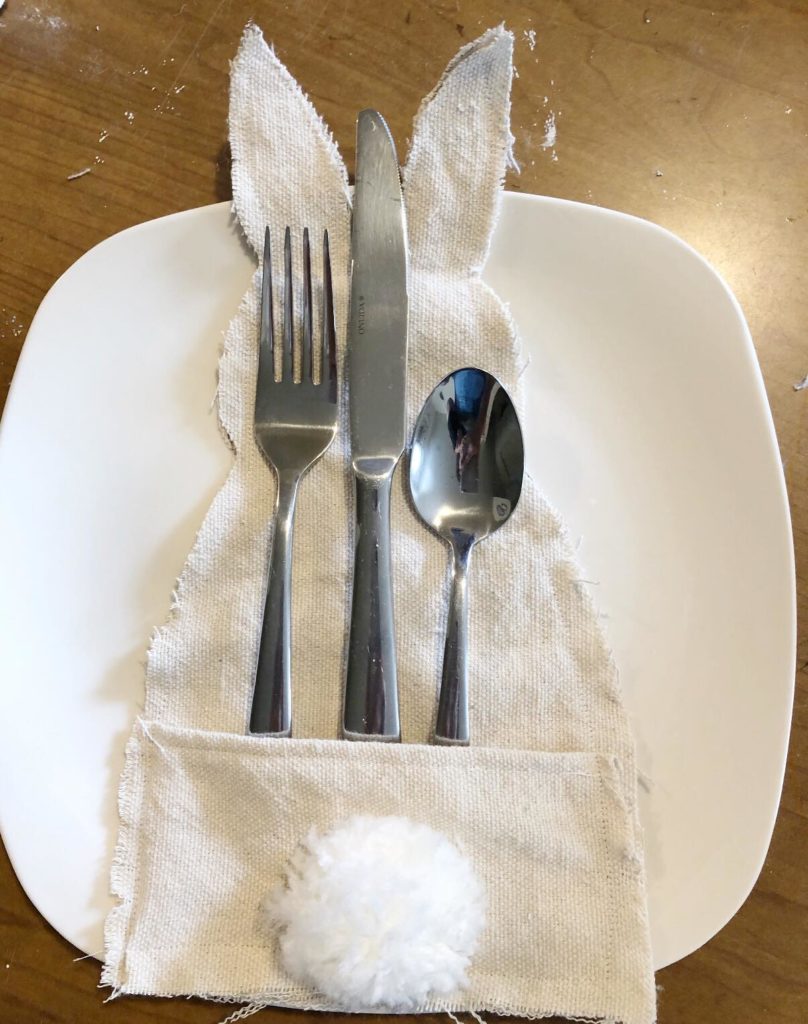
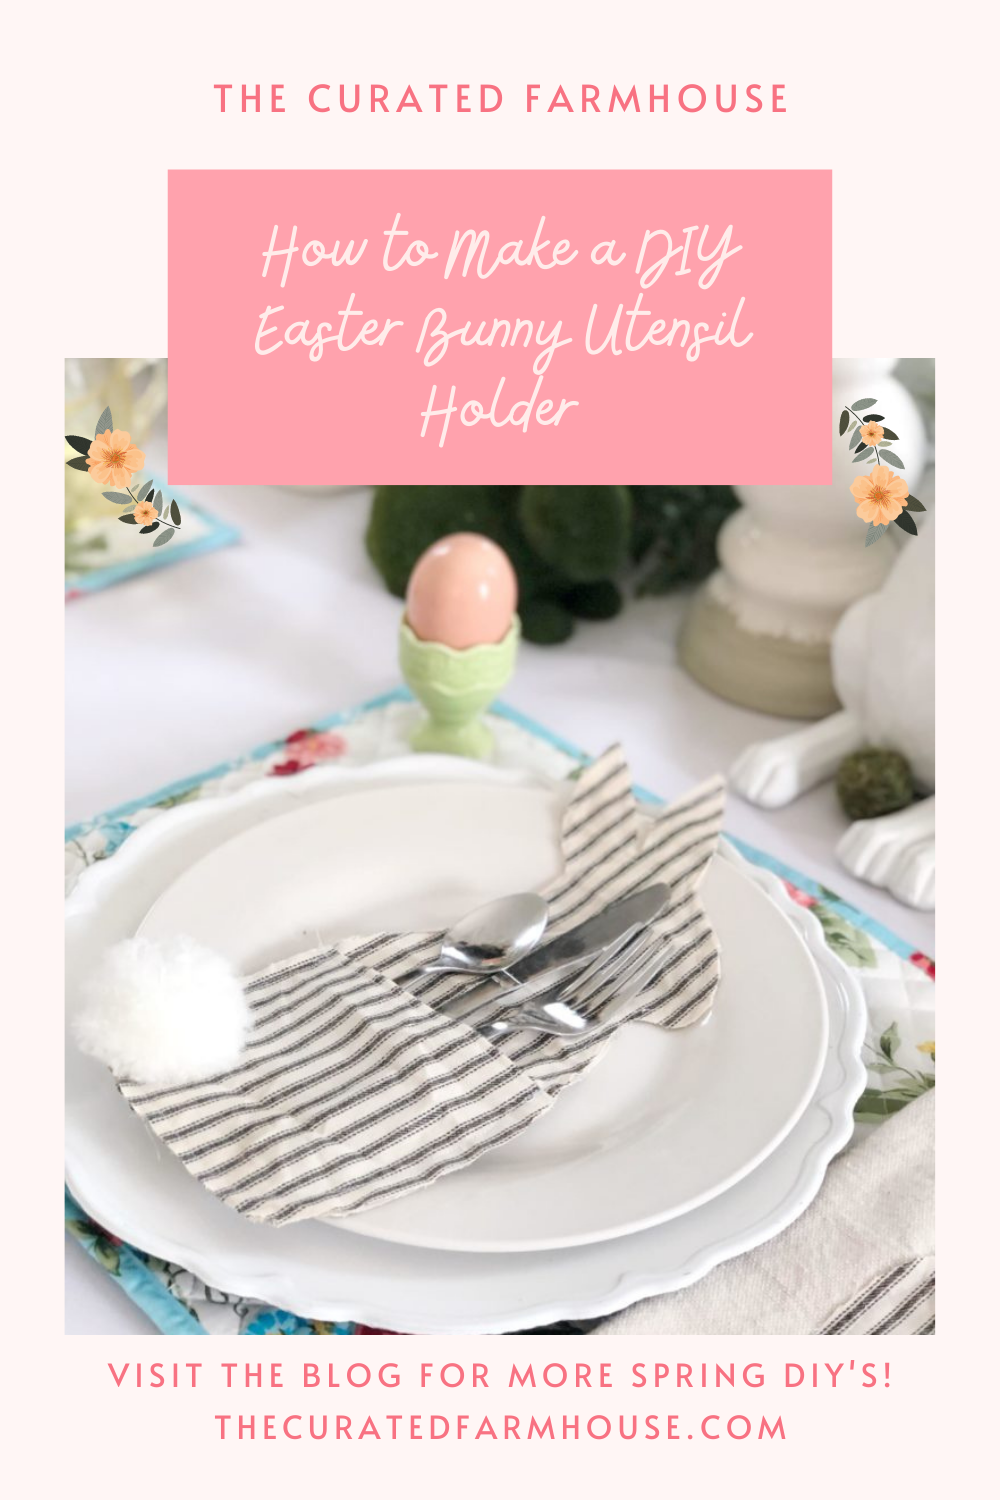
Step #6 Add in Silverware
Add your silverware inside the pouch.
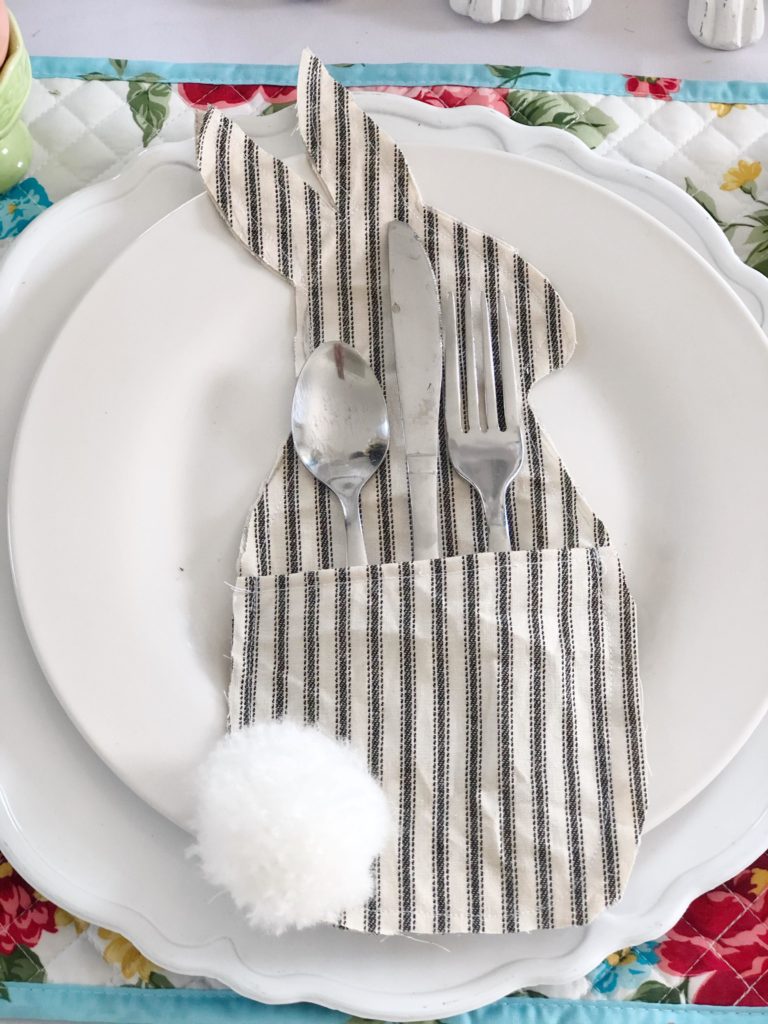
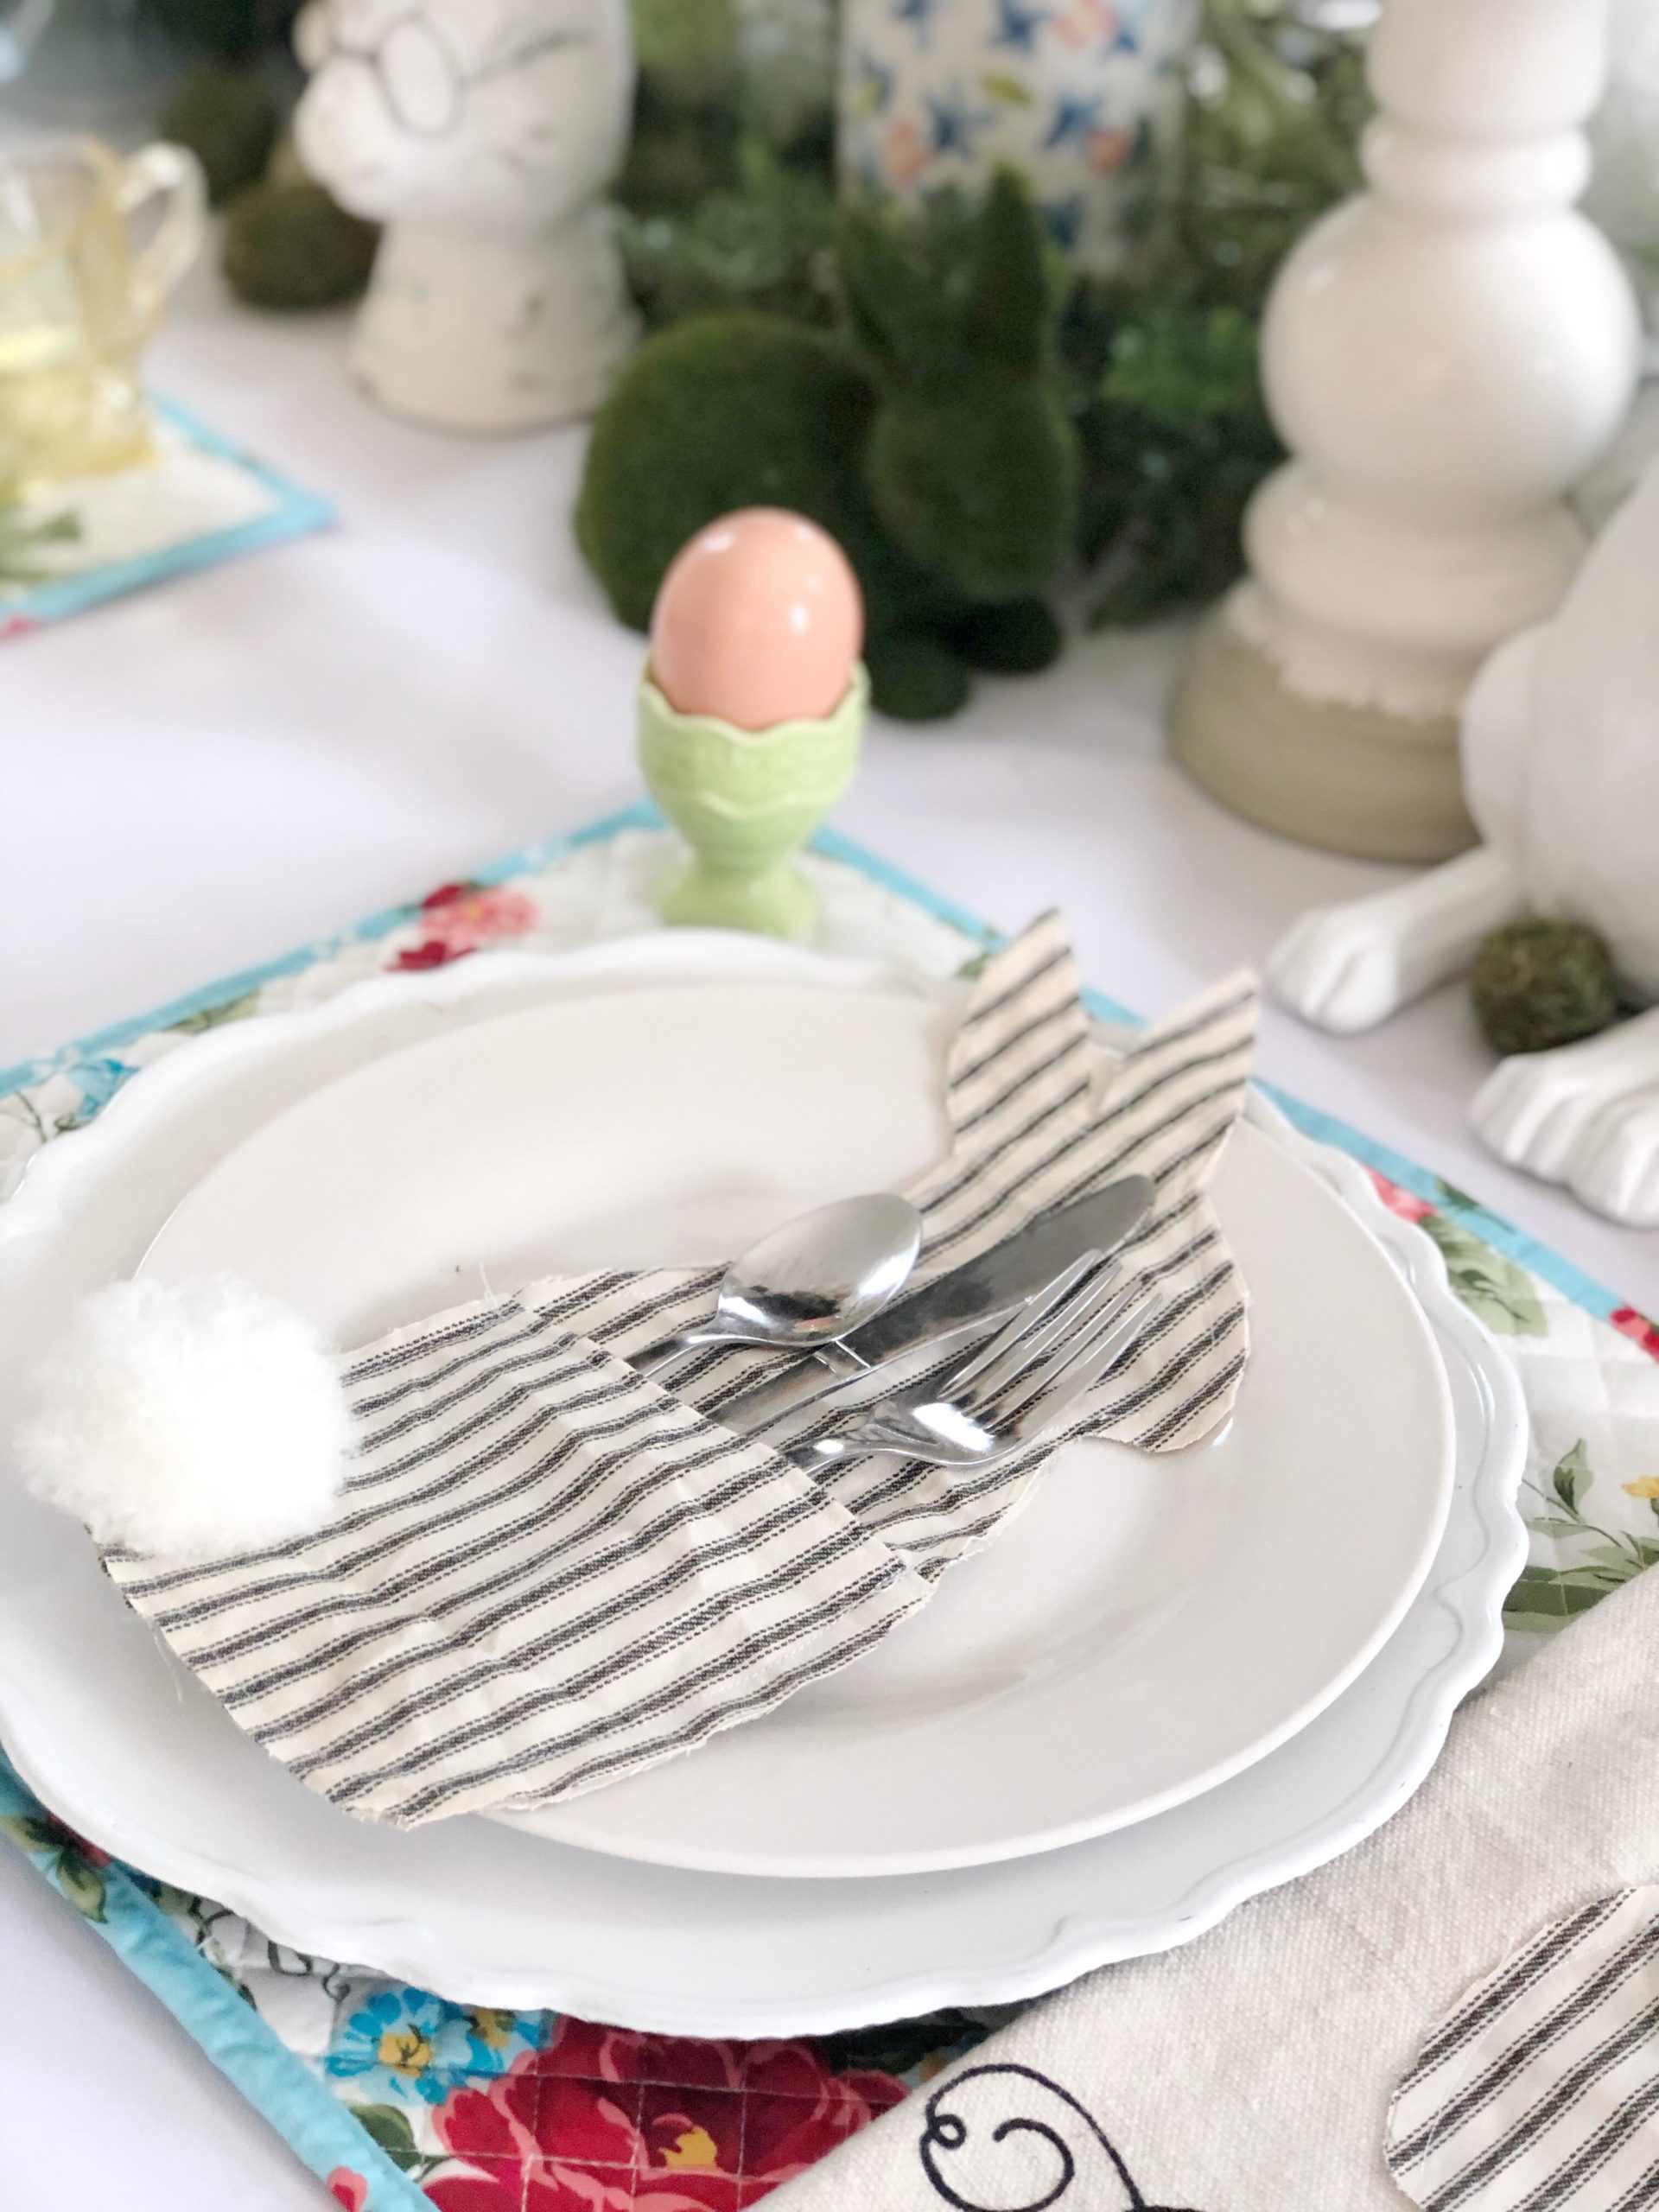
Finished Product in Black Ticking.
Final Step! Set your Table

This is the fun part. Now you get to add this cuties to your table setting. We hope you enjoyed this article on how to make a DIY easter Bunny utensil holder! If you’re not wanting to create these yourself, you can comment below, and order them from us today for next Easter.
Be sure to check out our Beautiful Easter Tablescape! We are linking everything for you. You can also head to my Instagram, Pinterest, or Home Talk follow me, and see other fun projects!
Please join our email list! We only send out one email each week to tell you what we shared on the blog for that week! We love to reward our email list with freebies and fun contests!
Be sure to comment below and let us know your here! We would love to meet you!


Adorable. I might be making those very soon!
It was so much fun friend.
This is adorable! Love it!
Thank you so much friend
This is going to be a grin and a half at tomorrow’s Easter dinner. A nice surprise for our table.
I cant wait to see it!