


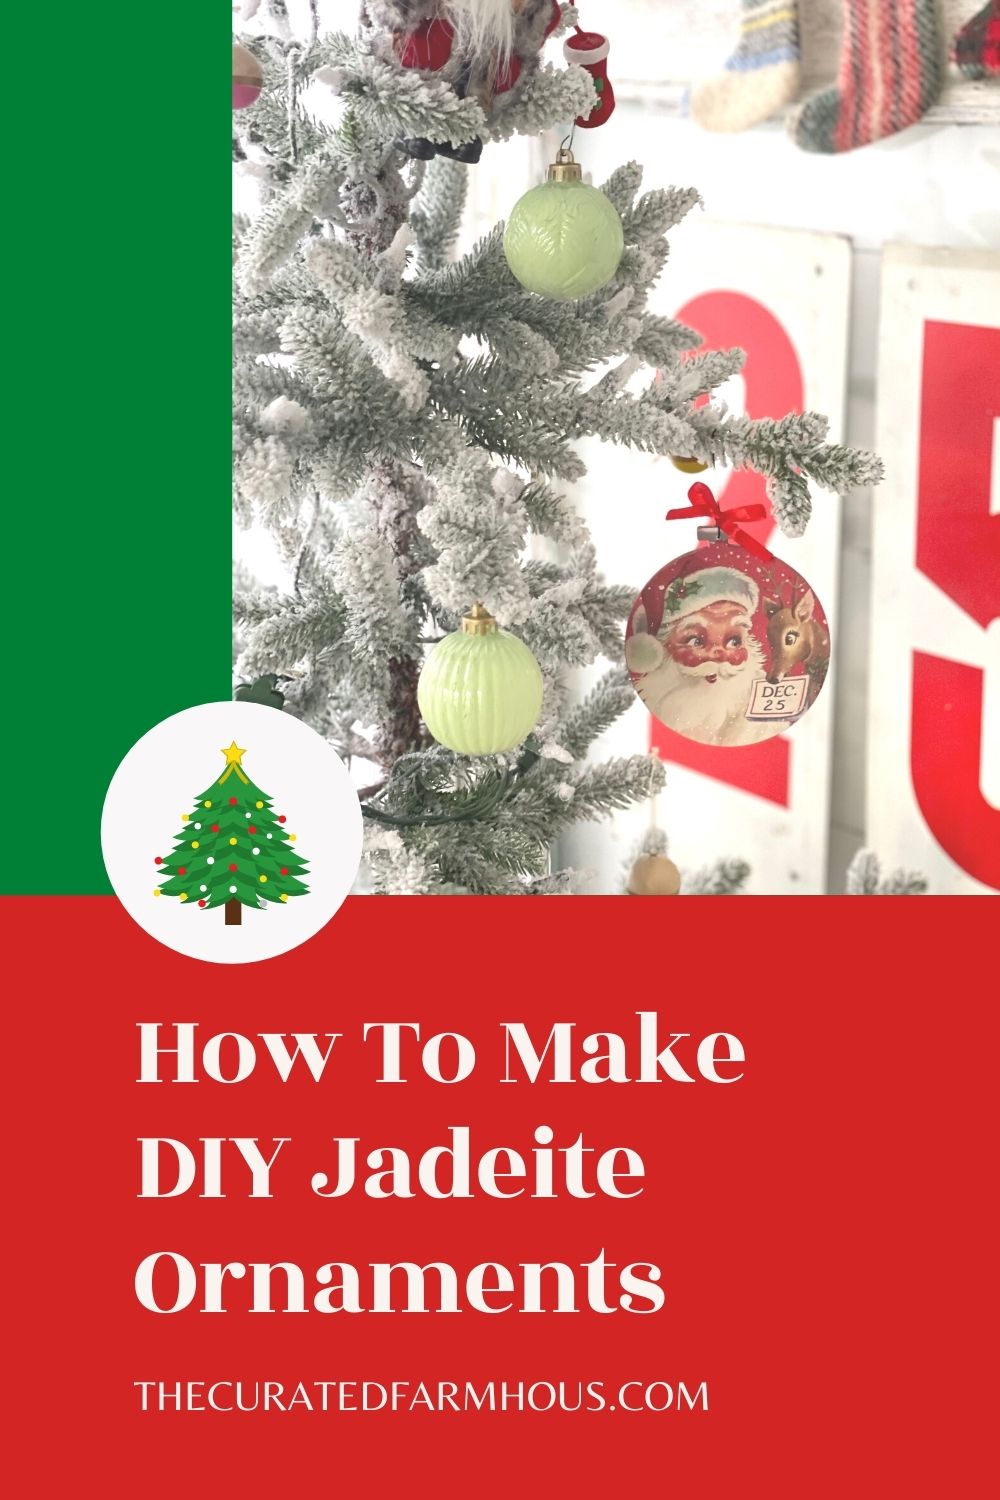
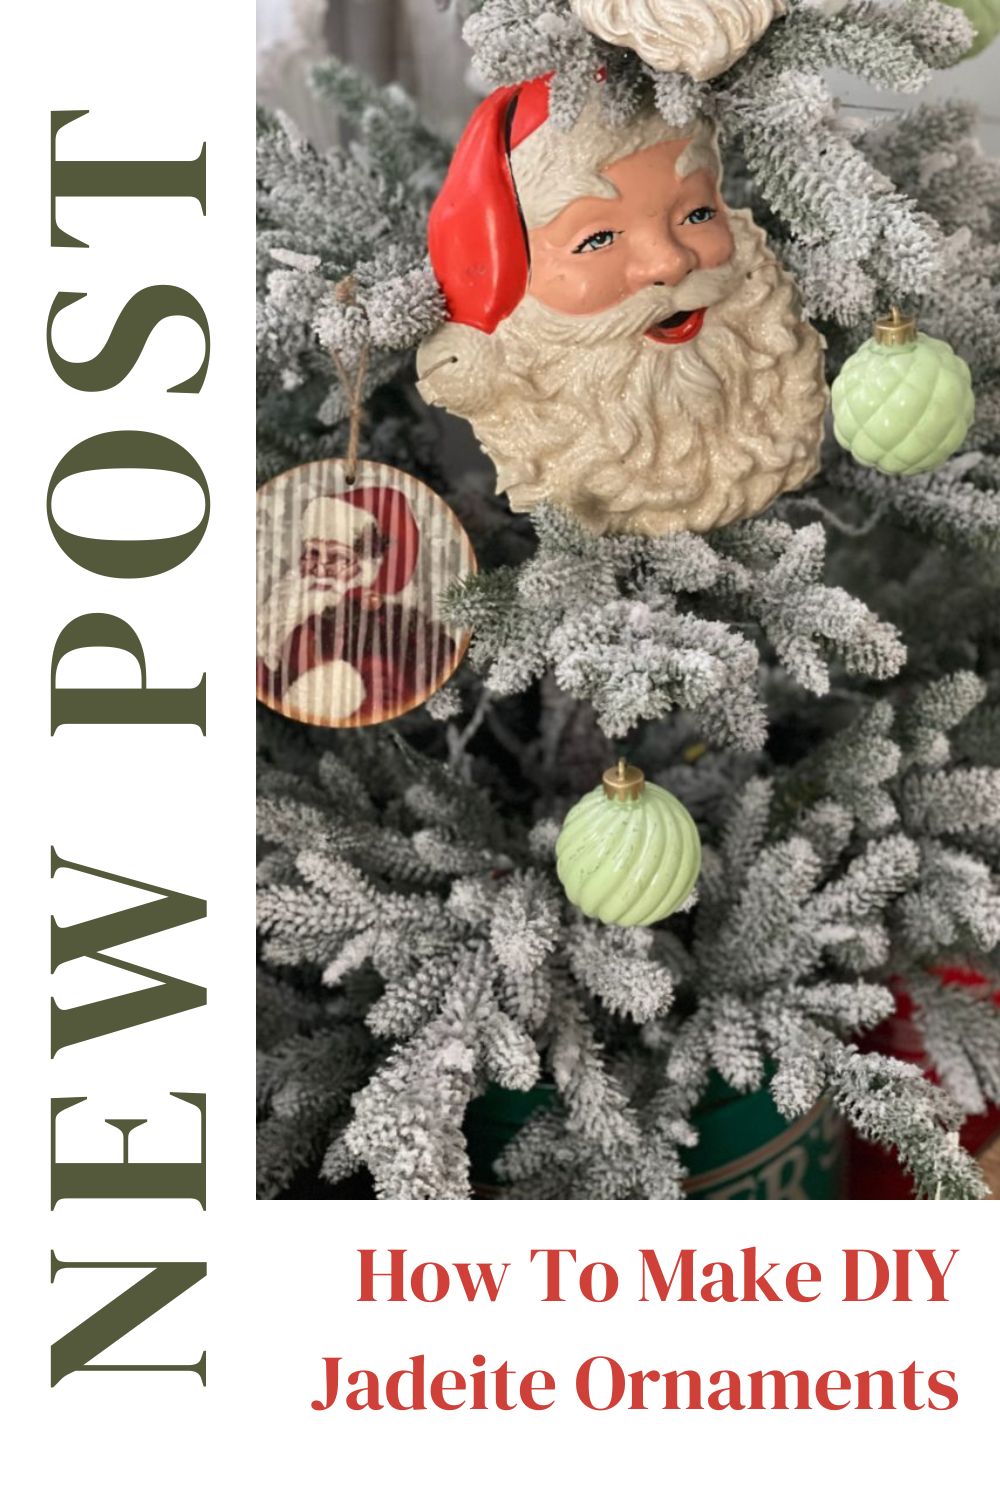
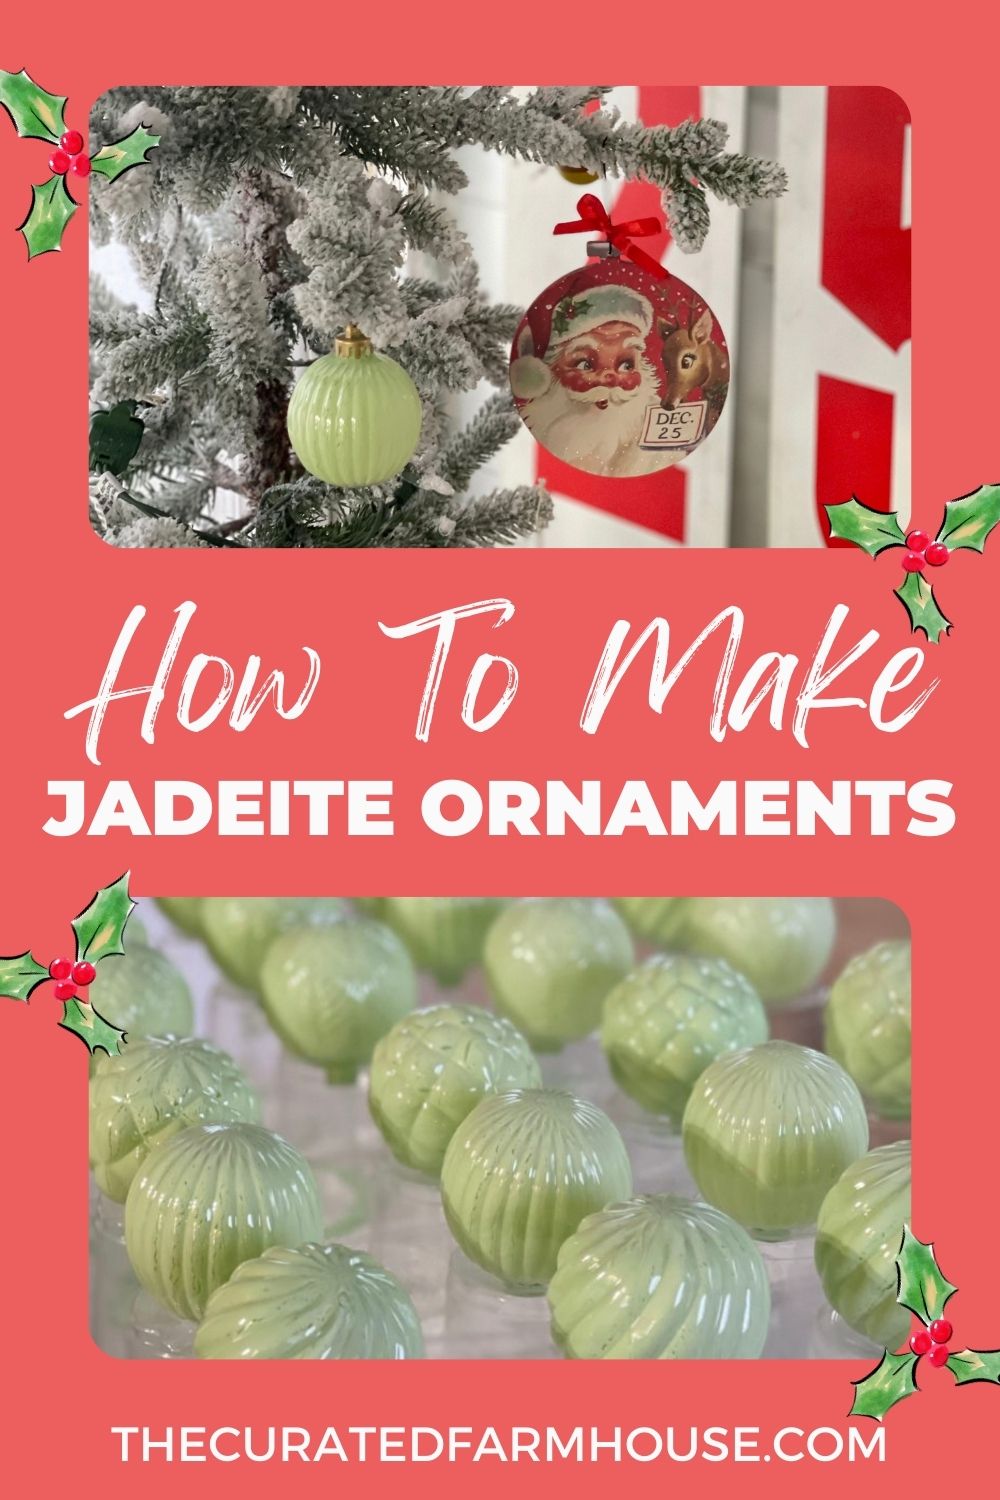
How To Make DIY Jadeite Ornaments
When I first saw these ornaments, I was instantly obsessed. I couldn’t believe how easy this project was! Let’s dive into how to make DIY Jadeite ornaments.
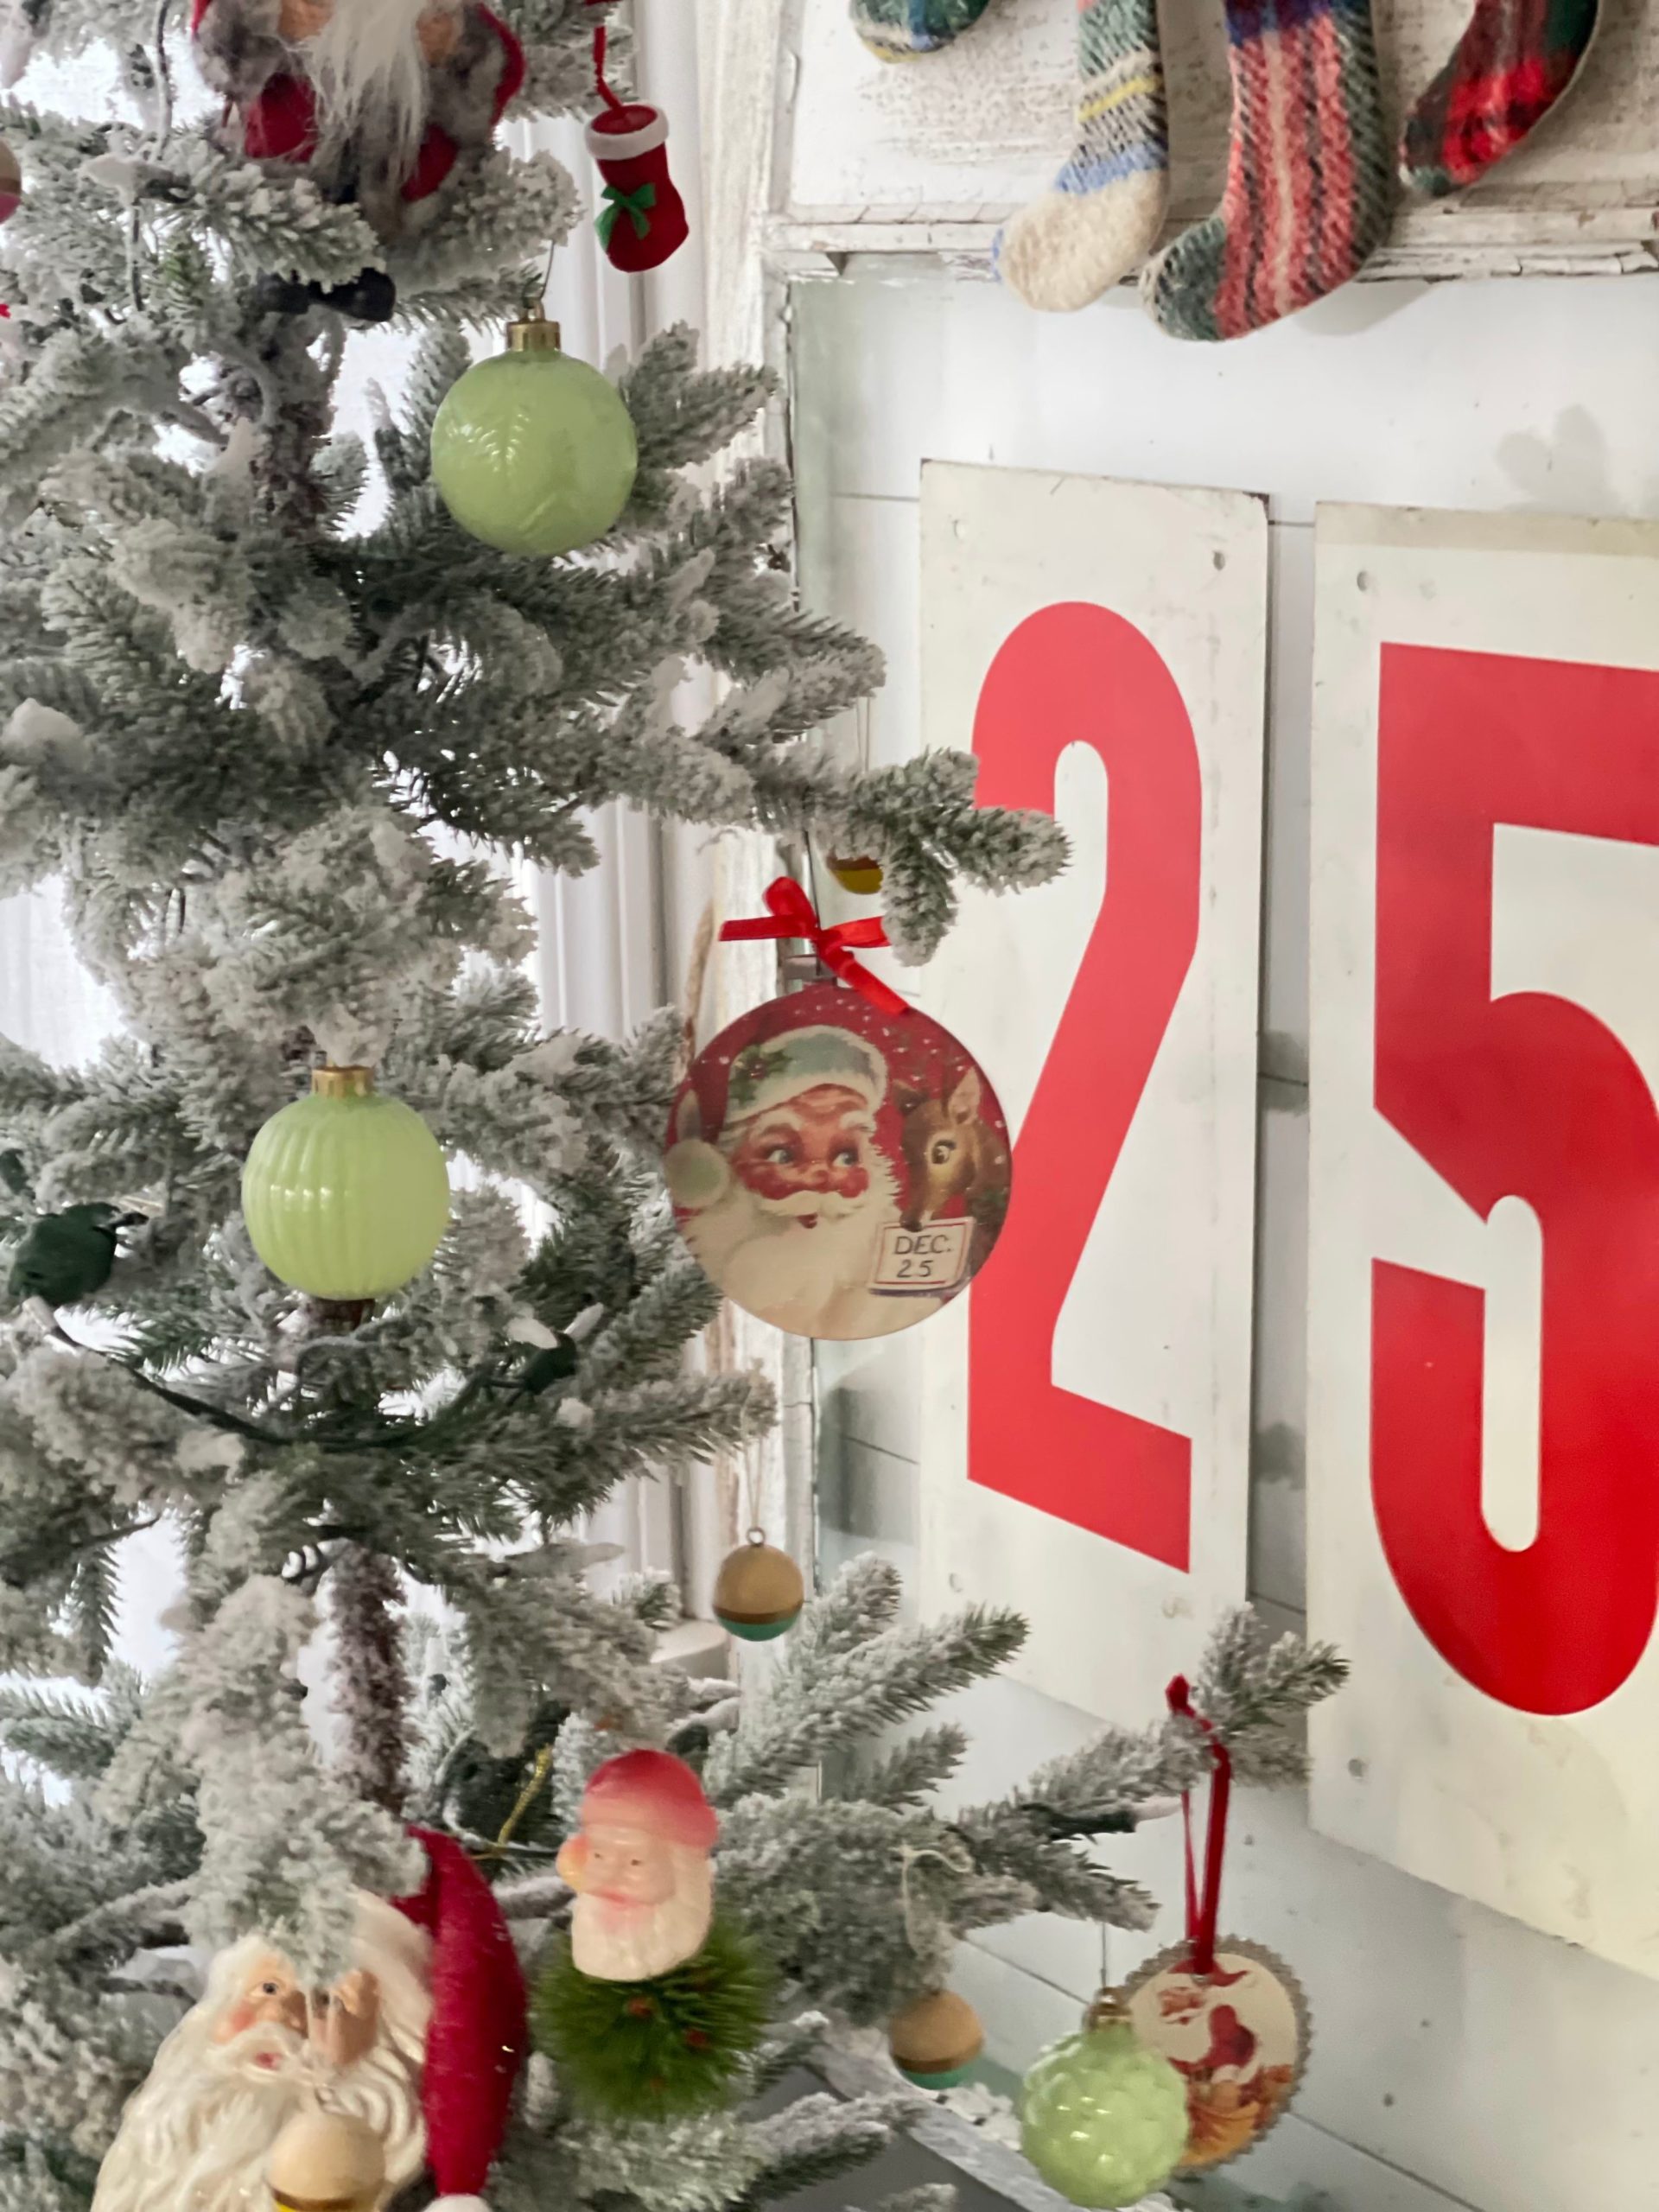
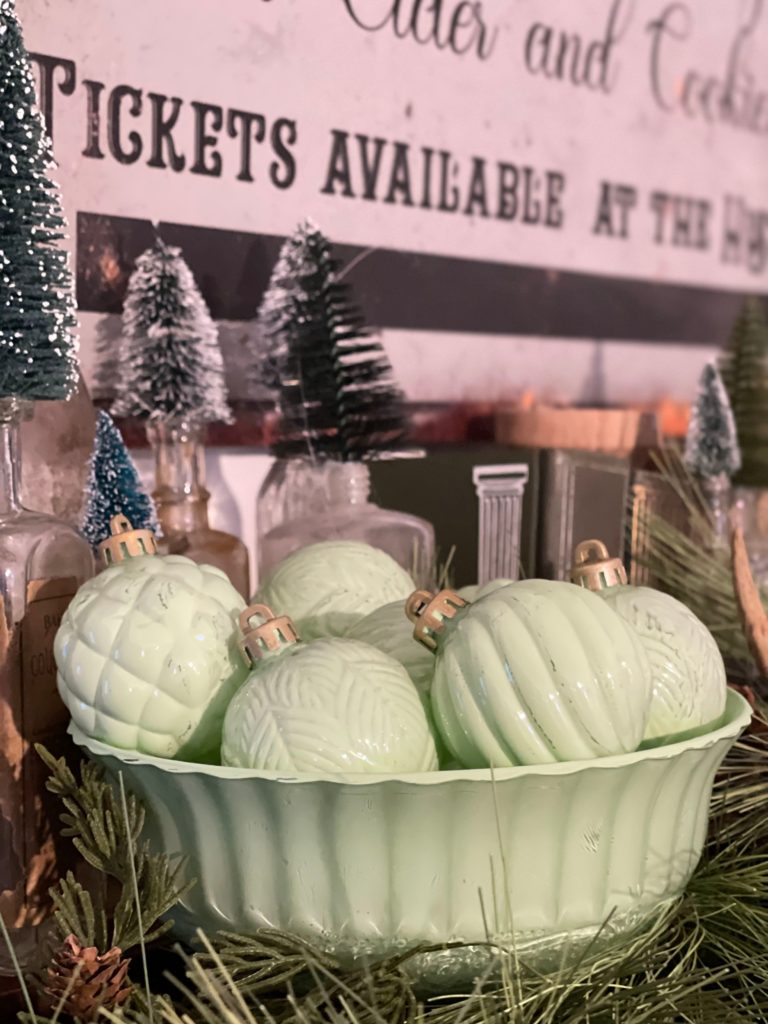
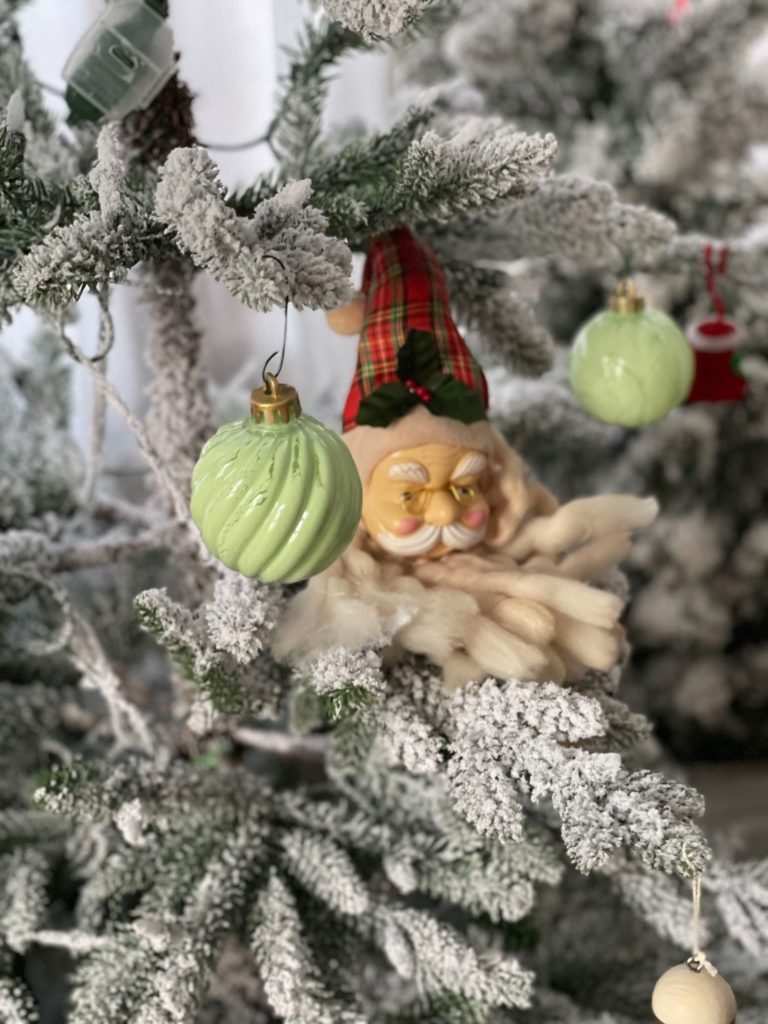
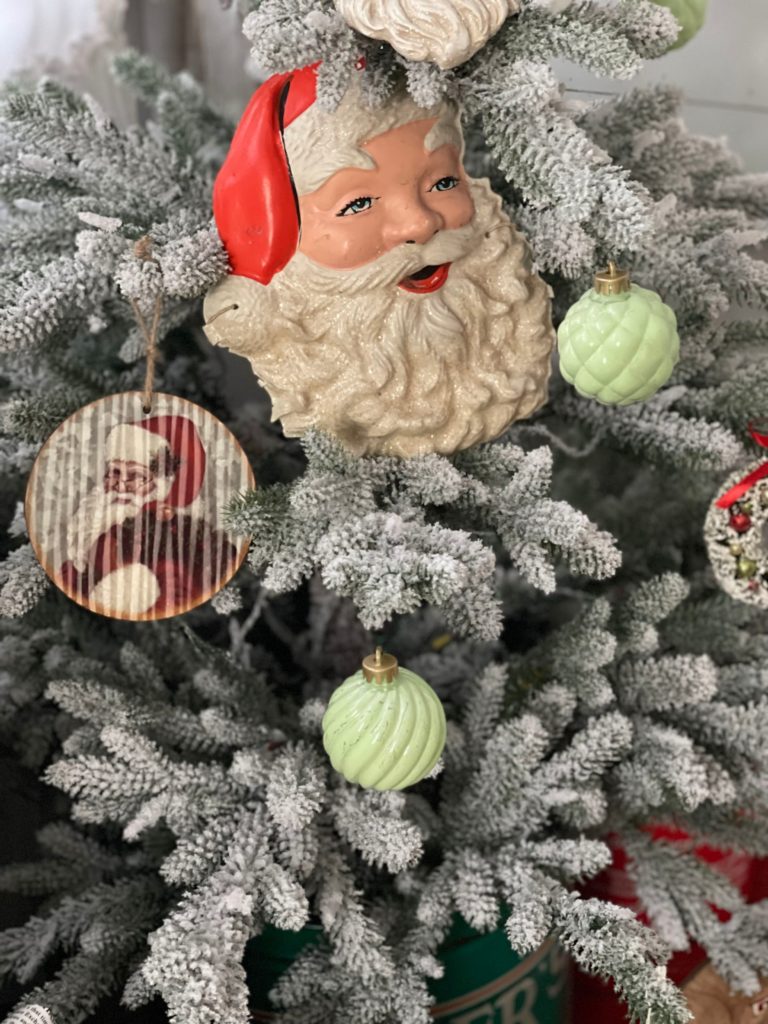
Jadeite, with its stunning green hue and timeless appeal, is admired as a symbol of beauty and serenity. The popularity of jadeite ornaments continues to grow, but purchasing these pieces can be expensive. The good news is that you can create your DIY jadeite ornaments, adding a touch of elegance to your home decor without breaking the bank.
Some of our posts contain affiliate links. If you click on an affiliate link and make a purchase, we receive a small commission. Clicking on an affiliate link does not result in an additional charge for you, or cost you anything extra. Money earned via affiliate links helps pay to keep my site up and running. Thank you so much for shopping through our links to show your support, through the brands and products that we love.
Let’s start by saying, this was super easy, however I did learn a few things along the way that might make this a little easier for you the first go round.
Step 1: Materials You’ll Need
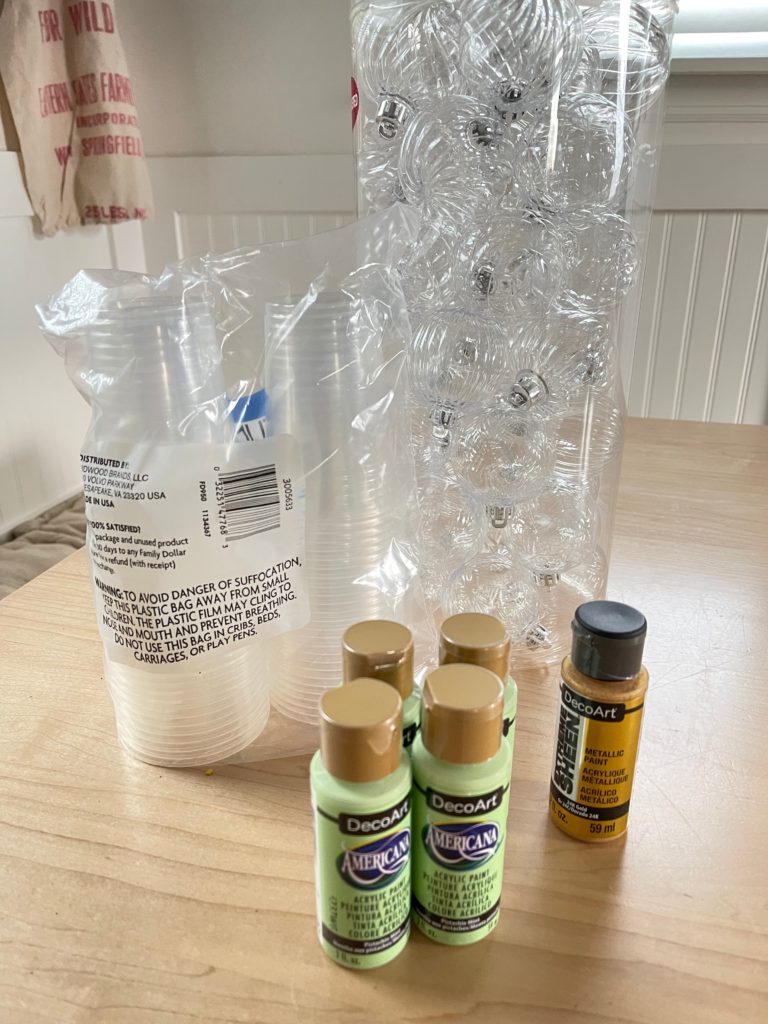
To create DIY jadeite ornaments, you will need a few essential materials:
Supplies
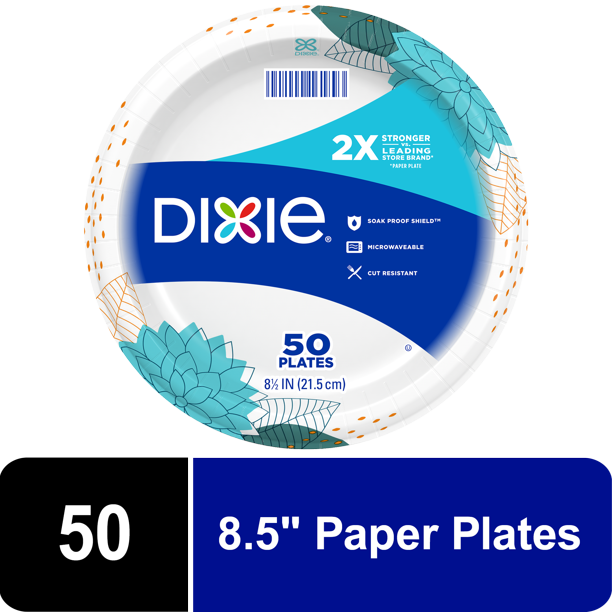
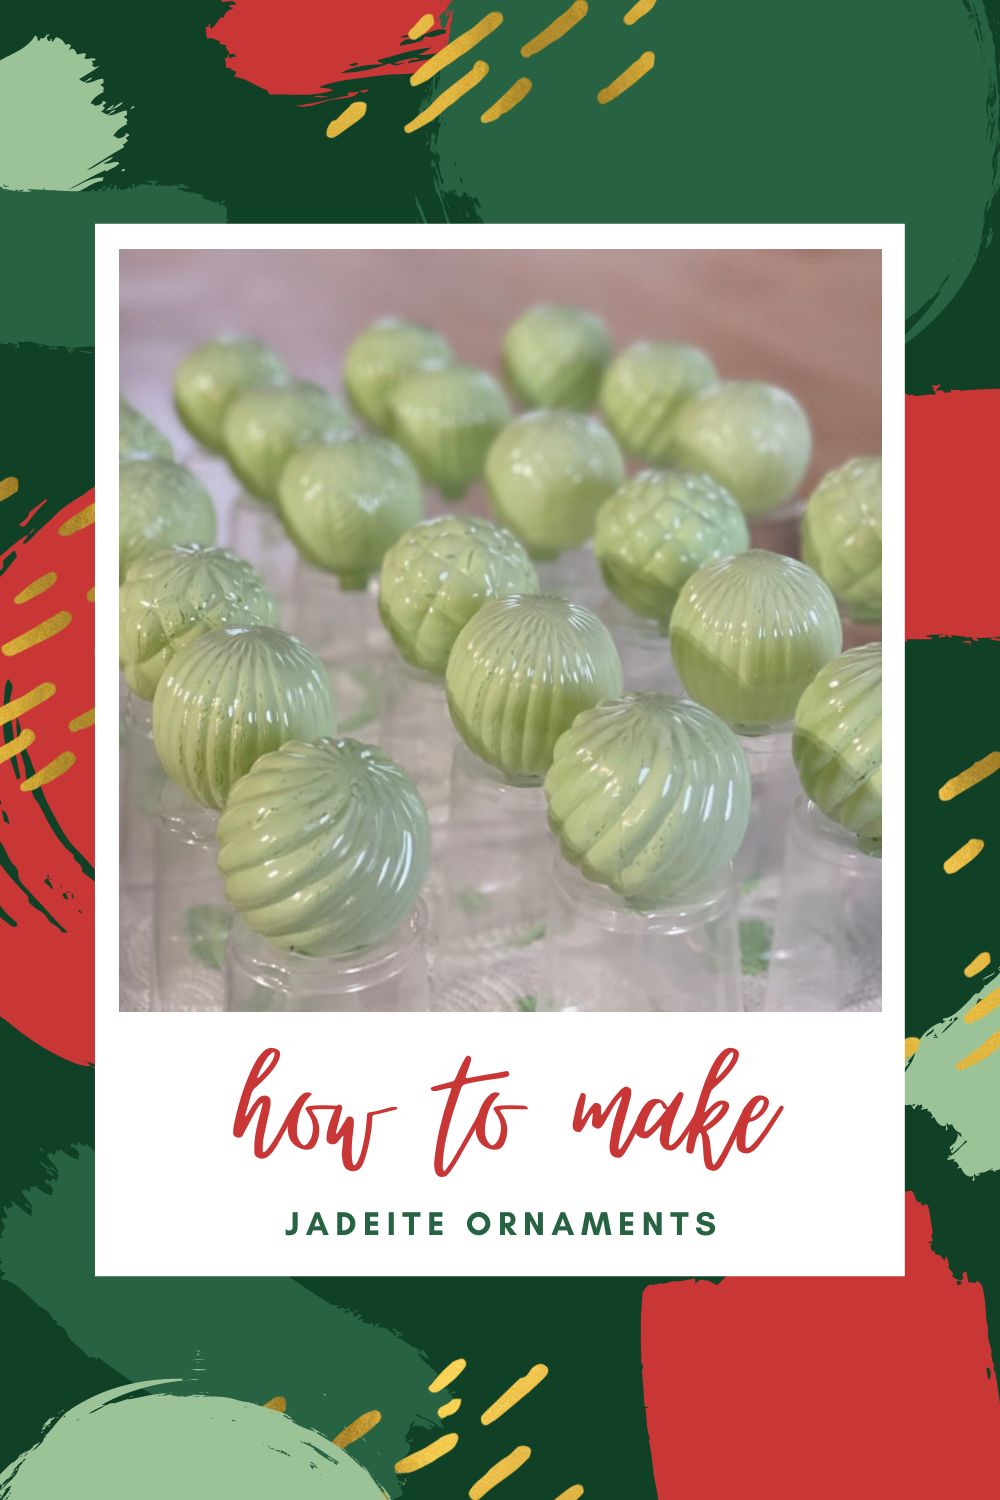
Clear Glass or Textured Plastic Ornaments: Look for round or uniquely shaped ornaments that can be easily painted and customized.
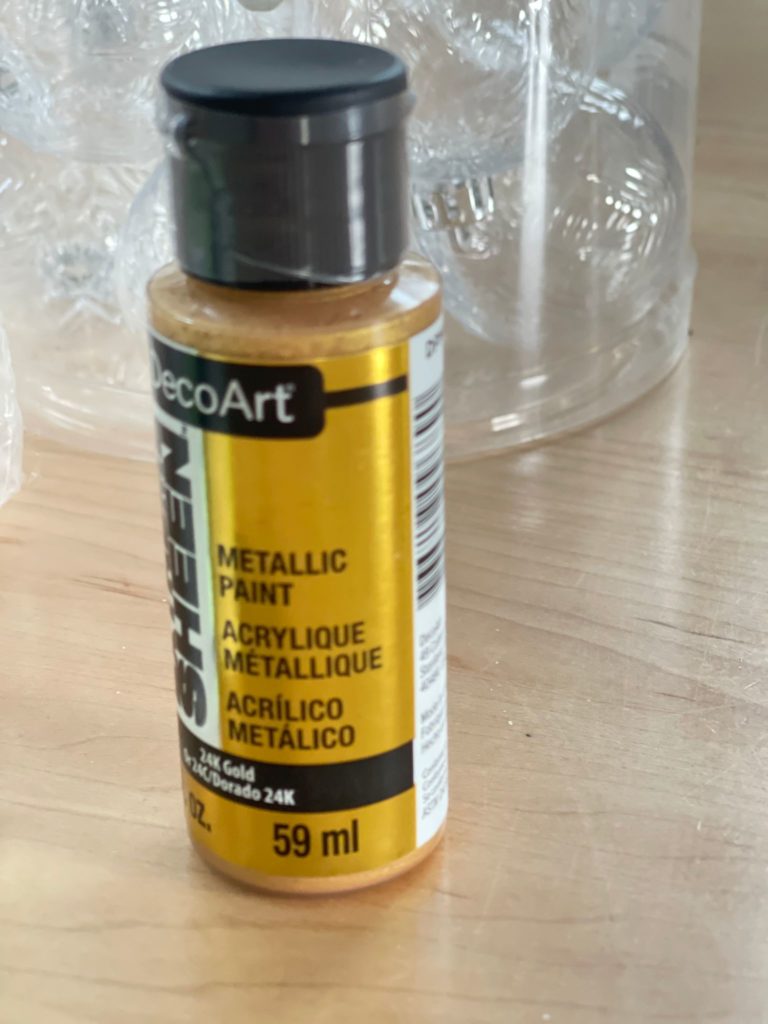
Acrylic Paints: Choose a range of green shades that closely resemble jadeite. I used Americana pistachio and jadeite paints.
Paintbrushes: Opt for small and medium-sized brushes for precision.
Paintbrushes: Opt for small and medium-sized brushes to ensure precision and control during painting.
Here is a breakdown of what you will need for this project, feel free to substitute brands and products as needed.

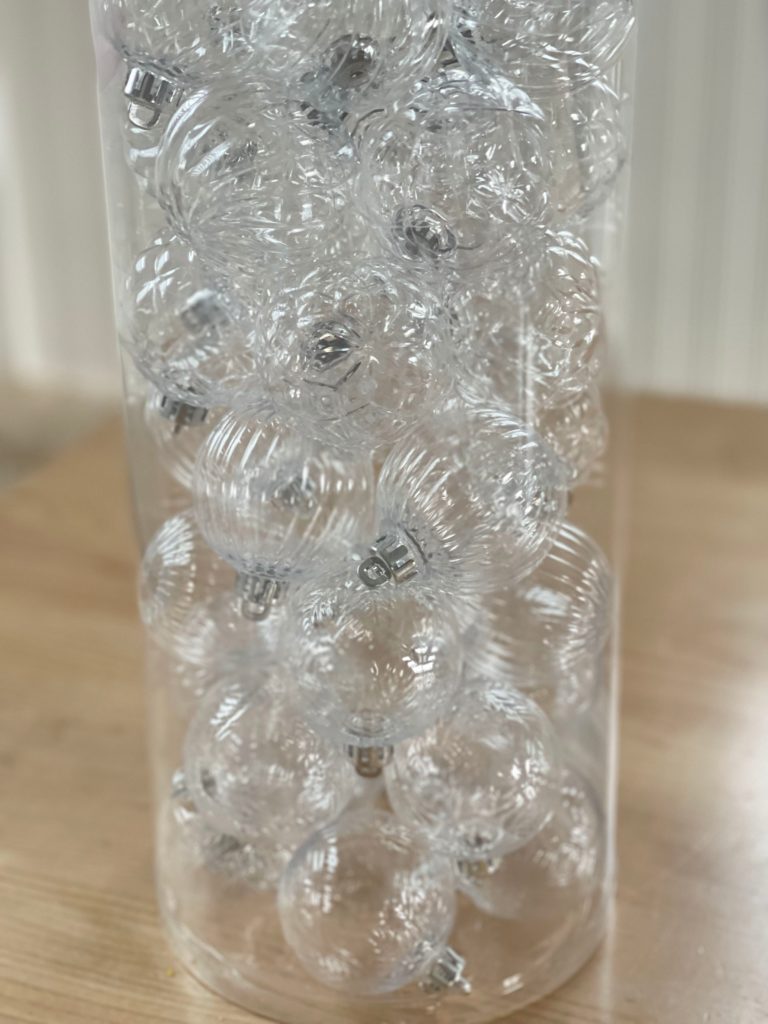
These ornaments are out of stock for the season but you can find textured ones on Amazon.

Step 2: Preparing the Ornaments
Clean the clear ornaments thoroughly to remove any dust or residue. Ensure they are completely dry before proceeding. Inspect each ornament for imperfections like scratches or dents and address them as needed.
Starting Your project
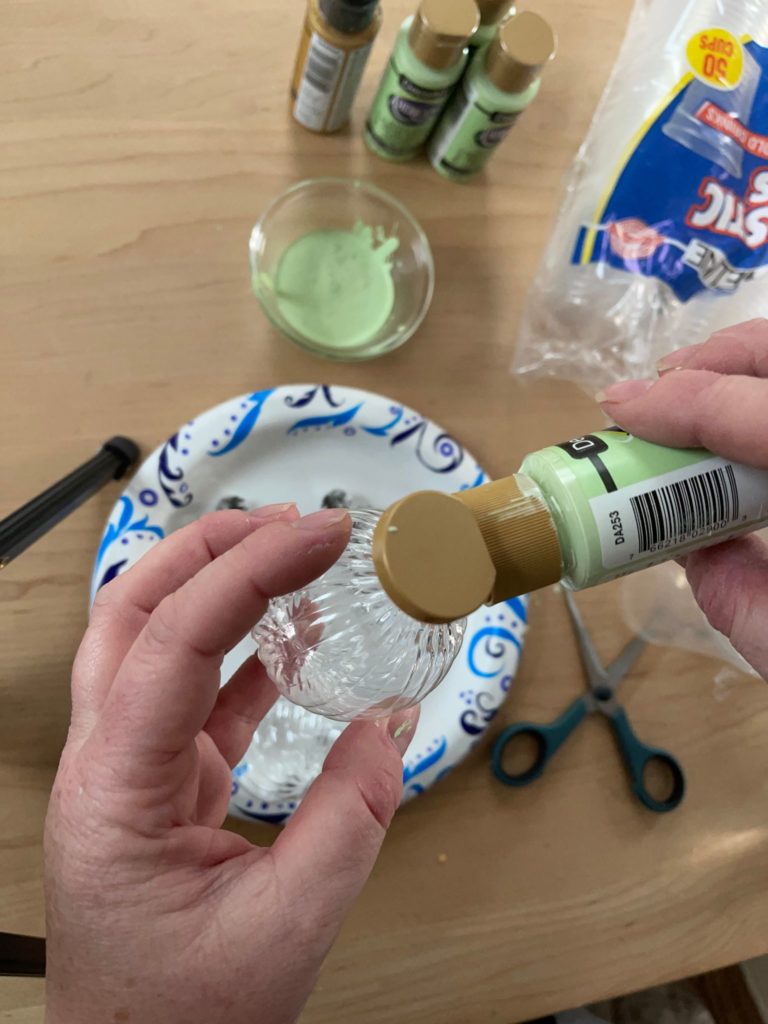
- Pour a Small Amount of Paint: Start by pouring a small amount of your chosen paint color into a separate container or palette.
- Thin the Paint: Add water to thin out the paint. Aim for a paint-to-water ratio of approximately 1/4 water to 3/4 paint. Adjust as needed for the consistency.
- Mix Thoroughly: Use a stirring stick or a small brush to mix the paint and water thoroughly.
- Test the Consistency: Dip a small brush into the mixture and let it flow off the brush. If it flows evenly, you have the desired consistency.
Step 3: Painting the Ornaments
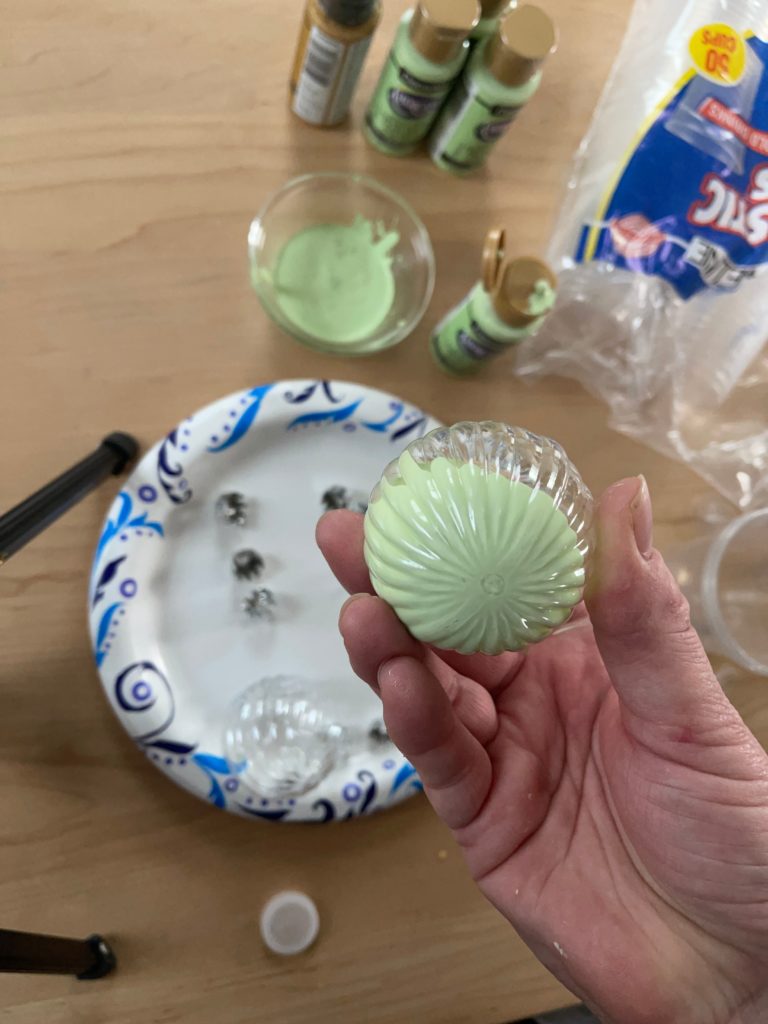
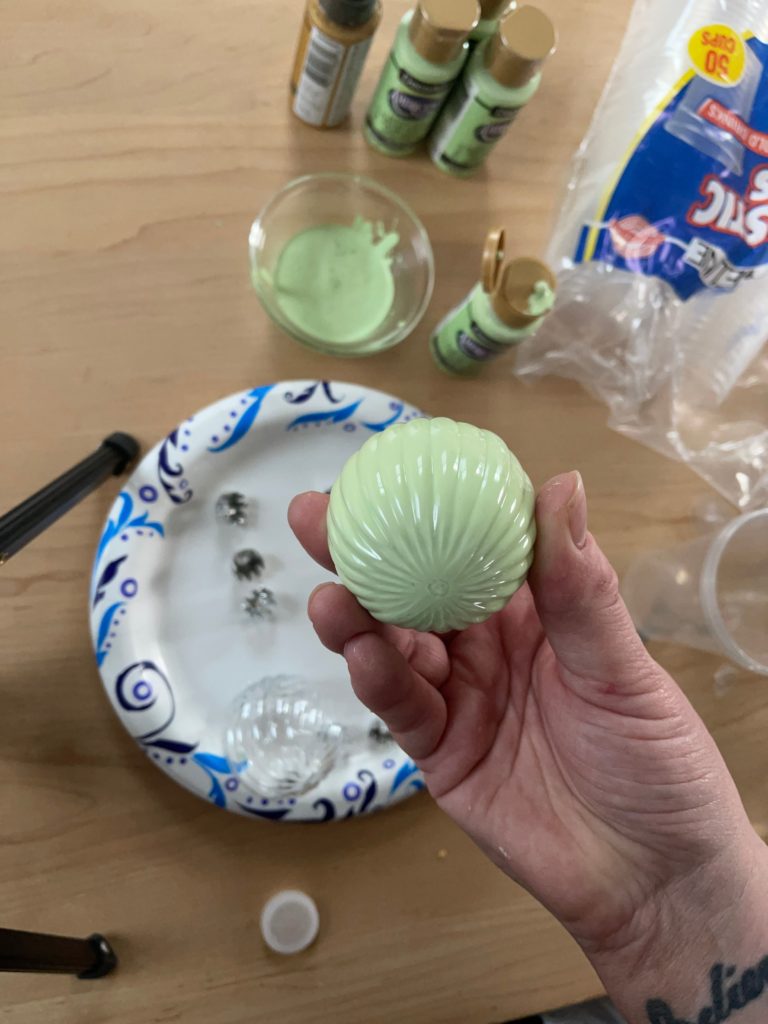
- Pour the Paint: Carefully pour the thinned paint mixture into the ornament. Rotate it gently to allow the paint to spread and cover the interior evenly.
- Swirl and Rotate: Swirl the ornament to distribute the paint evenly. Rotate it to ensure all areas are covered.
- Allow to Dry: Once fully coated, set the ornament aside to dry completely. Follow the recommended drying time on the paint’s packaging.
- Apply Additional Layers: If needed, apply additional layers of paint to enhance the color. Ensure each layer dries completely before adding the next.
Step 4: Finishing Touches
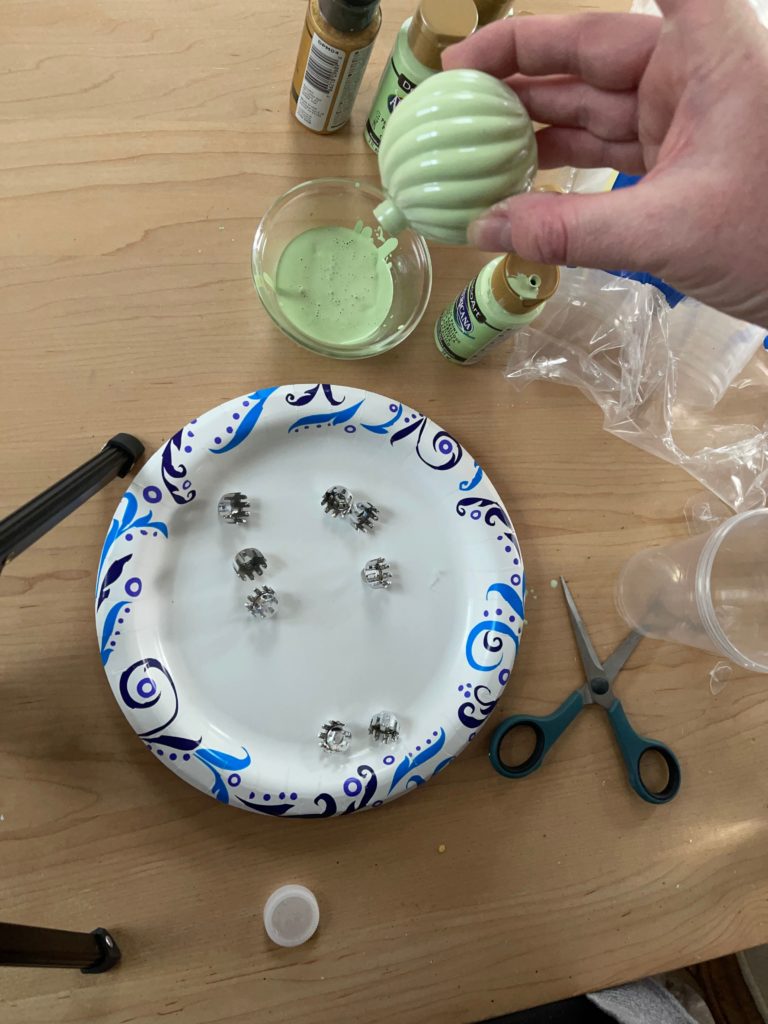
- Pour Out Excess Paint: Pour out any excess paint and save it for future use.
- Dry Overnight: Allow the ornaments to dry overnight, ensuring the paint sets properly.
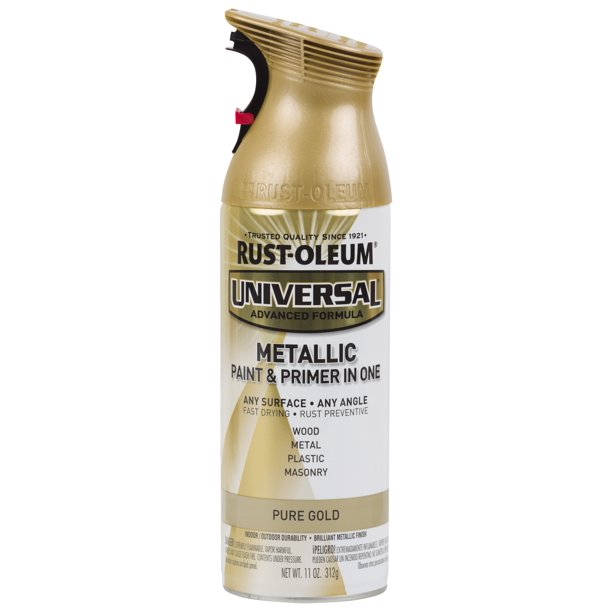
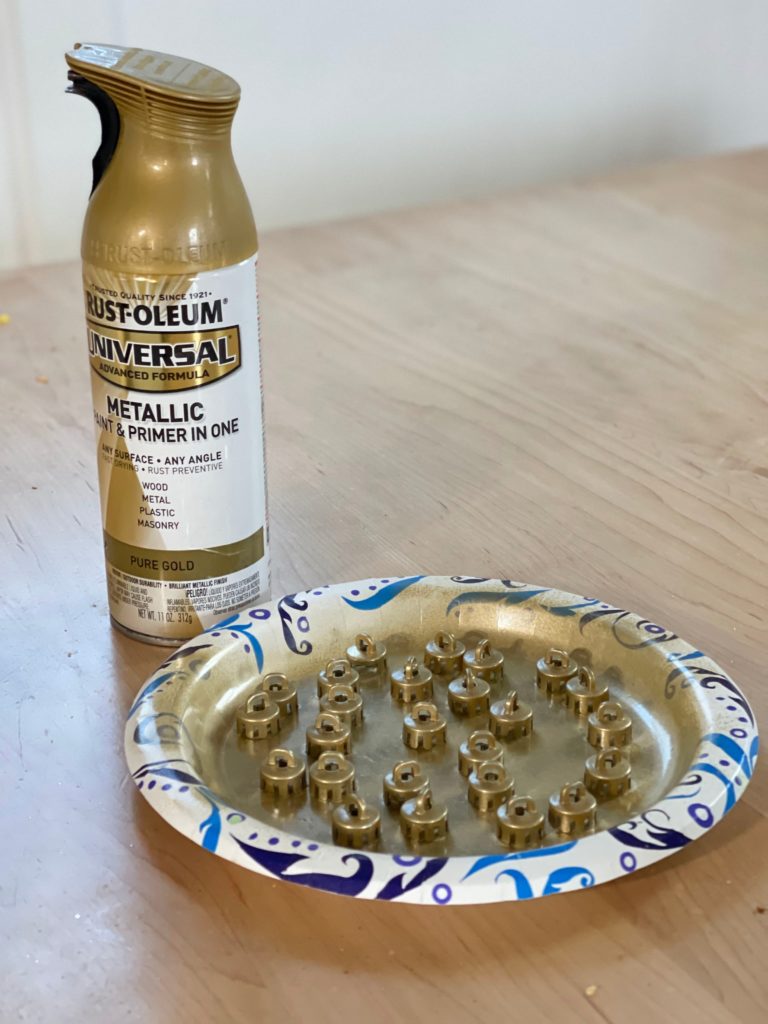
- Painting the Toppers: You can either hand-paint the toppers with acrylic paint for a personalized touch or use spray paint for efficient coverage.
Pouring Out Excess Paint and Saving for Future Use
To avoid wastage and make the most of your paint, follow these steps for pouring out the excess paint and preserving it for future ornament projects.
Prepare a small bowl
Get a small bowl ready to collect the excess paint. This will help you easily transfer the leftover paint back into the bottle, preventing unnecessary waste.
Pour the excess paint
Carefully pour out the excess paint from the ornament into the small bowl. Take your time to ensure a steady and controlled pour, minimizing spills or splatters.
Save the paint for later use
Once the excess paint is in the bowl, you can use a small spoon or a funnel to transfer it back into the original paint bottle. This way, you can preserve the leftover paint for future projects or touch-ups on other ornaments.
Keep it sealed
Make sure to tightly seal the paint bottle after transferring the excess paint. This will prevent drying or contamination, ensuring the paint remains usable and fresh for your next DIY jadeite ornament endeavor.
By pouring out the excess paint and saving it for future use, you can make the most out of your materials and avoid unnecessary waste. This method allows you to maintain a consistent color palette across multiple ornaments while maximizing the longevity of your paint supply.
Now you’re ready to continue creating beautiful jadeite-inspired ornaments, knowing that you have the option to reuse and repurpose your paint as you progress through your crafting journey.
Dripping Out Excess Paint and Ensuring Proper Drying
To achieve optimal results, follow these steps to allow excess paint to drip out and ensure thorough drying overnight. Additionally, we’ll address the issue of thin paint and its potential effect on the final look of your DIY jadeite ornaments.
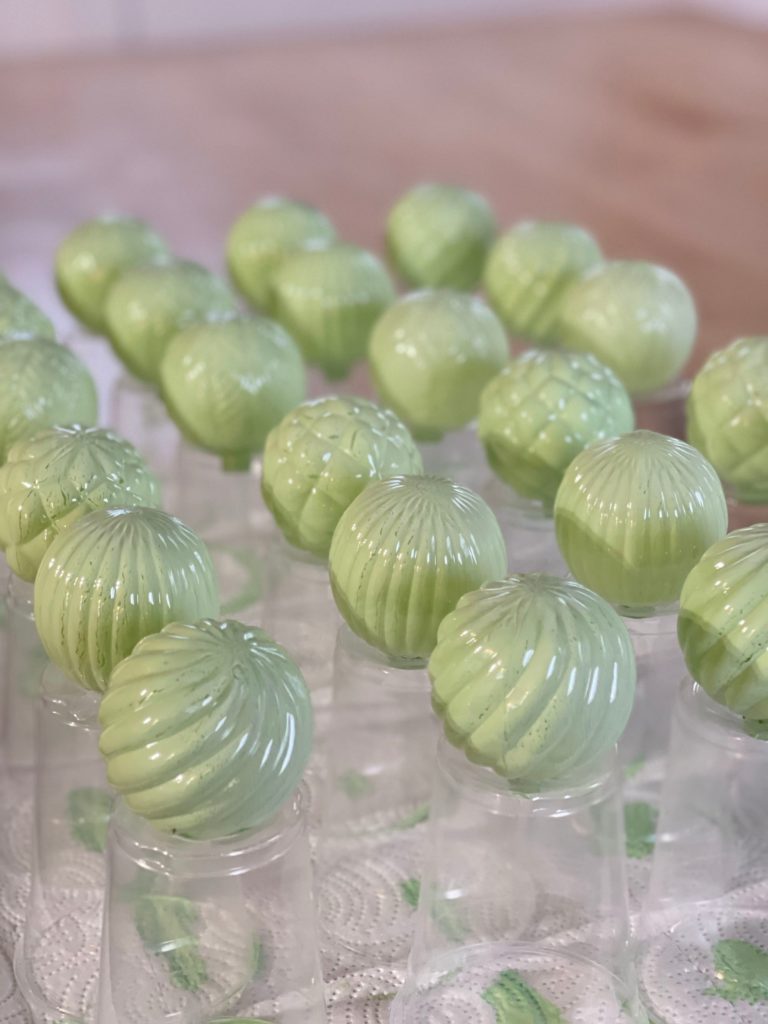
Utilize paper or plastic cups
Use small paper or plastic cups to assist with the dripping process. Place the ornament upside down in the cup, allowing any excess paint to drip out slowly. This will help avoid pooling or uneven coverage on the surface of the ornament.
Adaptation for oversized cups
If the plastic cups you have are too big for your ornaments, you can improvise by flipping the cups over and cutting small holes in them. This makeshift solution will still serve the purpose of catching excess paint as it drips out.
Ensure thorough drying overnight
After pouring out the excess paint and placing the ornament in the cup, allow it to dry completely overnight. This extended drying period ensures that the paint sets properly and any remaining moisture evaporates, resulting in a durable finish.
Addressing thin paint
If you notice that your paint is too thin during the DIY process, it may lead to small cracks or imperfections in the dried paint. Although unintended, these cracks can contribute to a vintage appearance, adding character to your jadeite ornaments.
emember that personal preferences for the final look of your ornaments may vary. Some individuals appreciate the vintage aesthetic that can be achieved with thin paint, while others prefer a smoother and more even finish. Embrace the unique qualities that arise from thin paint, as they contribute to the charm and character of your DIY jadeite ornaments.
By allowing excess paint to drip out, ensuring proper drying overnight, and embracing the vintage look that can result from thin paint, you can create stunning jadeite-inspired ornaments that possess an appealing, aged appeal.
Painting the Ornament Toppers: Hand-Painting vs. Spray Painting
When it comes to painting the ornament toppers, you have the option of hand-painting with acrylic paint or using spray paint. Let’s explore the advantages and considerations of each method.
Hand-painting with acrylic paint
Hand-painting the ornament toppers using actual chic paint can provide a personalized touch and allow for intricate designs. However, keep in mind that hand-painting may require multiple coats to achieve full coverage. This method requires patience and attention to detail.
Spray painting for efficient coverage
On the other hand, utilizing spray paint for the ornament toppers can offer a faster and easier alternative. Spray paint provides excellent coverage in a short amount of time, saving you from applying multiple coats manually. The spray application ensures a smooth and even finish, enhancing the overall appearance of the ornament topper.
Consider your preferences, time constraints, and desired level of intricacy when deciding between hand-painting and spray painting. Both methods have their advantages, and the choice ultimately depends on your personal style and convenience.
By exploring different painting techniques for the ornament toppers, you can achieve the desired look for your DIY jadeite ornaments more efficiently and effectively.
Remember, the key to a successful DIY project lies in experimentation and finding the method that suits your needs best.
Final Thoughts
Creating your own DIY jadeite ornaments is a fun and fulfilling project that adds a touch of elegance to your home. With a few materials and some imagination, you can craft unique and personalized pieces that capture the allure of jadeite.
Gather your supplies, mix your paints, and start creating beautiful jadeite-inspired ornaments that will bring a touch of sophistication to your living space.
So why wait? Unleash your artistic abilities and embark on this exciting DIY project today!
I hope you enjoyed how to make DIY Jadeite ornaments. Let me know if you make these! Be sure to check out our Pottery Barn dupe Christmas wreath.
I would love for you to follow us on Instagram, Pinterest, TikTok, and Facebook! You can also join our email list so you don’t miss any fun blog posts or designing spaces.


[…] Image credit: thecuratedfarmhouse […]
Have you experienced paint starting to run when placing on a tree with lights? I let the ornaments dry overnight!😫
No I have not had any issues. Maybe the brand of paint did you use a certain kind of paint?
These are beautiful! I definitely will try making some.