


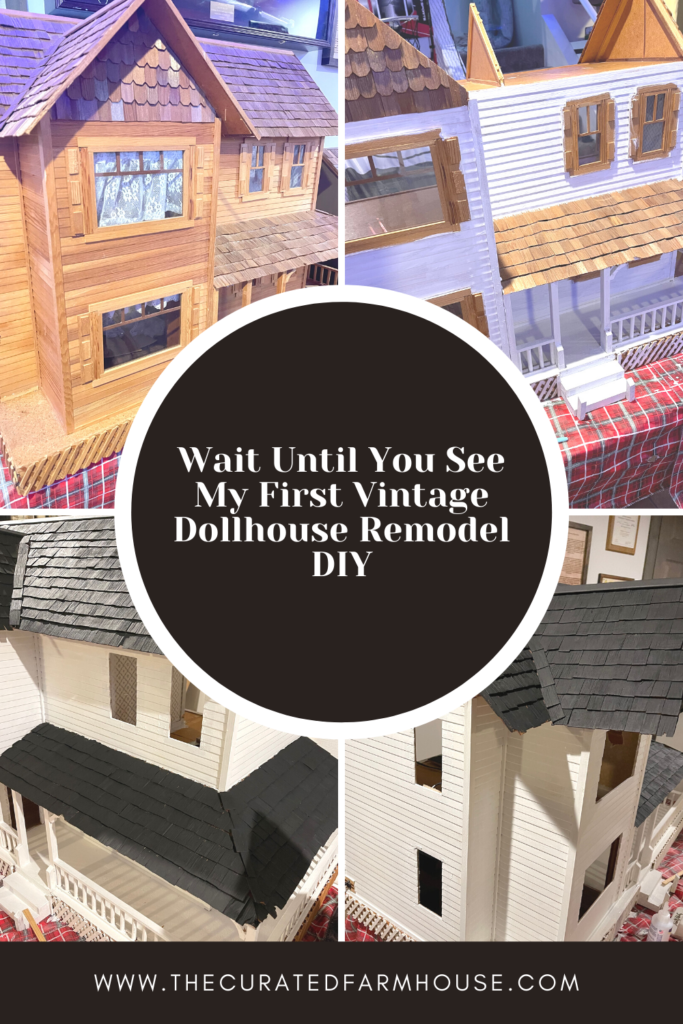
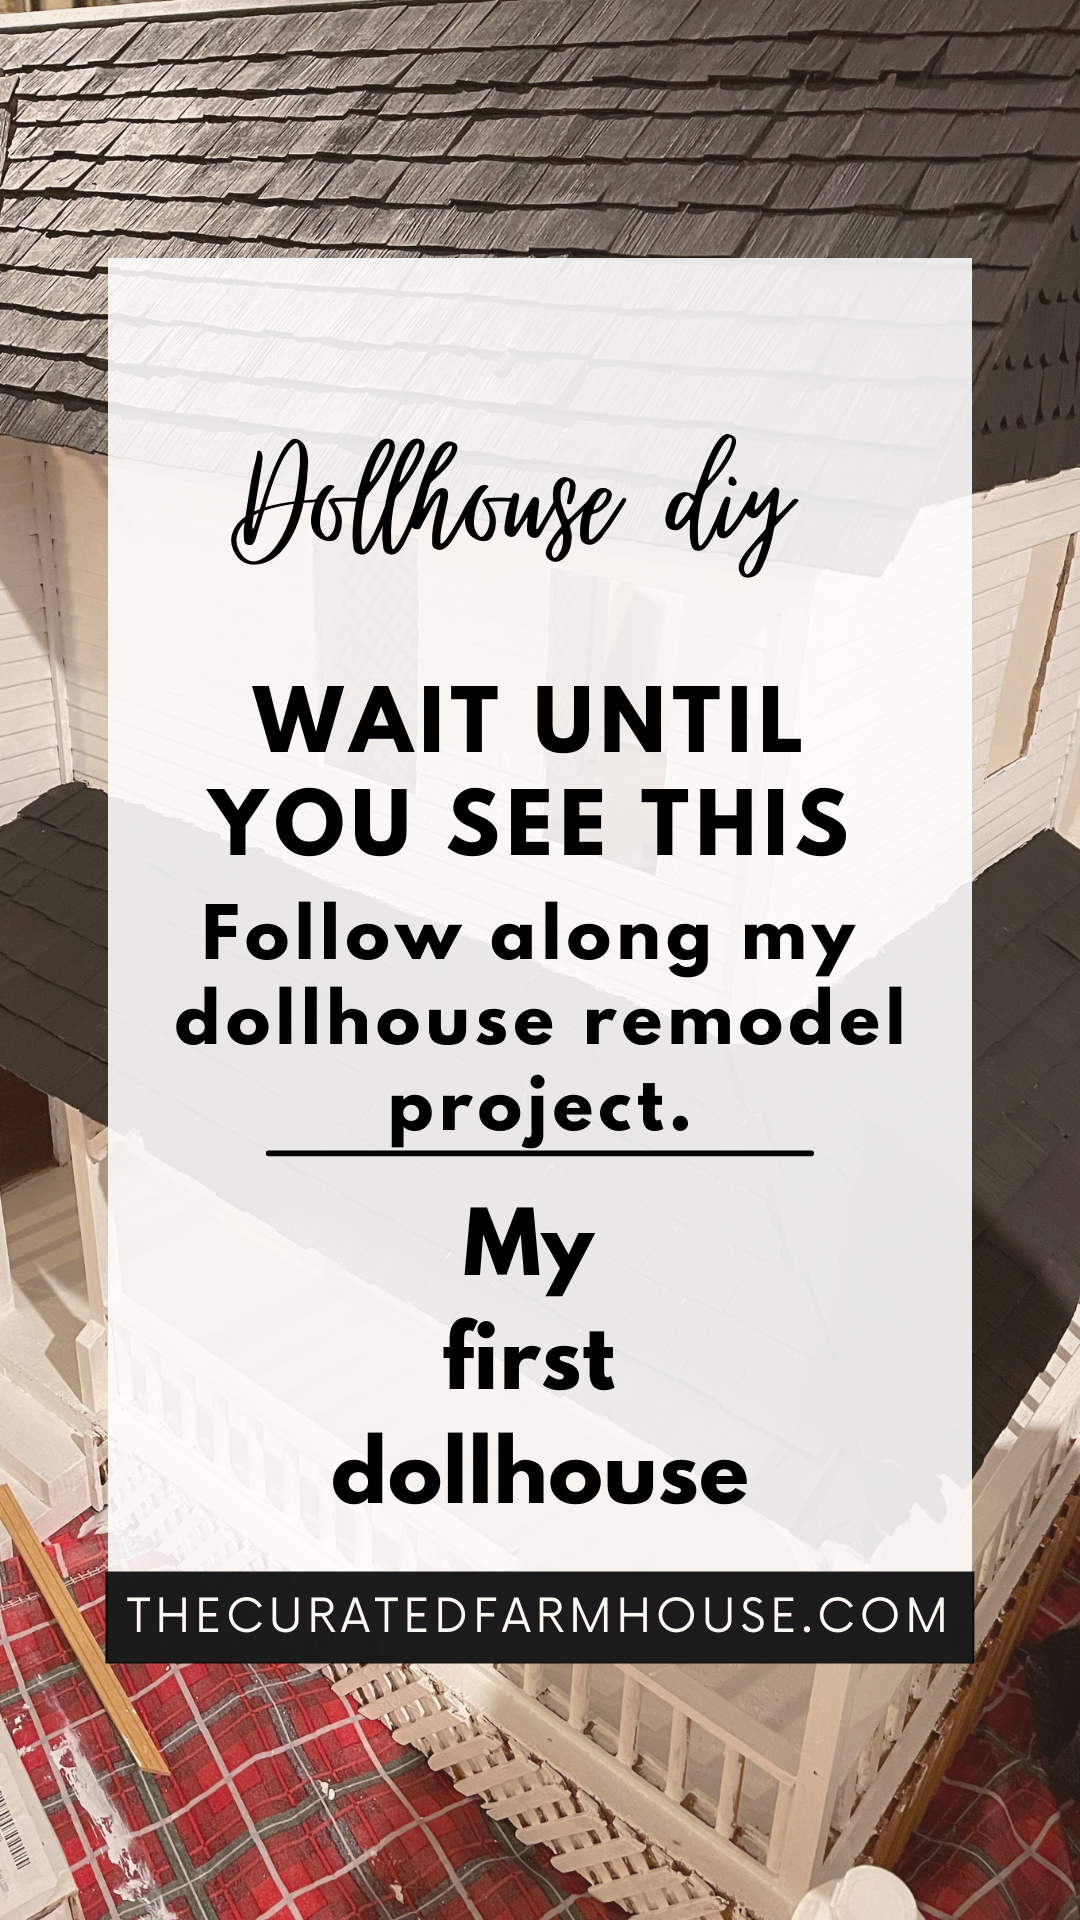
Wait Until You See My First Vintage Dollhouse Remodel DIY
Just wait until you see my first vintage dollhouse remodel DIY.
For as long as I can remember I have been obsessed with miniatures.
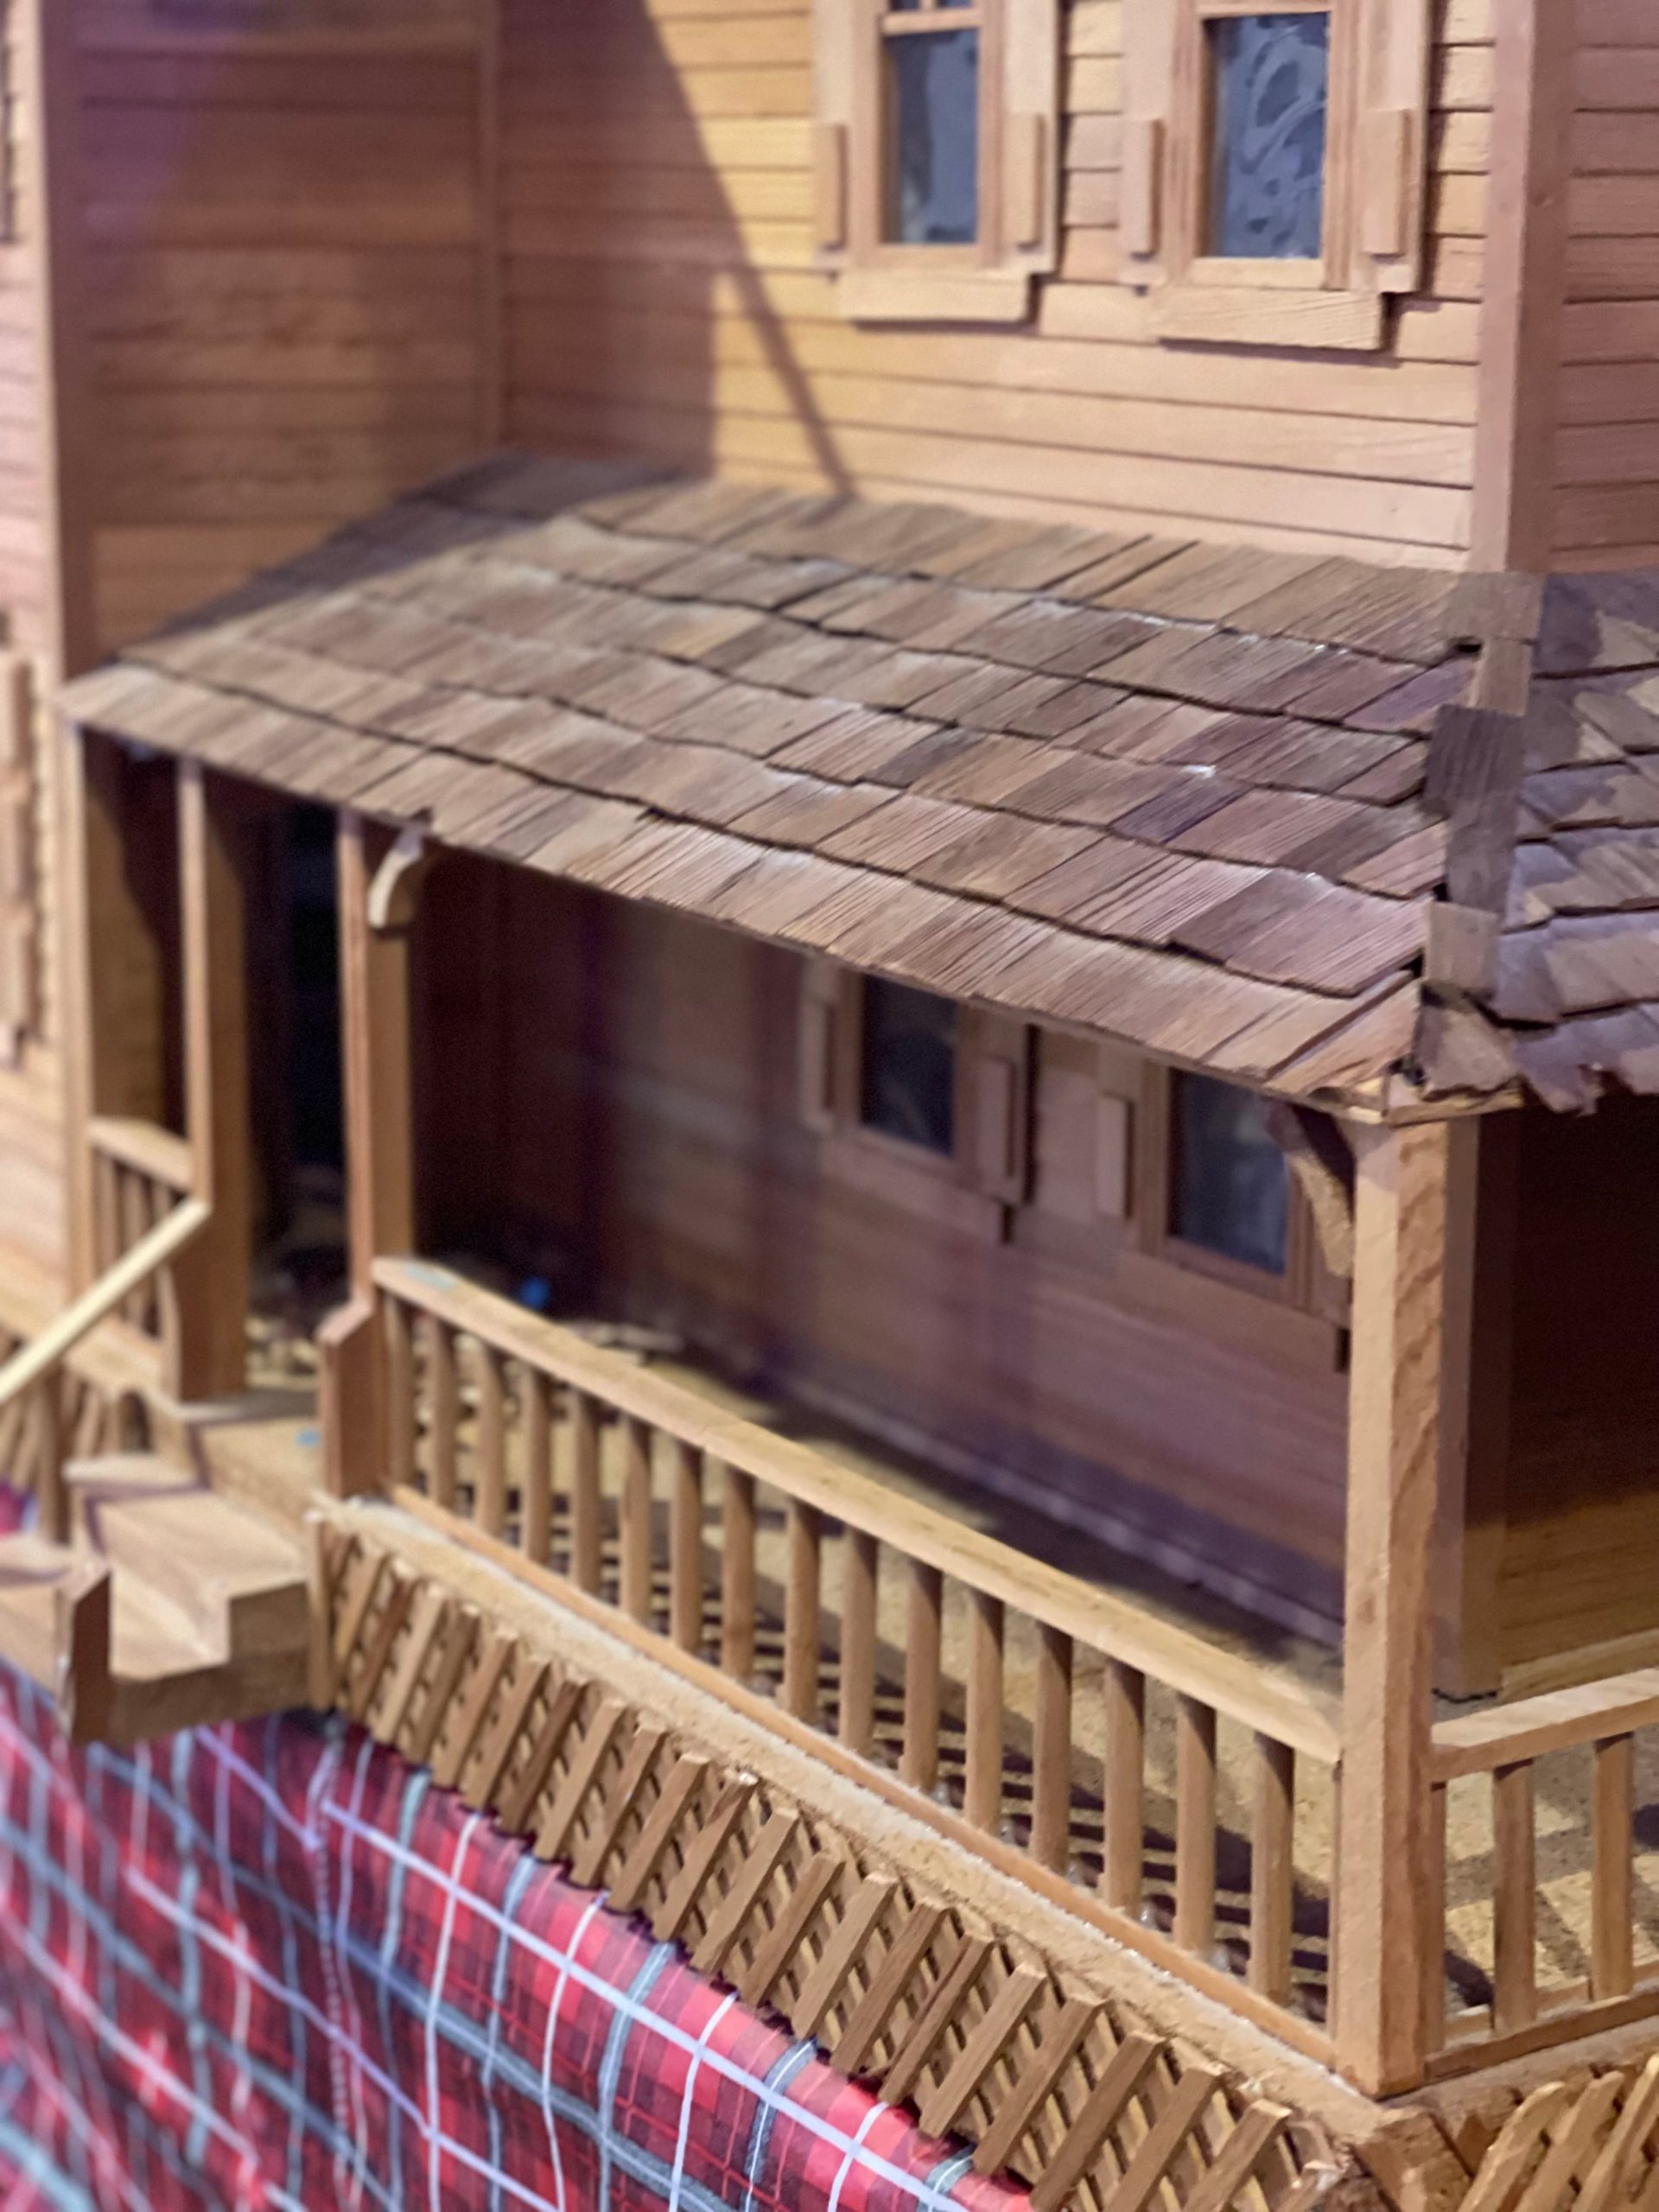
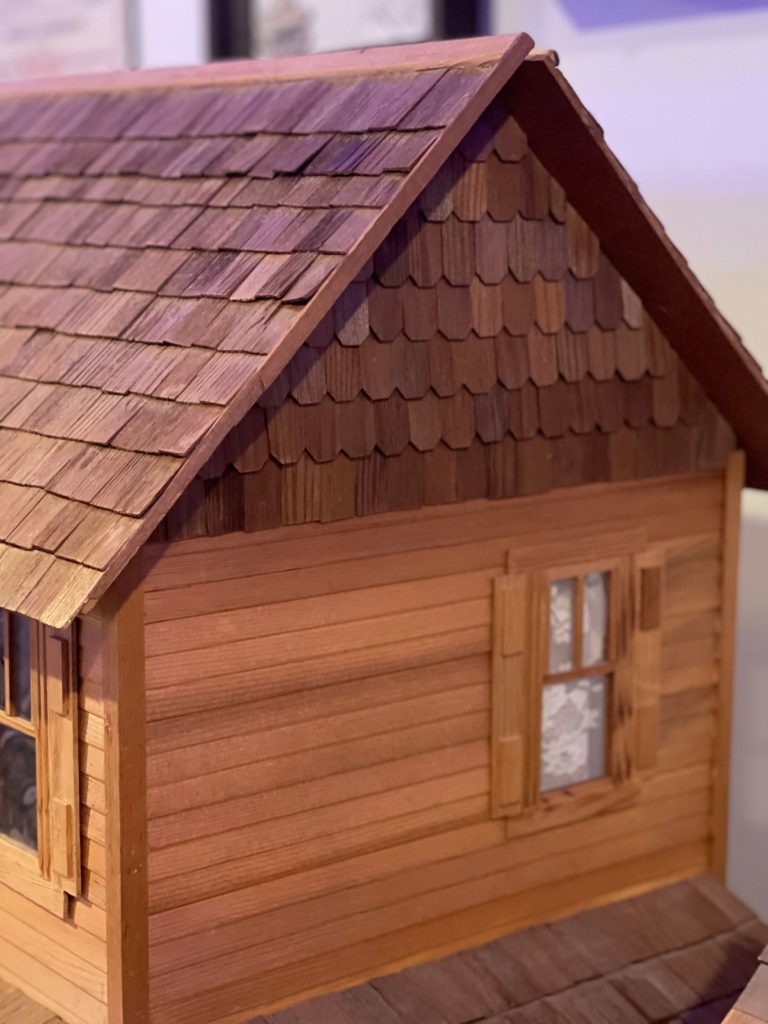
I am so excited about this new hobby, it has taken a life of it’s own. I found this wooden dollhouse at a local antique shop and instantly fell in love.
It was important to find something that needed a little TLC.
I wanted to add my own touch to it.
I cannot wait to start decorating it. But before the fun a lot has to be done.
Cleaning
It was obvious this dollhouse had seen better days, it was very dusty and had not been cleaned in years.
So the first step was to take all of the existing decor, rugs, and lighting out of the dollhouse. I wanted to be sure to strip it down before cleaning it.
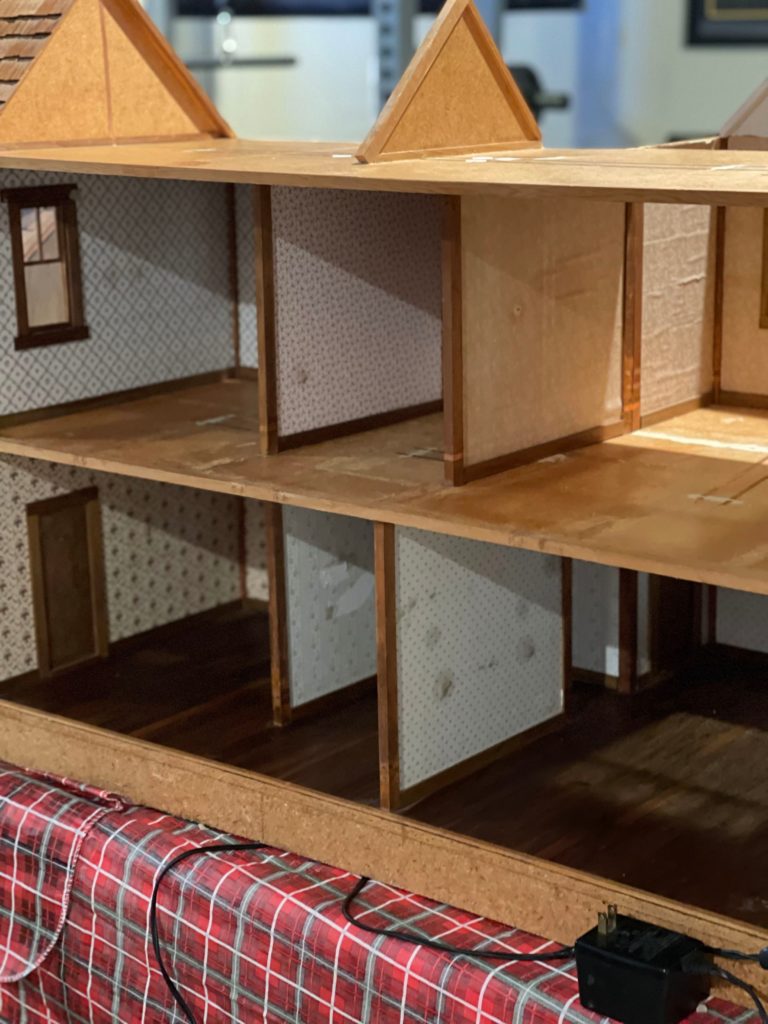
Next I took some warm soap and water and wiped down the interior and exterior of the dollhouse.
I had to do this a few times before it was clean.
Painting
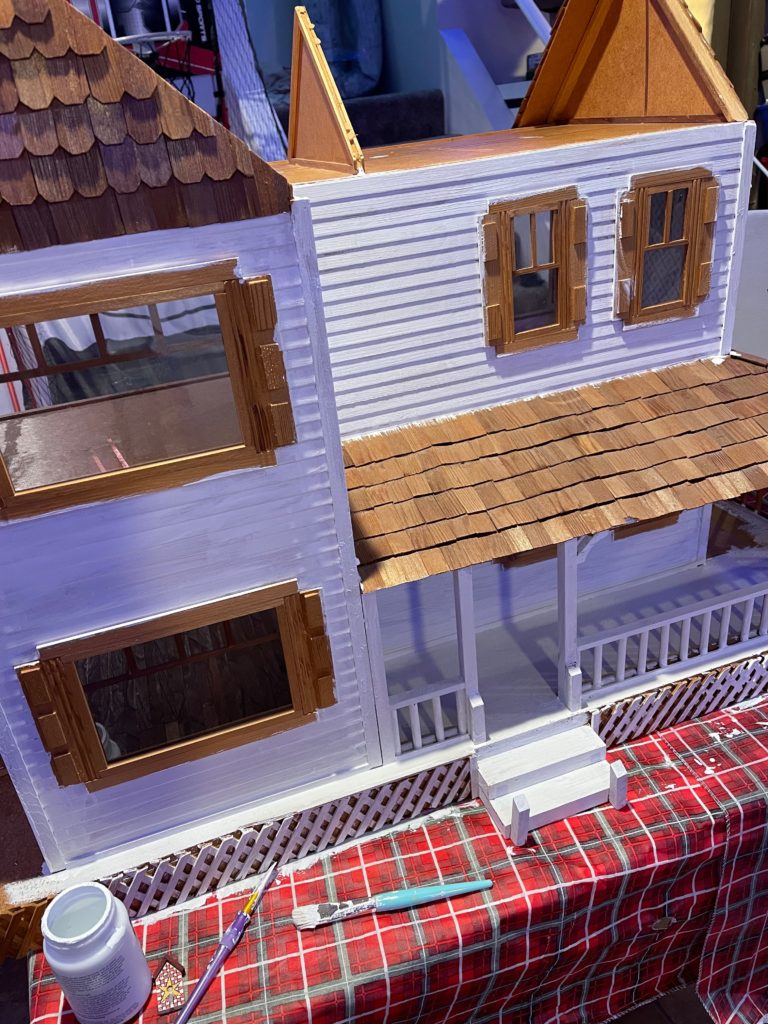
You really can use any type of paint for your dollhouse.
Since we were in the middle of an ice storm I opted for some white chalk paint I had on hand.
I painted the entire exterior (besides the roof and shutters) with the white paint.
It wasn’t too big of an issue if I got the paint on the other portions of the house.
I wanted to paint the accents like the windows and roof black.
This took a few hours to get the first coat on.
I can see why this is a much easier if you have a dollhouse you have to construct.
With a kit you can paint as you go.
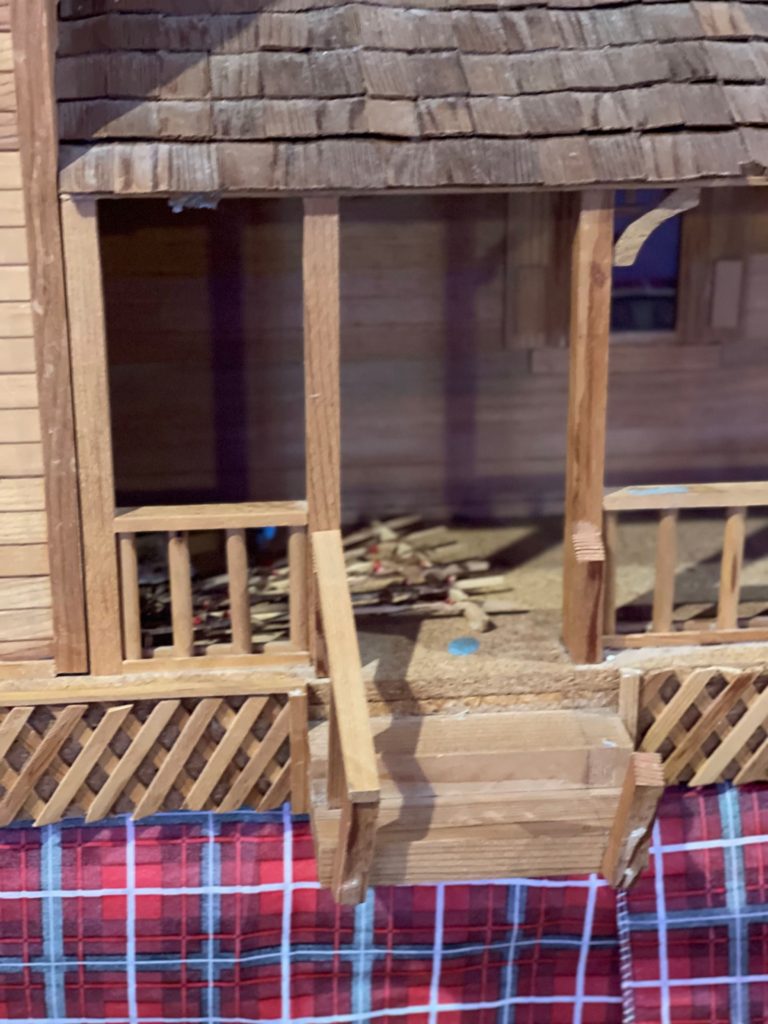
My biggest issue was the porch area. It was very hard to get the spindles on the railing, and the underside of the roof as well.
I did the best I could with the angles I had.
The best part of a vintage farmhouse is it is ok if the paint looks chippy in some spaces.

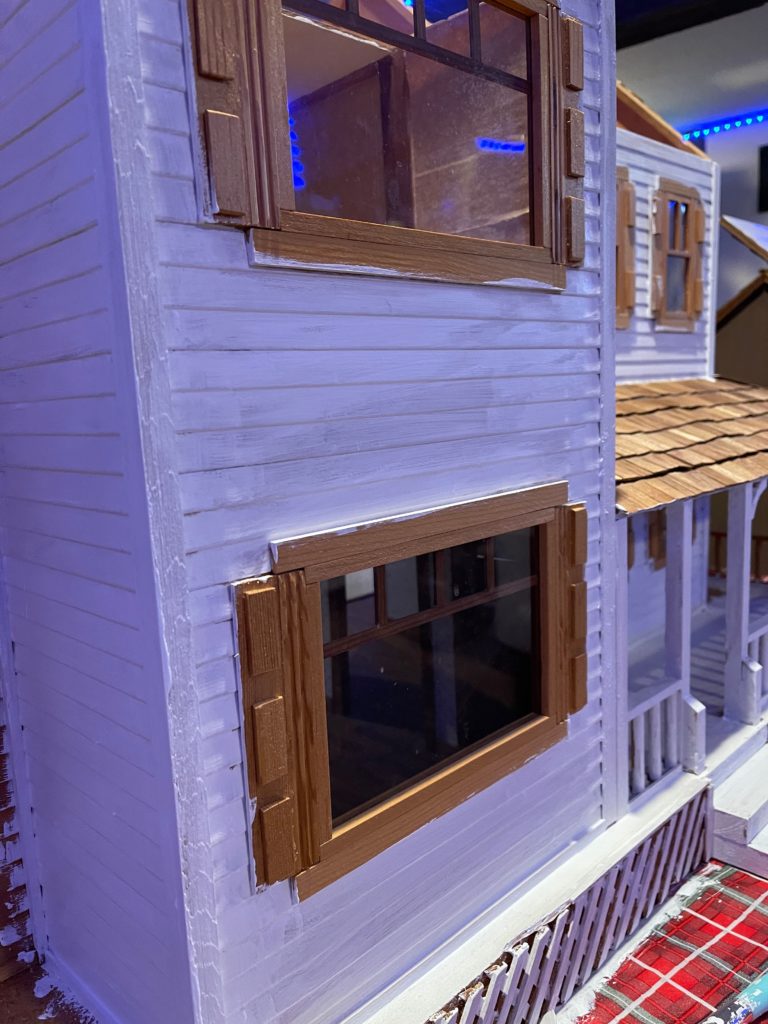
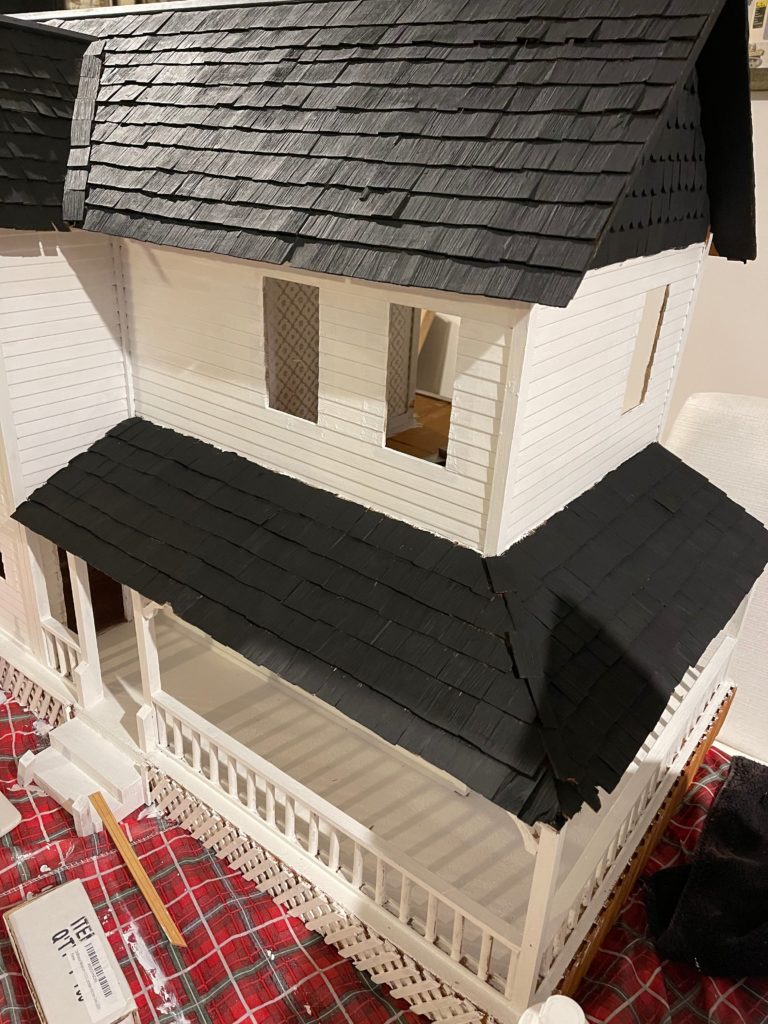
Once the house was painted with a few coats it was time to paint the roof.
I went with black as I have a farmhouse blackened white vision in my head for this home.
You can see I removed the windows and doors at this point.
I was afraid to at first but it was just too hard to get them painted unless I started from scratch.
It was pretty easy to pop out the windows, so don’ be afraid.
Anything can be fixed so if you want a different look my advice is go for it.
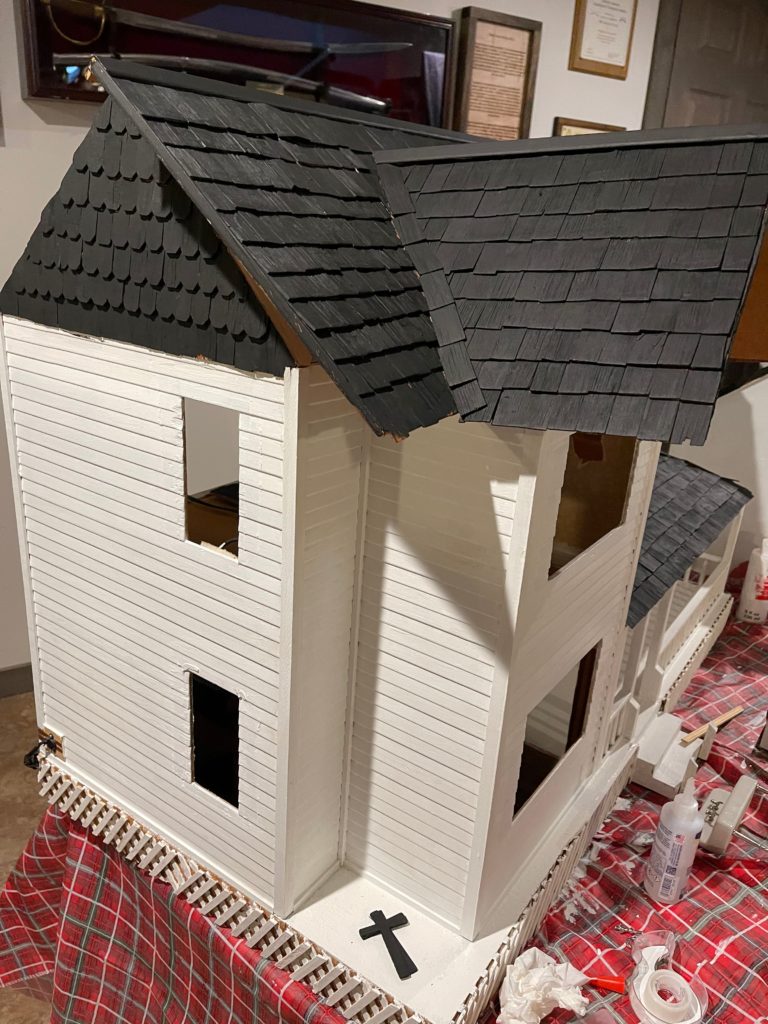
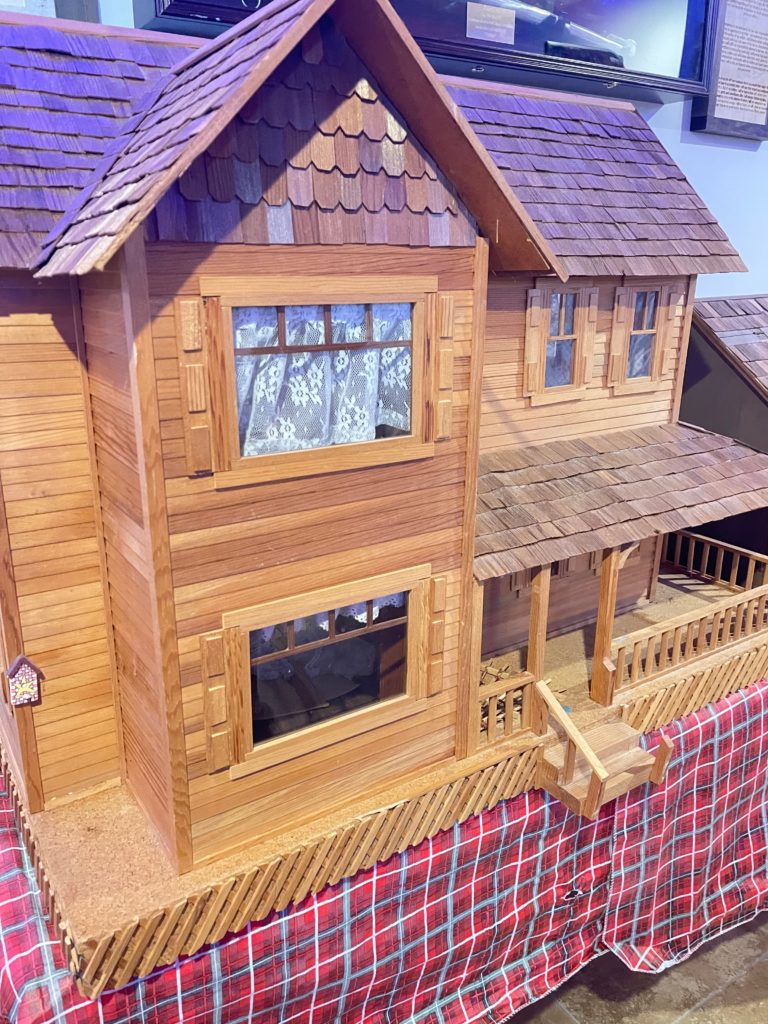
I was so excited the outside of the house for the most part is completed.
Will will need to touch up and add lighting, and decor.
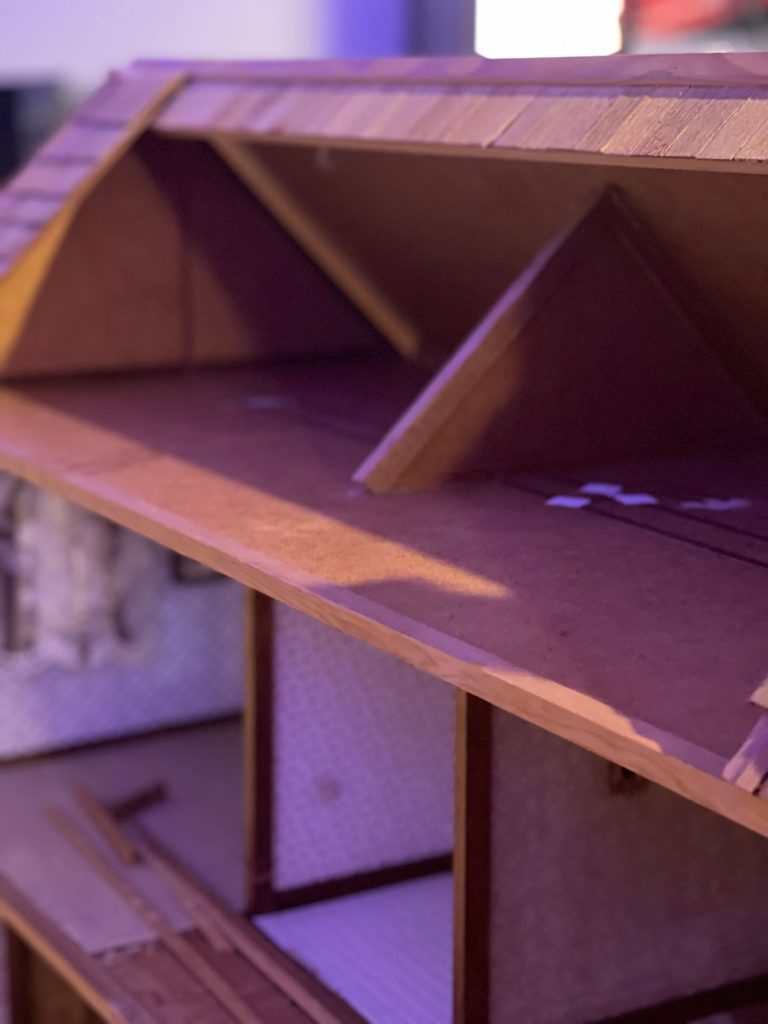
Roof + Windows
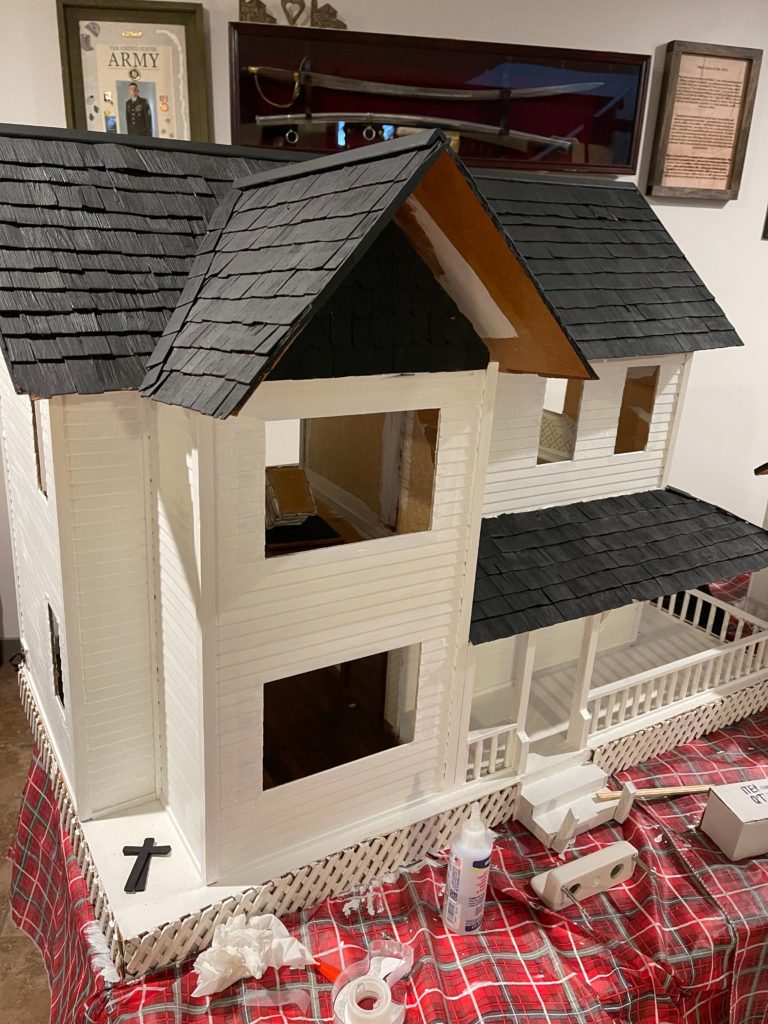
This took more time and patience.
I had to be sure to use small brushes to get the roof and windows more precisely painted.
The roof was already detached when I bought it.
I didn’t want to permanently attach it until I was finished painting inside and out.
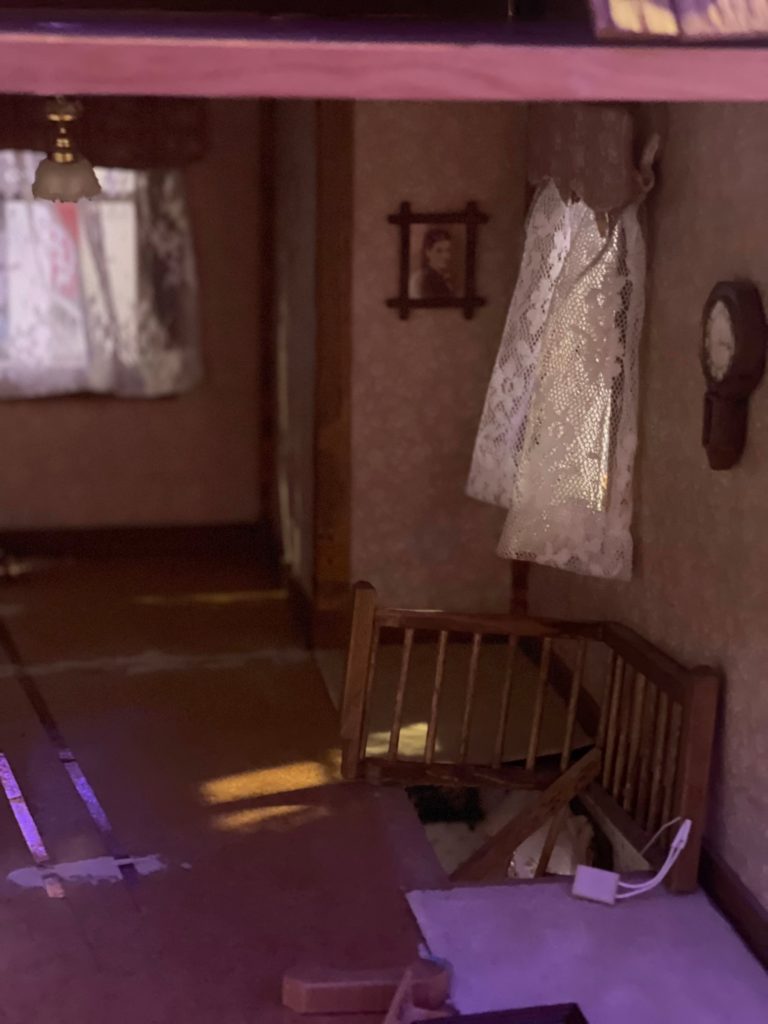
I even removed a wall, y’all.
Thanks to a wonderful new friend I have met in the miniature community, Kelly from @dollhouse_daydreams I had the confidence to go for it.
If you don’t like your floorpan, change it.
This allows me to combine the kitchen and dining room. I also removed the flooring as well from the bottom floor.
I wanted the flooring to be cohesive throughout the house. Finding the same flooring would be hard, so this was the obvious next step.
I started with an exact and hammer, but thanks to another tip I switched gears. To remove the flooring I used a damp washcloth, and an iron. The floor came right up.
Follow along as I install wallpaper and flooring and some other fun mini version DIY’s.
Please follow along on this new adventure with us and we move through this DIY. I cannot wait until you see my first vintage dollhouse remodel DIY. We plan decorate each and every room with thoughtful curation.
Looking for a way to get organized in the New Year. check out our organization printables.
I would love for you to follow us on Instagram, Pinterest, TikTok, and Facebook! You can also join our email list so you don’t miss any fun blog posts or designing spaces.


Love Following along with your progress and tips on here! It’s looking so Amazing already! I cannot wait to see what all you do to it!
I have this same house. It needs remodeling. Could you send me how you updated this house?
Thank you
Sure what questions do you have? Email me at thecuratedfarmhouse@gmail.com